
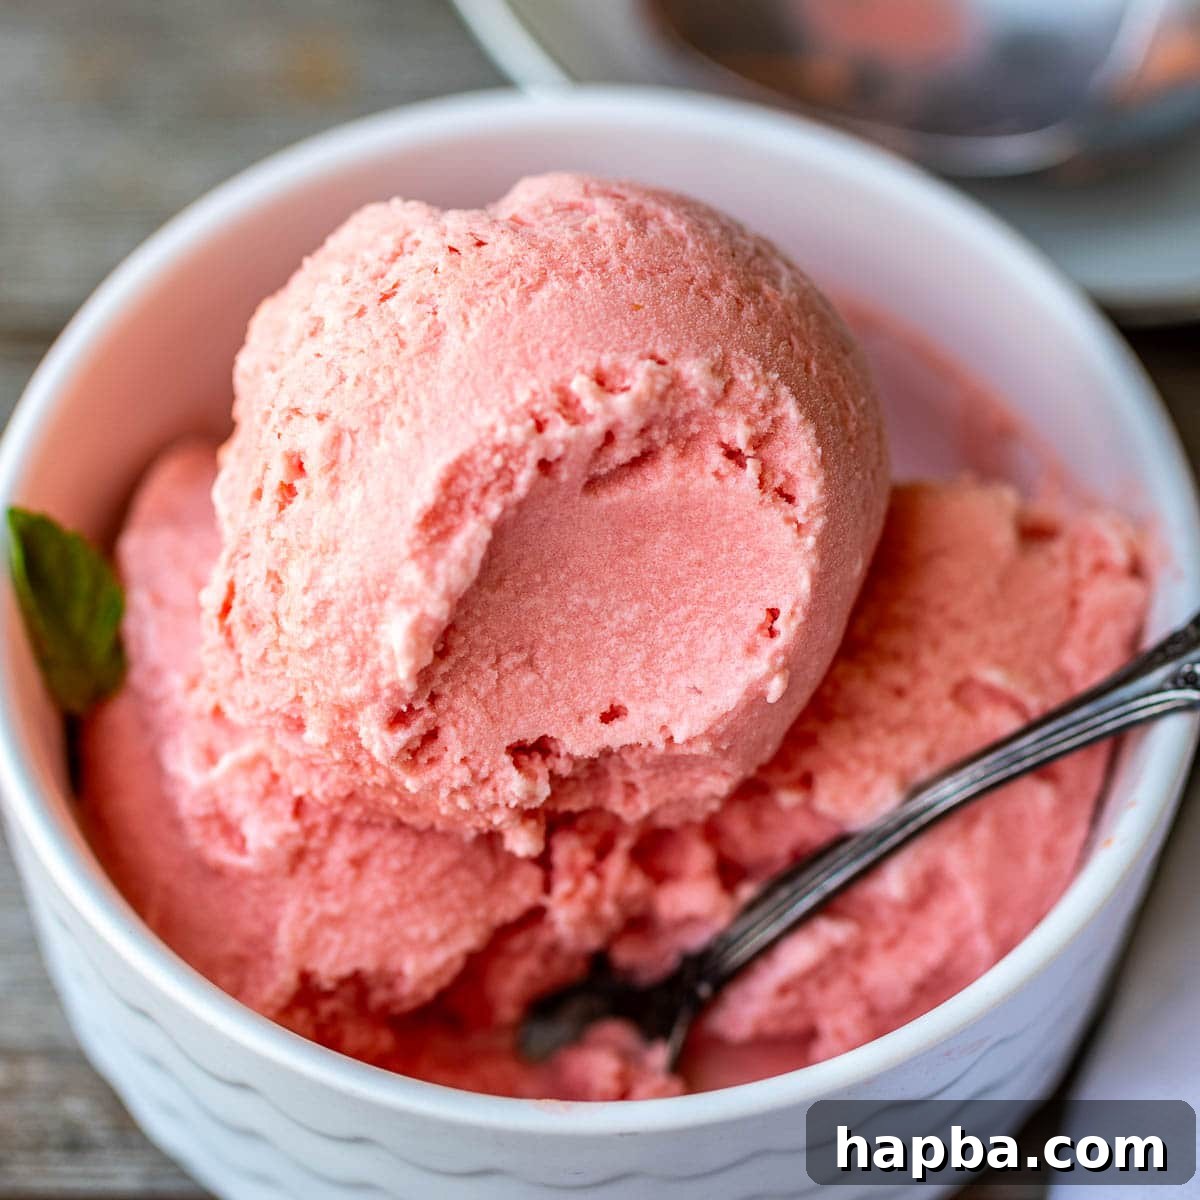
Prepare to delight your taste buds with this exceptionally creamy and naturally flavored Watermelon Ice Cream. Bursting with the authentic taste of fresh watermelon, this delightful dessert is incredibly refreshing, surprisingly simple to make, and entirely sugar-free. Forget complicated gadgets; you’ll only need three basic ingredients and no ice cream machine to create this perfect summer treat.
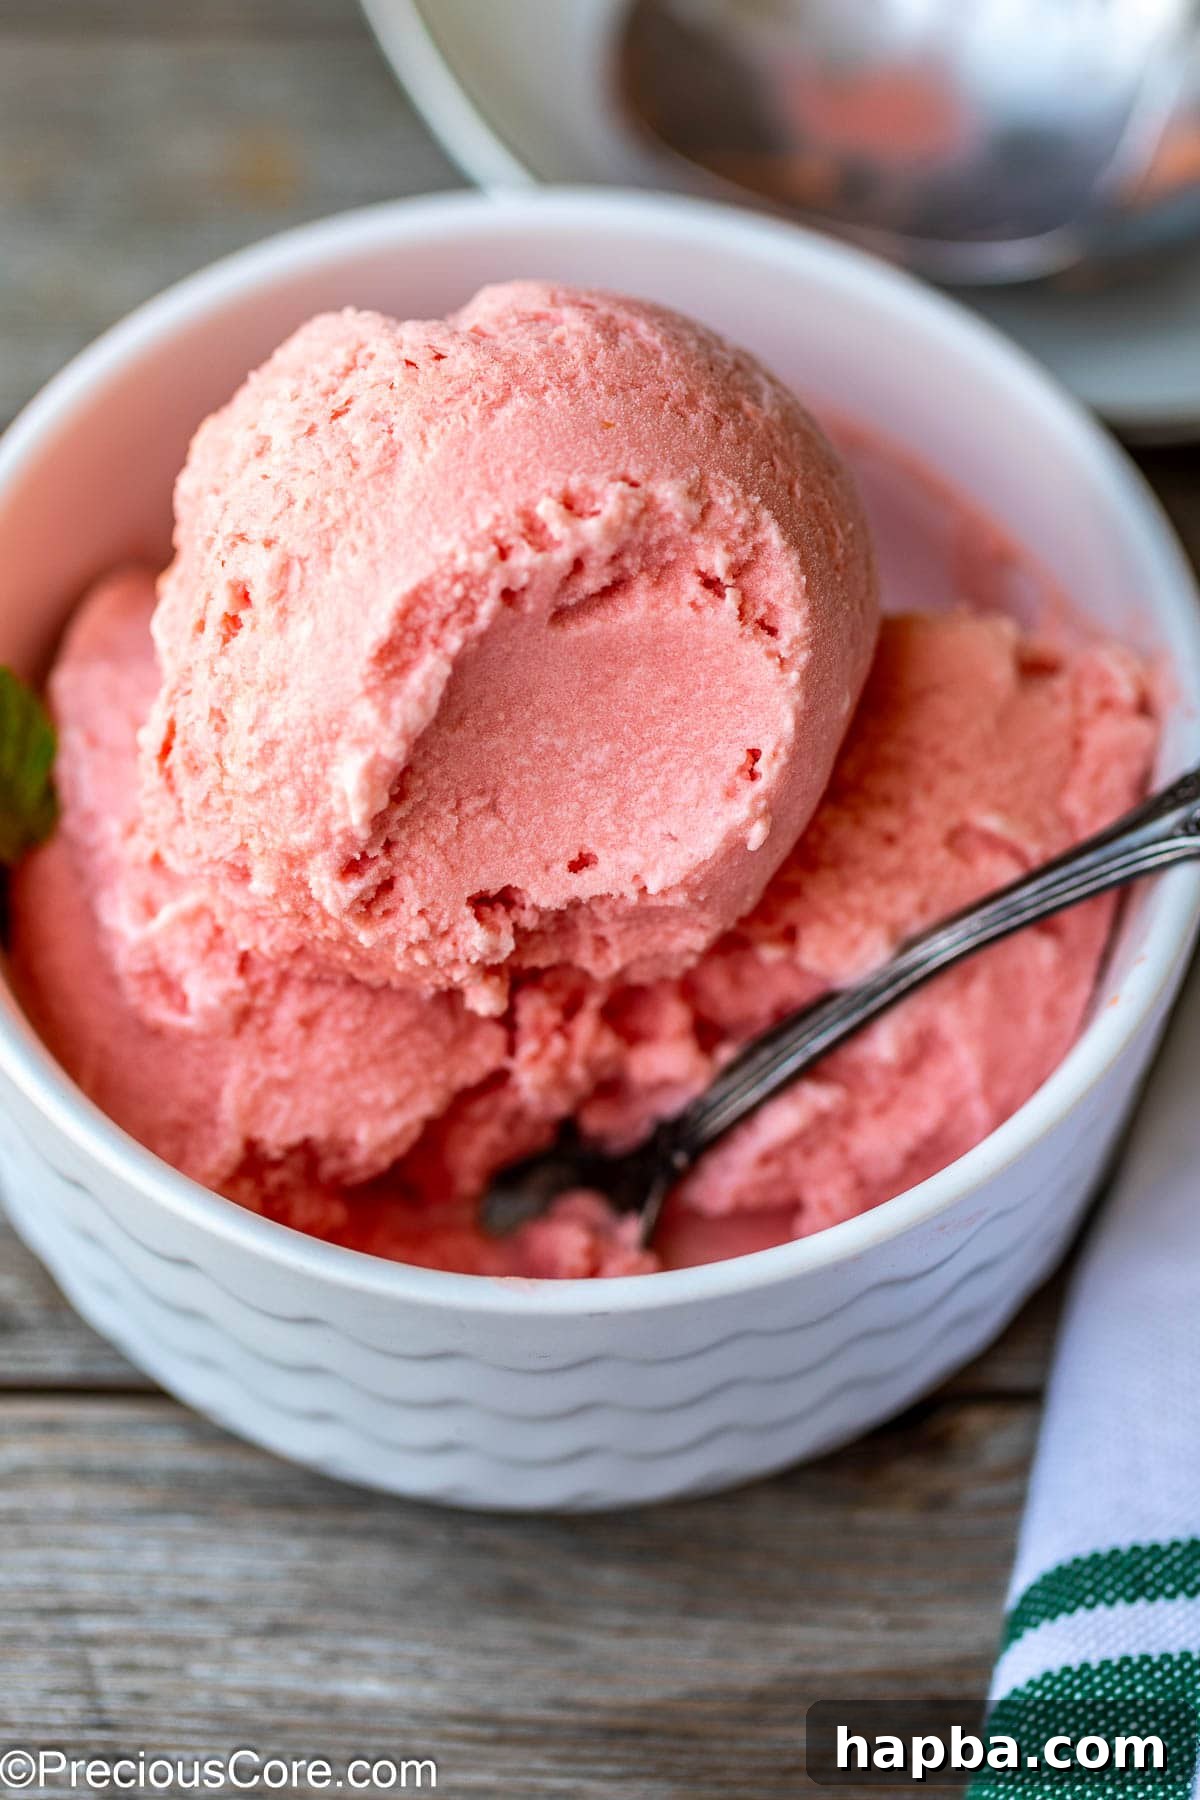
Are you ready to experience the most delicious homemade watermelon ice cream of your life? This recipe delivers an unbelievably smooth and rich texture that sets it apart from many other “watermelon ice cream” recipes, which often turn out more like icy sorbets or solid blocks of flavored ice. While this recipe does utilize frozen watermelon, the true secret to its luxurious creaminess lies in the addition of heavy cream. This ingredient transforms the fruity blend into a silky, decadent dessert, making it a reliable, creamy ice cream recipe you’ll want to make again and again.
The best part? The ice cream mixture comes together with just about 10 minutes of active prep time, making this three-ingredient watermelon ice cream recipe a true kitchen hero. Whether you’re a seasoned dessert maker or a beginner, you’ll love how effortlessly you can create this amazing treat.
If you’re eager to explore more easy, no-churn ice cream recipes perfect for the warmer months, be sure to check out our No-Churn Strawberry Ice Cream and Mango Ice Cream recipes for other fruity delights.
Homemade Watermelon Ice Cream: A Summer Essential
Imagine homemade ice cream without any added refined sugar! Yes, it’s absolutely achievable, and you can whip it up yourself with just a few simple ingredients found at your local grocery store. All you need is a perfectly ripe watermelon, some luscious heavy cream, and a touch of honey for natural sweetness. This recipe offers a fantastic way to utilize any extra watermelon you might have on hand, transforming it into a delightful and healthy dessert. Not only is this recipe crafted with fresh, wholesome fruits, but it also boasts the convenience of being a no-churn ice cream recipe, eliminating the need for specialized equipment.
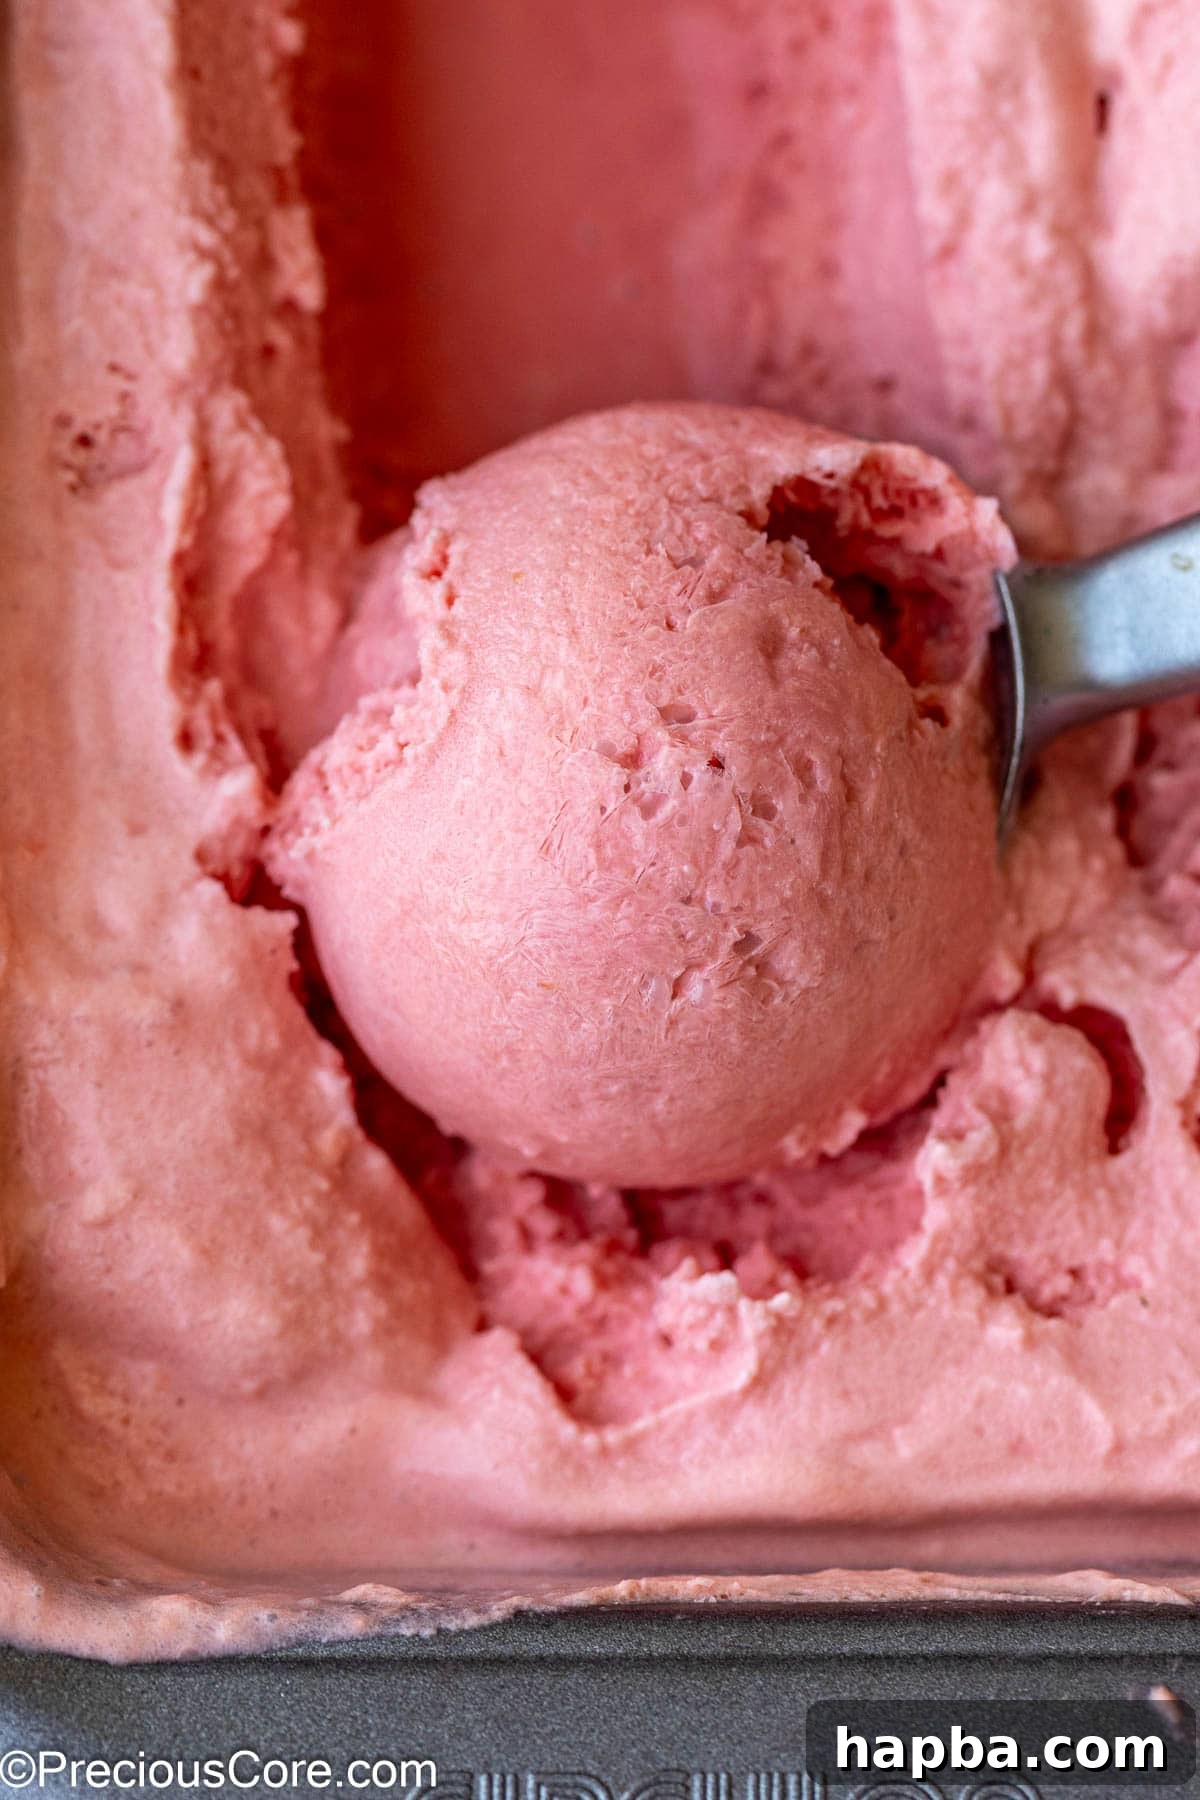
The Magic of No-Churn Ice Cream
While there are various methods for making ice cream, such as the old-fashioned Ziploc bag technique or using a dedicated ice cream machine, this recipe simplifies the process dramatically. You won’t need an expensive ice cream maker, nor will you have to endure the labor-intensive shaking required for the Ziploc method. Our approach leverages the power of a blender, making the process remarkably similar to creating a thick, refreshing watermelon smoothie. The key difference, however, is the exquisite end result: a sweet, velvety-smooth ice cream that melts perfectly on your tongue.
For this recipe, you can choose between seedless watermelons for ultimate convenience or regular watermelons with seeds. If you opt for seeded watermelon, don’t worry – our tips section provides easy ways to manage them. Using fresh watermelon isn’t just a healthier choice; it’s also the most flavorful way to enjoy a perfect treat on a hot summer day. You’ll find immense joy in crafting your own ice cream, especially when you consider it as one of the best ideas for surprising the kids with a unique and fun-flavored dessert during school breaks.
Essential Ingredients for Creamy Watermelon Ice Cream
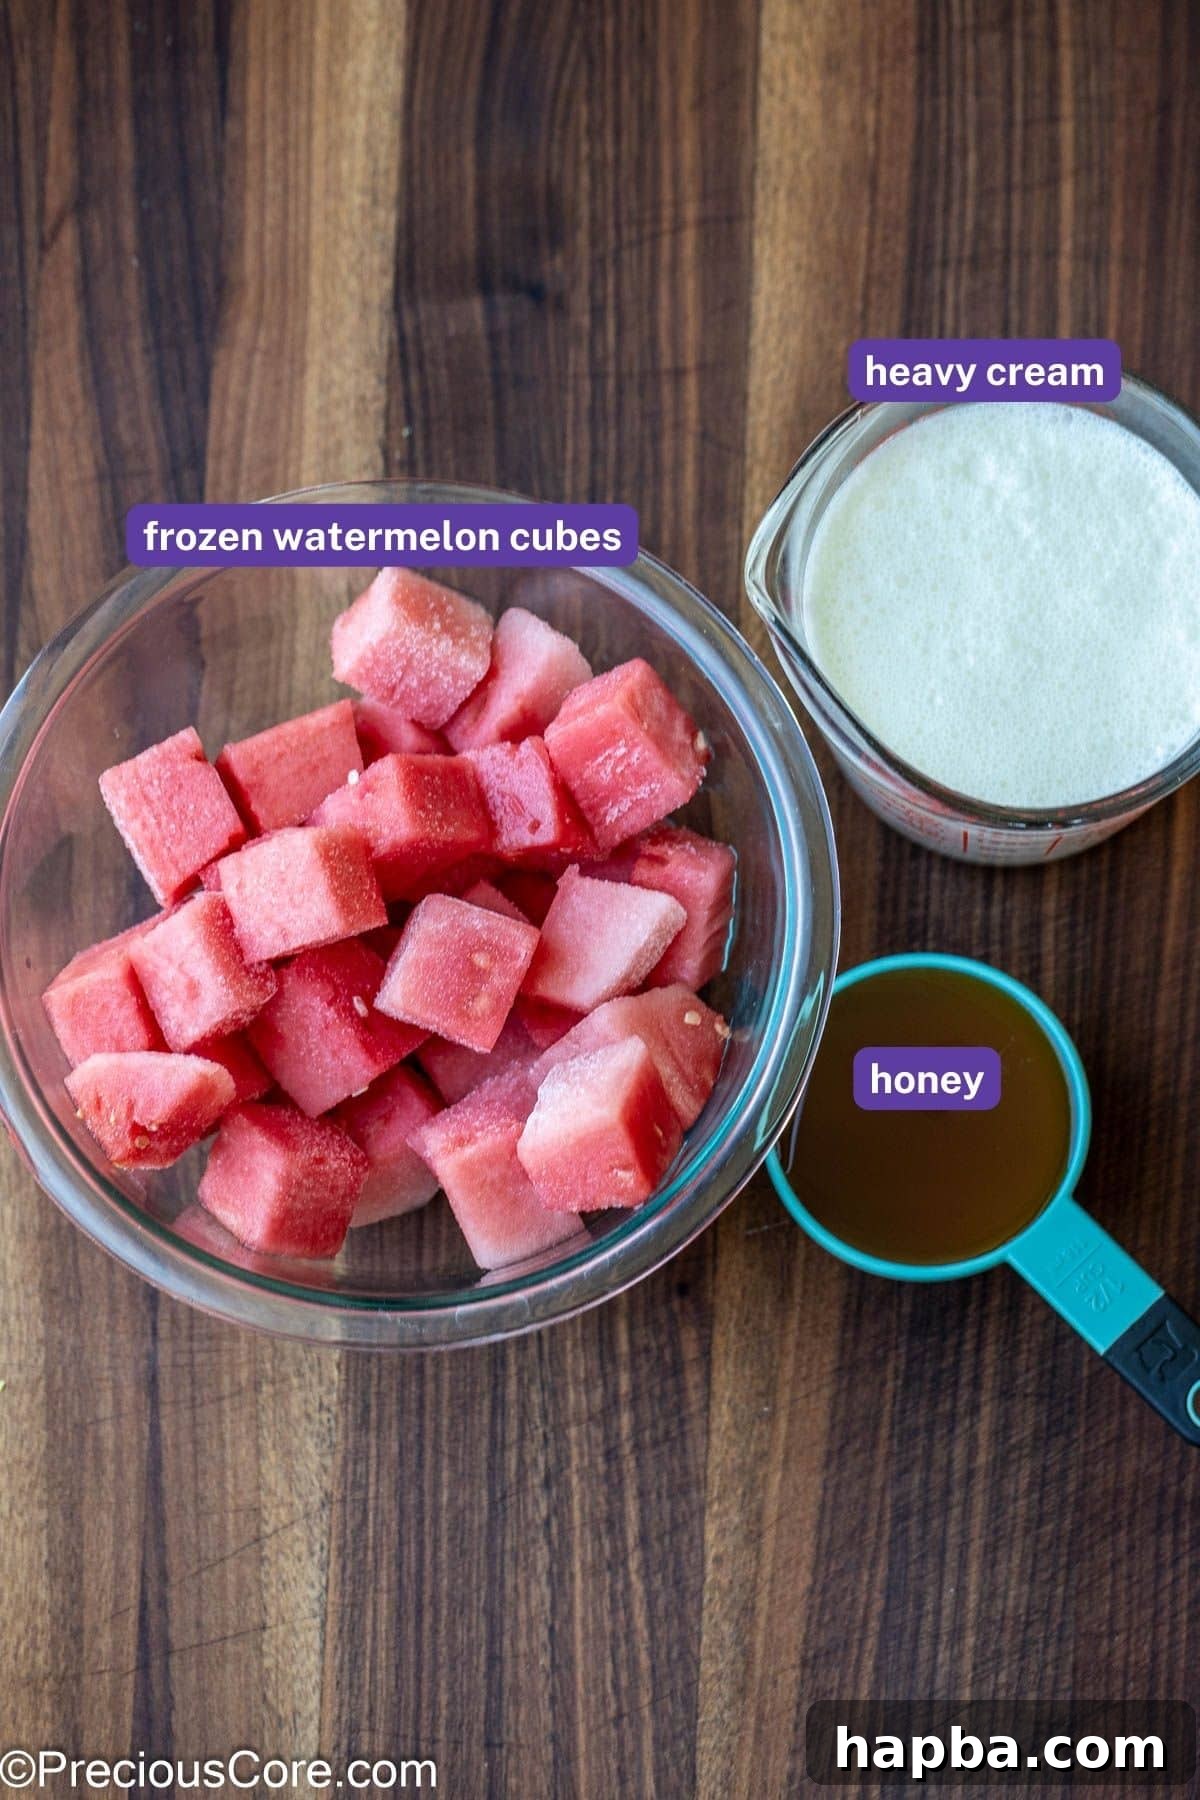
This recipe calls for incredibly simple ingredients, each playing a vital role in achieving that perfect creamy texture and vibrant flavor. Here are some detailed notes about them:
- Watermelon Pieces: The star of our show! Fresh watermelon provides an unparalleled natural flavor and a generous dose of vitamin C, all without any artificial ingredients. For optimal results, make sure to chop your watermelon into 1-inch cubes before freezing. This not only allows them to freeze faster and more evenly but also ensures easier blending, leading to a smoother ice cream texture. Choosing a ripe watermelon is crucial for the best flavor; look for one that feels heavy for its size, has a dull rind, and a creamy yellow spot on its underside.
- Heavy Cream: This is the secret to our ice cream’s luxurious, creamy consistency. Heavy cream boasts a high-fat percentage, which is essential for preventing ice crystals from forming and creating that delightful, thick texture. It emulsifies beautifully with the frozen fruit, transforming what might otherwise be a sorbet into a truly rich ice cream. Ensure your heavy cream is well chilled before use for the best whipping and blending results.
- Honey: We sweeten this recipe naturally with honey, making it virtually sugar-free apart from the natural sugars present in the fruit and honey itself. Honey adds a wonderful depth of flavor that complements watermelon exceptionally well, creating a harmonious and balanced sweetness.
- Optional Red Food Coloring: For those who desire a more intensely vibrant pinkish-red color, a few drops of red food coloring can be added. This is purely for aesthetic appeal and is completely optional; the natural color of a ripe watermelon is often beautiful enough on its own.
You’ll find the precise quantities needed for each ingredient in the comprehensive recipe card below.
Recipe Variations for Watermelon Ice Cream
While delicious on its own, this watermelon ice cream recipe is also incredibly versatile. Feel free to experiment with these exciting variations to create new flavor profiles and fun presentations:
- Watermelon Citrus Ice Cream: For a bright and zesty twist, add a splash of fresh lemon juice or lime juice to the mixture when blending in the heavy cream. The citrus notes will provide a refreshing counterpoint to the sweetness of the watermelon, creating a more complex and tangy flavor. Start with a small amount (e.g., 1-2 tablespoons) and adjust to your preference.
- Watermelon Popsicles: Transform this creamy mixture into fun and refreshing watermelon popsicles! If you have popsicle molds, simply pour the blended ice cream mixture into them. Make sure to give them plenty of time (at least 6-8 hours, or overnight) to firm up completely in the freezer before you attempt to unmold them. They’re a fantastic kid-friendly option for hot days.
- Watermelon Ice Cream with Chocolate “Seeds”: After you’ve finished blending the ice cream and before transferring it to the loaf pan, gently fold in some miniature chocolate chips. These add a delightful textural contrast and mimic the look of watermelon seeds, making the dessert even more visually appealing. If you’re aiming to keep the dessert sugar-free, opt for no-sugar-added dark chocolate chips, which are widely available.
- Minty Watermelon Ice Cream: For a cool and invigorating touch, add a handful of fresh mint leaves (about 1/4 cup) to the blender along with the other ingredients. The mint will infuse the ice cream with a subtle, refreshing herbaceous note that pairs wonderfully with watermelon.
- Spicy Watermelon Ice Cream: For adventurous palates, a tiny pinch of cayenne pepper or a dash of chili powder can add an unexpected and intriguing kick, creating a sweet and spicy fusion that’s surprisingly delicious. Start with just a whisper of spice and increase if desired.
Smart Substitutions for Dietary Needs
This recipe is already naturally sugar-free (beyond natural fruit sugars and honey), but it can also be adapted to fit other dietary preferences. Here are some smart substitutions:
- Dairy-Free Heavy Cream Replacements: The heavy cream is crucial for the rich, thick texture. If you need a dairy-free option, I highly recommend using full-fat coconut cream (the thick part from a can of full-fat coconut milk, chilled overnight) rather than regular coconut milk, which can be too thin. Similarly, instead of almond milk, look for specialized almond heavy cream substitutes that are designed to thicken when mixed or blended. Many vegan cream alternatives contain thickening agents like guar gum, making them perfect for achieving that desired creamy consistency in vegan ice cream recipes.
- Sweetener Replacements: If honey isn’t your preference or you need a different natural sweetener, you can easily substitute it with maple syrup or agave nectar. These alternatives will still sweeten the ice cream naturally, though they might slightly alter the overall flavor profile. Rest assured, the result will still be absolutely amazing and a fantastic treat!
- Sugar-Free Sweeteners: For those strictly avoiding all forms of sugar, including natural ones, you could experiment with a sugar substitute like erythritol or stevia, adjusting to taste. Be aware that these might affect the final texture slightly.
How To Make Watermelon Ice Cream: Step-by-Step Guide
Creating this creamy watermelon ice cream is surprisingly straightforward. Follow these steps for a perfect frozen delight:
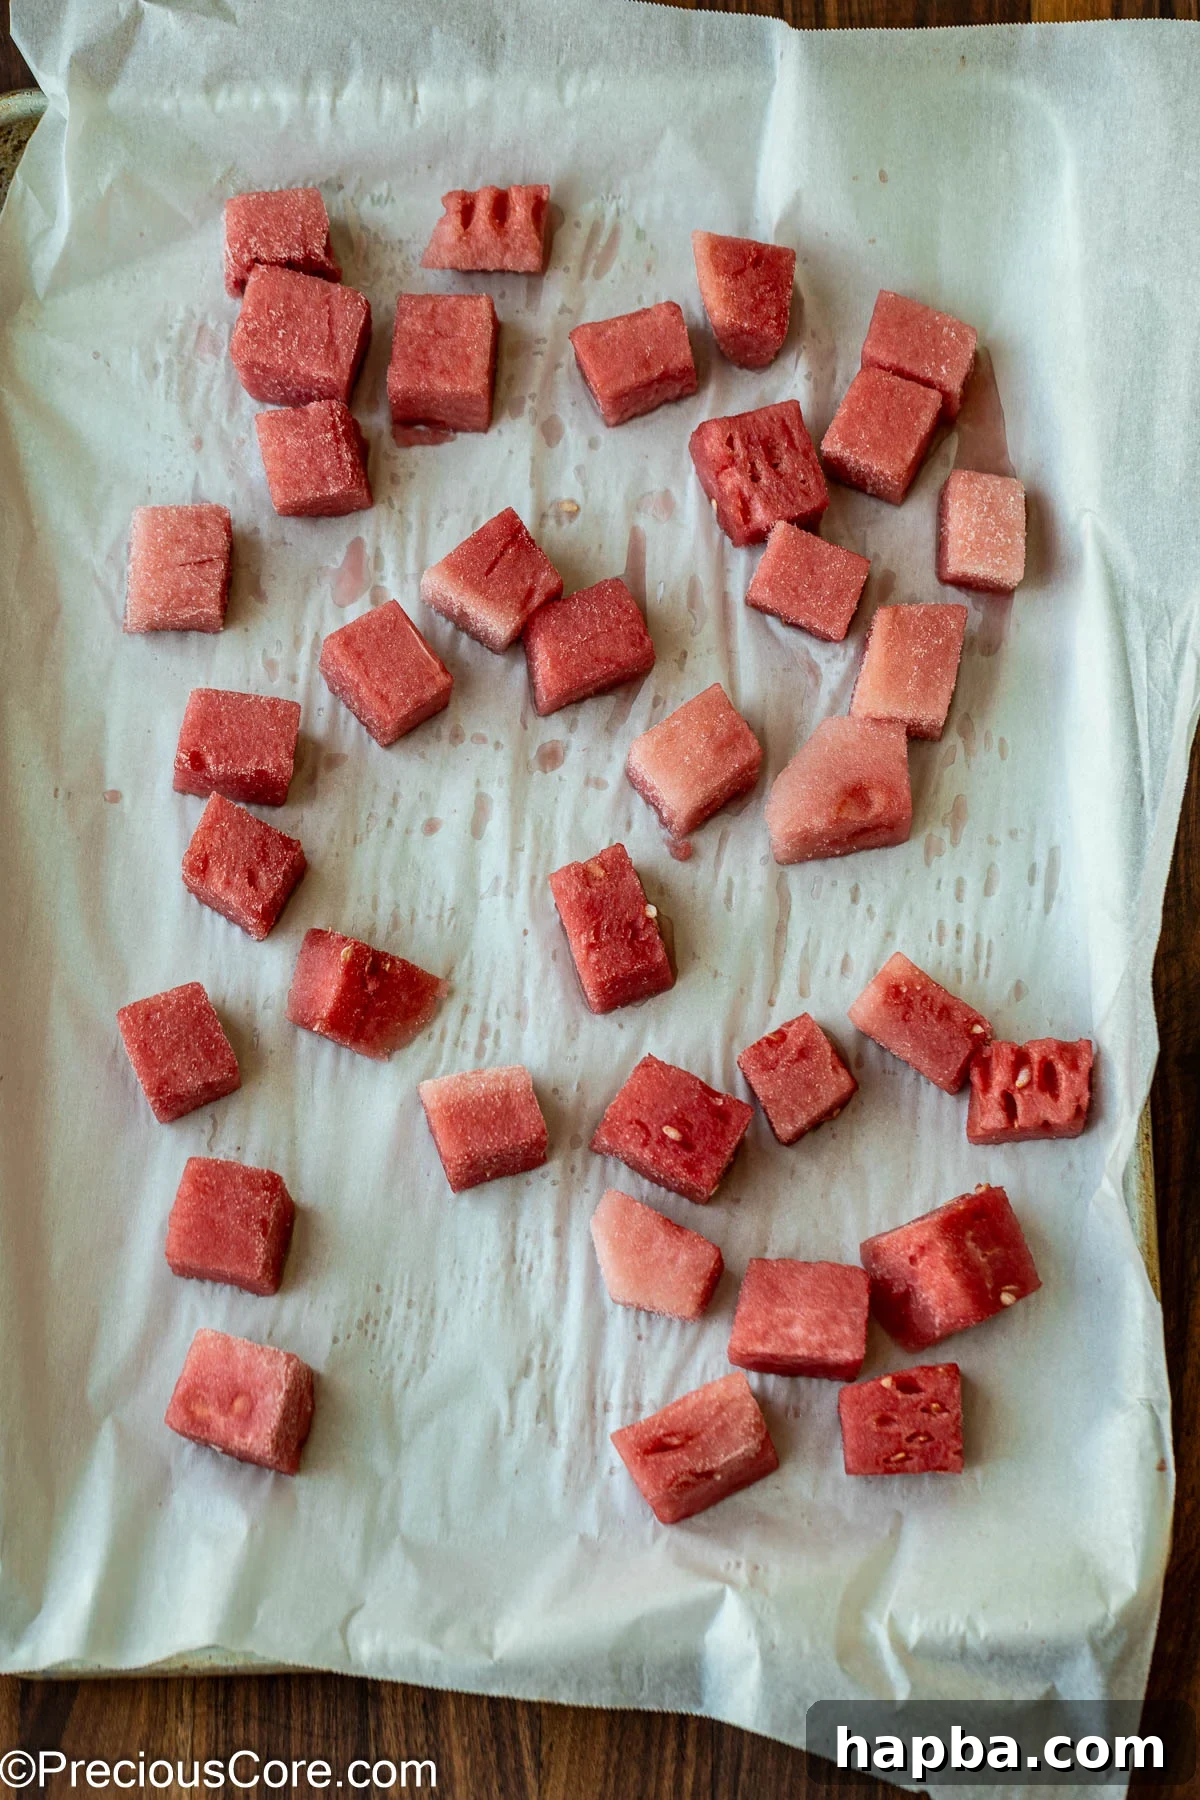
- Prepare and Freeze Watermelon: Begin by lining a large baking sheet with parchment paper. Arrange the watermelon cubes in a single layer, ensuring they don’t overlap too much. Place the baking sheet in the freezer and allow the watermelon to freeze solid for at least 4 hours. This crucial step is key to the ice cream’s creamy texture, so do not skip it!
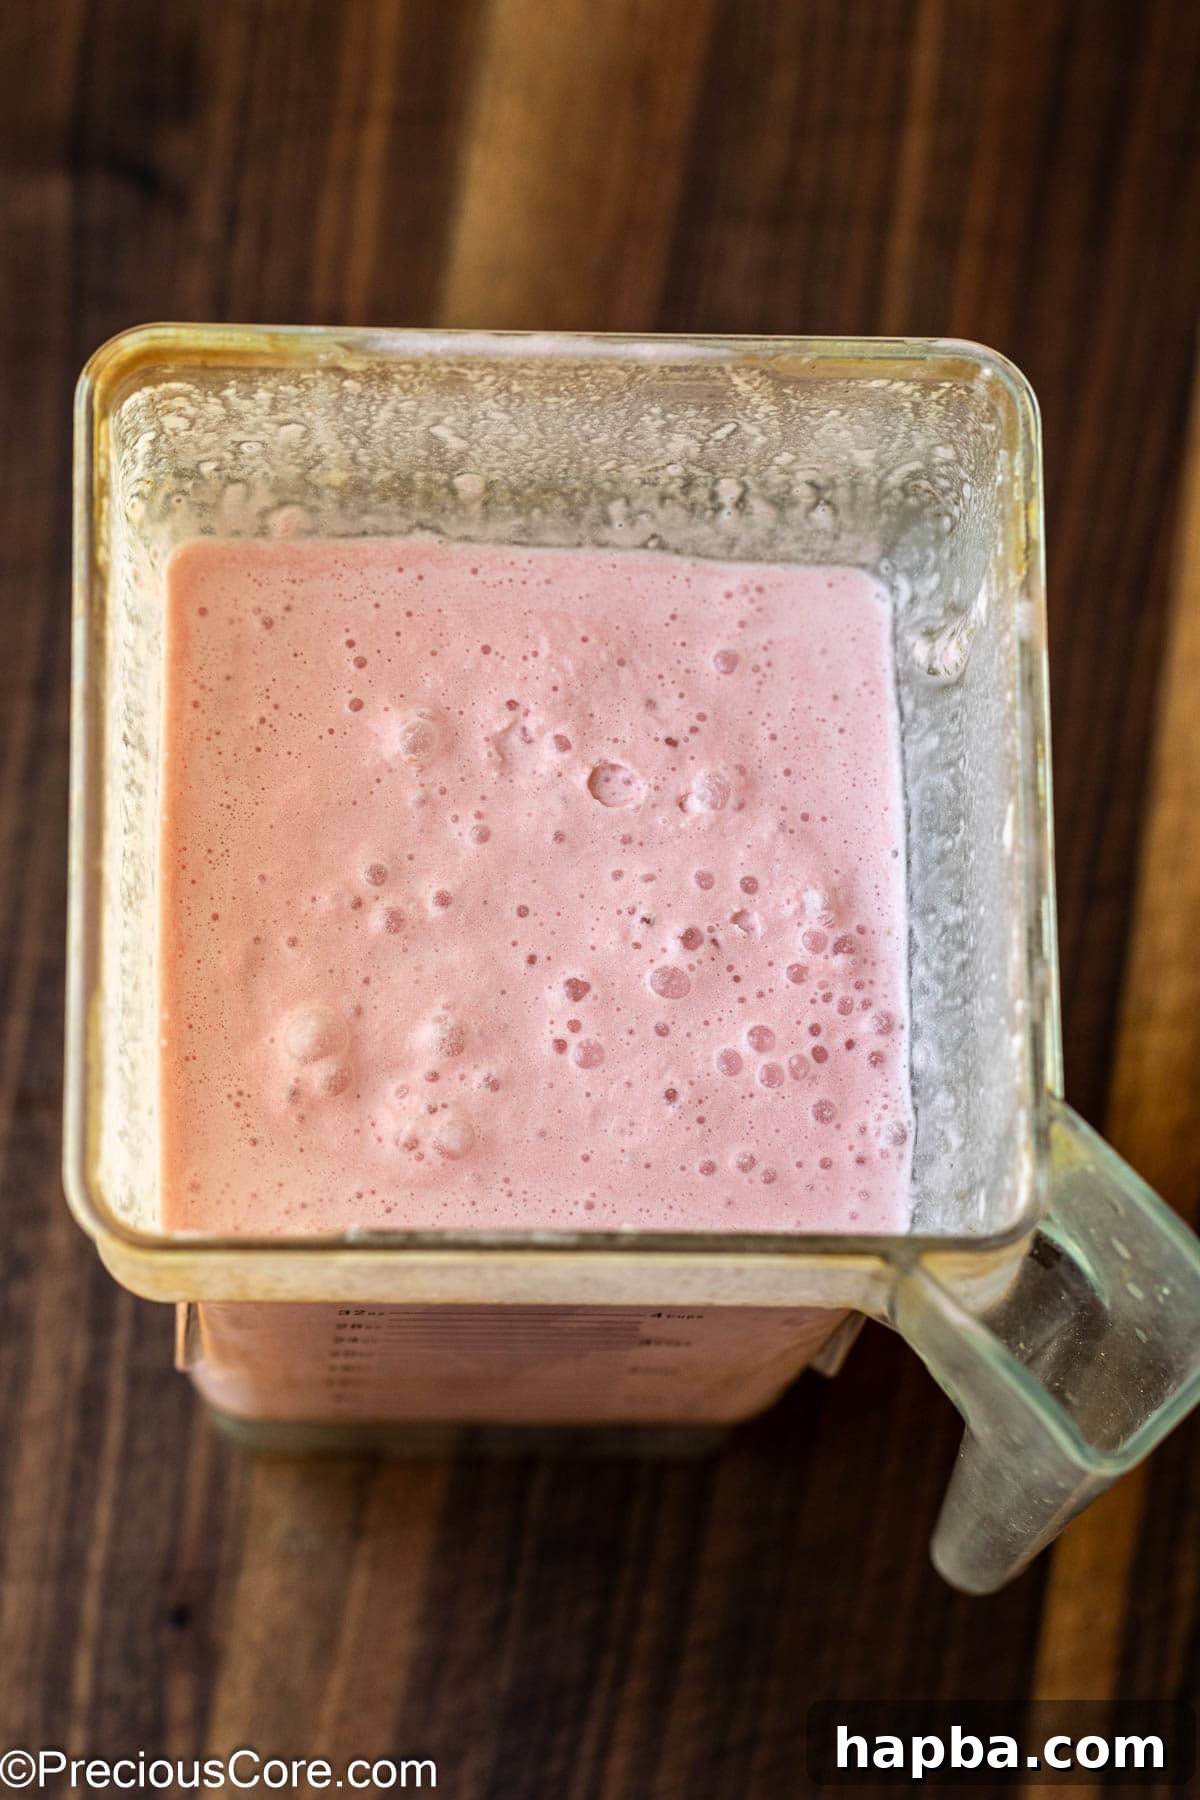
- Blend Ingredients: Once the watermelon cubes are thoroughly frozen, transfer them to a high-speed blender or a powerful food processor. Add the chilled heavy cream and honey. Blend the mixture until it becomes completely smooth and thick. Scrape down the sides of the blender as needed to ensure everything is incorporated evenly. If you desire a bolder pinkish-red color, now is the time to add a few drops of red food coloring and blend again briefly to combine.
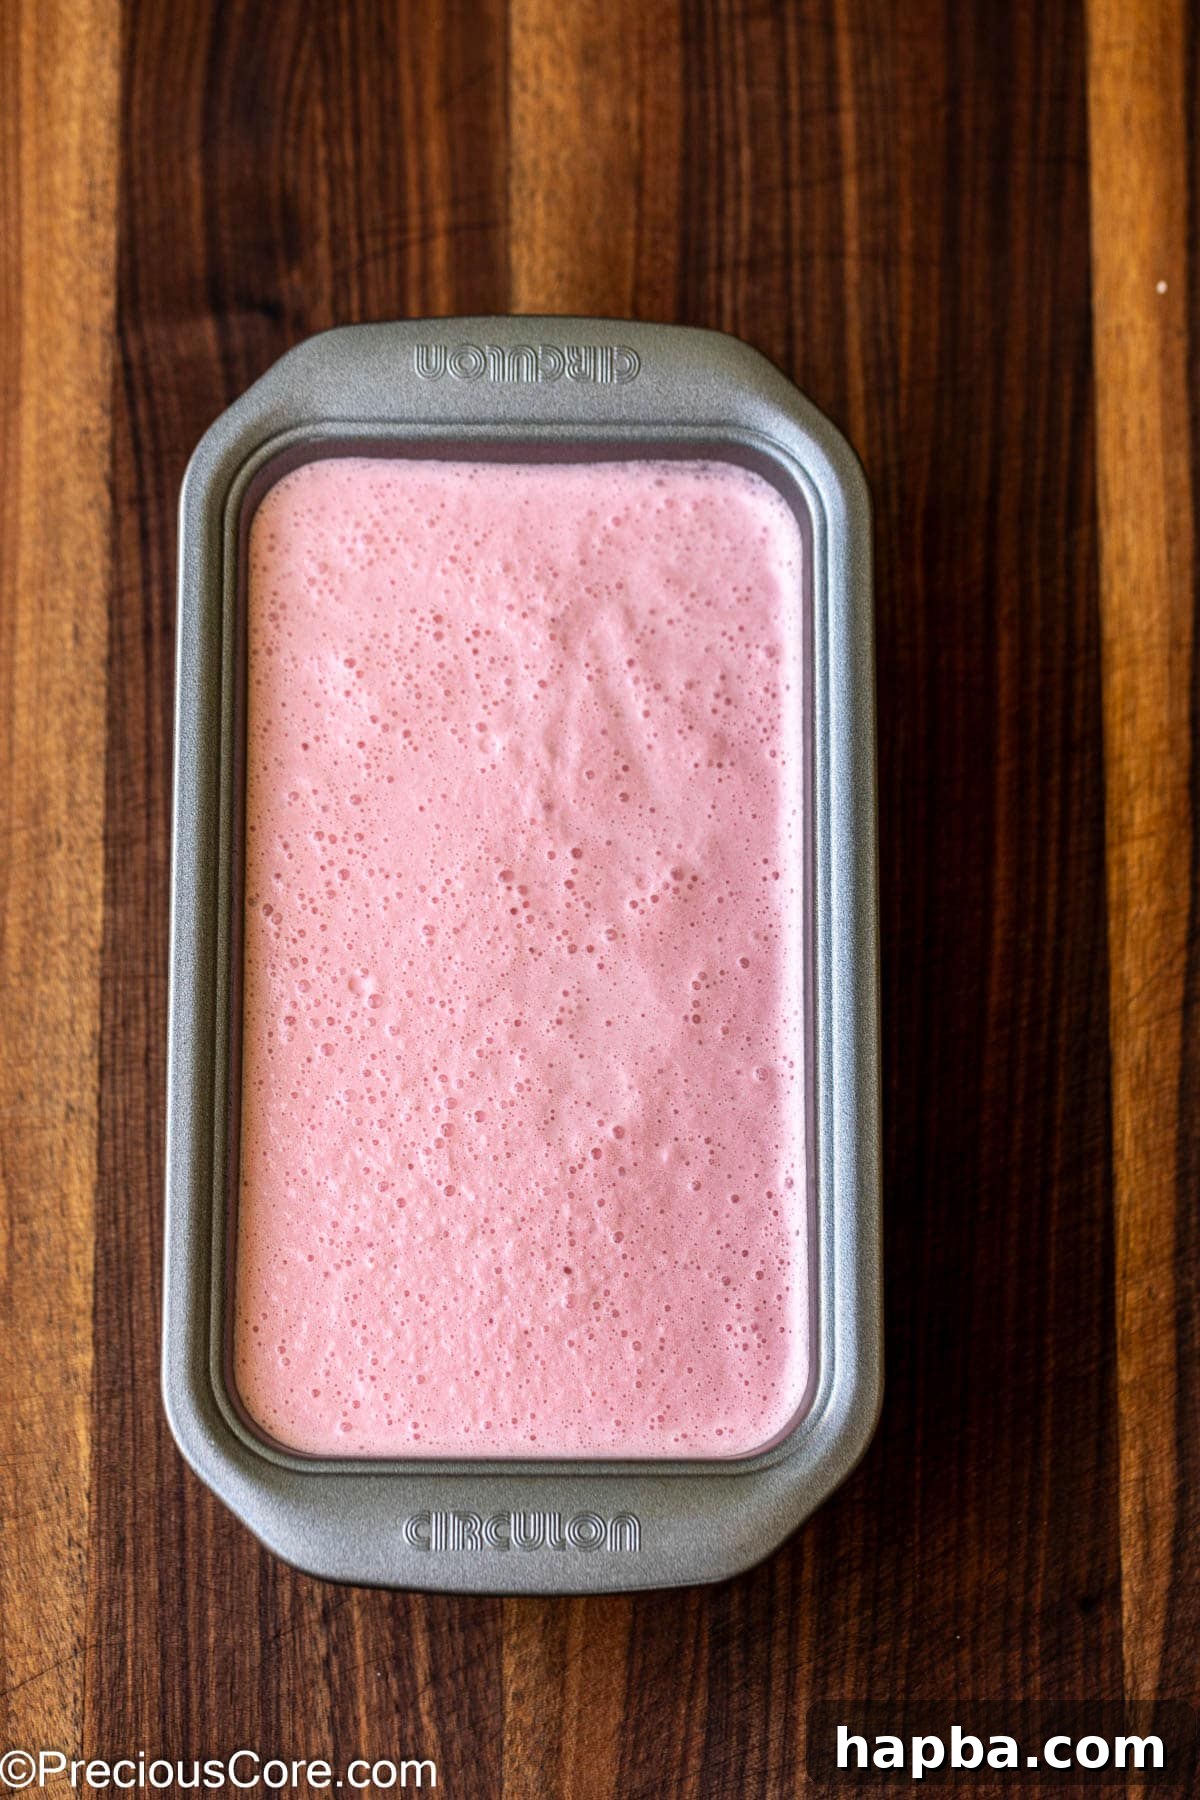
- Transfer to Loaf Pan: Carefully pour the pureed watermelon ice cream mixture into a standard loaf pan. Smooth the top with a spatula if desired.
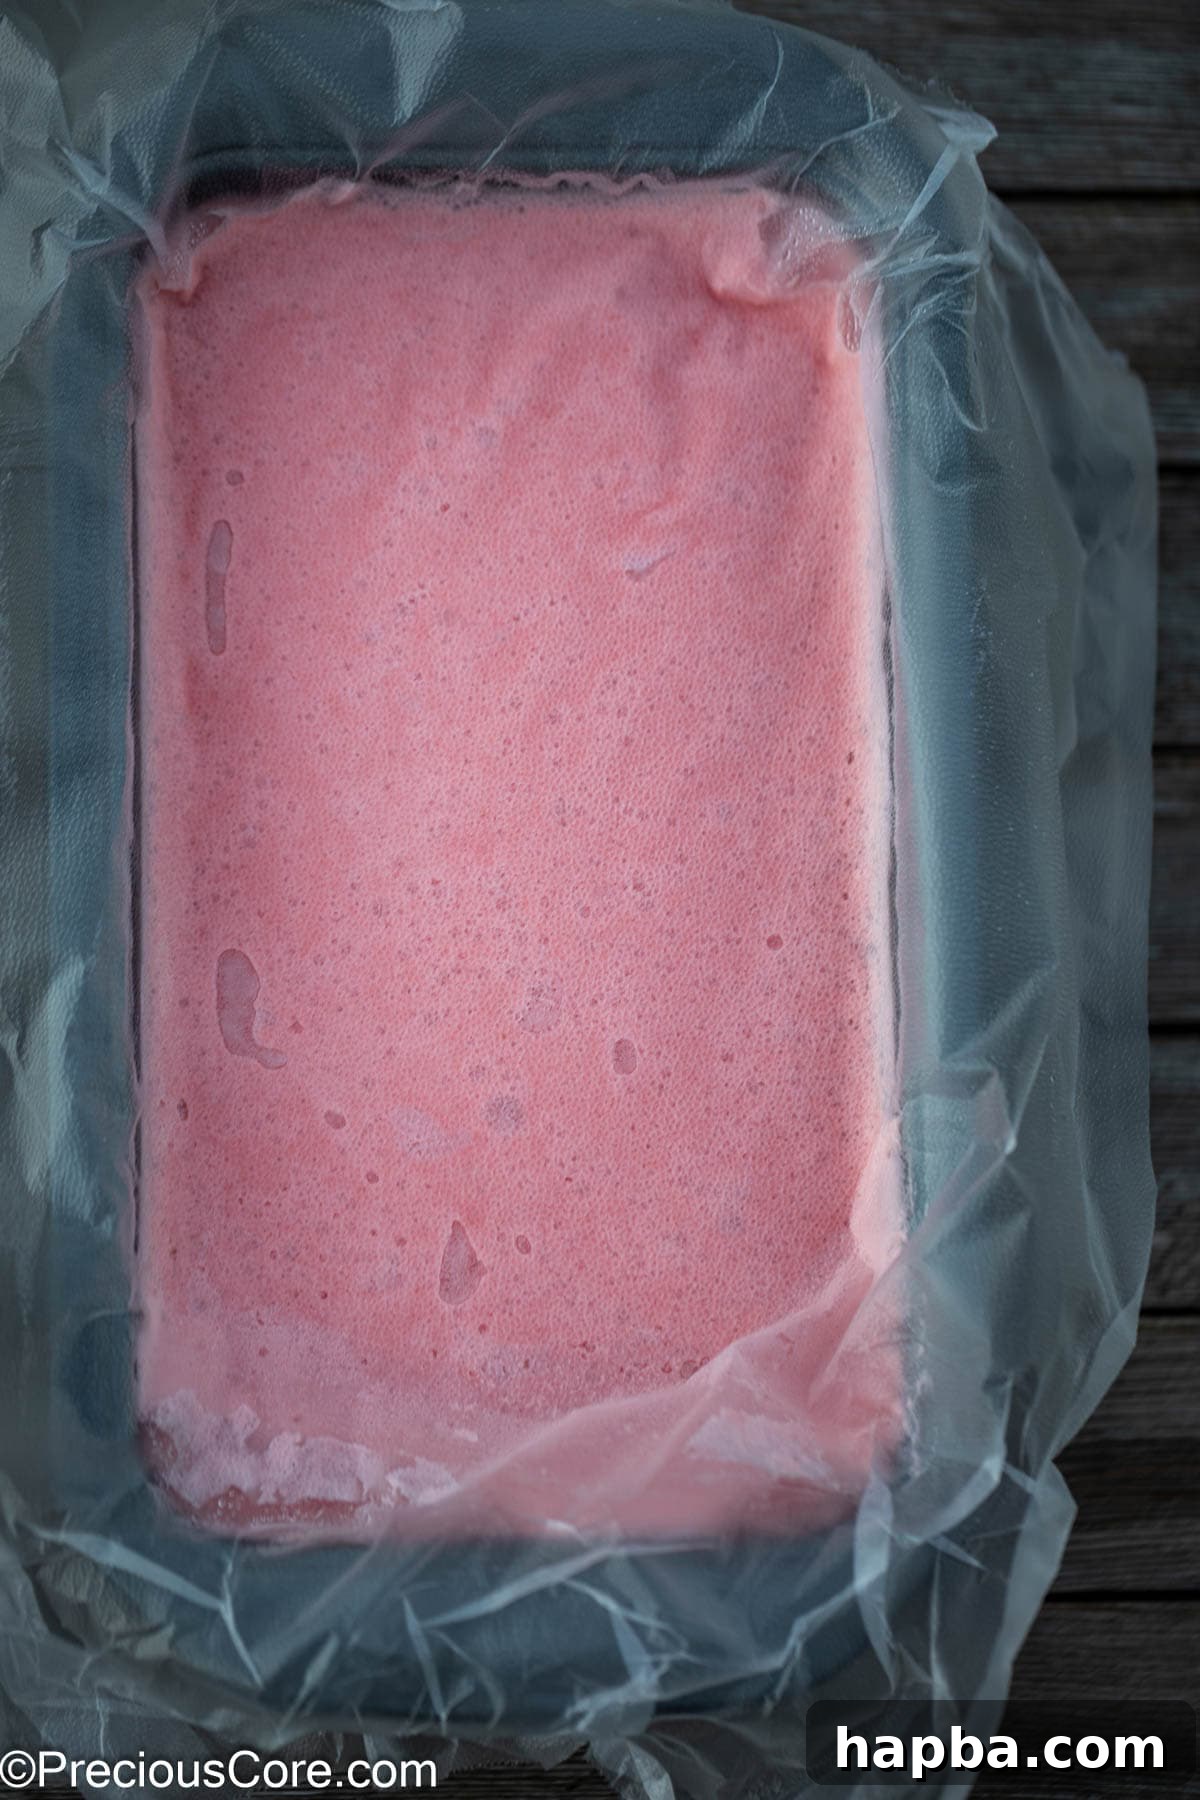
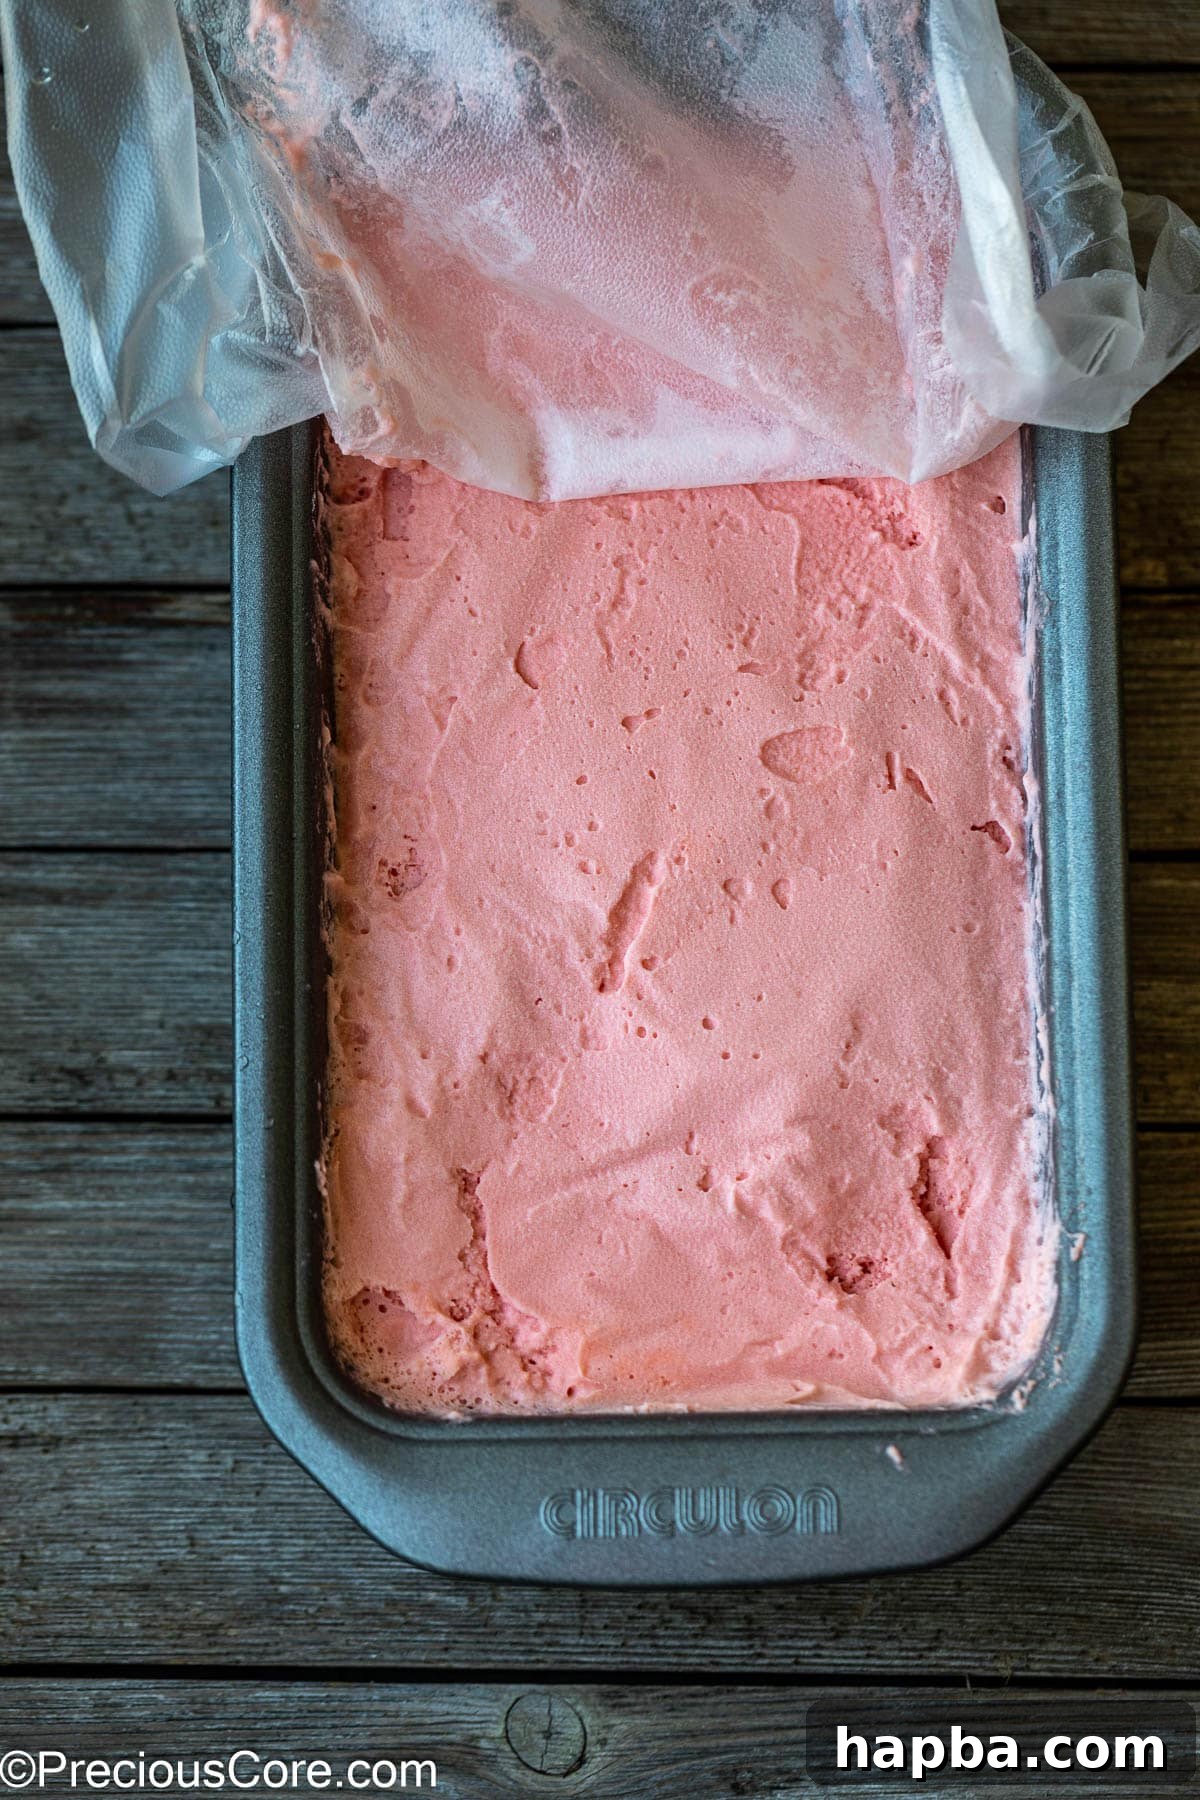
- Freeze for Setting: Cover the loaf pan tightly with plastic wrap. It’s important for the plastic wrap to directly touch the surface of the ice cream to prevent the formation of ice crystals. Place the covered loaf pan back into the freezer for at least 6 hours, or ideally overnight, to allow the ice cream to firm up completely.
- Serve and Enjoy: Before serving, remove the ice cream from the freezer and let it rest at room temperature for about 15 minutes. This brief resting period allows it to soften slightly, making it much easier to scoop and serve. For even smoother scooping, you can briefly dip your ice cream scoop in hot water.
Tips for Perfect Watermelon Ice Cream Every Time
Achieving that perfectly creamy, flavorful watermelon ice cream is easy with a few expert tips:
- Consistency Check: If you prefer your ice cream to be very soft and less firm, you can check on it after just 3-4 hours of freezing to see if it has reached your desired consistency. For a more traditional, scoopable ice cream, I generally recommend waiting the full 6 hours, or even overnight, to ensure it is completely set.
- Alternative Containers: No loaf pan? No problem! You can keep the ice cream in any other airtight container, such as a sturdy plastic container with a fitted lid. Regardless of the container, always place a layer of plastic wrap directly on the surface of the ice cream before sealing with the lid. This creates a barrier that effectively prevents unsightly and unappetizing ice crystals from forming, keeping your ice cream smooth.
- Dealing with Seeds: If you’ve chosen a watermelon with small white seeds, rest assured that these will get blended up nicely in a high-speed blender, becoming virtually undetectable. However, if your watermelon has larger black seeds, it’s best to remove them. You can manually scoop them out as you cut the watermelon into cubes. Alternatively, after the initial blending of just the watermelon (before adding cream), you can run the watermelon puree through a fine-mesh strainer to remove any remaining seeds, then return the strained puree to the blender to incorporate the heavy cream and honey.
- Choosing the Right Watermelon: The flavor of your ice cream heavily depends on the ripeness of your watermelon. Look for watermelons that are heavy for their size, have a dull (not shiny) rind, and a creamy yellow spot (field spot) where they rested on the ground. A good watermelon will also produce a hollow sound when thumped.
- Optimal Cream Temperature: Always use very cold heavy cream. Keeping it chilled right until you’re ready to blend helps it thicken properly and contributes to the overall creamy texture of the ice cream. For an extra boost in thickness, you can even place the heavy cream in the freezer for about 5 minutes before blending.
- Preventing Freezer Burn: Proper storage is crucial for maintaining the quality of your homemade ice cream. Always keep it in an airtight container with plastic wrap pressed directly against the surface, even after you’ve started eating it. This minimizes exposure to air and prevents freezer burn.
Frequently Asked Questions (FAQ)
Here are answers to some common questions you might have about making this delicious watermelon ice cream:
- Can I use pre-frozen watermelon?
Yes, if you can find pre-frozen watermelon chunks without added sugars or preservatives, they can be used. Just make sure they are in small enough pieces (1-inch cubes) for easy blending. - How long does homemade watermelon ice cream last in the freezer?
When stored properly in an airtight container with plastic wrap pressed directly against the surface, this ice cream can last for up to 1-2 weeks in the freezer. After that, its texture and flavor may start to degrade. - Do I really need a high-speed blender?
A high-speed blender or powerful food processor is highly recommended to achieve the smoothest, creamiest texture. A less powerful blender might struggle with the frozen watermelon and could result in a slightly icier or chunkier ice cream. - Can I make this recipe ahead of time for a party?
Absolutely! This is an ideal make-ahead dessert. Prepare it a day or two in advance and store it in the freezer until you’re ready to serve. Just remember to let it soften for about 15 minutes at room temperature before scooping. - Why is freezing the watermelon cubes first so important?
Freezing the watermelon first is crucial for two main reasons: it provides the necessary coldness for the ice cream to set without churning, and when blended while frozen, it creates a thick, smooth base that prevents the final product from becoming watery or icy. Skipping this step will result in a watermelon smoothie, not ice cream.
Delicious Watermelon Ice Cream Recipe Card
Watermelon Ice Cream
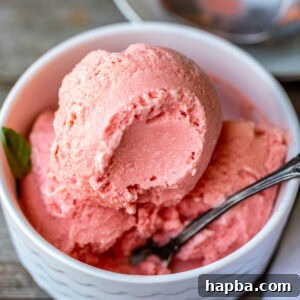
This Watermelon Ice Cream has an outstanding natural watermelon flavor. It is creamy, refreshing, and sugar-free. You only need 3 ingredients for this ice cream, and you do not need an ice cream machine!
Freezing Time: 10 hrs
Total Time: 10 hrs 10 mins
Servings: 6 servings
Ingredients
- 4 cups watermelon cubes (1-inch cubes)
- 2 cups heavy cream (chilled)
- ½ cup honey
- A few drops of red food coloring (optional)
Instructions
- Line a baking sheet with parchment paper. Place the watermelon cubes on the sheet pan in a single layer. Place them in the freezer to freeze for 4 hours.
- Add the frozen watermelon cubes to a blender. Add the heavy cream and honey and blend until smooth and thick. If you want a richer red color, consider adding a few drops of red food coloring, then blend again to combine.
- Pour the mixture into a loaf pan and cover with plastic wrap, ensuring that the plastic wrap touches the surface of the ice cream. Freeze for at least 6 hours before scooping and serving.
- Let the ice cream rest on the countertop for about 15 minutes before serving to allow for easy scooping. You could also dip the ice cream scoop into hot water before serving to allow for easy scooping.
Notes
- Freezing the watermelon cubes before blending is absolutely crucial to this recipe. This step is not to be skipped. When you freeze the watermelon fruit first, the watermelon will have a thick consistency when blended and make creamy ice cream. If you don’t freeze the fruit first you’ll end up with a watery and icy mess.
- The heavy cream should remain in the fridge until ready to use. Don’t let it sit on the countertop first. That way, it will thicken nicely and be well blended.
- To help the heavy cream thicken even more, place it in the freezer for 5 minutes before blending!
Nutrition
Calories: 386kcal | Carbohydrates: 33g | Protein: 3g | Fat: 29g | Saturated Fat: 18g | Polyunsaturated Fat: 1g | Monounsaturated Fat: 7g | Cholesterol: 90mg | Sodium: 24mg | Potassium: 204mg | Fiber: 0.5g | Sugar: 32g | Vitamin A: 1743IU | Vitamin C: 9mg | Calcium: 61mg | Iron: 0.4mg
Additional Info
Course: Dessert, Snack
Cuisine: Western
Calories: 386
Similar Sweet Treats
Homemade Vanilla Ice Cream
No Churn Strawberry Ice Cream
Homemade Chocolate Ice Cream
No Churn Coconut Ice Cream
If you make this irresistible watermelon ice cream, please consider leaving a star rating below. Your feedback helps others discover and enjoy this recipe, and we always love hearing from you! Thank you!
Want to save this recipe for later?
Enter your email address below, and we’ll send the full recipe straight to your inbox!
(Please note: This is a placeholder for an email signup form.)