
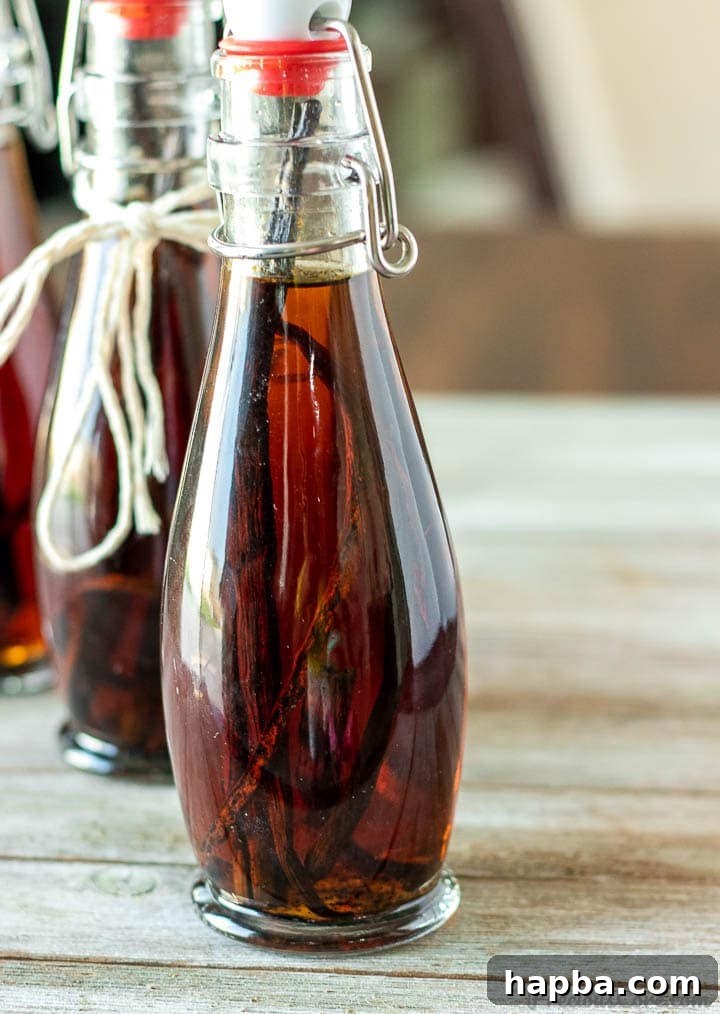
Homemade Vanilla Extract is a game-changer for any home baker, offering a depth of flavor that store-bought versions simply can’t match. Elevate your cakes, cookies, frostings, and myriad other culinary creations to an unparalleled level of deliciousness. The best part? You only need two simple ingredients to embark on this incredibly rewarding DIY kitchen project!
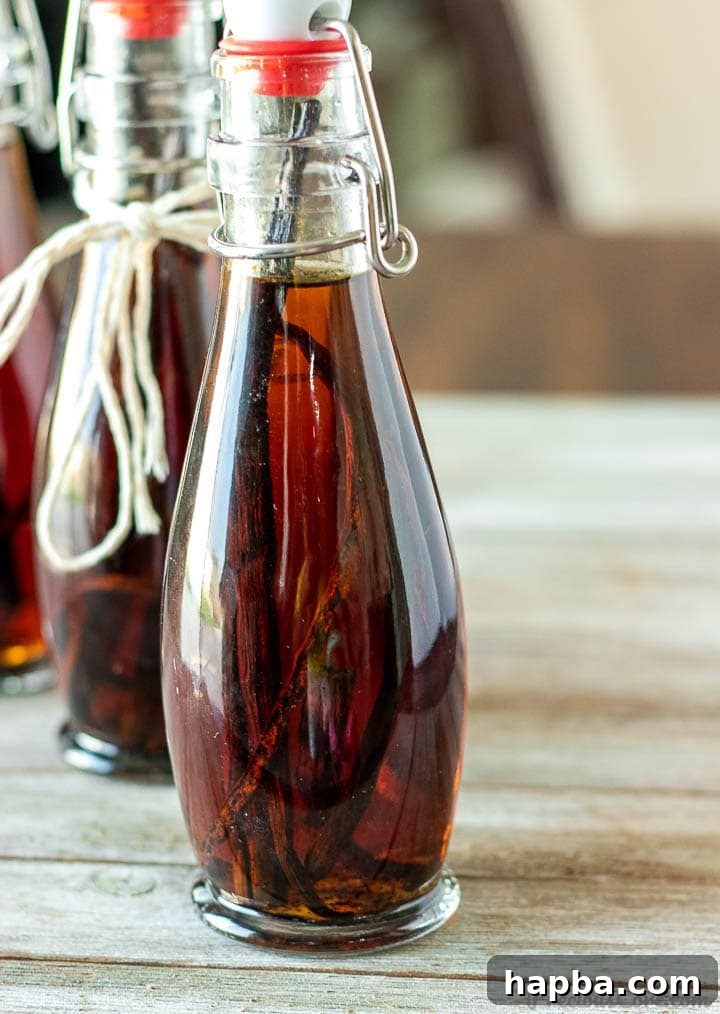
The secret to exceptional baked goods often lies in the quality of your ingredients, and vanilla extract is no exception. If you’ve ever wondered how to achieve that rich, authentic vanilla aroma and taste, the answer lies in making your own. After sharing glimpses of my homemade vanilla extract journey on Instagram and Facebook, the demand for this “recipe” was overwhelming. So, here we are – ready to unlock the secrets to creating this liquid gold right in your kitchen.
Crafting your own vanilla extract is more than just a recipe; it’s an experience, a commitment to superior flavor, and a rewarding endeavor that yields dividends for years to come. There are compelling reasons why every passionate cook and baker should consider making their own.
Unleash Flavor: Why Homemade Vanilla Extract Reigns Supreme
Ditch the artificial and embrace the authentic. Homemade vanilla extract offers a spectrum of benefits that make it an indispensable pantry staple.
- Unrivaled Flavor Intensity: This is arguably the most significant advantage. Homemade vanilla extract boasts a far more complex and robust flavor profile than its mass-produced counterparts. Store-bought extracts often contain additives or are made with lower-quality beans, resulting in a flat or even artificial taste. With homemade, you control the quality of the beans and the steeping time, allowing the pure, aromatic compounds of the vanilla bean to fully infuse into the alcohol. This translates to cakes that sing, cookies that tantalize, and frostings that reach new heights of deliciousness. The depth and warmth it adds to baked goods are simply unparalleled.
- Long-Term Cost Savings: While the initial investment in good vanilla beans might seem higher, homemade vanilla extract is remarkably cost-effective in the long run. Quality vanilla beans can be expensive, but they are reusable! Once your first batch of extract is ready, you can continuously “top off” the bottle with more vodka, allowing the same beans to continue infusing. Over time, you’ll produce gallons of premium vanilla extract for a fraction of the cost of repeatedly buying small bottles from the store. Think of it as an “everlasting vanilla” supply that keeps giving back.
- Thoughtful, Personalized Gifts: Handmade gifts carry a special charm, and homemade vanilla extract is no exception. Bottled in elegant glass containers, perhaps adorned with a custom label and a simple ribbon, it transforms into a sophisticated and much-appreciated present for holidays, birthdays, or hostess gifts. It’s a gift that demonstrates care, culinary passion, and provides a truly gourmet touch to the recipient’s kitchen.
- A Fun and Rewarding DIY Project: The process of making vanilla extract is incredibly simple, yet deeply satisfying. It requires minimal effort and offers the joy of creating something truly special from scratch. There’s a certain magic in watching the alcohol slowly transform into a rich, fragrant elixir, knowing that you’ve crafted a premium ingredient with your own hands. It’s a kitchen experiment that guarantees a delicious outcome.
- Pure Ingredients, No Additives: When you make your own, you know exactly what goes into it. No artificial colors, no corn syrup, no synthetic flavors – just vanilla beans and alcohol. This purity ensures that the true essence of vanilla shines through, contributing to healthier and more naturally flavored dishes.
Essential Ingredients for Crafting Your Vanilla Extract
The beauty of homemade vanilla extract lies in its simplicity. You truly only need two core ingredients, though the quality of each makes all the difference.
1. Vanilla Beans: The Heart of the Flavor
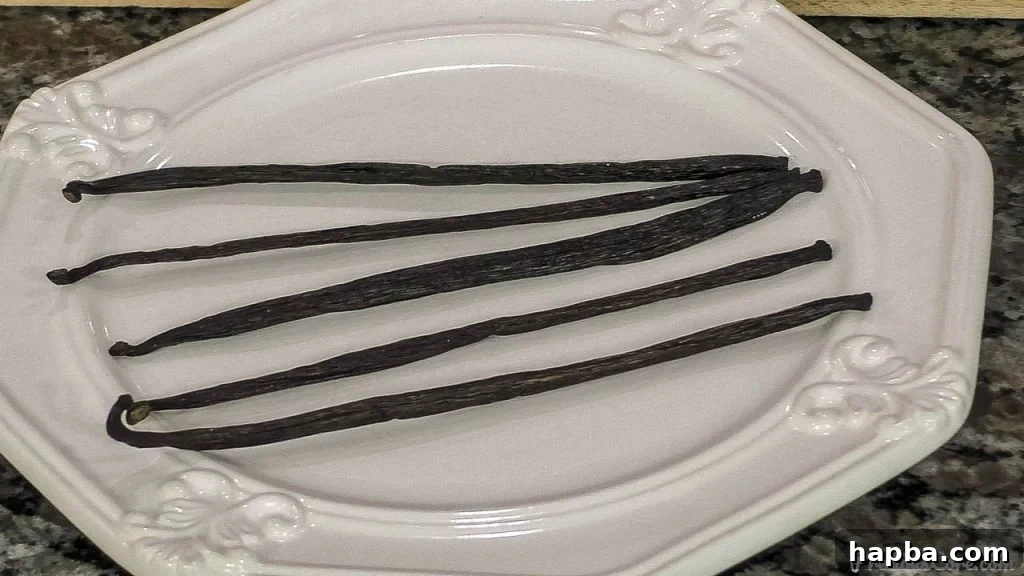
Choosing the right vanilla beans is paramount. For extract making, Grade B beans are often preferred over Grade A. Here’s why:
- Grade B Vanilla Beans: These are “extract grade” beans. They are drier, less plump, and have a lower moisture content than Grade A (gourmet) beans. This dryness means their vanilla flavor is more concentrated and will infuse more effectively into the alcohol over time. While Grade A beans are ideal for dishes where you want to scrape out the moist caviar (like custards or ice cream), Grade B beans are perfect for a slow, deep infusion.
- Popular Varieties:
- Madagascar (Bourbon) Vanilla Beans: Originating from the Bourbon Island (now Reunion) and cultivated primarily in Madagascar, these are the most common and beloved vanilla beans. They are known for their classic, rich, creamy, and sweet vanilla flavor, often with hints of chocolate. They produce a robust and versatile extract, making them an excellent choice for a first-time maker.
- Tahitian Vanilla Beans: These beans typically have a more floral, fruity, and cherry-like aroma compared to Madagascar beans. They are plumper and contain higher oil content. Tahitian vanilla extract is wonderful in fruit-based desserts, custards, or lighter baked goods where you want a more delicate vanilla note.
- Mexican Vanilla Beans: Offering a bolder, smoky, and slightly spicy vanilla flavor, Mexican beans are another excellent option. They can impart a unique depth to your extract, particularly good for chocolate-based desserts or savory applications.
- Where to Buy: High-quality Grade B vanilla beans can be found from specialty spice shops, reputable online retailers, or platforms like Amazon.com. Look for vendors with good reviews and fresh, pliable beans.
- Storage of Beans: Before making your extract, store vanilla beans in an airtight container (like a glass jar) in a cool, dark place, away from direct sunlight and extreme temperatures. Do not refrigerate, as this can dry them out.
2. Alcohol: The Infusion Medium
The alcohol serves as the solvent that extracts the vanillin and other flavor compounds from the beans. The type of alcohol you choose will subtly influence the final flavor of your extract.
- Vodka (Recommended): For a classic, pure vanilla flavor, 80-proof (40% alcohol by volume) unflavored vodka is the ideal choice. Its neutral profile allows the vanilla’s true essence to shine through without interference from other flavors. Avoid flavored vodkas, which can overpower the delicate vanilla notes.
- Alternative Alcohols: You can experiment with other spirits for different flavor nuances:
- Rum: A dark rum will impart sweet, caramel, and slightly spicy undertones, creating a rich extract that pairs beautifully with desserts like banana bread, gingerbread, or tropical-inspired cakes.
- Brandy: Brandy can add fruity, oaky, and subtly sweet notes to your vanilla extract, making it a sophisticated choice for fruit tarts, custards, or anything where a hint of warmth is desired.
- Bourbon: If you enjoy smoky and woody notes, bourbon is an excellent option. Its distinct character can complement chocolate desserts, pecan pie, or even savory dishes that benefit from a deep, complex vanilla flavor.
Just note that these spirits have more pronounced flavors that will influence the final taste of your vanilla extract, so choose based on your desired outcome and baking applications.
- Can I Make Vanilla Extract Without Alcohol?
Yes, absolutely! For those who prefer an alcohol-free option, vanilla extract can be made using food-grade glycerin. Glycerin is a plant-based oil that acts as an excellent solvent, extracting the vanilla flavor in a similar way to alcohol. The process is much the same, simply substituting alcohol with glycerin.
The Perfect Ratio: Beans to Alcohol
A good starting point for homemade vanilla extract is a ratio that allows for ample flavor extraction. A widely accepted guideline is:
- 5-6 Grade B vanilla beans per 8 ounces (240 ml) of 80-proof vodka.
- Alternatively, 3 beans per 4 ounces (120 ml) of vodka.
This ratio ensures a strong, flavorful extract. You can adjust this slightly based on the size of your beans and your desired intensity, but it’s a reliable foundation.
Which Beans are Best for Homemade Vanilla Extract?
Having experimented with both Madagascar and Tahitian beans, I’ve found that Madagascar beans consistently yield a more intense color and a deeper, more classic vanilla flavor. However, personal preference plays a big role, and many bakers enjoy the unique floral notes of Tahitian vanilla. Don’t hesitate to try both, or even a blend, to discover your favorite!
The Art of Crafting Homemade Vanilla Extract: A Simple Guide
Making your own vanilla extract is surprisingly straightforward, requiring minimal effort and a dash of patience. Follow these steps to create your own gourmet extract:
- Prepare Your Vanilla Beans: Lay a vanilla bean on a clean cutting board. Using a sharp paring knife, make a lengthwise slit from one end of the bean to the other, careful not to cut all the way through. Gently open the bean and use the back of the knife to scrape out the tiny, flavorful seeds (often called “vanilla caviar”). These seeds contribute significantly to the extract’s flavor. For maximum surface area exposure, you can also cut the scraped vanilla bean pods into smaller pieces (about 2-3 inches long) or even just split them completely without scraping. Place both the scraped seeds and the split pods into a clean glass jar or bottle with a tight-fitting lid.
- Add the Alcohol: Carefully pour your chosen alcohol (vodka, rum, bourbon, or brandy) over the vanilla beans in the jar. Ensure the beans are fully submerged. If using a narrow-necked bottle, a small funnel will make this step much easier and prevent spills.
- Seal and Shake: Securely cover the jar or bottle with its tight-fitting lid. Give it a good shake to ensure the beans are fully moistened by the alcohol and any scraped seeds are distributed.
- Steep and Store: Store your vanilla extract in a cool, dark place, away from direct sunlight. A pantry, cupboard, or basement is ideal. Sunlight and heat can degrade the vanilla compounds and negatively impact the flavor.
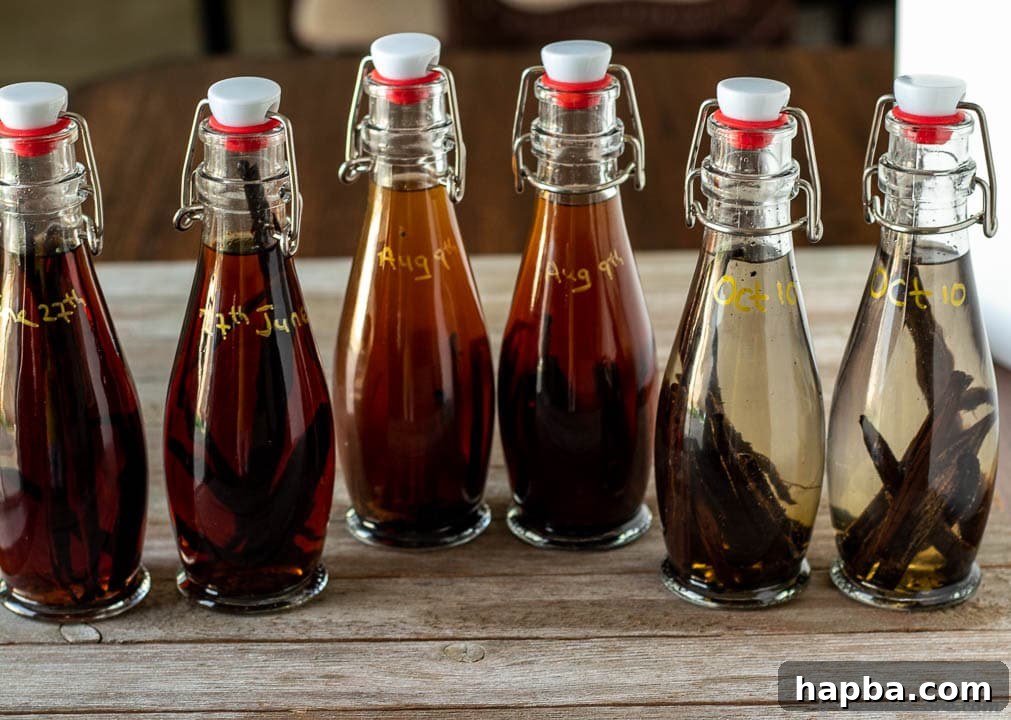
- The Patience Game: This is where the magic happens! For a decent flavor, your vanilla extract will be ready to use after about 1 month. However, for a truly rich, deep, and intense flavor that rivals the best gourmet extracts, allow it to steep for at least 6 months, or even up to a year. The longer it infuses, the more complex and pronounced the vanilla flavor will become.
- Regular Shaking: Make it a habit to shake the bottle once or twice a week, especially during the first few months. This helps to redistribute the beans and ensures that all the vanilla compounds are continuously exposed to the alcohol, leading to a more consistent and potent infusion.
- Ongoing Use and Replenishment: Once your extract is ready, you can start using it! There’s no need to strain out the beans; they will continue to infuse flavor. As you use up the extract, you can “top off” the bottle with more alcohol. The original beans will continue to flavor the new alcohol for many months, if not years. If you notice the flavor weakening over time, simply add 1-2 fresh vanilla beans to rejuvenate your supply.
Recommended Tools and Ingredients for Your Vanilla Extract Journey
- Madagascar Vanilla Beans
- Tahitian Vanilla Beans
- Vanilla Extract Labels
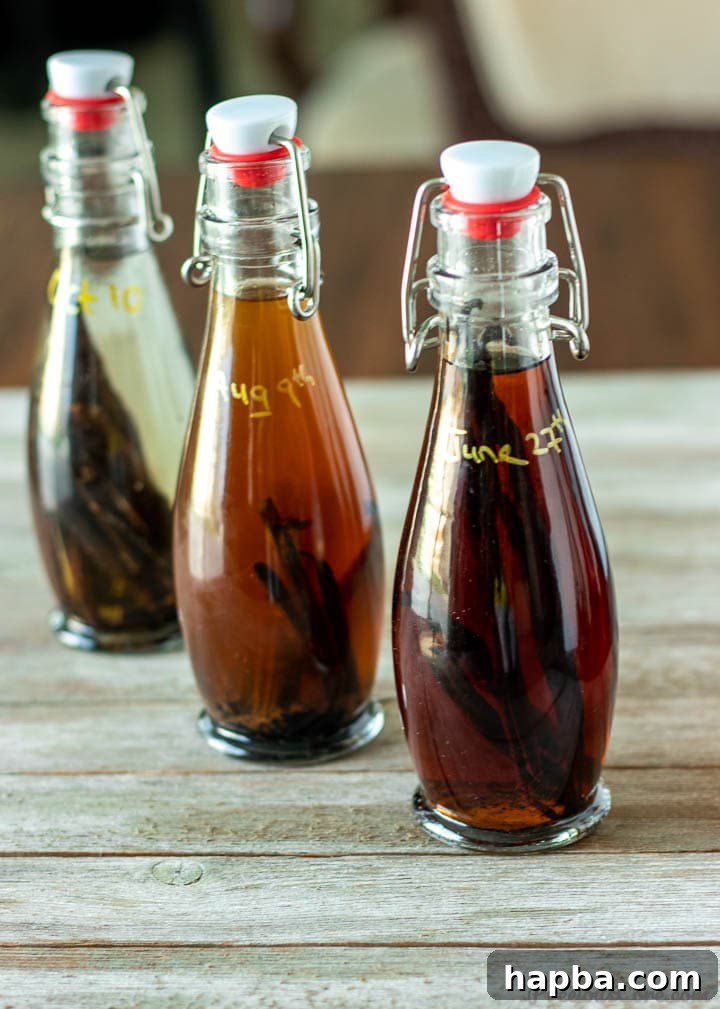
- Glass Bottles (Amber or dark bottles are best to protect from light)
- Small funnel
- Sharp paring knife
Unleash the Flavor: What to Cook with Your Homemade Vanilla Extract
The applications for your exquisite homemade vanilla extract are endless! Its rich flavor will elevate virtually any recipe that calls for vanilla. Here are just a few ideas to get you started:
- Plain Cake
- Yogurt Cake
- Chocolate Chip Cookies
- Homemade Vanilla Ice Cream
- Vanilla Pound Cake
- Custards and Puddings
- Whipped Cream
- Pancakes and Waffles
- Coffee and Hot Chocolate
- Cocktails and Mocktails
- Fruit Salads and Smoothies
Watch the Magic Unfold: How To Make Vanilla Extract
For a visual guide, watch me demonstrate the simple steps to making Homemade Vanilla Extract in the video below. Don’t forget to SUBSCRIBE to my YouTube Channel so you never miss out on my latest recipes and kitchen tips!
Subscribe to my channel
Subscribe
Expand Your Culinary Skills: More Homemade Recipes To Try
If you enjoyed the satisfaction of making your own vanilla extract, explore these other fantastic homemade recipes that will further enhance your cooking and baking repertoire:
- Homemade Tomato Paste
- Easy Homemade French Bread
- Homemade Chocolate Ice Cream
- Homemade Mayonnaise Recipe
If you make this incredible homemade vanilla extract, please take a moment to leave a star rating below. Your feedback helps other bakers discover and enjoy this recipe, and I always love hearing from you! Thank you for your support!
Homemade Vanilla Extract
10 minutes
10 minutes
1
8 oz bottle
Rate
Print Recipe
Equipment
-
Bottles with tight fitting lids (glass, dark colored recommended)
-
Small funnel (optional, but helpful)
-
Sharp paring knife
Ingredients
-
5-6
vanilla beans
(Grade B Madagascar Vanilla Beans or Grade B Tahitian Beans recommended) -
8
oz
80 proof vodka
(240 ml, unflavored)
Instructions
-
Using a sharp knife, make a lengthwise slit from one end of each vanilla bean to the other, without cutting all the way through. Gently open the bean and scrape the tiny seeds from the inside. You can also cut the vanilla bean pods in half or into smaller pieces (2-3 inches). Place both the scraped seeds and the split/cut pods into a clean glass bottle or jar with a tight-fitting lid.
-
Pour the 80 proof vodka over the vanilla beans in the bottle. If your bottle has a narrow opening, a small funnel will help prevent spills. Ensure the beans are fully submerged in the alcohol.
-
Securely cover the bottle with its lid and shake well to combine the beans and alcohol thoroughly.
-
Store your vanilla extract at room temperature in a cool, dark place, away from direct sunlight. Shake the bottle gently about once per week during the steeping process to aid infusion.
-
Your homemade vanilla extract will be ready to use after approximately 1 month for a mild flavor. For a more intense, richer, and deeply developed vanilla flavor, allow it to steep for at least 6 months, or even longer.
-
You can use the homemade vanilla extract with the beans still in the jar, or strain them out if preferred (though leaving them continues the infusion). To make more vanilla extract, simply add more vodka to the beans as you use up the extract. If the vanilla flavor starts to diminish over time, replenish with one or two fresh vanilla beans.
Notes
Yes, you can absolutely make vanilla extract without alcohol. For an alcohol-free version, substitute the vodka with food-grade glycerin, a plant-based oil that also works effectively as an extract solvent.
Nutrition
Serving:
1
tablespoon
|
Calories:
36
kcal
|
Carbohydrates:
0.4
g
|
Fat:
0.2
g
|
Sodium:
0.1
mg
|
Potassium:
0.1
mg
|
Iron:
0.001
mg
Additional Info
Dessert
Western
36
Tried this recipe?
Mention @preciouscore or tag #PreciousCore!