
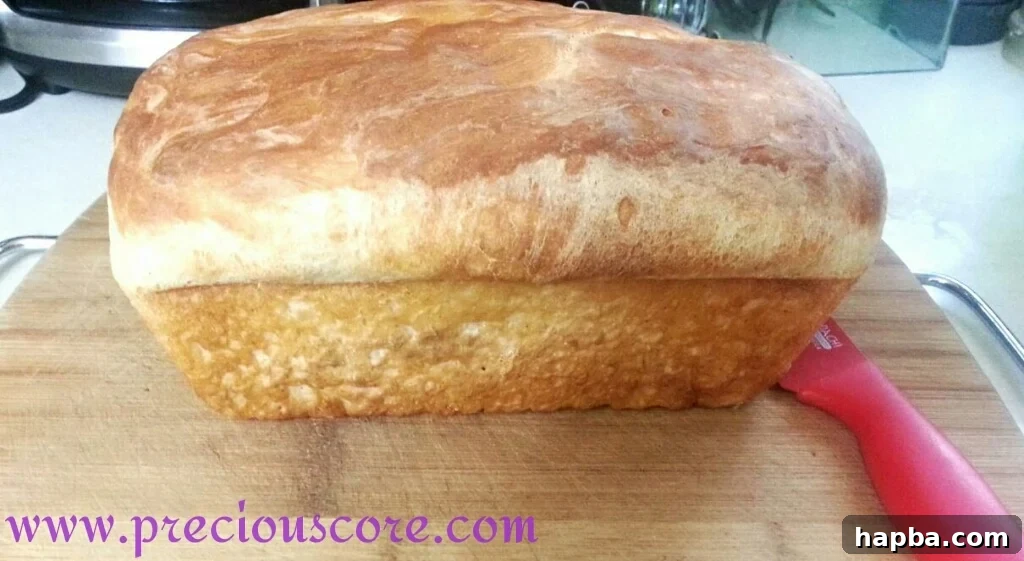
Homemade Kumba Bread: A Taste of Cameroonian Tradition
Growing up in Cameroon, few things evoked the same warmth and nostalgia as biting into a slice of freshly baked “Kumba Bread.” This beloved sandwich bread holds a special place in the hearts of many, its name derived from the vibrant town of Kumba in the South West region, where many of the pioneering bakeries first perfected these iconic loaves. Often compared to Nigeria’s popular Agege Bread, Kumba Bread is more than just sustenance; it’s a cultural touchstone, a symbol of hospitality, and a delicious reminder of home.
The distinctive softness, subtle sweetness, and comforting aroma of Kumba Bread are unparalleled. It’s the kind of bread that instantly transports you back to simpler times, evoking memories of joyful breakfasts and shared family meals. For many, including myself, it was a staple, often enjoyed with a steaming cup of Ovaltine, Milo, or a rich tea. The anticipation of guests arriving from other towns was often intertwined with the hope they would bring a precious loaf of Kumba Bread. I still chuckle recalling how my outspoken younger brother once playfully (or perhaps not so playfully!) expressed his disappointment when a visitor from Mamfe arrived in Yaounde empty-handed. Such is the deep-seated affection and expectation associated with this iconic bread.
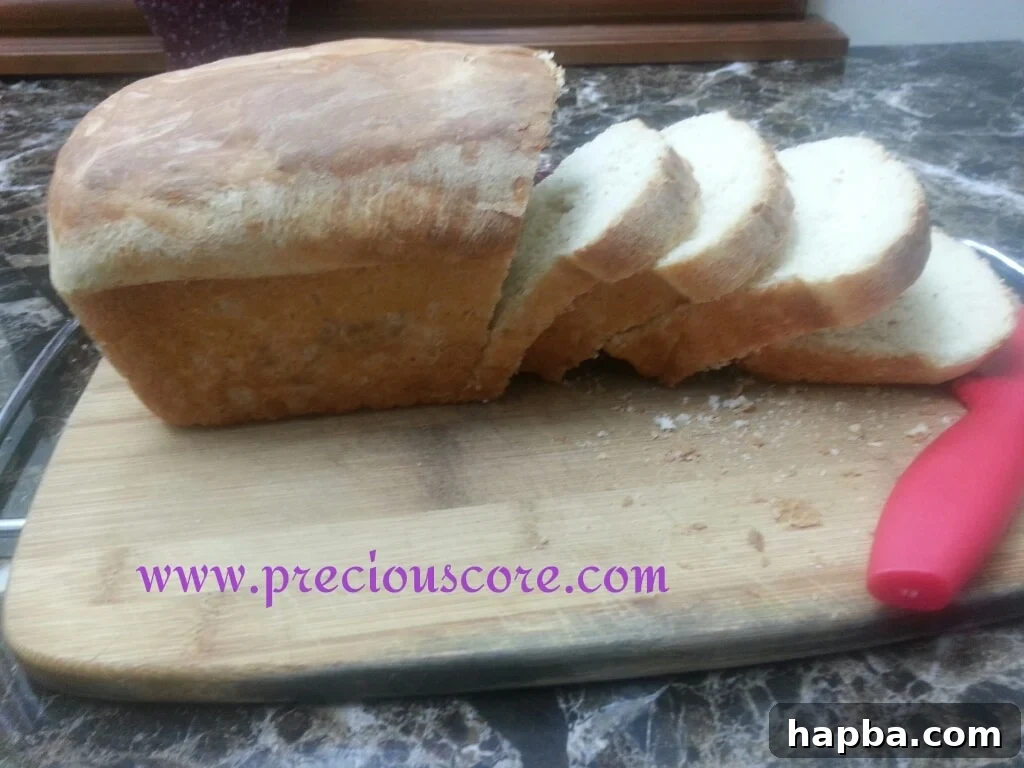
Why Bake Your Own Kumba Bread? The Joy of Homemade Goodness
In an age where mass-produced goods often dominate our grocery shelves, the act of baking bread at home offers a deeply satisfying experience. For me, it’s become an undeniable passion, a delightful addiction that fills my kitchen with an incomparable warmth and aroma. I openly confess, with hands raised in surrender to its charm, my profound love for homemade bread. The beauty of baking your own bread lies in the absolute control you have over every ingredient. You can choose to use nourishing whole wheat flour, incorporate an array of dried fruits like raisins or cranberries for added texture and flavor, or even experiment with different spices.
Beyond the sheer customization, there are numerous compelling reasons to embrace home baking, especially for something as cherished as Kumba Bread. Firstly, the fresh, intoxicating smell that fills your house as the bread bakes is simply unbeatable – a natural air freshener that promises deliciousness. Secondly, and perhaps most importantly, homemade bread is entirely free of the artificial additives, preservatives, and questionable ingredients often found in commercial loaves. You know exactly what goes into your body, ensuring a wholesome and healthier option for your family. This personal touch not only guarantees superior taste and freshness but also reconnects you with a timeless culinary tradition, making the experience all the more rewarding.
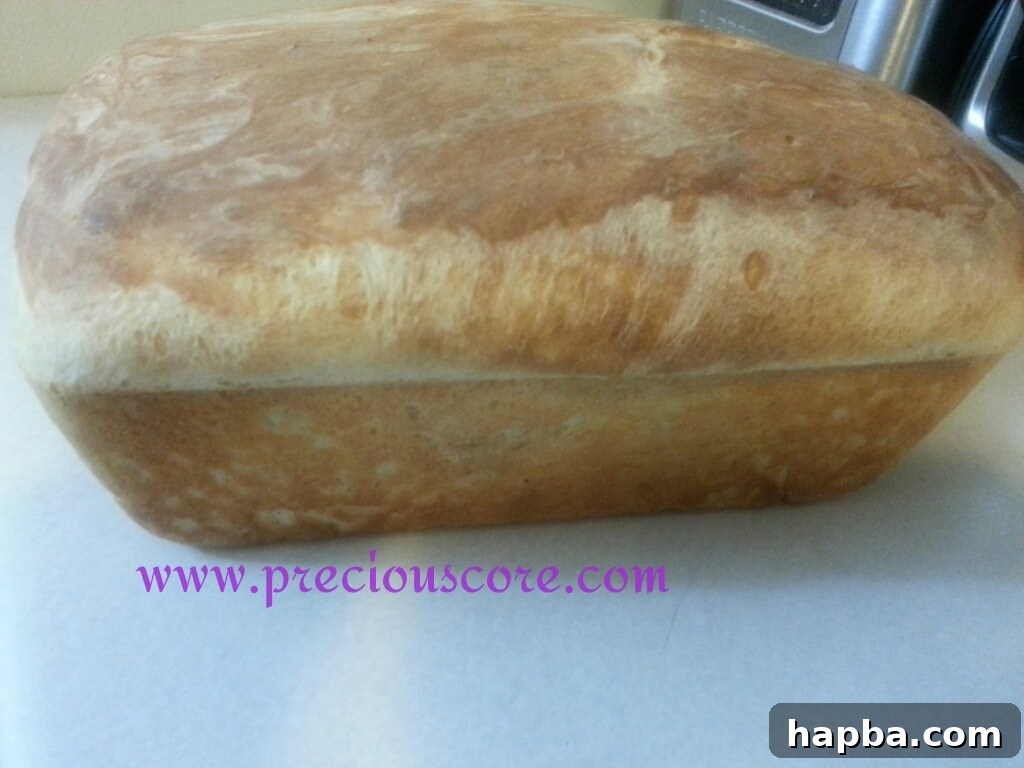
Unlocking the Secrets to Perfect Kumba Bread at Home
Embarking on the journey to bake your own Kumba Bread is simpler than you might imagine, and the results are incredibly rewarding. This recipe is designed to help you recreate that authentic Cameroonian taste and texture right in your own kitchen. Prepare to be enchanted by the process and delighted by the outcome – a soft, pillowy loaf that embodies the heart of Cameroonian baking.
Authentic Kumba Bread Recipe: Bake a Taste of Cameroon
KUMBA BREAD RECIPE
Prep time: 20 minutes
Inactive time: 2 hours (rising)
Cook time: 20 minutes
Yield: 1 delicious loaf
Utensils Needed:
- Standard loaf baking pan (9×5 inches recommended)
- Large mixing bowl
- Measuring cups and spoons
- Whisk or fork
- Clean kitchen towel or plastic wrap
- Wire cooling rack
Ingredients:
- Flour (All-Purpose or Bread Flour): 3 cups (approx. 360g)
- Active Dry Yeast: 2 and 1/4 teaspoons (or 1 small sachet, approx. 7g)
- Warm Water: 1 cup (240ml, ideally between 105-115°F / 40-46°C)
- Granulated Sugar: 2 tablespoons
- Salt: 1 teaspoon
- Ground Nutmeg: Half teaspoon (adds a classic Kumba bread flavor)
- Dry Whole Milk Powder: Half cup (or use 1 cup warm milk instead of water and milk powder)
- Vegetable Oil: 2 tablespoons (plus extra for greasing)
Step-by-Step Instructions:
1. Activate the Yeast: In a large mixing bowl, combine the warm water and 1 tablespoon of the sugar. Sprinkle the active dry yeast over the water. Stir gently and let it sit for 5-10 minutes. The yeast should become foamy and bubbly, indicating it’s active and ready to work its magic. If it doesn’t foam, your yeast might be old or the water temperature wasn’t right; start again with fresh yeast.

2. Combine Dry Ingredients: To the activated yeast mixture, add the remaining 1 tablespoon of sugar, salt, ground nutmeg, and dry whole milk powder. Stir until well combined. Then, gradually add the flour, one cup at a time, mixing with a wooden spoon or your hands.
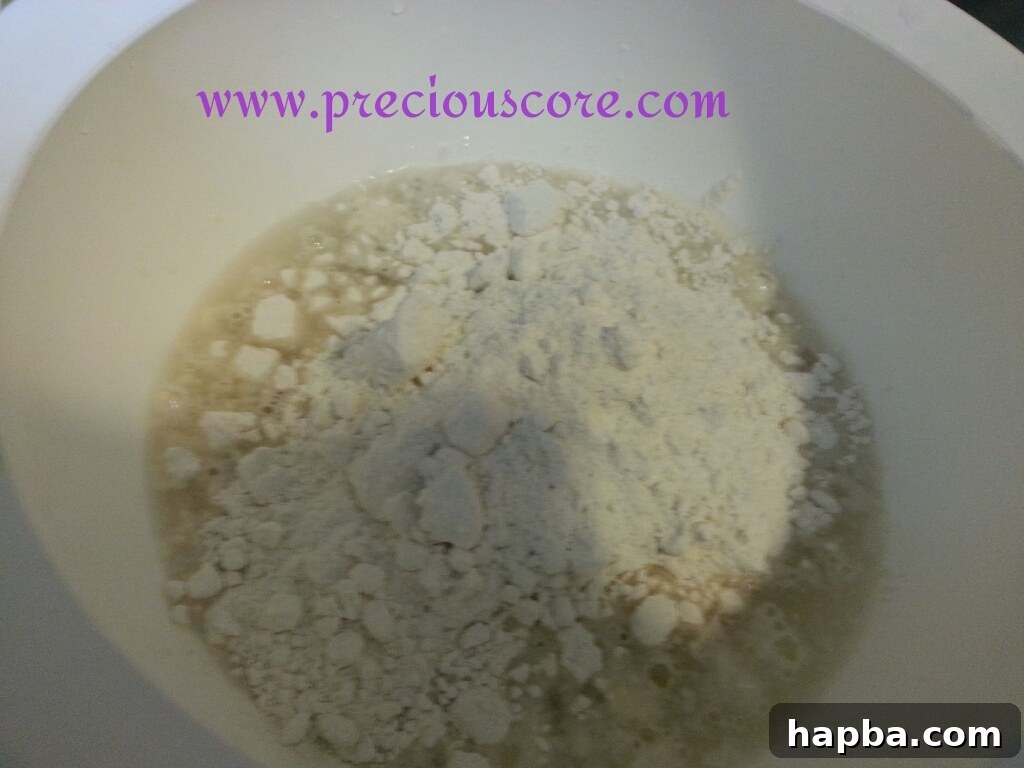
3. Form the Dough: Continue mixing until a shaggy dough forms. At this point, add the 2 tablespoons of vegetable oil. Continue to mix and gather the dough until it comes together. The goal is to form a dough that is soft, pliable, and slightly sticky, but not overly wet. A soft dough is crucial for a tender, fluffy loaf. If your dough feels too hard, you’ll end up with a dense, firm bread. Adjust with a tiny bit more flour if too sticky, or a teaspoon of water if too dry.
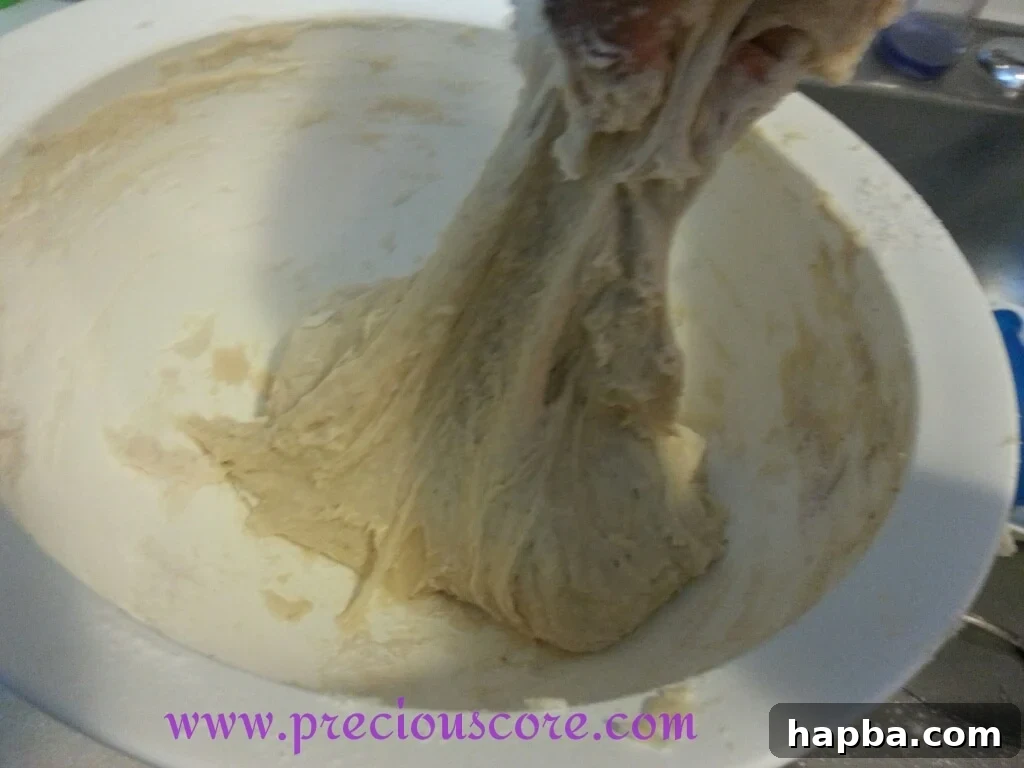
4. Knead the Dough: Transfer the dough onto a lightly floured surface. Knead the dough vigorously for 5-10 minutes. While 5 minutes is sufficient for a good loaf, if you have more time, kneading for up to 15-20 minutes will yield an even smoother, more elastic dough and a finer crumb in the finished bread. Kneading is essential as it develops the gluten, which gives the bread its structure, elasticity, and airy texture. You’ll notice the dough becoming smoother and more manageable as you knead.
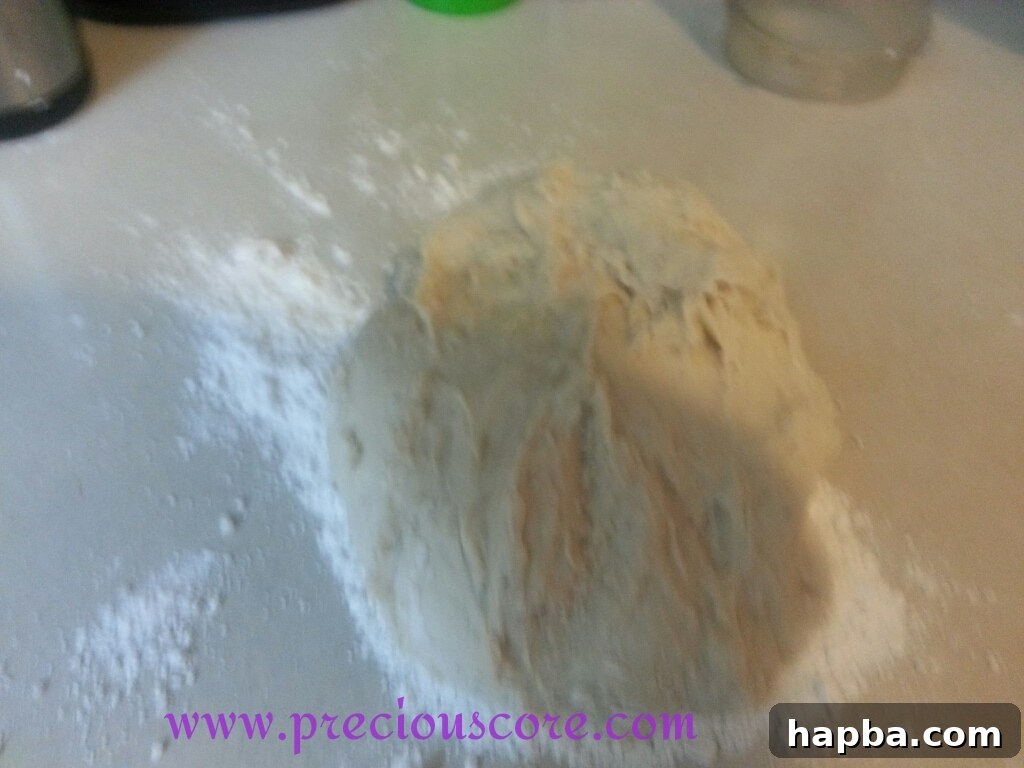
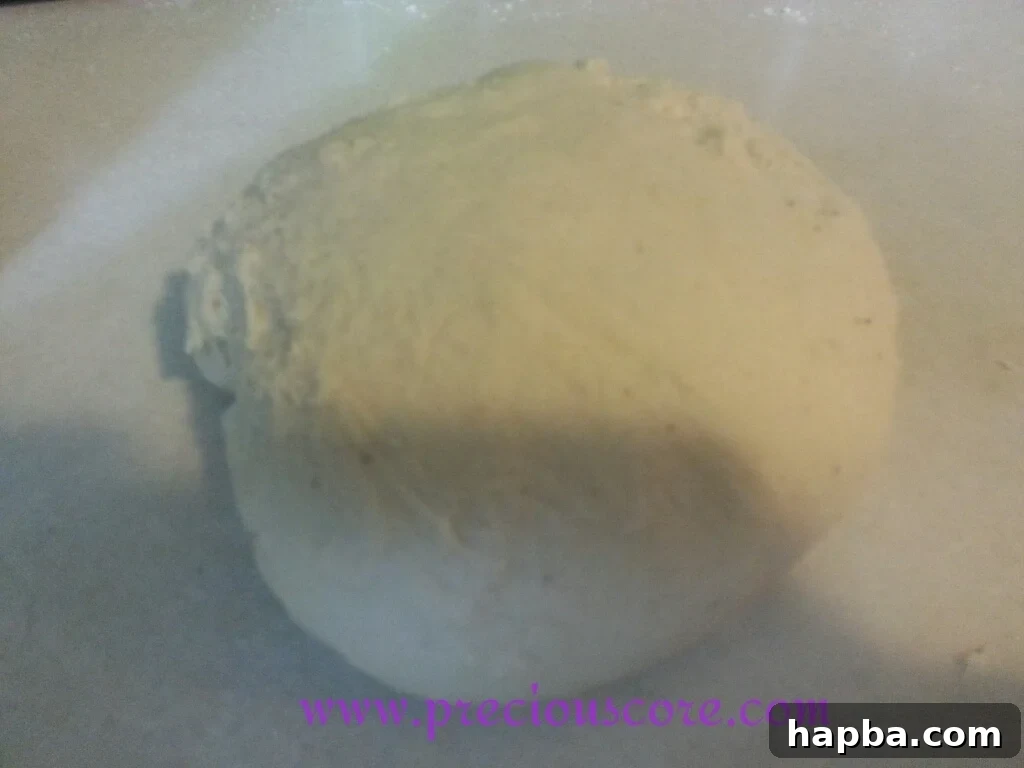
5. First Rise (Bulk Fermentation): Lightly grease a clean large bowl with vegetable oil, ensuring the bottom and sides are coated. Place the kneaded dough into the bowl, then turn it over once to coat the entire surface of the dough with oil. This prevents it from sticking to the bowl as it rises.
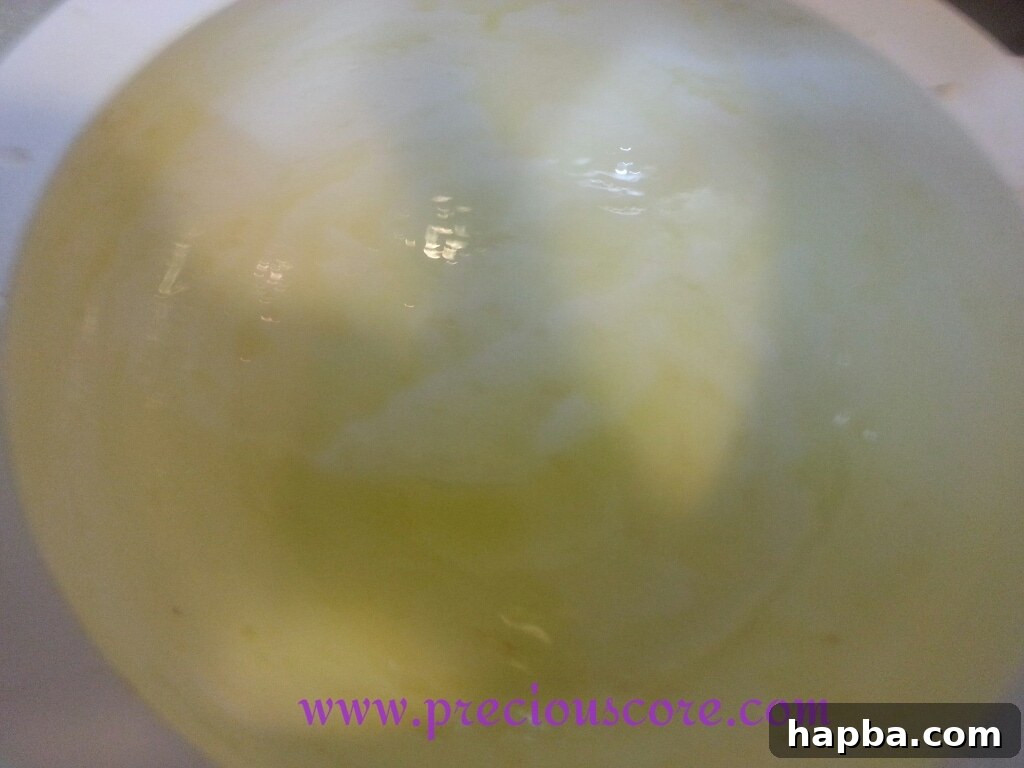
Cover the bowl snugly with plastic wrap, then drape a clean kitchen towel over it for extra warmth.
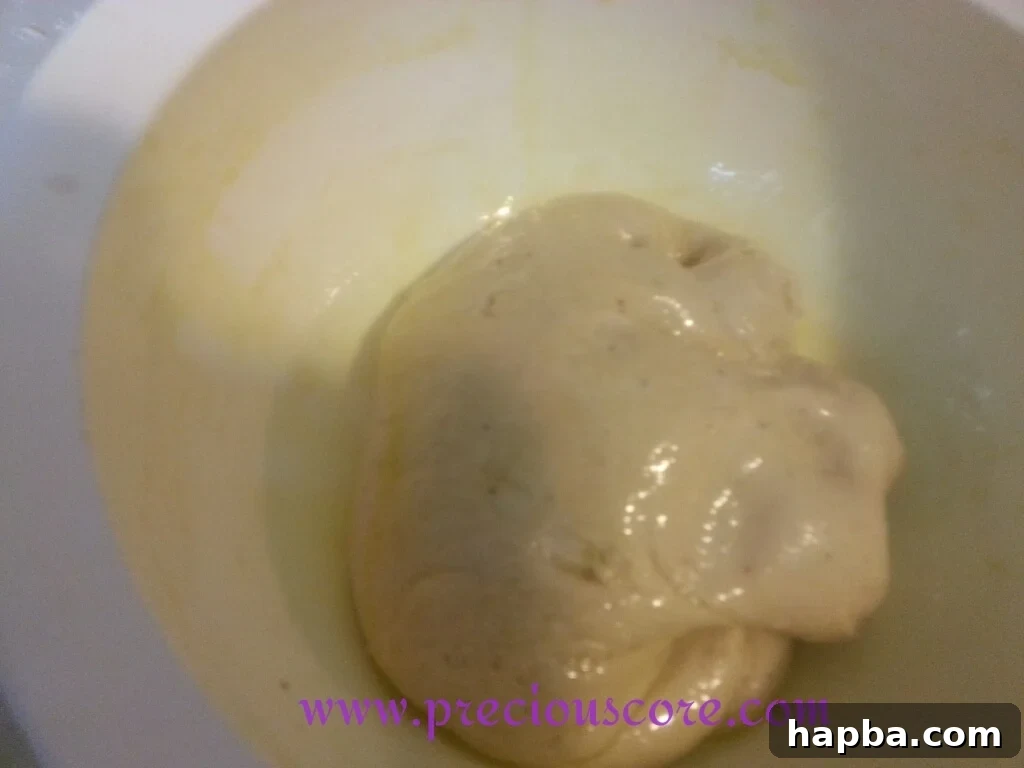
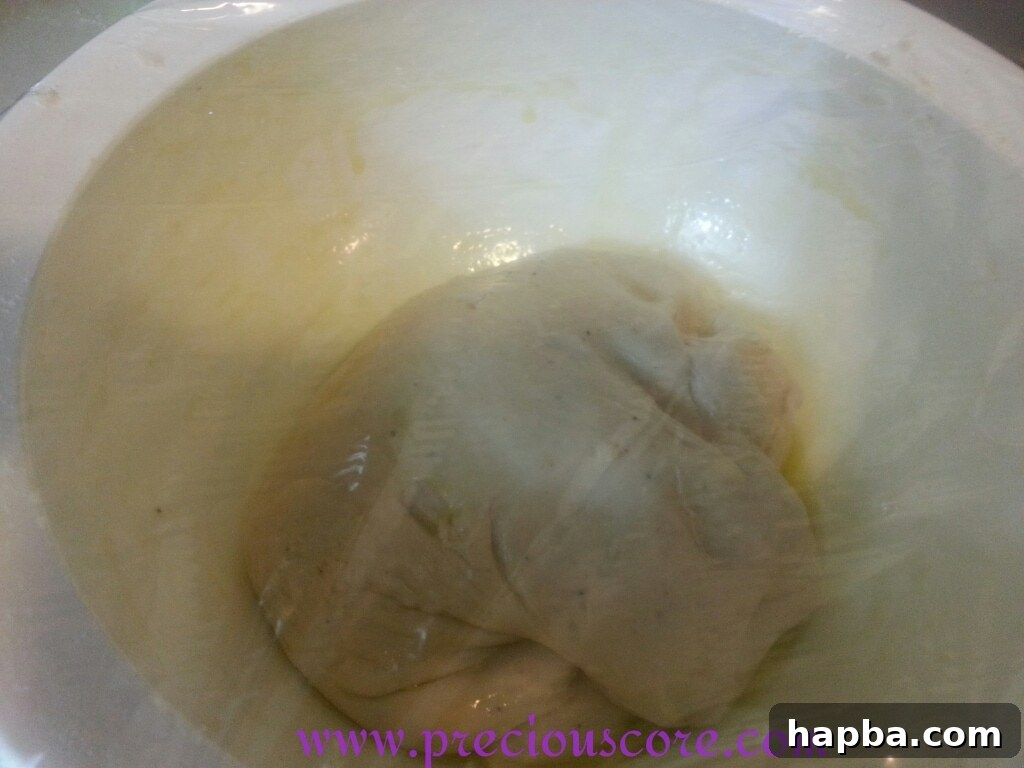

Place the bowl in a warm, draft-free spot to rise for about 1 to 1.5 hours, or until it has more than doubled in size. A common trick is to preheat your oven to its lowest setting for just one minute, then turn it off and let the dough rise inside the slightly warm oven. This creates an ideal environment. When the dough has noticeably expanded, it’s a clear sign that the yeast is actively working – good things are indeed happening!
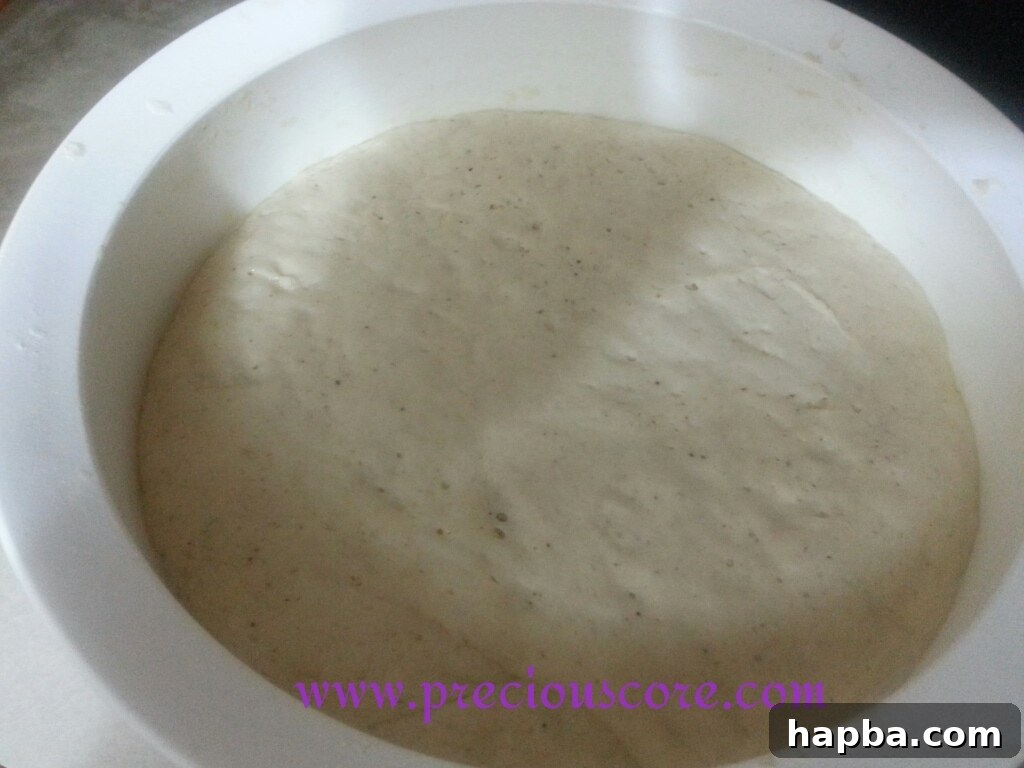
6. Punch Down and Shape: Once the dough has risen, gently punch it down to release the trapped gases. This “degassing” helps create a finer crumb structure. Turn the dough out onto a lightly floured surface and gently shape it into a rectangle or oval that will fit neatly into your greased loaf pan. Ensure the loaf pan is thoroughly greased with oil or butter to prevent sticking. Place the shaped dough into the prepared loaf pan.
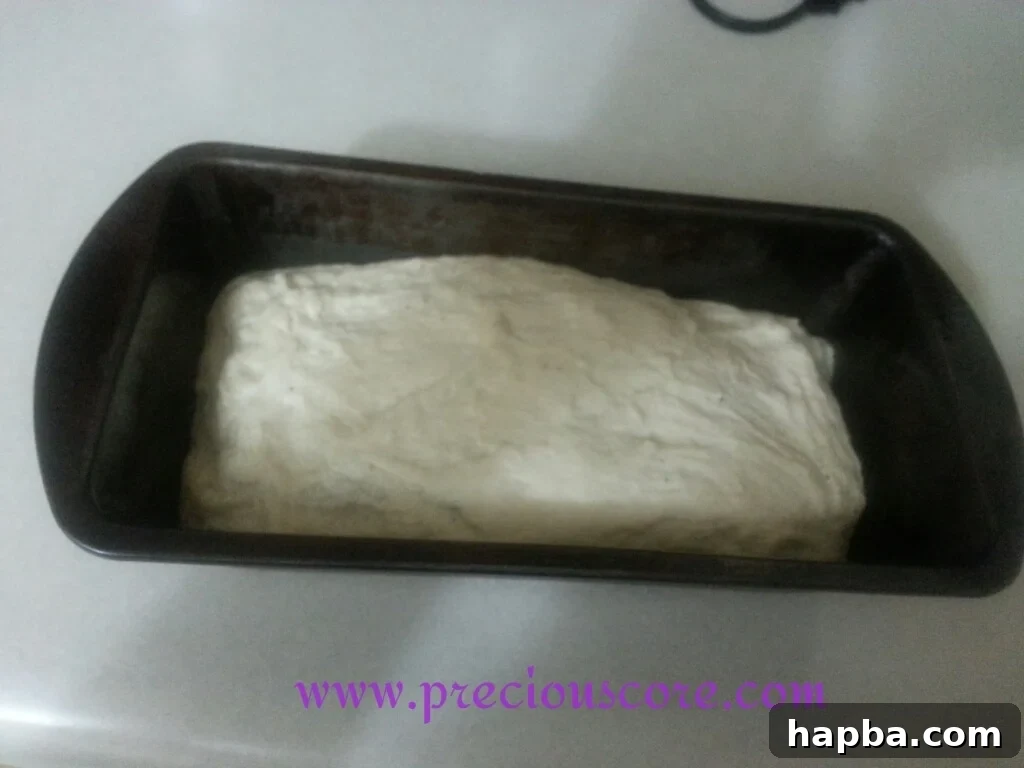
7. Second Rise (Proofing): Cover the loaf pan again with plastic wrap and a kitchen towel. Let it rise in a warm place for another 30-45 minutes, or until it has visibly increased in size and looks puffy. This second rise, known as proofing, is crucial for a light and airy texture. While the dough is proofing, preheat your oven to 350°F (175°C).
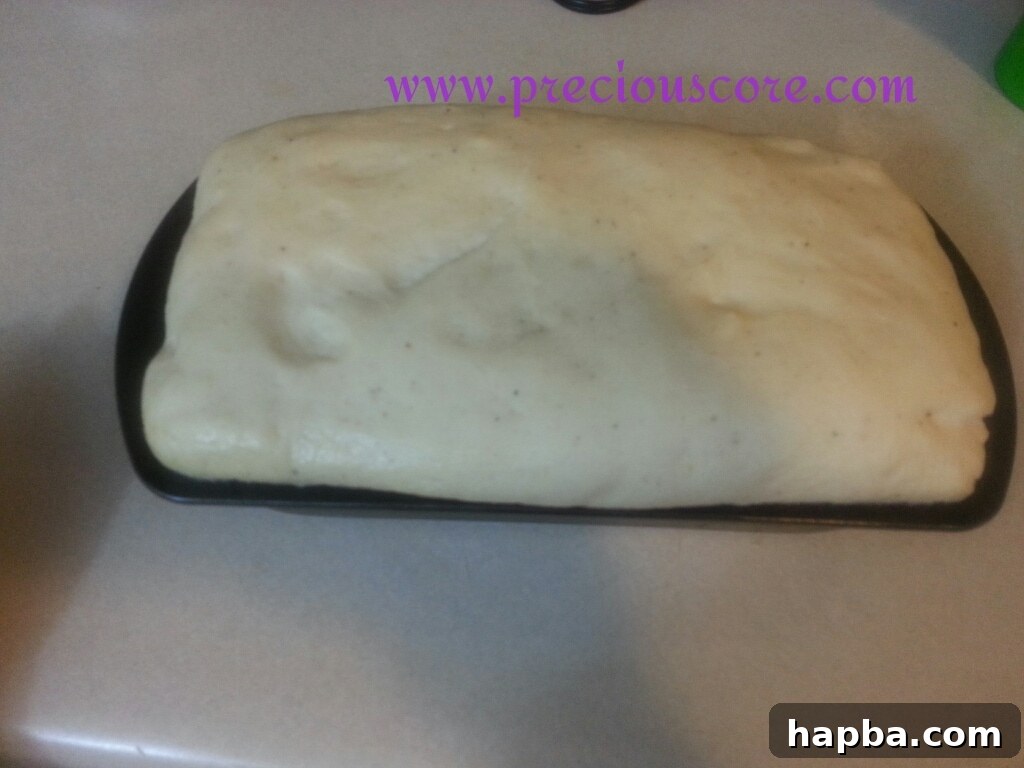
8. Bake: Place the risen loaf pan into the preheated oven. Bake for approximately 15-20 minutes, or until the top of the bread turns a beautiful pale golden-brown color and sounds hollow when tapped on the bottom. The exact baking time may vary depending on your oven, so keep an eye on it.
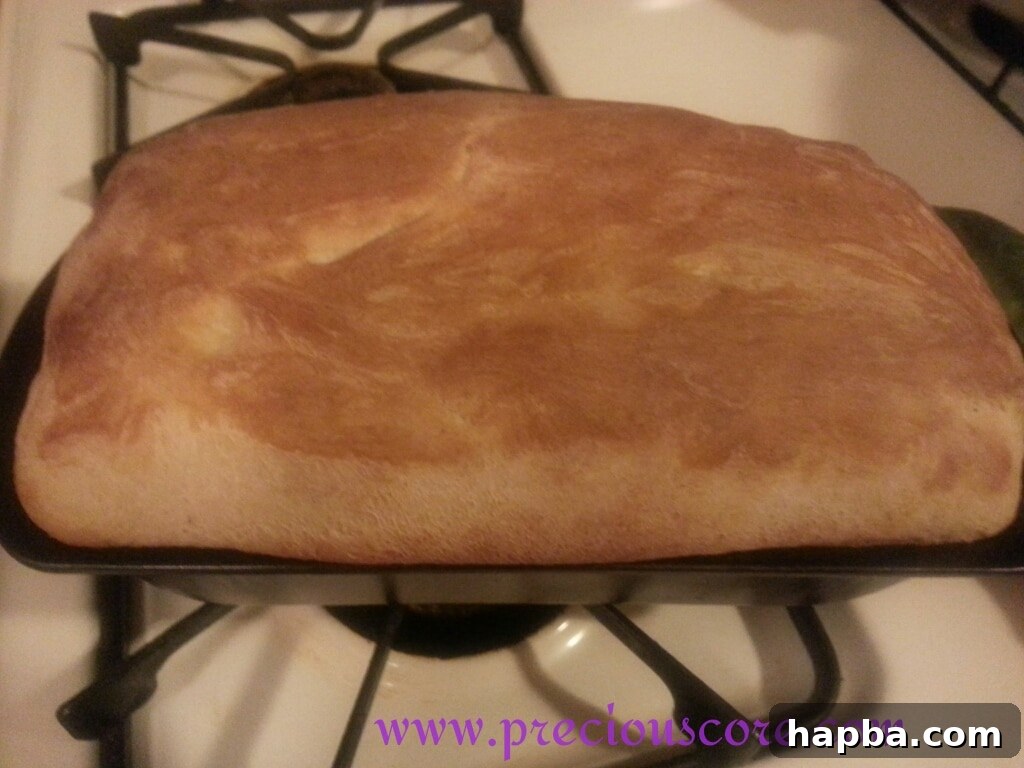
9. Cool: Once baked, immediately remove the bread from the loaf pan and transfer it to a wire cooling rack. Allow the bread to cool completely before slicing. This step is vital, as slicing hot bread can lead to a gummy texture and loss of moisture. Patience will be rewarded with the perfect slice!
Baker’s Notes and Tips for Success:
- For a Glossy Finish: If you desire a shiny, golden crust reminiscent of traditional Kumba Bread, beat one egg with a tablespoon of water or milk. Lightly brush this egg wash over the top of the dough just before placing it in the oven to bake.
- Dough Consistency is Key: Always aim for a soft, slightly sticky, and highly elastic dough after kneading. A stiff dough will result in a dense, dry bread. Don’t be afraid to adjust with small amounts of flour or water during mixing.
- Warm Environment for Rising: Yeast thrives in warmth. If your kitchen is cold, use the oven trick mentioned above or place the covered bowl near a warm stove or sunny window.
- Flour Choice: While all-purpose flour works well, bread flour has a higher protein content, which can lead to a chewier crumb and better gluten development, resulting in a more structured loaf.
- Storage: Store your cooled Kumba Bread in an airtight container or bread bag at room temperature for up to 3-4 days. For longer storage, slice the bread and freeze it. It toasts wonderfully from frozen!
- Customization: Feel free to add 1/4 cup of dried fruits like raisins, cranberries, or even chocolate chips for a sweet variation. Mix them in during the final stages of kneading.
The simple act of baking this Kumba Bread is a journey back to the heart of Cameroonian culinary tradition. The aroma alone will transport you, and the taste will leave you craving more. This recipe not only provides a delicious loaf but also an experience of cultural connection and the satisfaction of creating something truly special with your own hands.
EXPLORE MORE HOMEMADE BREAD RECIPES:
- Milk Bread– A soft, rich bread that needs no elaborate filling, perfect on its own.
- Dinner Rolls– Fluffy, tender rolls that elevate any meal to a delightful experience.
- Chocolate Bread– An irresistible treat, a true labor of love that captivates hearts (and taste buds!).
- Coconut Bread– The ultimate dream bread for every coconut enthusiast, bursting with tropical flavor.
Happy Baking!