
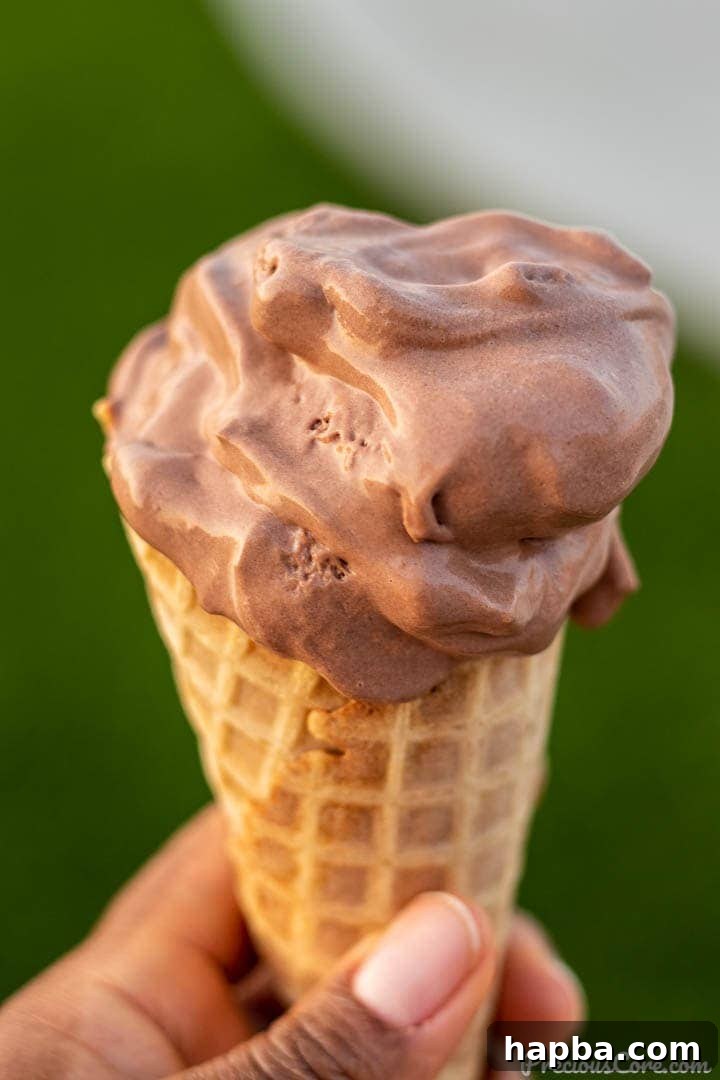
Homemade Chocolate Ice Cream is the ultimate simple pleasure, requiring just three basic ingredients to create a truly luxurious treat. Forget complicated methods and expensive equipment; this recipe delivers perfectly chocolatey, incredibly creamy, and wonderfully refreshing ice cream without any fuss. It’s an absolute game-changer for anyone craving a decadent dessert that’s effortlessly easy to make at home.
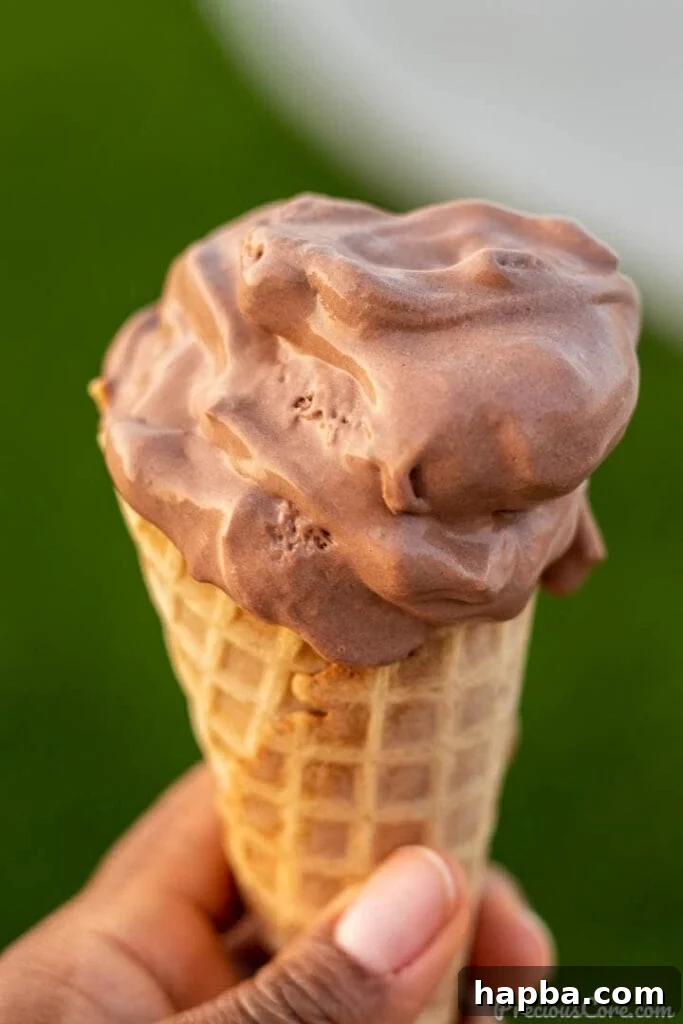
Whether you’re battling the summer heat in Southern California or simply indulging a year-round craving, there’s nothing quite as satisfying as a scoop of homemade ice cream. This particular recipe for Homemade Chocolate Ice Cream stands out. It’s not just rich in deep chocolate flavor, but also possesses an irresistible creaminess that melts delightfully in your mouth. Best of all, its simplicity means it’s accessible to even the most novice home cook.
One of the most appealing aspects of this recipe is that it completely eliminates the need for an ice cream machine. Traditional ice cream methods often involve preparing a custard base, which can be time-consuming and intimidating for many. Our no-churn approach bypasses all that, making the process significantly faster and simpler. You won’t be spending hours over a hot stove; instead, you’ll be whisking together a few key ingredients to create a perfect mixture ready for freezing.
The magic happens with just three core components: whipped cream, sweetened condensed milk, and cocoa powder. A quick whip, a gentle fold, and you’ll have a velvety, rich base that transforms into a scoopable dream after a few hours in the freezer. Prepare to indulge in spoonfuls of pure chocolate bliss!
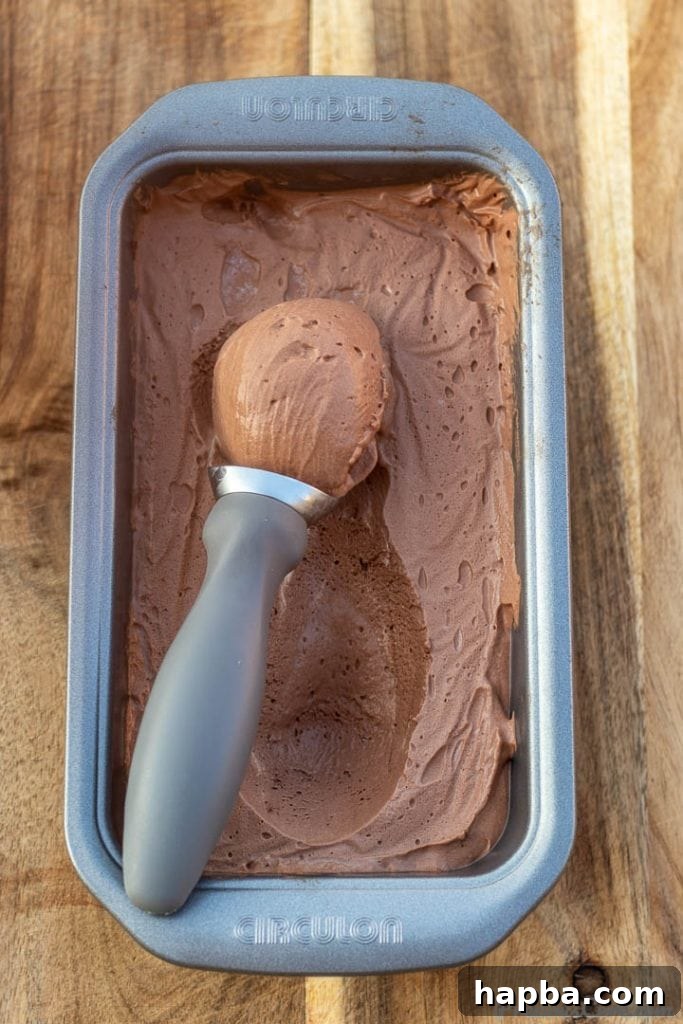
Table of Contents
- The Magic of No-Churn Chocolate Ice Cream
- Essential Chocolate Ice Cream Ingredients
- How To Master Homemade Chocolate Ice Cream
- Pro Tips For The Best Homemade Chocolate Ice Cream
- Customize Your Chocolate Ice Cream: Flavor Variations & Toppings
- Common Questions About Homemade Chocolate Ice Cream
- Watch How To Make Homemade Chocolate Ice Cream
- More Homemade Ice Cream Recipes You’ll Love!
- Homemade Chocolate Ice Cream Recipe
The Magic of No-Churn Chocolate Ice Cream
No-churn ice cream is a revelation for dessert lovers seeking simplicity without sacrificing quality. This method relies on whipping heavy cream until light and airy, then folding in sweetened condensed milk. The condensed milk provides both sweetness and a creamy texture, while its high sugar content helps prevent the formation of large ice crystals, resulting in a remarkably smooth ice cream, even without churning. This innovative technique makes homemade ice cream accessible to everyone, eliminating the need for specialized equipment and lengthy preparation times. It’s perfect for impromptu dessert cravings or when you want to impress guests with minimal effort.
Essential Chocolate Ice Cream Ingredients
For this incredibly simple, no-churn Chocolate Ice Cream recipe, you’ll only need three foundational ingredients, each playing a vital role in achieving that perfect taste and texture:
1. Heavy Cream or Heavy Whipping Cream: This is the backbone of our no-churn ice cream. When whipped, heavy cream incorporates air, creating a light, fluffy base that gives the ice cream its characteristic volume and smooth, airy texture. Its high fat content ensures a rich, luxurious mouthfeel that is essential for a truly decadent treat.
2. Sweetened Condensed Milk: More than just a sweetener, sweetened condensed milk is key to both the flavor and consistency of this ice cream. It adds a deep, milky sweetness that balances the rich cocoa. Crucially, its thick texture and high sugar concentration act as an antifreeze, preventing the formation of large ice crystals during freezing. This is what gives no-churn ice cream its signature smoothness and prevents it from becoming icy.
3. Cocoa Powder: This is where the magic of chocolate comes alive! Cocoa powder provides a concentrated, rich chocolate flavor and a beautiful deep brown color. You can use standard unsweetened cocoa powder for a classic flavor, or for a darker, less bitter taste, consider using Dutch-processed cocoa powder. Dutch-processed cocoa is treated with an alkali to neutralize its acidity, resulting in a smoother, milder chocolate flavor. Experiment to find your favorite!
Flavor Variations for Chocolate: While cocoa powder offers a classic chocolate experience, you have options to customize the chocolate intensity and type. For instance:
- Chocolate Spread: For an even richer, silkier texture and a slightly milder chocolate flavor, you can substitute cocoa powder with approximately 1 cup of your favorite chocolate spread. This adds an extra layer of sweetness and creaminess.
- Chocolate Beverages (Ovaltine or Milo): For a nostalgic, malty chocolate twist, try adding about half a cup of a chocolate beverage mix like Ovaltine or Milo. These powders infuse the ice cream with unique, comforting notes.
Important Tip for Substitutions: If you opt to use chocolate spread, Ovaltine, Milo, or any other sweetened chocolate source, be sure to reduce the quantity of sweetened condensed milk slightly. This prevents the ice cream from becoming overly sweet, allowing the distinct chocolate flavors to shine through beautifully.
How To Master Homemade Chocolate Ice Cream
Making this incredible chocolate ice cream is a straightforward process that yields impressive results. Follow these simple steps for a perfect frozen delight:
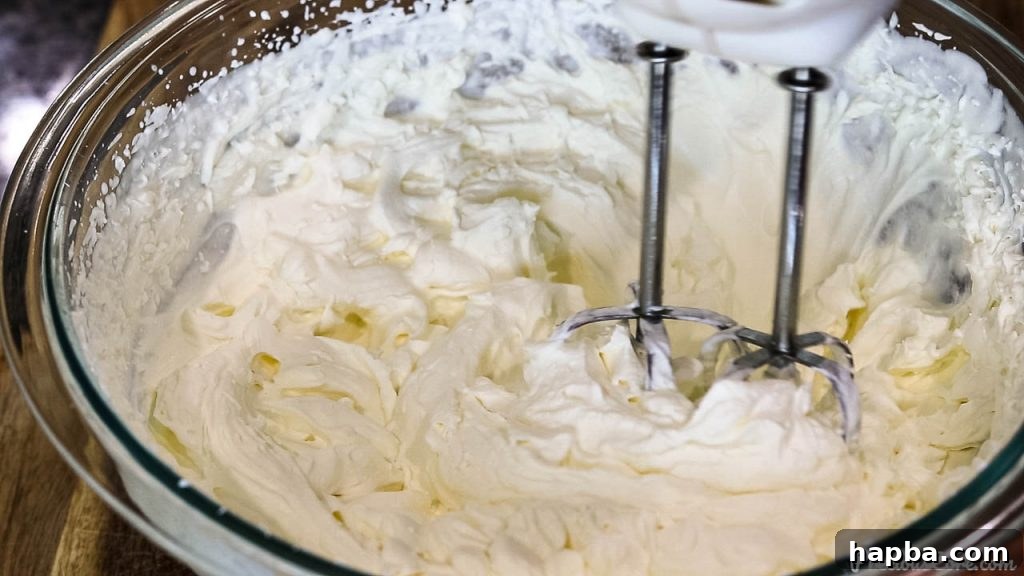
1. Whip the Cream: Begin by pouring very cold heavy whipping cream into a large mixing bowl. Using an electric mixer (or a strong whisk and some elbow grease), beat the cream on medium-high speed. Continue beating until stiff peaks form. This means when you lift the beaters, the cream should hold its shape firmly, with peaks that stand upright without collapsing. This step incorporates air, making your ice cream light and airy.
2. Combine Remaining Ingredients: Gently add the sweetened condensed milk and cocoa powder to the bowl with the whipped cream. Be careful not to deflate the airy cream you just created.
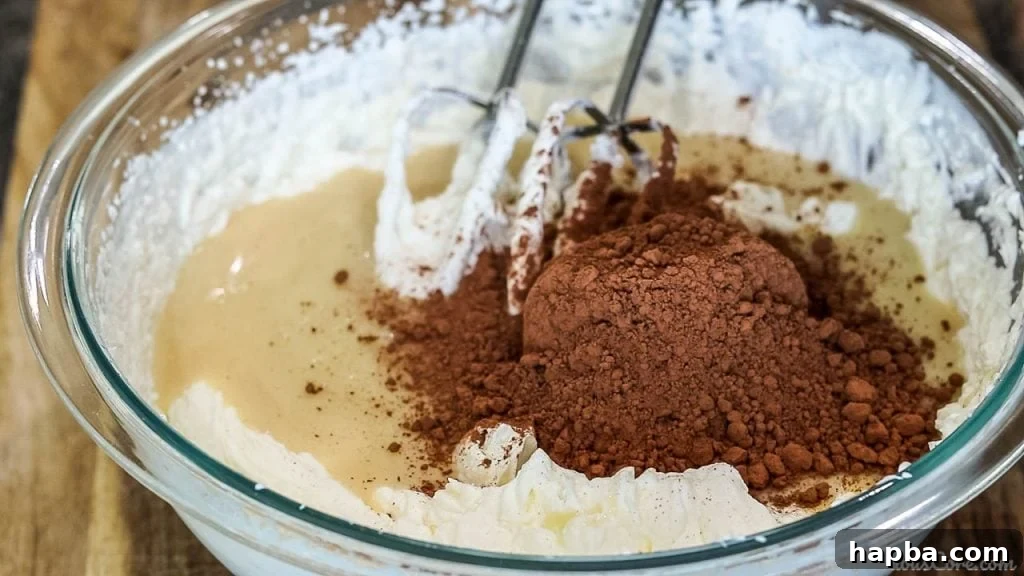
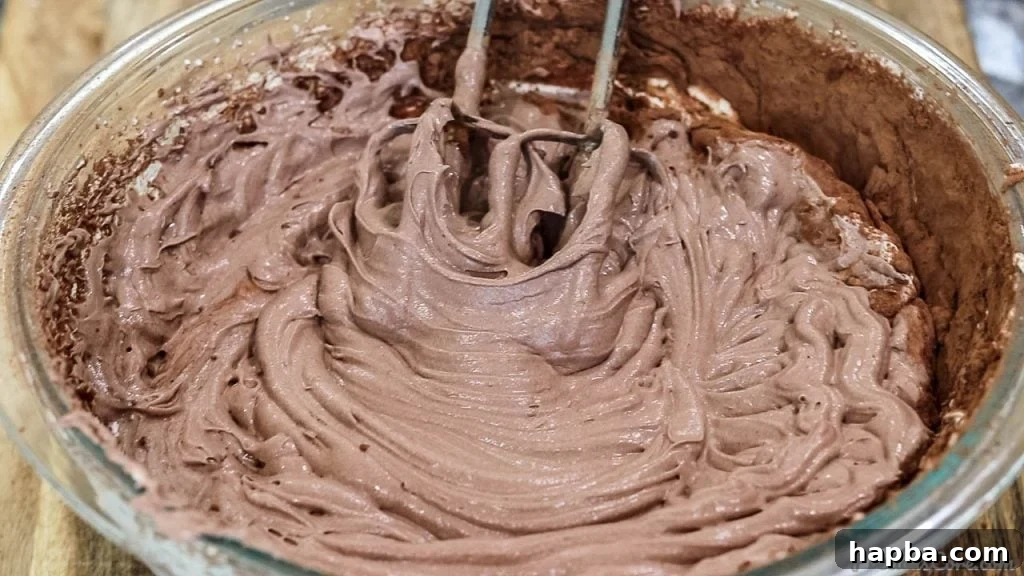
3. Fold to Combine: Using a spatula or by continuing to whip on low speed, gently fold or mix all the ingredients until they are thoroughly combined. The mixture should be a uniform, rich chocolate color with no streaks of white cream or dry cocoa powder. It will be thick, smooth, and incredibly luscious.
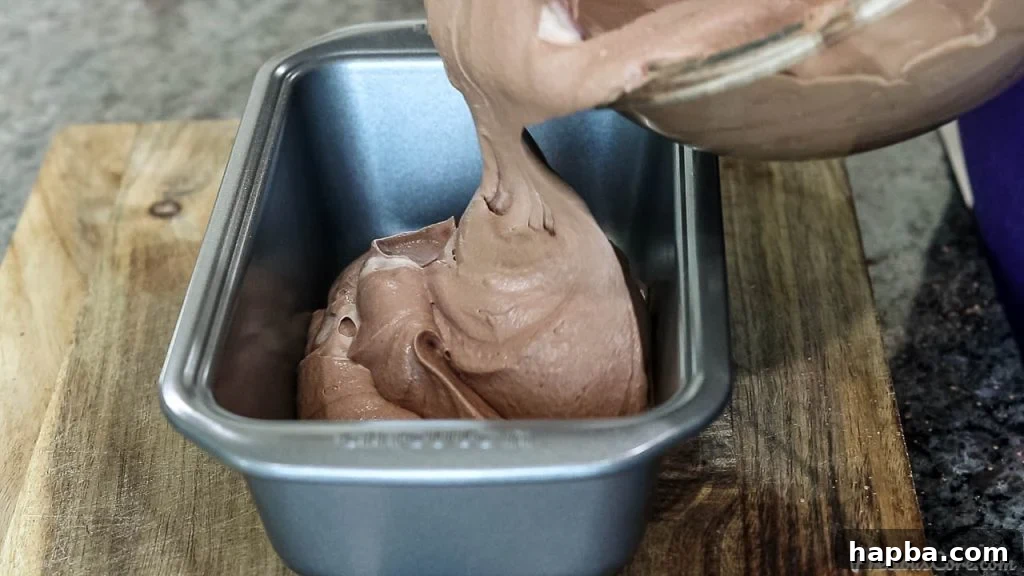
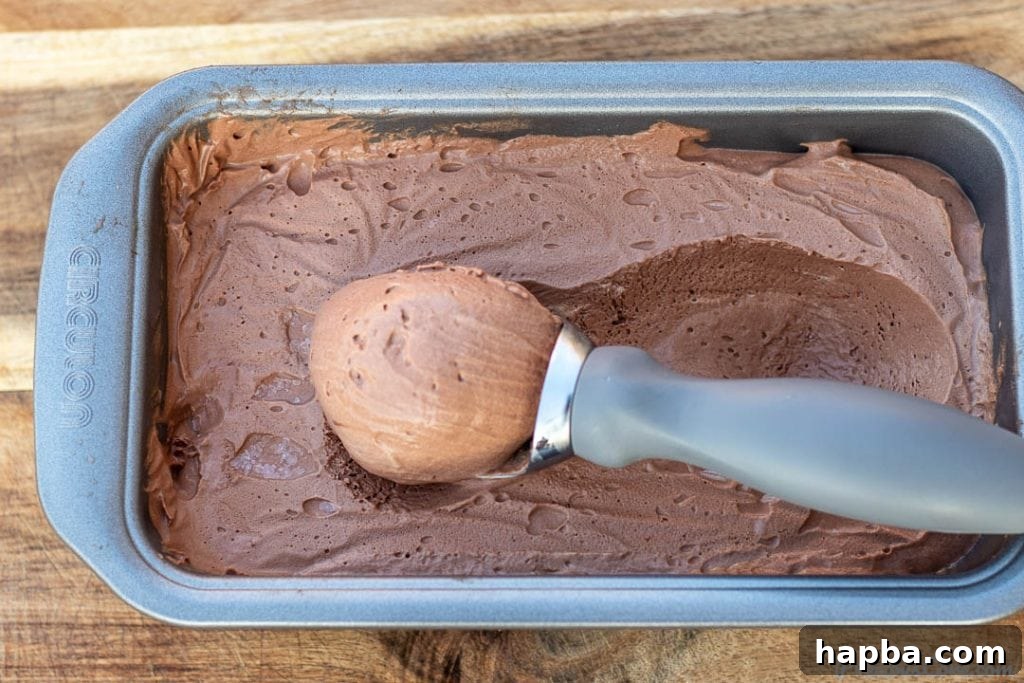
4. Transfer to Pan: Carefully pour the chocolate ice cream mixture into a standard loaf pan (approximately 9×5 inches). A loaf pan is ideal because its rectangular shape provides a good surface area for scooping once frozen.
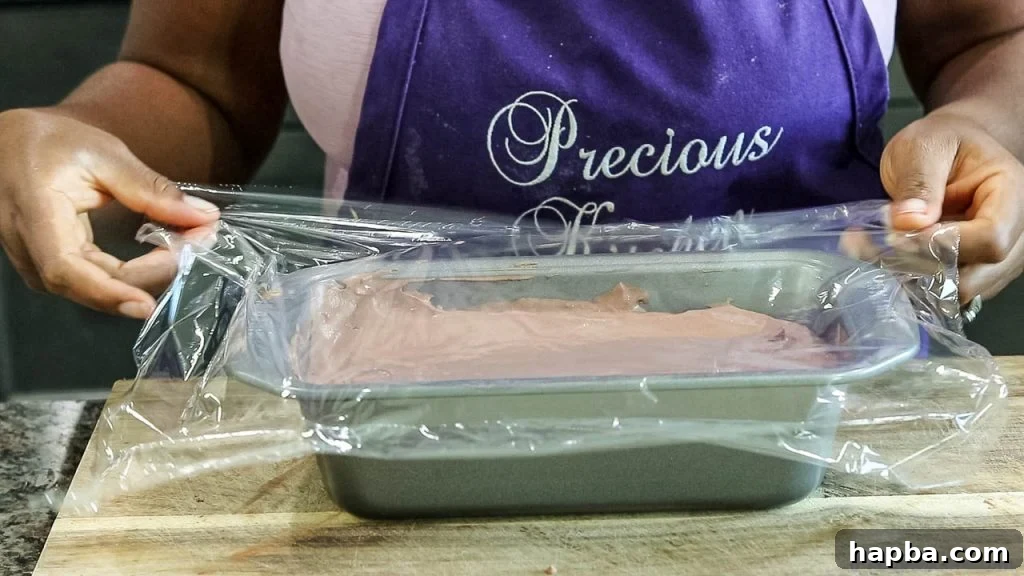
5. Cover and Seal: Using a spatula, gently level the top surface of the ice cream mixture in the pan. Then, cover the loaf pan tightly with plastic wrap. It’s important that the plastic wrap directly touches the surface of the ice cream mixture. This technique prevents ice crystals from forming on top, ensuring a smooth, creamy texture throughout.
6. Freeze and Serve: Place the covered loaf pan in your freezer for at least 7 hours, or preferably overnight, to allow the ice cream to firm up completely. Once frozen solid, scoop generously and enjoy this homemade delight!
Pro Tips For The Best Homemade Chocolate Ice Cream
Achieving perfectly creamy, scoopable homemade ice cream is easy when you follow a few simple best practices:
- Keep it Cold: The Golden Rule for Whipping Cream: The temperature of your heavy whipping cream is paramount. Always ensure it’s straight from the coldest part of your fridge. Cold cream whips faster and holds its stiff peaks much better than room-temperature cream.
- Chill Your Equipment: If you’re in a warm environment, or just want an extra assurance, place your mixing bowl and even the beaters of your electric mixer in the freezer for 15-20 minutes before you start whipping. This helps maintain the cream’s cold temperature throughout the whipping process.
- Ice Bath Method: Another excellent technique is to place your mixing bowl containing the cold cream over a larger bowl filled with ice and a little water. This creates an ice bath that keeps the cream consistently chilled as you whip, guaranteeing stiff peaks. Maintaining a cold temperature is critical for proper aeration and stability of the whipped cream.
- Don’t Overbeat the Cream: Once your heavy whipping cream forms stiff peaks, stop beating immediately. Overbeating can quickly turn your beautifully whipped cream into butter, causing it to separate and lose its smooth, airy texture. If this accidentally happens, don’t despair! You can sometimes rescue it by adding a tablespoon or two of cold milk and gently whisking it back to a whipped cream consistency. However, it’s always best to err on the side of caution and stop when the peaks are firm.
- Choose the Right Freezing Container: While a standard loaf pan (approximately 9×5 inches) is an excellent choice due to its large surface area for easy scooping, any shallow, freezer-safe container with a tight-fitting lid will work. Shallow containers allow the ice cream to freeze more evenly and quickly. There are also specialized ice cream containers designed specifically for this purpose, which can keep your homemade treats fresh longer and often come with airtight seals. Ultimately, the choice is yours, but ensure it’s freezer-safe and can be covered snugly.
- Prevent Freezer Burn: The plastic wrap touching the surface of the ice cream isn’t just to prevent ice crystals; it also acts as a barrier against freezer burn. For long-term storage (if it lasts that long!), transfer the frozen ice cream to an airtight container after it’s fully set.
- Optimal Freezing Time: While 7 hours is a good minimum, leaving it overnight ensures it’s thoroughly frozen and firm enough for the best scooping experience. If you’re in a hurry, you might get softer ice cream after 4-5 hours, but for true scoop-shop consistency, patience is key.
- Serving Temperature: For the easiest scooping and best texture, let your homemade ice cream sit at room temperature for 5-10 minutes before serving. This allows it to soften slightly, making it easier to glide your scoop through.
Customize Your Chocolate Ice Cream: Flavor Variations & Toppings
While this 3-ingredient chocolate ice cream is perfect on its own, it also serves as an excellent base for endless customizations. Get creative and make it truly your own!
Exciting Flavor Variations to Try:
- Mint Chocolate Chip: Add 1 teaspoon of pure peppermint extract and 1/2 cup of finely chopped mint chocolate chips during the final mixing step.
- Espresso Chocolate: Dissolve 1-2 tablespoons of instant espresso powder in 1 tablespoon of hot water, let it cool, then add it to the mixture with the condensed milk and cocoa. This intensifies the chocolate flavor beautifully.
- Spicy Chocolate: For a subtle kick, add a pinch of cayenne pepper or chili powder along with the cocoa powder.
- Nutty Chocolate: Fold in 1/2 cup of your favorite chopped nuts like pecans, walnuts, or almonds for added crunch and flavor.
- Orange Chocolate: Add 1 teaspoon of orange zest and a few drops of orange extract for a bright, citrusy note that pairs wonderfully with chocolate.
- Double Chocolate Chunk: Stir in 1 cup of chocolate chips or chopped chocolate bars (milk, dark, or white) just before freezing for extra chocolatey bites.
- Caramel or Fudge Swirl: After pouring the mixture into the loaf pan, drizzle generous ribbons of warm caramel sauce or hot fudge over the top. Use a knife to gently swirl it through the ice cream mixture for beautiful marbling.
Delicious Toppings & Serving Suggestions:
- Classic Hot Fudge or Caramel Sauce: A timeless combination that never disappoints.
- Whipped Cream & Cherry: For that old-fashioned sundae feel.
- Sprinkles: A pop of color and fun for all ages.
- Chopped Nuts: Peanuts, walnuts, or almonds add a lovely texture contrast.
- Fresh Berries: Strawberries, raspberries, or blueberries provide a fresh, tart counterpoint to the rich chocolate.
- Chocolate Shavings or Curls: A touch of elegance and extra chocolatey goodness.
- Cookie Crumbs: Crushed Oreos, graham crackers, or shortbread cookies add a delightful crunch.
- Brownie Pieces: Transform your ice cream into a brownie sundae.
Common Questions About Homemade Chocolate Ice Cream
Here are answers to some frequently asked questions about making this easy chocolate ice cream:
Q: Why is my no-churn ice cream icy instead of creamy?
A: This usually happens if the heavy cream wasn’t whipped to stiff peaks, or if the sweetened condensed milk quantity was reduced too much, or if the plastic wrap didn’t touch the surface of the ice cream during freezing, allowing ice crystals to form. Ensure your cream is very cold, whip it thoroughly, and cover properly.
Q: Can I use light cream or half-and-half?
A: No, for this recipe, heavy cream or heavy whipping cream is essential. Their high fat content is what allows them to whip into a stable, airy foam, which is critical for the no-churn method. Lighter creams will not whip properly and will result in an icy texture.
Q: How long does homemade no-churn ice cream last in the freezer?
A: When stored in an airtight container, homemade no-churn ice cream can last for up to 2-3 weeks in the freezer. Beyond that, its texture may start to degrade, and it might develop some freezer burn.
Q: Can I make this recipe ahead of time for a party?
A: Absolutely! This ice cream is perfect for making in advance. Prepare it a day or two before your event and let it freeze completely. This gives it ample time to firm up and allows flavors to meld beautifully.
Q: What’s the best way to scoop frozen ice cream?
A: For easy scooping, remove the ice cream from the freezer and let it sit at room temperature for 5-10 minutes. If your scoop tends to stick, try dipping it in hot water between scoops.
Watch How To Make Homemade Chocolate Ice Cream
See just how easy it is to create this delightful treat! Watch me make Homemade Chocolate Ice Cream in the video below. Don’t forget to SUBSCRIBE to my YouTube Channel for more delicious recipes and kitchen tips, so you never miss an update!
More Homemade Ice Cream Recipes You’ll Love!
Homemade Vanilla Ice Cream (VIDEO)
Watermelon Ice Cream
No Churn Strawberry Ice Cream
Mango Ice Cream
No Churn Coconut Ice Cream
If you make this recipe, please consider leaving a star rating below. Your feedback helps others discover and enjoy the recipe, and I always love hearing from you! Thank you!
Homemade Chocolate Ice Cream
10 minutes
7 hours
7 hours
10 minutes
6
servings
Rate
Print Recipe
Ingredients
-
2
cups
heavy whipping cream (480 ml)
cold -
14
oz
sweetened condensed milk (397 g) -
1/2
cup
cocoa powder (60g)
Instructions
-
Pour cold heavy whipping cream into a large mixing bowl. Beat using an electric beater or an egg whisk until stiff peaks form.
-
Add the sweetened condensed milk and cocoa powder to the bowl and continue beating until fully combined and the color is uniform.
-
Pour mixture into a loaf pan. Level the top using a spatula.
-
Cover the loaf pan with plastic wrap making sure the plastic wrap touches the cream.
-
Place in a freezer and let it freeze for 7 hours, or preferably overnight. Scoop and enjoy.
Notes
Nutrition
Calories:
366
kcal
Additional Info
Dessert
International
366
Tried this recipe?
Mention @preciouscore or tag #PreciousCore!
This post contains affiliate links.