
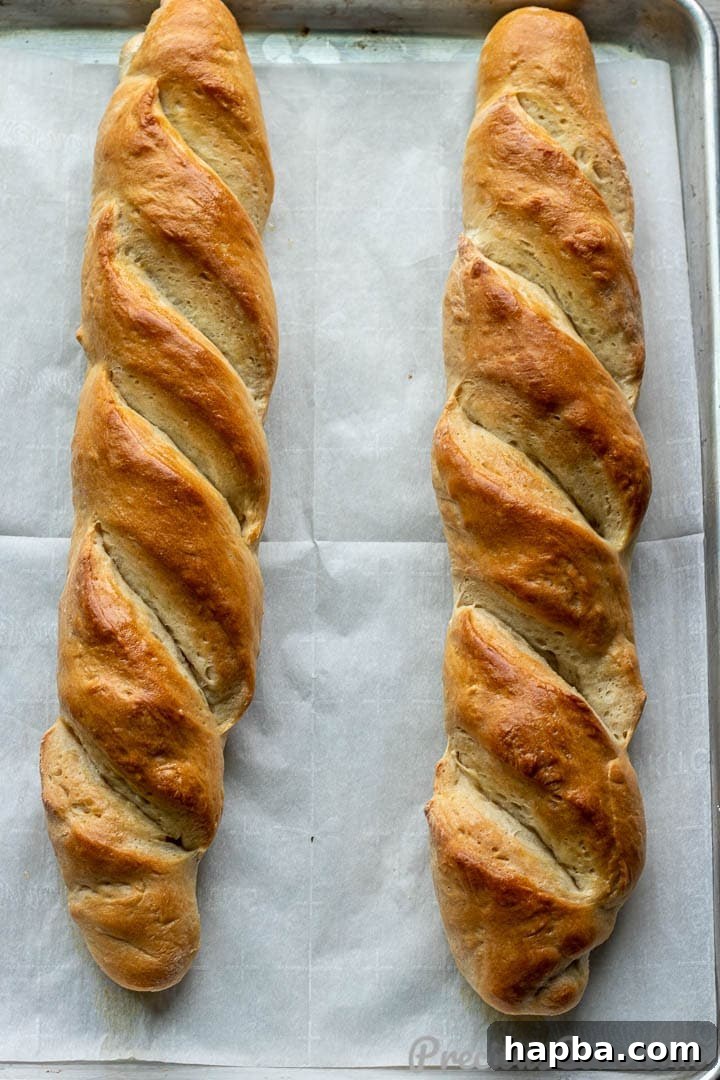
There’s an undeniable magic in the aroma of freshly baked bread filling your home. And when that bread is a warm, crusty loaf of Homemade French Bread, the experience is truly unparalleled. Forget complicated techniques and long lists of obscure ingredients – this recipe is designed for ease, bringing the authentic taste and texture of artisan French bread directly to your kitchen. Imagine slicing into a golden-brown crust, revealing a soft, airy interior, perfect for soaking up olive oil, slathering with butter, or accompanying your favorite meal. This isn’t just baking; it’s creating a moment of pure, culinary delight and a staple that will impress family and friends alike.
For those who frequently visit, you already know my deep appreciation for homemade bread. The satisfaction of transforming simple flour and water into something so fundamental and delicious is incredibly rewarding. Over the years, I’ve baked countless loaves, each one a testament to the joy of making bread from scratch. It’s a culinary journey that once begun, is hard to turn back from. The difference between store-bought and homemade is vast, influencing not just the taste but also the overall dining experience and the freshness you bring to your table.
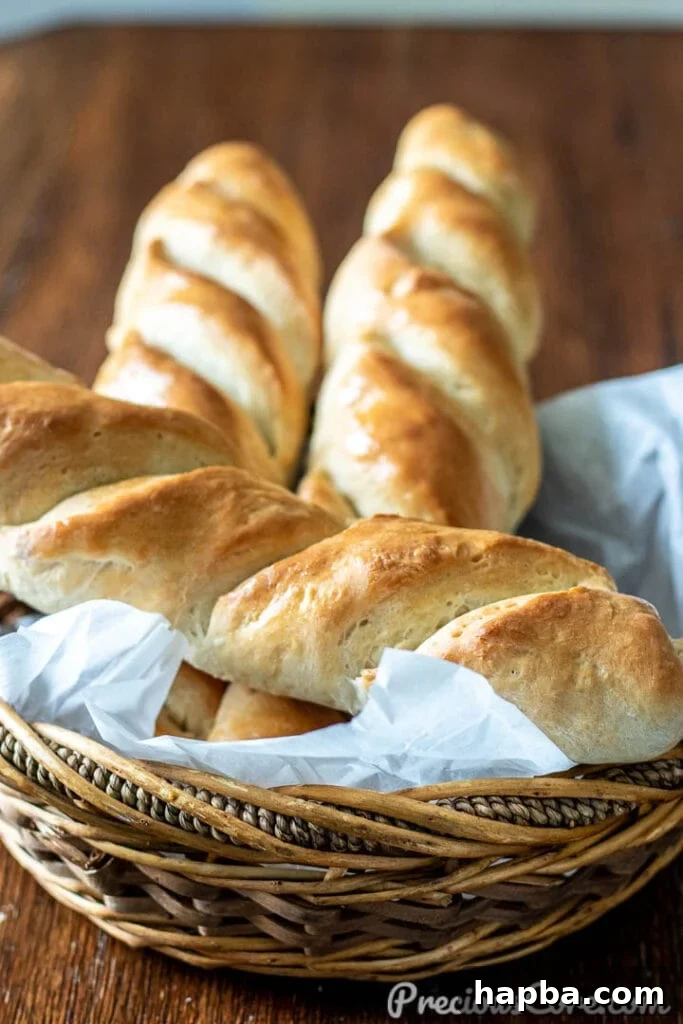
The Unrivaled Benefits of Baking French Bread at Home
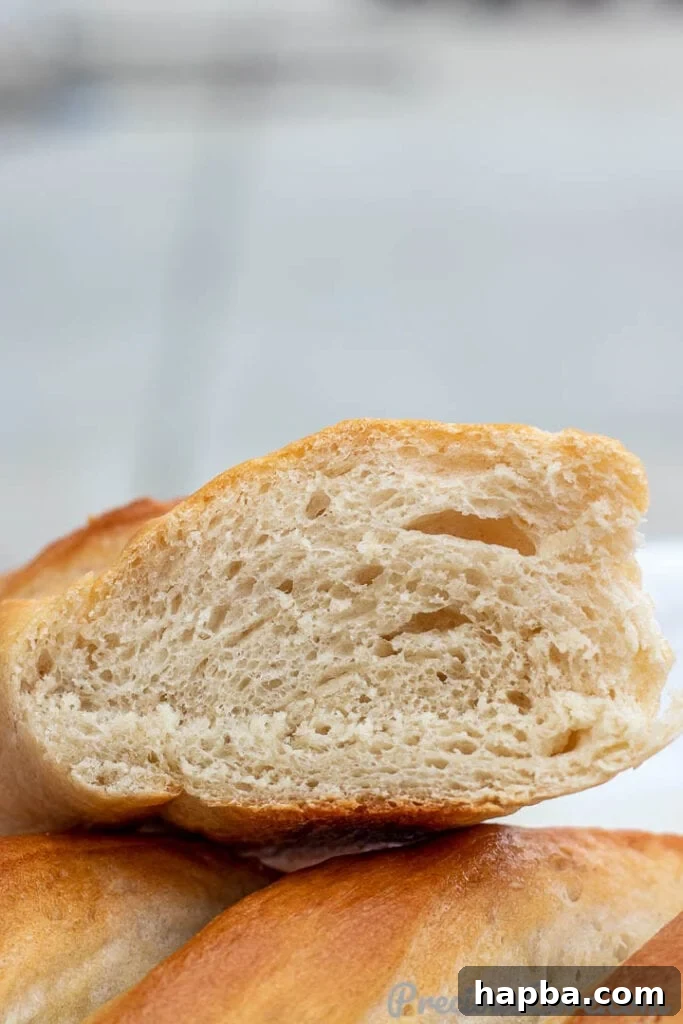
Once you experience the superior quality of homemade bread, those supermarket loaves simply won’t measure up. The difference in taste, flavor, and texture is profound. A homemade French bread boasts a depth of flavor that is often absent in commercially produced versions. Its crust achieves a perfect crispness that crackles with every bite, while the interior remains wonderfully soft and chewy, with an inviting open crumb structure. The aroma alone is enough to transform your kitchen into a welcoming bakery. Beyond the exquisite taste, there’s the added benefit of knowing exactly what goes into your food. Homemade bread is free from artificial preservatives, unnecessary additives, and “weird ingredients” that often populate the labels of store-bought goods. This commitment to pure, wholesome ingredients, coupled with the immense satisfaction of creating something so delicious with your own hands, is just one of the many reasons why I am, and will always be, a devoted home baker.
A Culinary Inspiration: Pairing with African Meatballs
Sometimes, the best recipes are born out of simple cravings and a little bit of necessity. My motivation for perfecting this French bread recipe came directly from preparing these delightful African meatballs. Hailing from Cameroon, I know firsthand the heavenly pairing of succulent meatballs and warm, crusty French bread. It’s a combination that truly elevates a meal, turning a simple dish into a memorable feast. The thought of enjoying a hearty meatball sub, with the bread perfectly soaking up the rich, savory sauce, was too tempting to ignore. With no quick trip to the grocery store in sight, I decided to take matters into my own hands and bake my own. The outcome was nothing short of fantastic, yielding loaves that were ideally suited for scooping up every last bit of those delicious meatballs, making for an unforgettable meal.
Simple Ingredients for an Authentic French Bread Recipe
Crafting delicious French bread from scratch requires only a handful of fundamental ingredients, most of which you likely already have in your pantry. The beauty of this recipe lies in its simplicity, proving that extraordinary flavor and texture can come from humble beginnings. Each ingredient plays a crucial role in achieving that coveted crusty exterior and soft, airy interior, defining the essence of true French bread:
- Lukewarm Water: The ideal temperature is around 105-115°F (40-46°C). This warmth is critical for activating the yeast without killing it. If the water is too cold, the yeast won’t activate properly, leading to a flat dough; too hot, and it will kill the yeast, preventing any rise. Test it with your finger – it should feel comfortably warm, like a baby’s bath.
- Active Dry Yeast or Instant Yeast: Yeast is the living leavening agent that makes your bread rise, creating the carbon dioxide bubbles that give it that wonderful airy texture and volume. Active dry yeast typically needs to be “proofed” (activated) in warm water with a pinch of sugar, while instant yeast can often be mixed directly with the dry ingredients. Both work beautifully for this recipe, ensuring a good rise and a tender crumb.
- Granulated Sugar: A small amount of sugar serves as immediate food for the yeast, helping it activate quickly and produce ample carbon dioxide. This initial boost in activity is crucial for a successful rise. Sugar also plays a secondary role in contributing to the beautiful golden-brown crust of the baked bread and balancing the savory notes.
- Vegetable Oil (or any neutral-tasting oil): A touch of oil adds richness to the dough, contributes to a softer, more pliable crumb, and helps the crust develop a lovely, slightly crisp texture. Any neutral-tasting oil like canola, sunflower, or light olive oil will work well without imparting an overpowering flavor.
- Salt: Essential for flavor, salt also plays a vital role in controlling yeast activity, slowing it down just enough to allow for better flavor development. Furthermore, it strengthens the gluten structure of the dough, contributing to its elasticity and the final texture of the bread. Never skip the salt, as unsalted bread can taste bland and flat.
- All-Purpose (Plain) Flour or Bread Flour: While good quality all-purpose flour will yield a satisfying loaf, bread flour, with its higher protein content, will give you a chewier, more structured crumb, which is more characteristic of classic French bread. The higher protein content develops more gluten, resulting in a bread with excellent elasticity and a desirable open texture. Either option will work exceptionally well for this recipe, producing delicious and authentic results.
The precise quantities for each ingredient are provided in the comprehensive recipe card located at the conclusion of this post. Adhering to these measurements is key for the best results and to ensure your Homemade French Bread turns out perfectly every time.
How to Make Easy Homemade French Bread: A Step-by-Step Guide
Baking French bread might sound intimidating, but this step-by-step guide breaks down the process into manageable, straightforward actions. You’ll be amazed at how simple it is to achieve bakery-quality results right in your own kitchen, filling your home with the irresistible aroma of fresh bread.
Detailed Instructions:
- Activate Yeast & Mix Ingredients: In a large mixing bowl, combine your lukewarm water, active dry yeast, and granulated sugar. Let this mixture sit for 5-10 minutes until it becomes visibly foamy, indicating that the yeast is active and alive. If it doesn’t foam, your yeast might be old or the water temperature was off, and you should discard it and start again with fresh yeast and corrected water temperature. Once foamy, add the vegetable oil, salt, and gradually incorporate the flour, one cup at a time. Mix with a sturdy wooden spoon or a spatula until a shaggy, cohesive dough forms. If you have a stand mixer fitted with a dough hook, this step is even easier – mix on low speed until all ingredients are combined.
- Knead the Dough: Turn the shaggy dough out onto a lightly floured surface. Knead the dough by hand for about 5-7 minutes. If using a stand mixer, knead on medium-low speed for 3-5 minutes. The goal here is to develop the gluten, which gives the bread its essential structure, elasticity, and chewiness. You’ll know it’s ready when the dough transforms from shaggy to smooth, elastic, and is no longer excessively sticky. It should spring back slowly when gently poked with a finger.
- First Rise (Bulk Fermentation): Place the well-kneaded dough into a large, lightly oiled bowl, turning it once to ensure all sides are coated. This prevents it from sticking. Cover the bowl securely with plastic wrap or a clean, damp kitchen towel. Allow the dough to rise in a warm, draft-free place for 1 to 2 hours, or until it has visibly doubled in size. A warm oven (turned off, but preheated slightly to about 110°F/43°C and then turned off) is an excellent spot for consistent rising. Once risen, gently punch down the dough to release the accumulated gases. This step redistributes the yeast and helps to even out the dough’s temperature, preparing it for shaping.
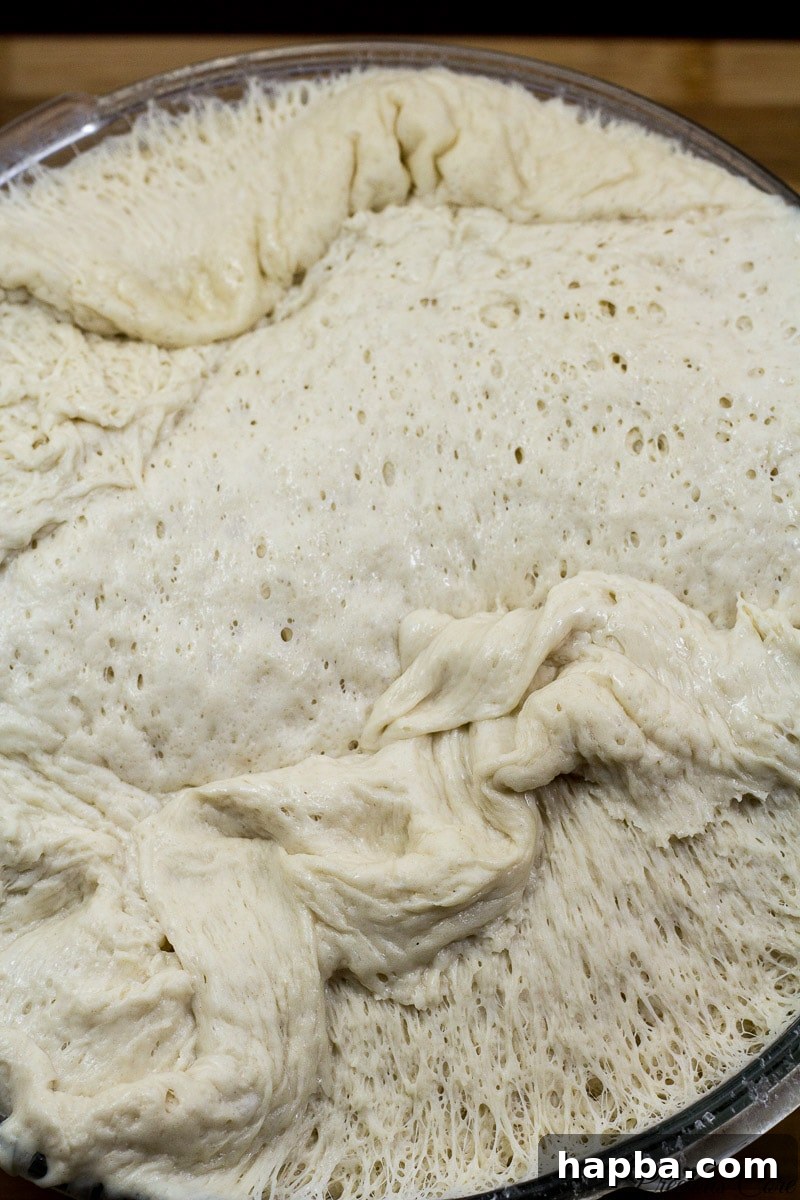
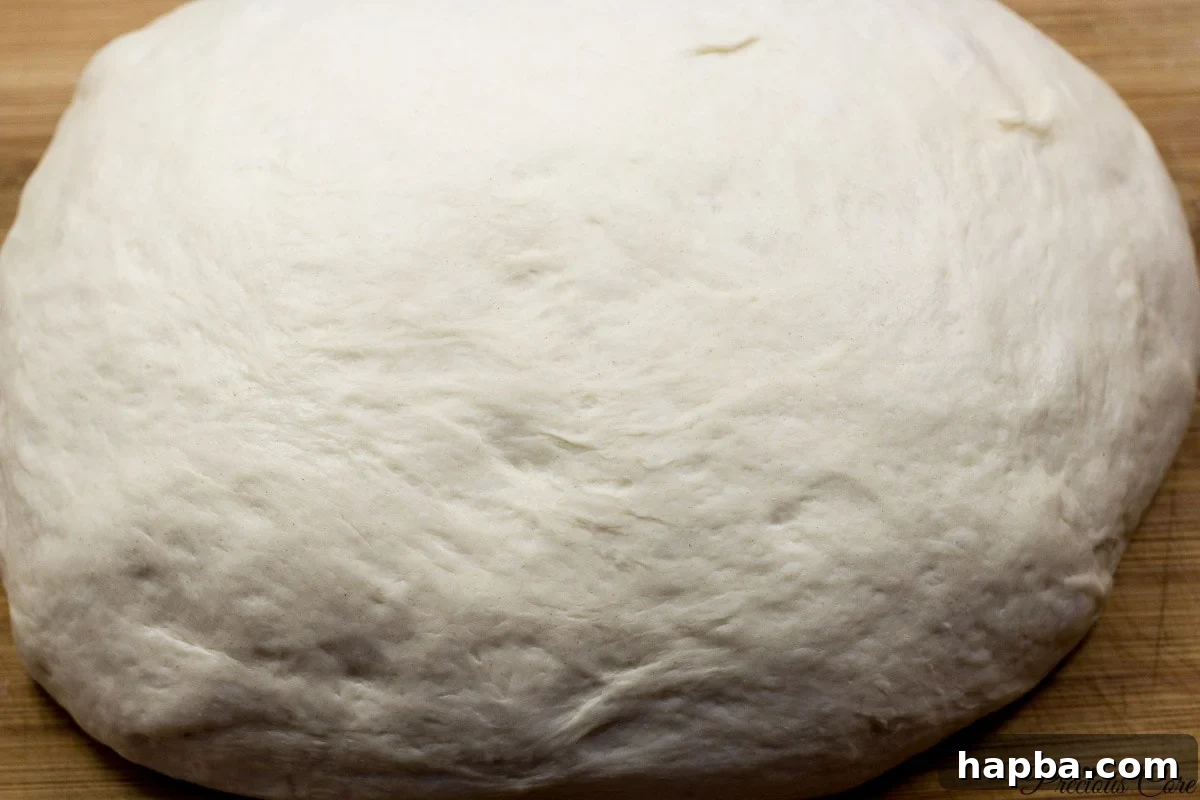
- Prepare for Shaping: Gently gather the punched-down dough into a rough ball and place it on a lightly floured surface. This prepares the dough for division and makes the shaping process smoother and easier.
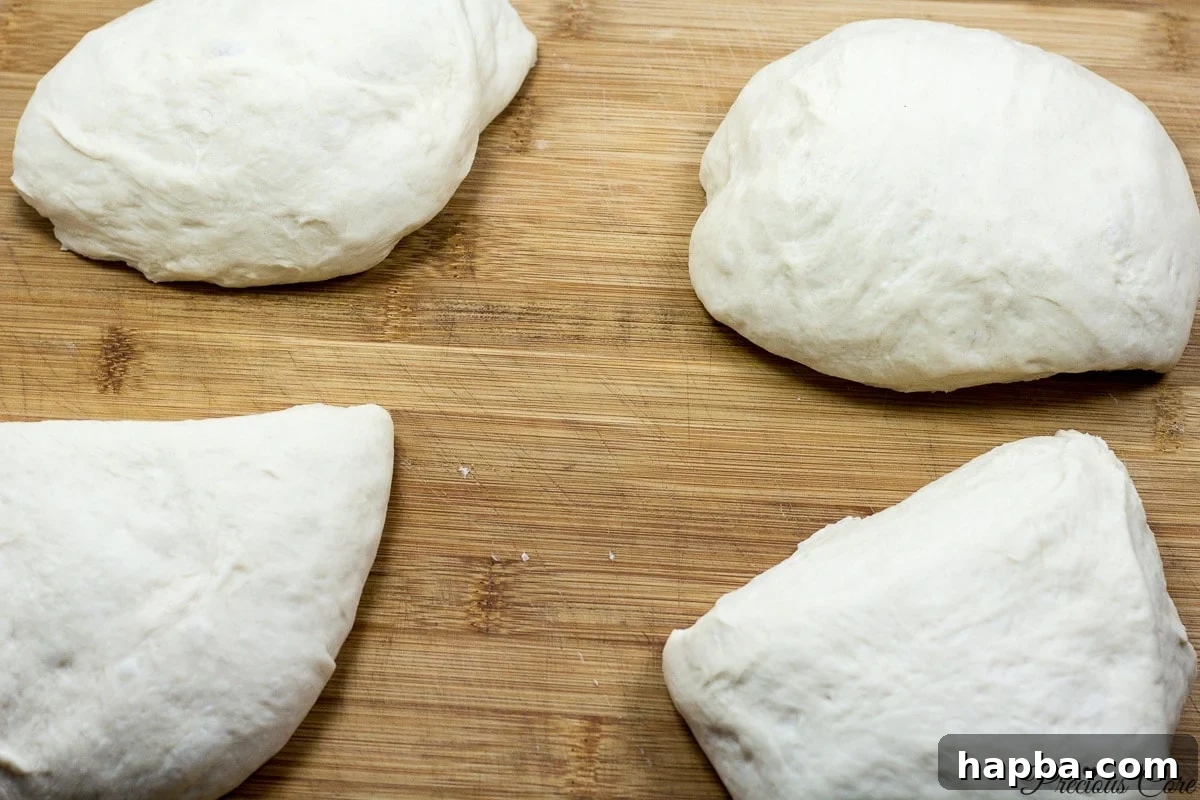
- Divide the Dough: Using a sharp knife or a dough scraper, divide the dough into four equal portions. Aim for consistency in size to ensure that all your loaves bake evenly and have a similar final appearance.
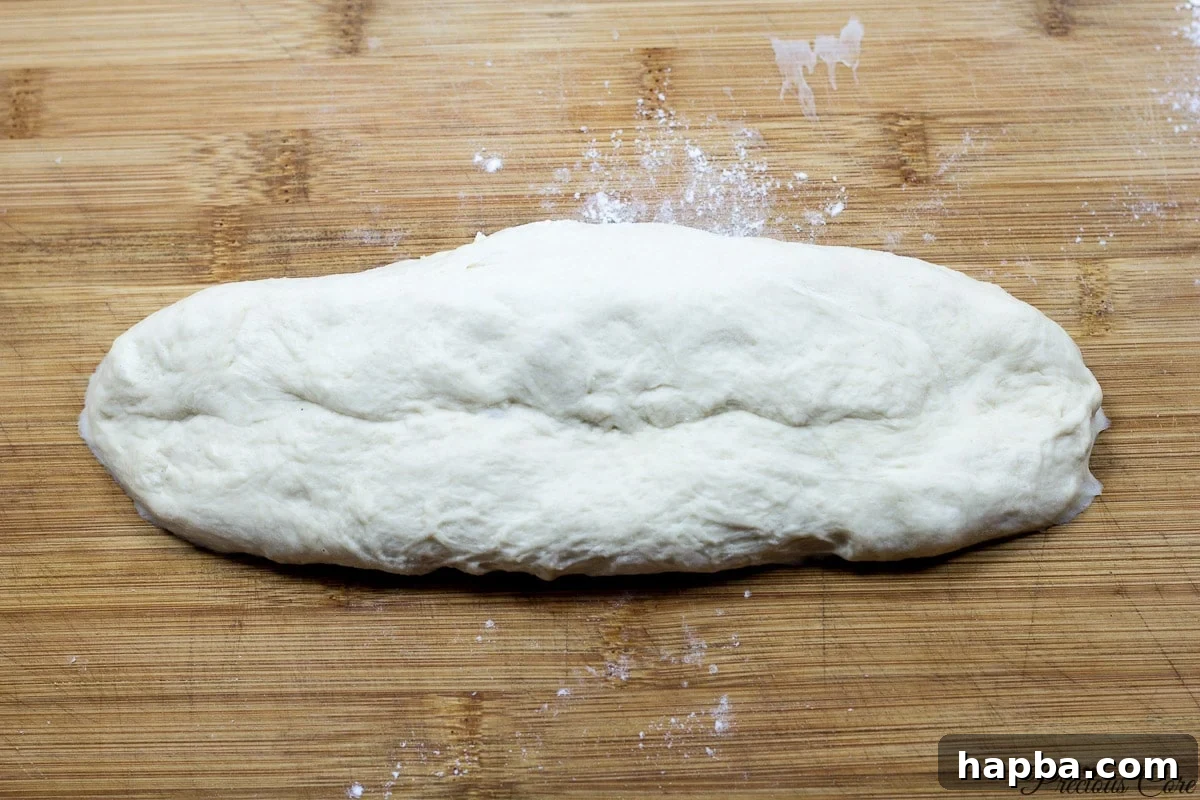
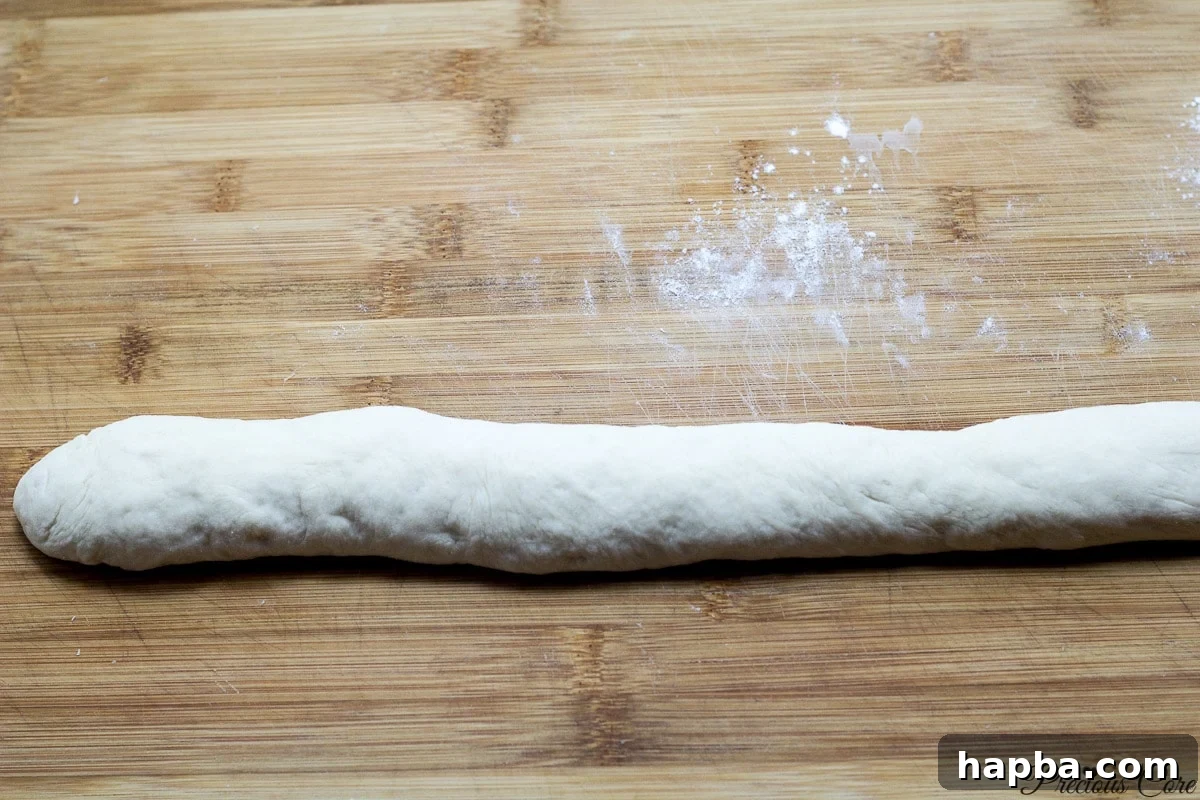
- Shape the Loaves: Take one piece of dough and set the others aside, covered, to prevent them from drying out. Gently flatten the dough into a rectangular shape. Fold one-third of the dough over itself lengthwise, pressing down firmly to seal. Then, fold the opposite third over, sealing the seam tightly with your fingers. This creates tension in the dough, which is important for structure. Roll the dough back and forth gently on your surface to create a seamless log. Taper the ends slightly to form the classic French baguette shape. Repeat this shaping process with the remaining three pieces of dough.
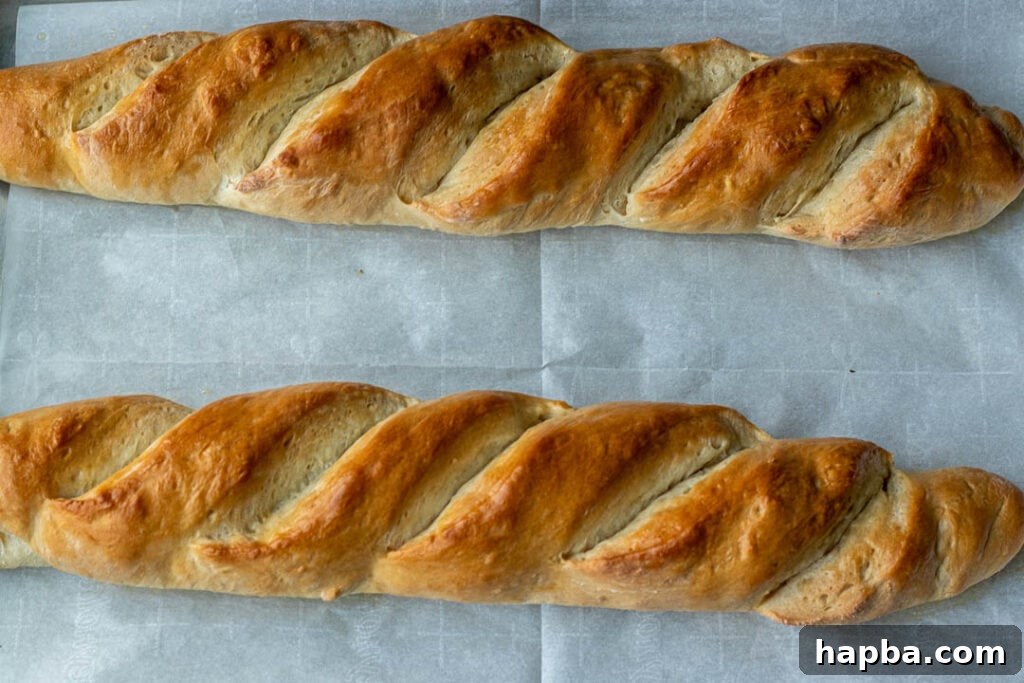
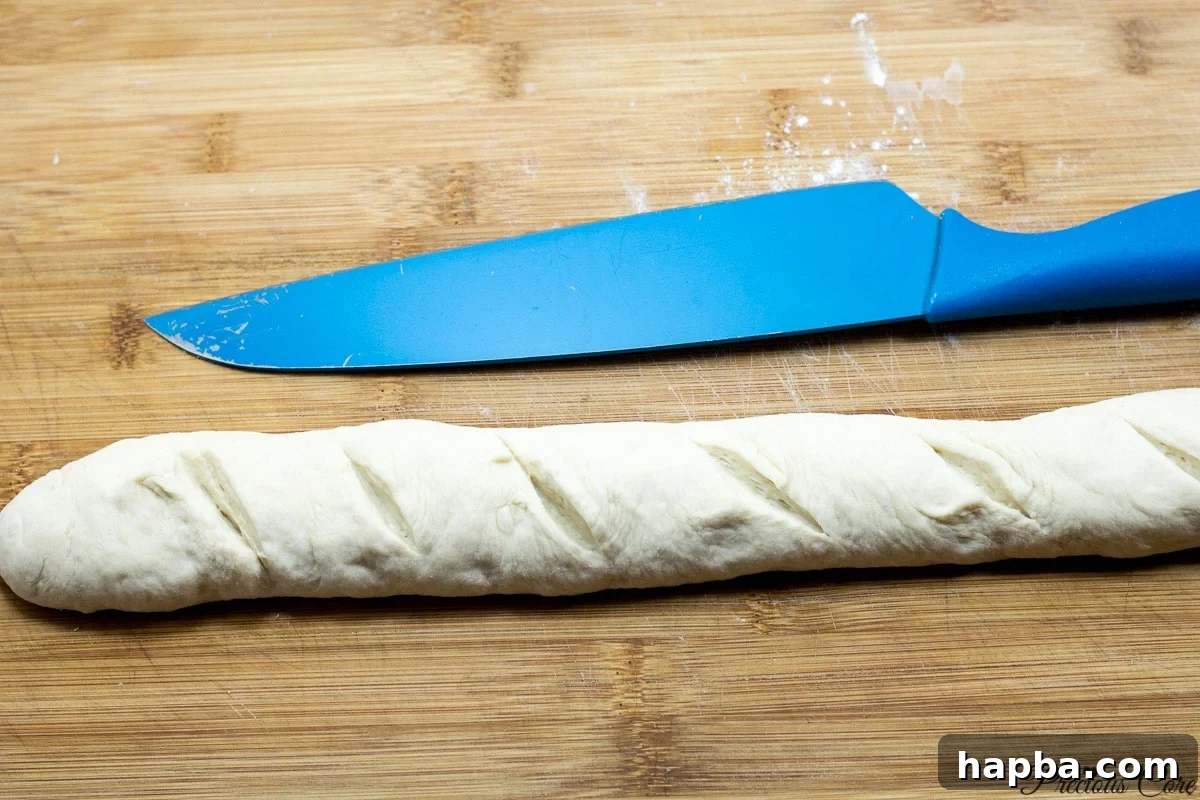
- Score the Loaves: Using a very sharp knife, a razor blade, or a specialized bread lame, make 5-8 diagonal slashes across the top of each shaped loaf. These cuts should be about half an inch deep. Scoring isn’t just for aesthetics; it allows the bread to expand properly in the oven, preventing uncontrolled tearing and helping achieve that desirable, crusty ‘ear’ and open crumb structure.
You have the flexibility to make your French bread loaves as long or as short as you prefer. For longer, more traditional baguettes, use a large baking sheet (approximately 17 inches long) that can comfortably accommodate their length. If you prefer shorter, more manageable loaves, a standard baking sheet will work perfectly, allowing for easier handling and serving.
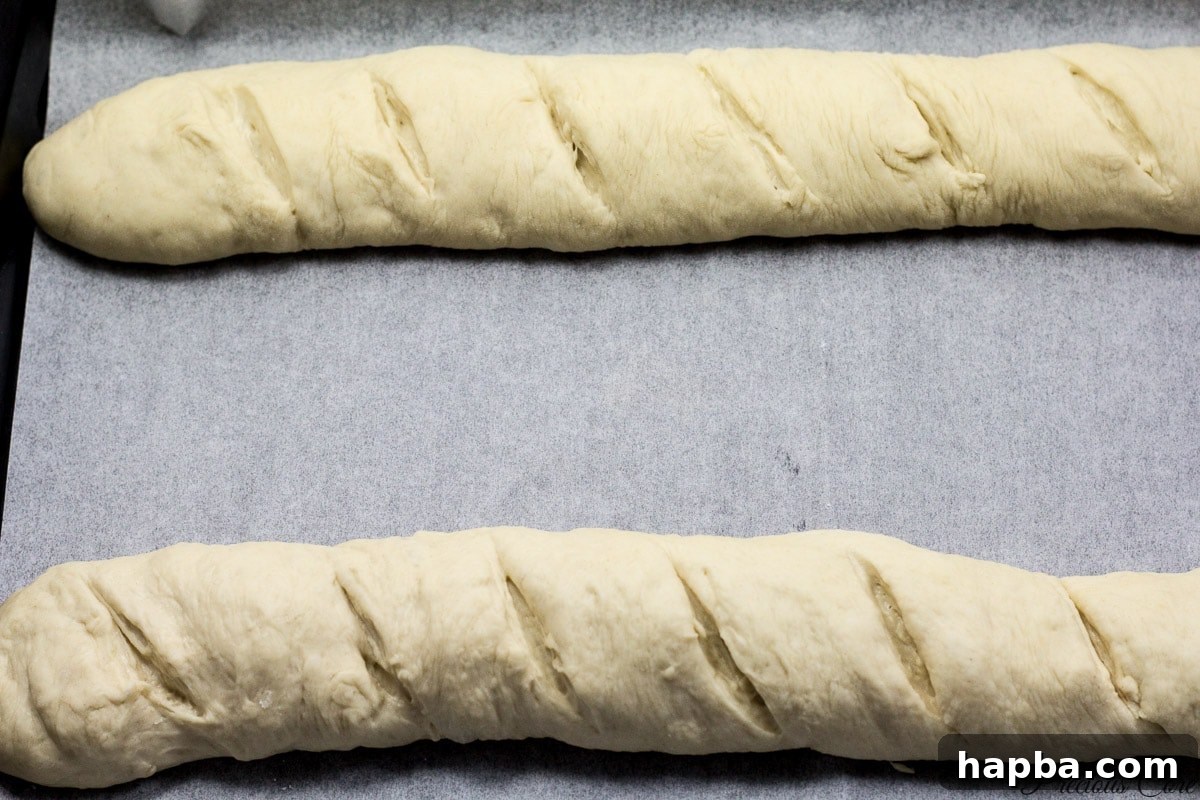
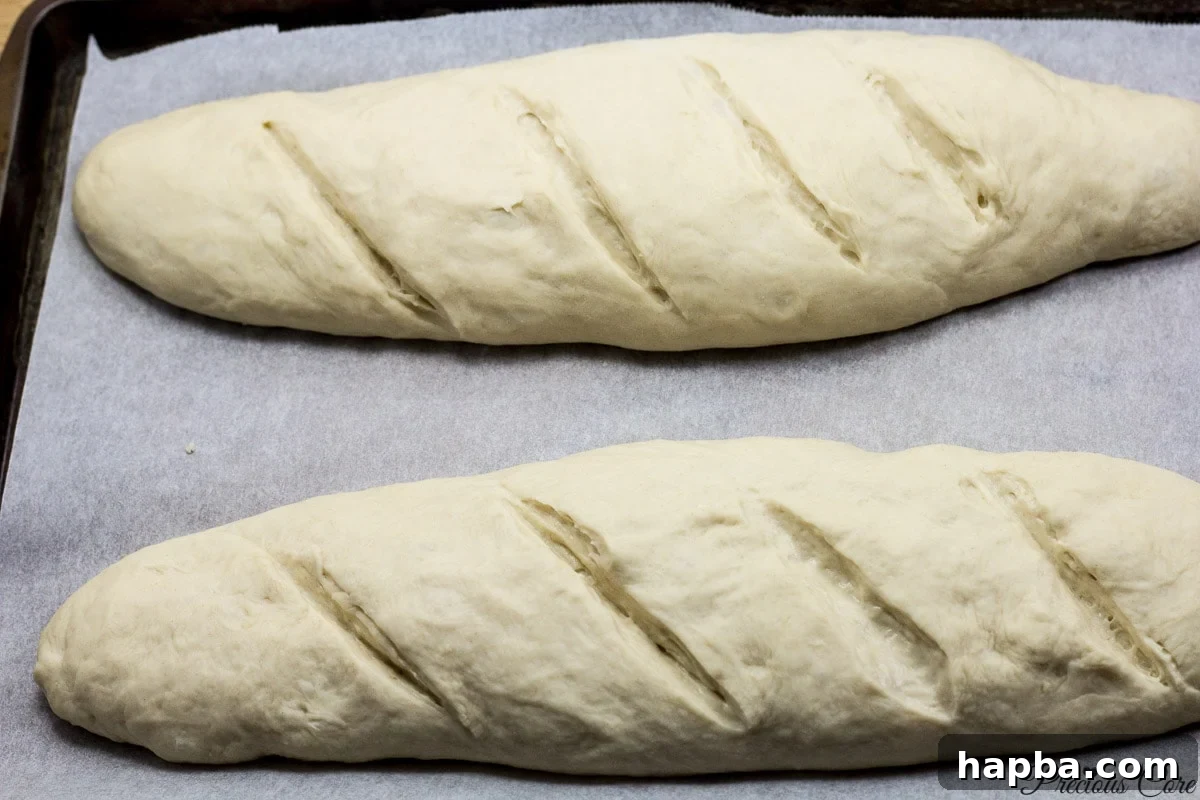
- Second Rise (Proofing): Carefully transfer the scored loaves to greased or parchment-lined baking sheets/trays. Cover them loosely with plastic wrap or a clean kitchen towel. Allow them to rise in a warm place for another 20-30 minutes. This second, shorter rise is crucial for developing the final light and airy texture. Be mindful not to let them over-proof, as this can lead to a dense crumb and loss of shape during baking.
- Bake to Golden Perfection: Preheat your oven to 350°F (180°C). Place the baking sheets with the loaves into the preheated oven. Bake for approximately 25 minutes, or until the bread is beautifully golden brown on the outside and sounds hollow when gently tapped on the bottom. For an extra-crispy crust, you can place a pan of hot water on the bottom rack of your oven during baking to create steam; remove after 10-15 minutes.
- The Finishing Touch: As soon as the freshly baked loaves emerge from the oven, brush their tops generously with some melted butter. This adds a lovely sheen, enhances the flavor slightly, and contributes to a softer, richer crust once cooled slightly. Transfer the loaves to a wire rack to cool completely before slicing.
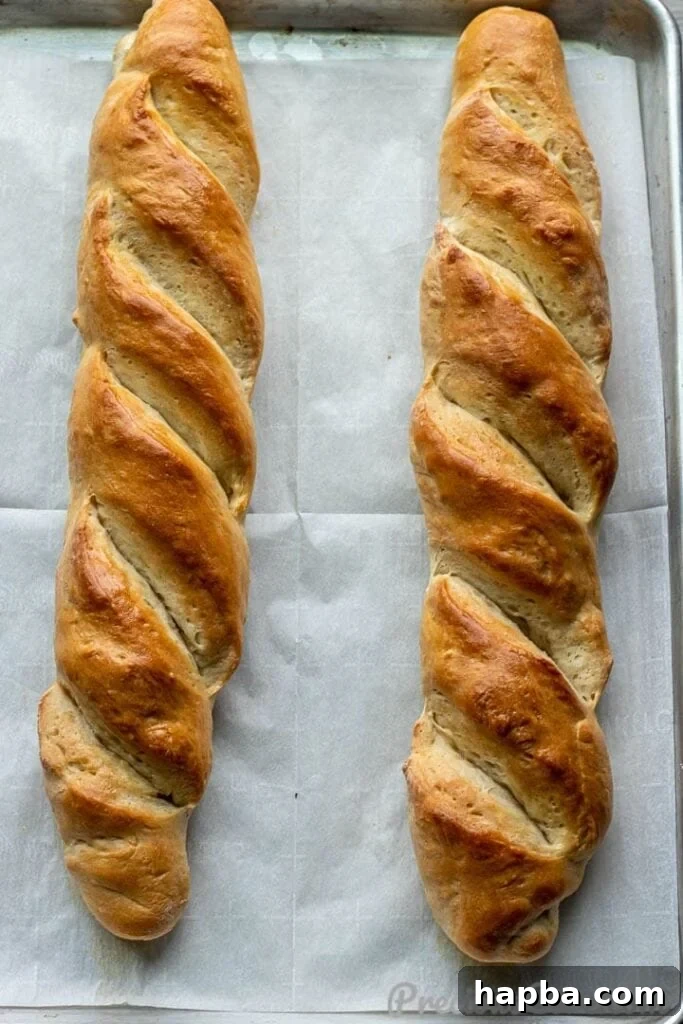
This homemade French bread recipe is an absolute must-try! Each loaf achieves that perfect balance of a light salty taste with just a hint of sweetness, creating a truly irresistible flavor profile. The texture, from the crispy crust to the soft interior, is everything you dream of in a fresh loaf. And yes, as anticipated, I enthusiastically devoured some with my African meatballs – a combination I highly recommend for a truly satisfying meal!
For an even simpler pleasure, enjoy a warm slice slathered with good quality butter. The way the butter melts into the airy crumb and the delightful contrast with the crispy crust creates a melt-in-your-mouth experience that is simply phenomenal, highlighting the fresh, wholesome flavors of your homemade creation.
Expert Tips for French Bread Baking Success
Achieving bakery-quality French bread at home is entirely within reach, especially with a few helpful tips to guide you through the process:
- Ensure Yeast Freshness: Always ensure your yeast is fresh and active. If you’re using active dry yeast, proof it first by mixing it with the warm water and a pinch of sugar. If it doesn’t foam after 5-10 minutes, it’s likely dead or inactive, and you should get new yeast before proceeding with the recipe.
- Accurate Flour Measurement: Baking is a science, and precise measurements are key. For the most accurate results, especially with flour, use a kitchen scale. Six cups of all-purpose flour typically weigh around 720 grams, but measuring by volume can vary significantly. Scooping and leveling flour can make a difference.
- Respect Rising Times: Dough rising times are estimates, as factors like room temperature and humidity greatly affect how quickly your dough proofs. Instead of strictly adhering to the clock, look for the visual cues – “doubled in size” for the first rise, and “puffy” or visibly increased in volume for the second rise.
- Mastering the Crust with Steam: For a truly professional, wonderfully crispy crust, consider adding steam to your oven during the initial baking phase. You can do this by placing an empty, oven-safe pan (like a cast-iron skillet or a disposable aluminum pan) on the bottom rack when you preheat the oven. Just before you put the bread in, carefully pour about a cup of hot water into the hot pan (be extremely cautious of the steam!). Close the oven door quickly to trap the steam. Remove the pan after about 10-15 minutes of baking.
- Patience with Cooling: While it’s incredibly tempting to cut into your bread immediately after it comes out of the oven, letting it cool on a wire rack is essential. This allows the internal structure of the bread to set properly and prevents a gummy texture, ensuring the best possible crumb.
- Optimal Storage: To keep your homemade French bread fresh, store it at room temperature, wrapped tightly in plastic wrap, aluminum foil, or in a specialized bread bag, for 1-2 days. For longer storage, you can slice and freeze it; simply thaw and toast when ready to enjoy.
Watch and Learn: Homemade French Bread Tutorial
Seeing the process in action can be incredibly helpful for any baker, especially when trying a new recipe. Watch me demonstrate each step of making this Easy Homemade French Bread in the video below. This visual guide will clarify techniques and ensure you feel confident throughout your baking journey. To stay updated with my latest cooking videos, please subscribe to my YouTube channel and enable notifications by clicking the bell icon.
Expand Your Baking Repertoire: More Delicious Bread Recipes From Scratch You Might Love
If you’ve enjoyed the rewarding process of baking this incredible French bread, you’ll surely love exploring other homemade bread recipes. Expanding your baking skills is a fulfilling journey, and these recipes offer a variety of delicious options to try from scratch, perfect for any occasion:
- Easy Sandwich Bread: A perfect staple for everyday use, this soft and versatile bread is ideal for sandwiches, toast, or simply enjoying with butter.
- Fluffy Dinner Rolls: These light and airy rolls are ideal for accompanying any meal, holiday spread, or for making small sandwiches.
- Homemade Milk Bread: Incredibly soft, rich, and slightly sweet, this bread features a unique tangzhong method for an ultra-tender crumb, perfect for sandwiches or a luxurious toast.
- Simple Cornbread (Without Buttermilk): A quick and satisfying side dish with a delightful texture and classic flavor, perfect with chili, stews, or barbecue.
- Authentic Shawarma Bread: The perfect pliable flatbread for wraps, kebabs, and Middle Eastern dishes, bringing global flavors to your home.
If you try this recipe, please consider leaving a star rating below. Your feedback not only helps others discover this wonderful recipe but also greatly encourages me to continue sharing delicious content. Thank you for your support!
Easy Homemade French Bread
This recipe makes baking Homemade French Bread from scratch incredibly simple, yielding results so delicious you’ll hardly believe it.
Print Recipe
Ingredients
- 2 1/2 cups warm water (around 105-115°F / 40-46°C)
- 4 1/2 teaspoons active dry yeast (or instant yeast)
- 1/4 cup granulated sugar (cane sugar or brown sugar would also work)
- 1 tablespoon vegetable oil (or any neutral-tasting oil)
- 1 tablespoon salt
- 6 cups all-purpose flour (plain flour) or bread flour (approximately 720g)
- 1 tablespoon butter (melted), for brushing the bread after baking
Instructions
- In a large bowl, combine the warm water, yeast, and sugar. Let stand for 5-10 minutes until foamy. Then, add the salt, vegetable oil, and gradually mix in the flour with a wooden spoon or a stand mixer until a shaggy dough forms.
- Transfer the dough onto a lightly floured surface and knead for about 5-7 minutes by hand (or 3-5 minutes with a stand mixer) until it becomes smooth and elastic.
- Place the dough in a lightly oiled bowl, turn to coat, cover with plastic wrap, and let it rise in a warm, draft-free place for 1-2 hours, or until doubled in size. Gently punch down the dough to release the air.
- Shape the dough into a ball on a floured surface. Divide the dough into four equal pieces using a sharp knife or dough scraper.
- Take one piece of dough (keeping the others covered) and gently flatten it into a rectangle. Fold one-third of the dough lengthwise towards the center, then fold the other third over, sealing the seam. Roll the dough back and forth to form a smooth log, tapering the ends slightly to create the classic French bread shape. Repeat with the remaining dough pieces.
- Using a very sharp knife or razor blade, make 5-8 diagonal slashes (about 1/2 inch deep) across the top of each shaped loaf.
- Carefully transfer the loaves to greased or parchment-lined baking sheets/trays. Cover loosely and let them rise in a warm place for another 20-30 minutes. Be careful not to let them over-proof.
- Preheat oven to 350°F (180°C). Bake for approximately 25 minutes, or until the bread is golden brown and sounds hollow when tapped.
- Immediately upon removing the loaves from the oven, brush generously with melted butter. Allow to cool on a wire rack before slicing and serving.
Notes
- To create an ideal warm environment for dough rising, you can briefly turn your oven to its lowest setting (around 110°F / 43°C), then turn it off and place the covered dough inside. This method consistently works well for accelerating proofing.
- Nutrition information provided assumes that each loaf is divided into 4 servings.
Nutrition
Additional Info
Tried this recipe?
Mention @preciouscore or tag #PreciousCore!