
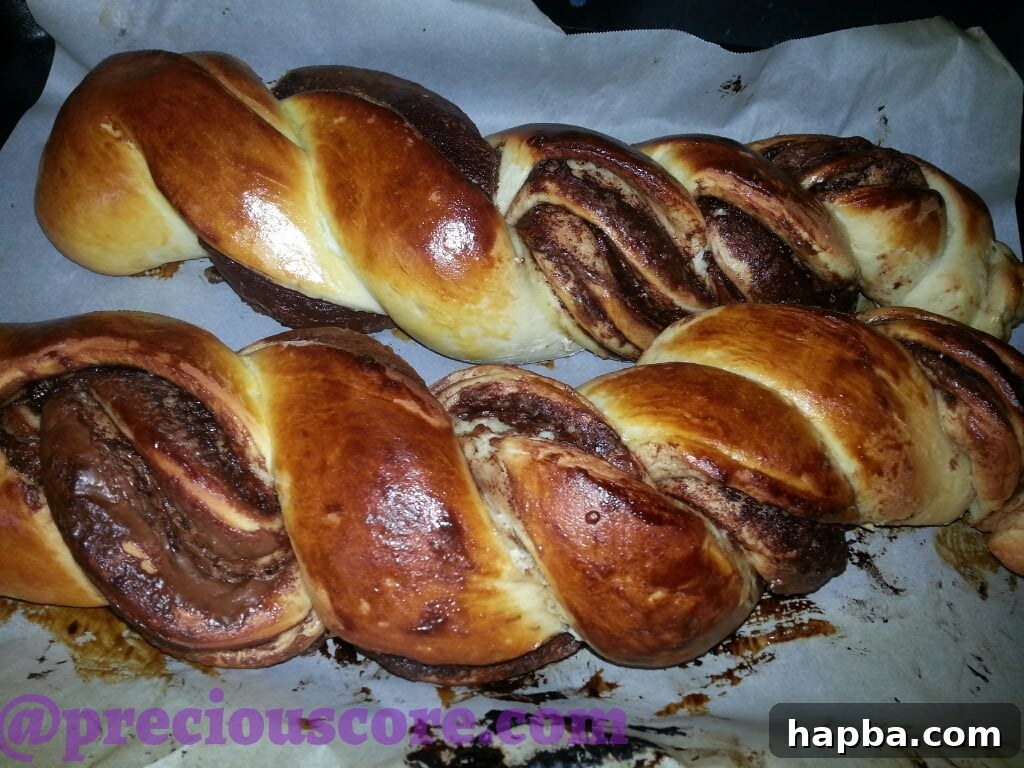
There’s something truly special about sharing homemade treats with loved ones. Recently, my family and I had the pleasure of a social gathering with close friends from our Bible study group – a wonderful community we’ve been growing with for months. As is tradition, each family contributed either a delicious appetizer or a tempting dessert. Faced with this delightful decision, I immediately thought of a recipe that always brings smiles: a rich, aromatic Nutella Swirl Braided Bread. While it might not fit the traditional definition of a dessert, its irresistible charm and subtle sweetness make it an absolute crowd-pleaser that you simply cannot go wrong with.
This isn’t just any bread; it’s a culinary masterpiece that combines the comforting warmth of homemade yeast bread with the decadent allure of hazelnut chocolate spread. Imagine a soft, pliable dough, generously slathered with creamy Nutella, then expertly braided into a mesmerizing two-strand twist. The visual appeal alone is enough to entice, promising a delightful experience with every slice.
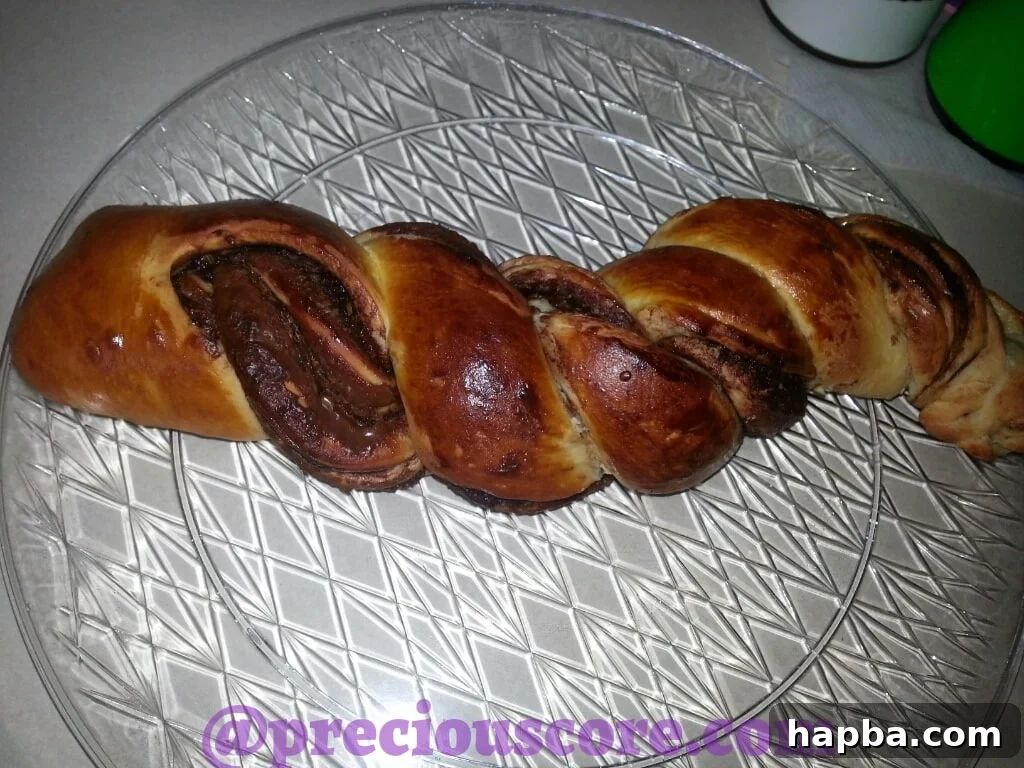
Why This Braided Nutella Bread is a Must-Try
What makes this Nutella Swirl Braided Bread truly stand out? Its unique characteristics make it a versatile favorite for any occasion. From casual family breakfasts to elegant gatherings, this bread delivers on taste, texture, and visual appeal.
A Symphony of Flavors Without Overpowering Sweetness
One of the most remarkable aspects of this bread is its perfect balance of sweetness. Unlike many conventional desserts that can be overly sugary, this braided bread offers a more refined sweetness. The delicate dough provides a neutral base, allowing the rich, nutty notes of the Nutella to shine through without becoming cloying. This makes it incredibly appealing to a wider audience, including those who typically shy away from intensely sweet treats. My husband, Mr. N., for instance, is not a fan of overly sweet foods, yet he couldn’t resist munching on slice after slice as I tried to capture its beauty for these photographs. His endorsement truly speaks volumes!
Unrivaled Versatility for Any Occasion
This braided bread is remarkably adaptable. It’s an exceptional choice for:
- Special Occasions: Impress your guests with its sophisticated appearance and gourmet taste.
- Guest Entertainment: A perfect offering when hosting, providing a comforting and memorable treat.
- Self-Indulgence: Sometimes, you just need to spoil yourself a little, and this bread is the perfect way to do it.
- Breakfast & Brunch: Start your day on a high note. It pairs wonderfully with your morning coffee, tea, or a glass of milk. Its satisfying texture and flavor make it a fulfilling breakfast item that feels truly indulgent.
- Anytime Snack: Truly, this bread is so complete and satisfying, it can be enjoyed on its own as a delightful snack throughout the day.
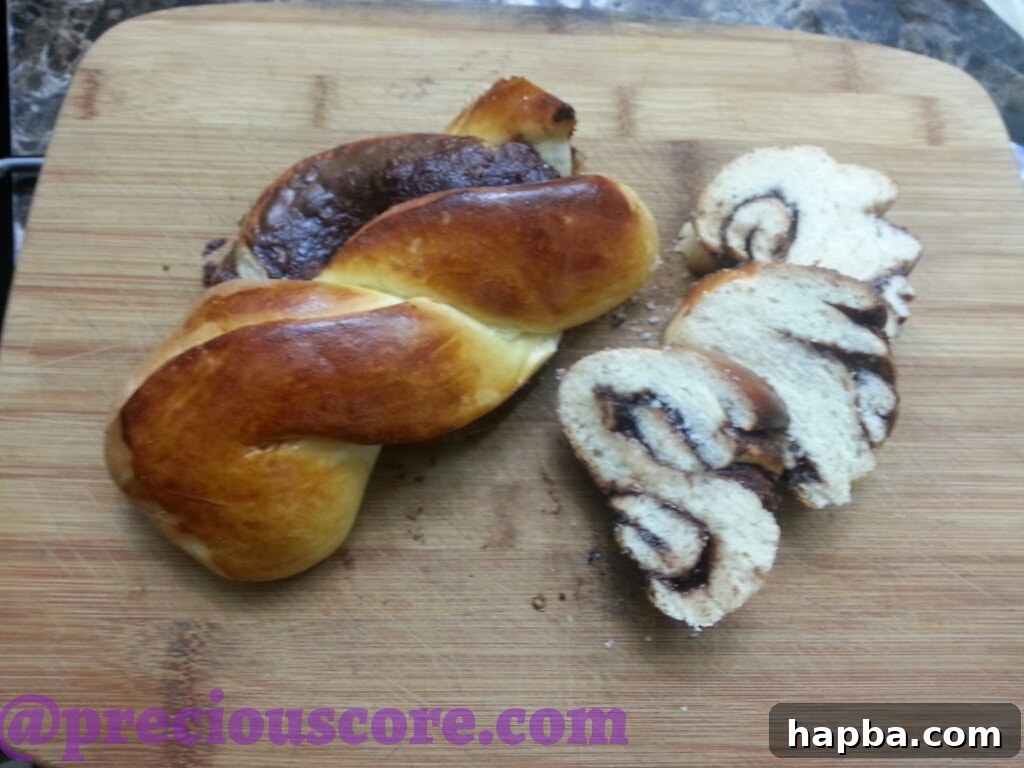
The Magic of Nutella (and Its Alternatives)
At the heart of this recipe is Nutella, a beloved hazelnut cocoa spread that has captured hearts worldwide. This iconic spread is made from sugar, palm oil, hazelnuts, cocoa powder, skimmed milk powder, whey powder, lecithin (emulsifier), and vanillin. It’s known for its creamy texture and rich, distinctive flavor that perfectly complements the soft bread. You can easily find it in the spreads aisle of most grocery stores.
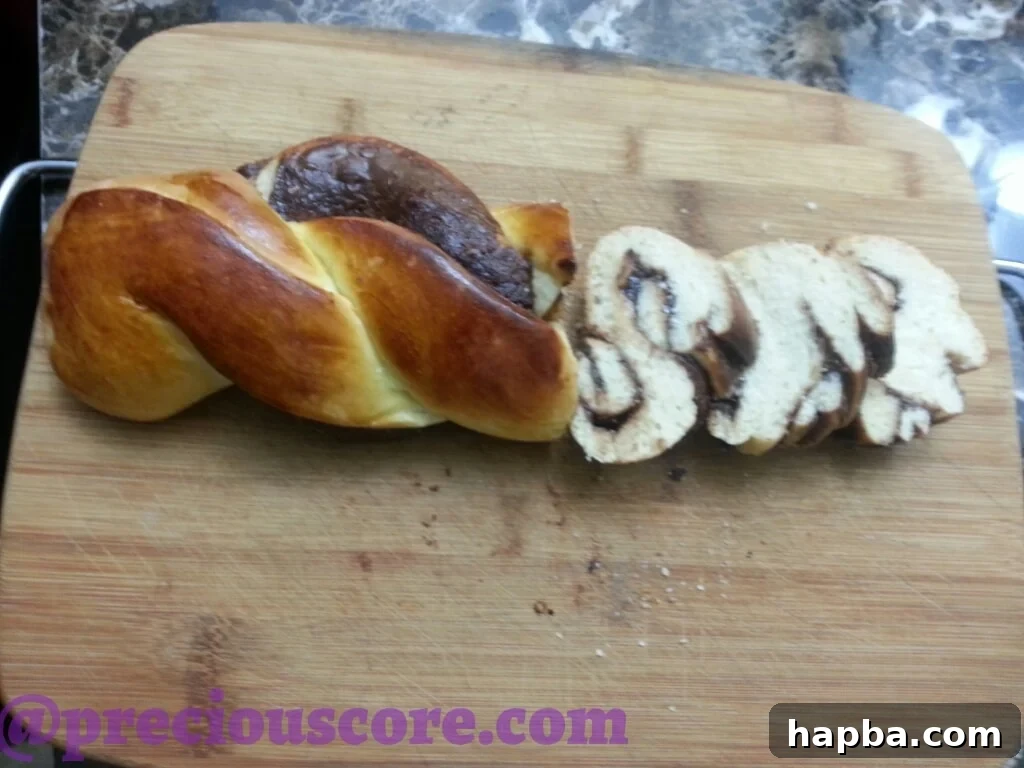
However, don’t worry if Nutella isn’t readily available where you are. In Cameroon, for example, a similar and equally delicious spread called Tartina is widely sold. The beauty of this recipe lies in its flexibility. If you can’t find Nutella or Tartina, any other good quality chocolate and nut-based spread will work wonderfully. Look for brands that offer a smooth consistency and a balanced flavor profile. You might even explore artisanal chocolate hazelnut spreads for a unique twist. The key is a spread that will melt slightly during baking, creating those luscious swirls without entirely disappearing into the dough. Really, with a base as good as this, you just can’t go wrong!
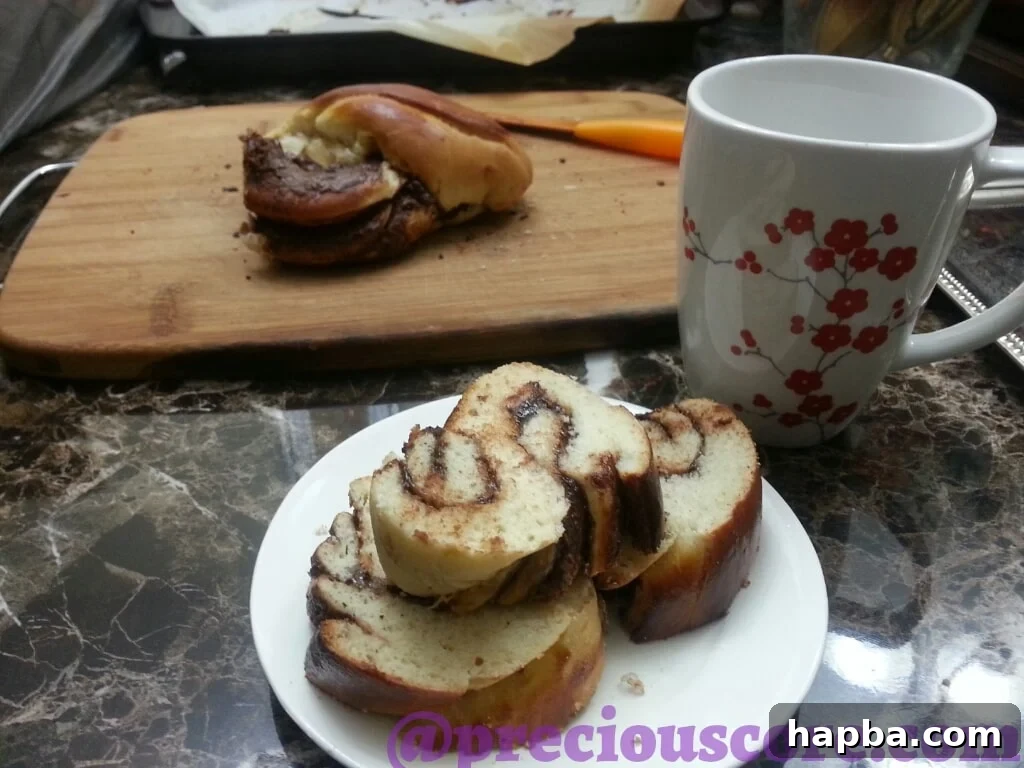
Serve it with a cuppa…
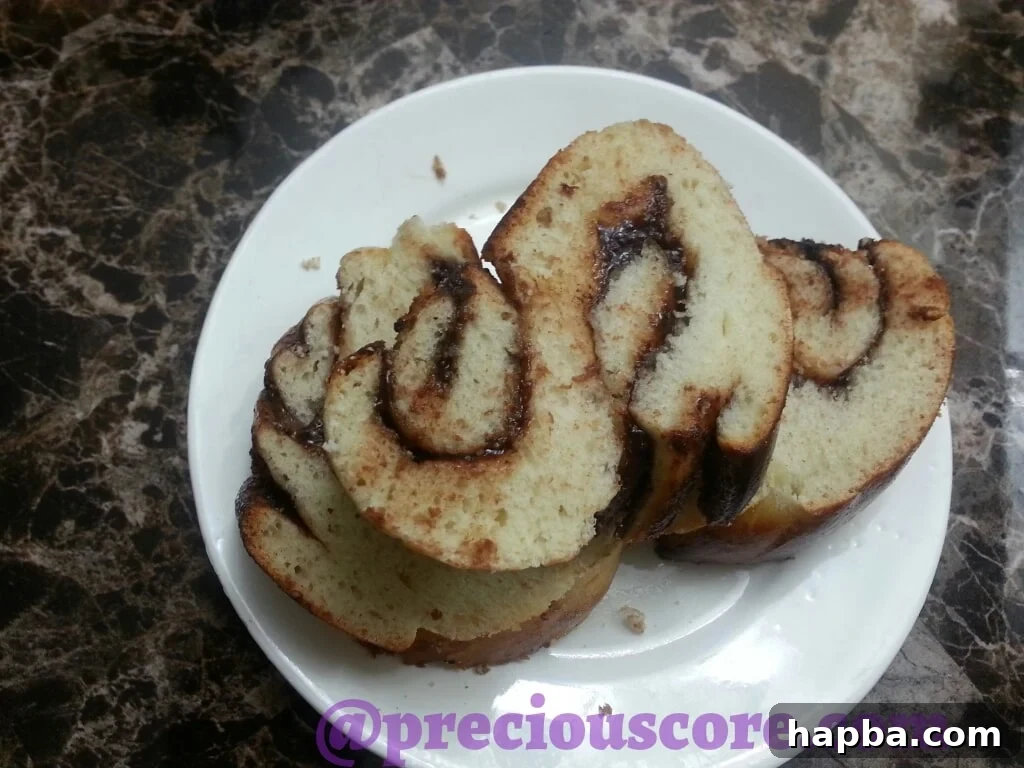
…or chew it just on its own. Truly, this bread is self-sufficient and utterly satisfying either way.
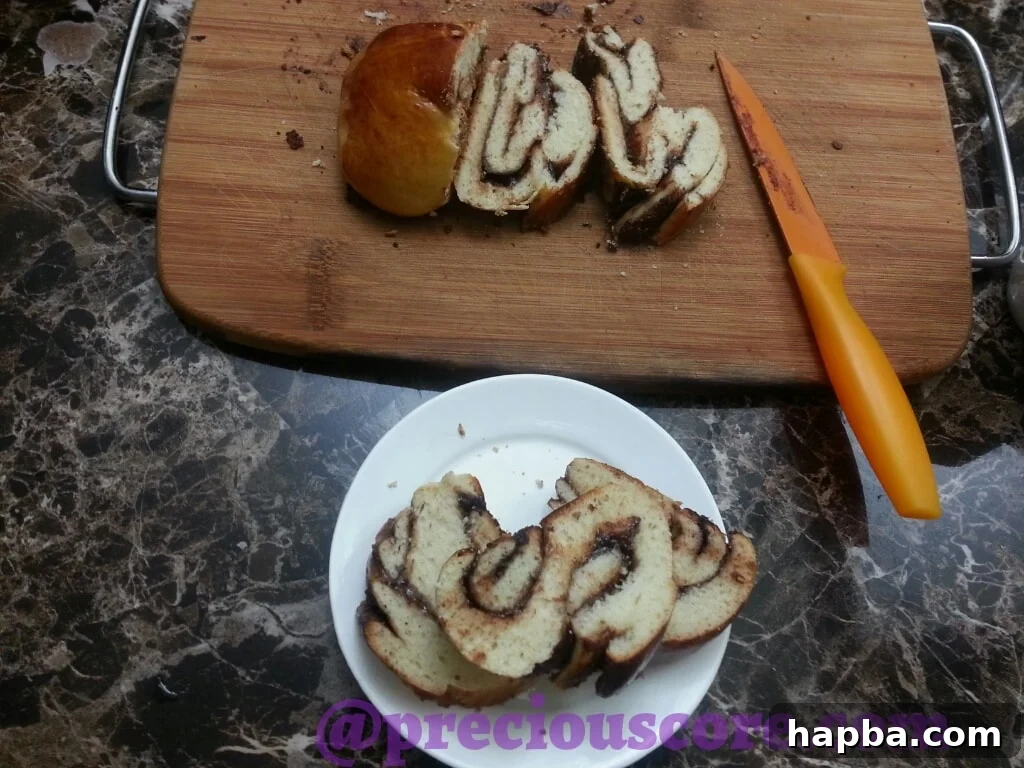
The Ultimate Braided Chocolate Bread Recipe
Crafting this beautiful and delicious bread is a rewarding experience. Follow these detailed steps to achieve a perfectly soft, flavorful loaf with enticing chocolate swirls.
Prep time: 1 hour 15 mins (includes rising time)
Cook time: 20 mins
Yields: 1 large loaf or 2 smaller loaves
Ingredients You Will Need:
To embark on this delightful baking journey, gather the following high-quality ingredients:
- 3 – 3 1/2 cups of all-purpose flour: Essential for the dough’s structure. Start with 3 cups and add more if needed for a cohesive dough.
- 1 sachet of active dry yeast (approximately 2 1/4 teaspoons or 7g): The leavening agent that gives the bread its airy texture. Ensure it’s fresh.
- 1/4 cup unsalted butter, melted: Adds richness and tenderness to the dough.
- 1/4 cup granulated sugar: Provides a touch of sweetness to the dough and feeds the yeast.
- 1/2 cup of whole milk: Contributes to a softer crumb and richer flavor.
- 1 teaspoon of salt: Balances the flavors and enhances the taste of the bread.
- 1/2 cup of warm water: Crucial for activating the yeast. The temperature is key – too hot will kill the yeast, too cold won’t activate it.
- 1 cup of Nutella or any other premium chocolate hazelnut spread: The star filling for those luscious swirls.
- 1 egg yolk for egg wash: Mixed with a tablespoon of water, this creates a beautiful, glossy golden-brown crust.
Step-by-Step Instructions:
Follow these detailed instructions to create your own irresistible braided Nutella bread.
Step 1: Activate the Yeast
In a small bowl, dissolve the active dry yeast in 1/2 cup of warm water. The water should be comfortably warm to the touch, like a baby’s bath – not too hot to kill the yeast, and not too cold to inhibit its activation. Let it sit for about five to ten minutes until it becomes foamy and bubbly. This indicates the yeast is active and ready to work its magic.
Step 2: Combine Wet Ingredients
Once the yeast is activated, add the melted butter and milk to the yeast mixture. Stir gently to combine all the wet ingredients thoroughly.
Step 3: Mix Dry Ingredients
In a large mixing bowl, combine about two cups of the flour with all the granulated sugar and salt. Gradually pour the wet yeast mixture into the dry ingredients. Begin beating them together with a spoon or a stand mixer with a dough hook attachment. The mixture will start to come together.
As you mix, it should look like this – a shaggy, somewhat sticky dough forming.
Step 4: Form the Dough
Now, add the remaining flour, a little at a time, until a soft, slightly sticky dough forms. You might not need all 3 1/2 cups. Turn the dough out onto a lightly floured surface and knead it for about 5-7 minutes, until it becomes smooth, elastic, and no longer sticky. Use your hands to thoroughly mix and knead until everything is well incorporated and the dough is pliable.
The final result should be a beautiful, smooth, and stretchy dough ball. This indicates proper gluten development, which is crucial for a soft bread.
Step 5: First Rise (Proofing)
Lightly oil a clean bowl or spray it with cooking spray. Place the dough ball into the prepared bowl, turning it once to coat lightly with oil. Cover the bowl tightly with plastic wrap or a damp kitchen towel. Let the dough rise in a warm place for approximately 45 minutes to 1 hour, or until it has doubled in size. A warm, draft-free environment is ideal for optimal rising. (See notes below for a clever trick to create a warm rising environment).
Step 6: Divide and Roll
Once the dough has risen, gently punch it down to release the air. Transfer the dough onto a lightly floured chopping board or work surface. Divide the dough into two equal portions. This will allow you to make two smaller loaves or one larger, more impressive braided loaf if you choose to combine them later.
Take one portion of the dough. Use the palm of your hand to flatten it slightly, creating a rough rectangle shape.
Then, use a rolling pin to further flatten the dough into a more defined rectangular shape, aiming for approximately 12×8 inches (30×20 cm).
Step 7: Spread the Nutella
Using a spoon or an offset spatula, generously spread half of your chocolate spread (approximately 1/2 cup) evenly over the entire surface of the rolled-out dough, leaving a small border (about 1/2 inch) around the edges. This border will help seal the dough when rolled.
Ensure the spread is as uniform as possible for consistent flavor in every bite.
Step 8: Roll into a Log
Carefully take one of the long ends of the dough and begin rolling it up tightly into a log shape. Roll as evenly as possible to create a neat spiral effect.
Continue rolling until it forms a uniform log, with the seam sealed at the bottom.
Step 9: Prepare for Braiding
Place the log seam-side down. Using a sharp knife or bench scraper, trim off the very end of one side of the log and gently tuck it under for a clean finish. Then, cut the log lengthwise down the middle, leaving about one inch uncut at one end. This will create two separate strands of dough, each revealing the beautiful Nutella swirl inside.
When you are done cutting, it should look like this, with two distinct strands ready for braiding:
Step 10: The Beautiful Braid
Now, carefully twist the two strands over and under each other, creating a two-strand braid or twist. Ensure the cut sides, showcasing the Nutella, are facing upwards as much as possible to maximize visual appeal.
Once you’ve finished braiding, neatly fold in the ends to create a polished look and prevent the Nutella from oozing out during baking.
Step 11: Second Rise
Carefully transfer your beautifully braided dough onto a baking tray lined with parchment paper. If you made two smaller loaves, place them side-by-side. Repeat the flattening, spreading, rolling, cutting, and braiding process with the other portion of dough if you’re making a second loaf. Cover the braided loaves loosely with a clean, damp cloth and let them rest in a warm place for about 10-15 minutes. This short second rise helps them become slightly puffier and more tender.
Step 12: Egg Wash and Bake
Preheat your oven to 350 Degrees Fahrenheit (175 Degrees Celsius). In a small bowl, whisk the egg yolk with a tablespoon of water to create an egg wash. Gently brush the top and sides of the braided loaves with this egg wash. This will give them a gorgeous golden-brown color and a lovely sheen. Bake in the preheated oven for approximately 20-25 minutes, or until the top is deeply golden brown and the bread sounds hollow when tapped on the bottom. Keep an eye on it to prevent over-browning.
Once baked, remove the bread from the oven and let it cool on a wire rack for at least 15-20 minutes before slicing. This allows the internal structure to set and the chocolate to firm up slightly, preventing it from being too gooey when cut.
Expert Tips for the Perfect Braided Nutella Bread
To ensure your braided chocolate bread turns out perfectly every time, keep these helpful tips in mind:
- Yeast Temperature: The water for yeast activation should be between 105-115°F (40-46°C). Use a thermometer if unsure, or test with your finger – it should feel pleasantly warm, not hot.
- Creating a Warm Rising Environment: If your kitchen is cool, you can easily create a warm place for your dough to rise. Warm your oven for just 2 minutes at 200°F (95°C), then turn it off. Place the covered dough inside the turned-off oven. The residual warmth will help it rise beautifully.
- Dough Consistency: The dough should be soft, elastic, and slightly tacky, but not overly sticky. If it’s too sticky, add a tablespoon of flour at a time until it reaches the right consistency. If it’s too dry, add a teaspoon of milk or water.
- Even Nutella Spread: Ensure the Nutella is spread evenly and thinly across the dough. This guarantees beautiful swirls and consistent chocolate flavor in every bite. If your Nutella is too stiff, you can warm it gently in the microwave for 10-15 seconds to make it more spreadable.
- Tight Rolling: Roll the dough log as tightly as possible to ensure compact spirals and prevent large air pockets.
- Sharp Knife for Cutting: Use a very sharp knife or a pizza cutter to make clean, precise cuts down the length of the dough log. This will give you defined strands for braiding.
- Alternative to Egg Wash: If you prefer a dairy-free option or simply want more chocolate, you can gently brush some melted chocolate spread (or even melted butter) on the loaves after the second rise, before baking, for a slightly different finish.
- Don’t Overbake: Keep an eye on your bread as baking times can vary. Overbaking can lead to a dry loaf. The bread is done when it’s golden brown and registers around 200-210°F (93-99°C) with an instant-read thermometer.
Variations to Explore
While the classic Nutella Swirl Braided Bread is perfect, feel free to get creative with these delicious variations:
- Add Crunch: Sprinkle chopped hazelnuts, almonds, or even chocolate chips over the Nutella before rolling for added texture and flavor.
- Spice It Up: A pinch of cinnamon or a dash of espresso powder mixed into the Nutella can elevate its flavor profile.
- Different Spreads: Experiment with other sweet spreads like almond butter, speculoos spread, or even a thick fruit jam for a fruity twist. You could also try a cream cheese filling for a cheesecake-like bread.
- Two-Tone Swirl: Combine two different spreads, like half Nutella and half cream cheese spread, for a beautiful contrast in flavor and appearance.
Serving Suggestions
This bread is a star on its own, but here are a few ways to enhance the experience:
- Breakfast Bliss: Serve warm slices with your morning coffee, tea, or a tall glass of milk. It’s a complete meal in itself.
- Dessert Decadence: For an extra indulgent treat, serve a warm slice with a scoop of vanilla ice cream or a drizzle of chocolate sauce.
- Brunch Centerpiece: Make it the star of your next brunch spread, alongside fresh fruit and other pastries.
Storage
Store any leftover bread in an airtight container at room temperature for up to 2-3 days. For longer storage, wrap individual slices tightly in plastic wrap and then foil, and freeze for up to 1 month. Reheat gently in the microwave or oven for a fresh-baked taste.
Conclusion
This Braided Nutella Bread is more than just a recipe; it’s an invitation to create, share, and savor truly memorable moments. Whether you’re baking for a special gathering, surprising loved ones, or simply treating yourself to a moment of pure bliss, this bread delivers on every front. Its elegant appearance, balanced sweetness, and irresistible chocolate swirls make it a guaranteed success. So, roll up your sleeves, gather your ingredients, and prepare to fill your kitchen with the heavenly aroma of freshly baked bread. You’ll be rewarded with a masterpiece that’s as delightful to look at as it is to eat. Happy baking, and enjoy every incredible bite!