
Indulge in Creamy Homemade Coconut Ice Cream: An Easy Recipe for Tropical Bliss
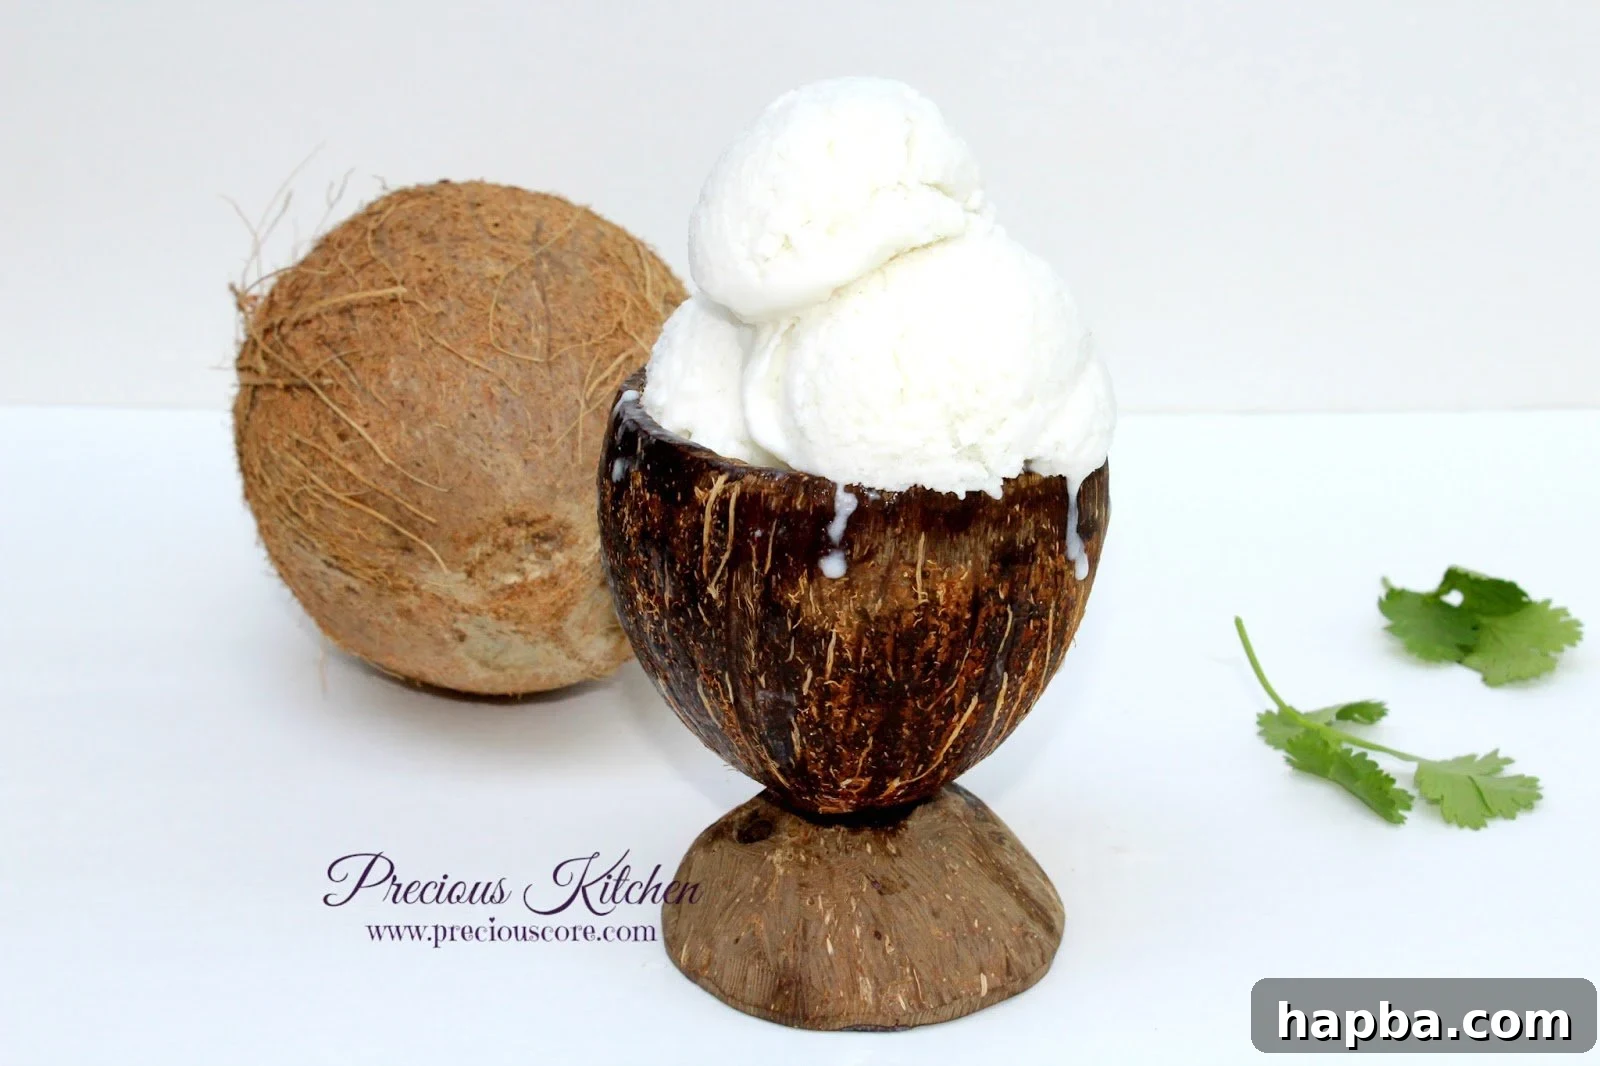
My profound affection for all things coconut recently led to a delightful creation in my kitchen. It all started with a thoughtful gift from Mr. N: a beautifully crafted cup fashioned from a coconut shell. Its natural charm captivated me instantly. As you might have seen in my video here, I even began using it to hold a sprinkle of salt, embracing its rustic elegance. This special cup sparked an idea, a culinary journey to honor its very essence: why not fill it with homemade coconut ice cream?
This simple thought blossomed into a recipe that has since become a cherished treat in my home. There’s something incredibly satisfying about transforming basic ingredients into a luxurious dessert, especially when it’s inspired by such a unique, natural vessel. This recipe isn’t just about making ice cream; it’s about celebrating the versatility and exquisite flavor of coconut in its purest, creamiest form.
Why This Homemade Coconut Ice Cream Will Become Your New Favorite
Let me tell you, this isn’t just any ice cream. This is a revelation. Every spoonful of this homemade coconut ice cream is an experience in itself. It is unequivocally coconut-rich, boasting an authentic tropical flavor that transports you straight to a sun-drenched beach. Its texture is incredibly creamy, melting smoothly on your tongue without any trace of iciness, delivering a profound sense of comfort with every bite.
What truly sets this recipe apart is its perfectly balanced sweetness. Unlike many store-bought ice creams that can be overwhelmingly sugary, ours offers a subtle sweetness that highlights the natural flavors rather than masking them. The secret ingredient? A delicate hint of salt at the finish. This subtle salty note acts as a magnificent counterpoint, enhancing the coconut’s natural depth and making the overall experience beautifully harmonious and incredibly addictive. I genuinely feel like I’m living happily ever after with my coconut cup and this exquisite ice cream.
Creating your own ice cream at home means you control every ingredient, ensuring a fresh, pure, and utterly delightful dessert. This recipe proves that you don’t need fancy equipment to achieve professional-level results; just a little patience and a love for good food.
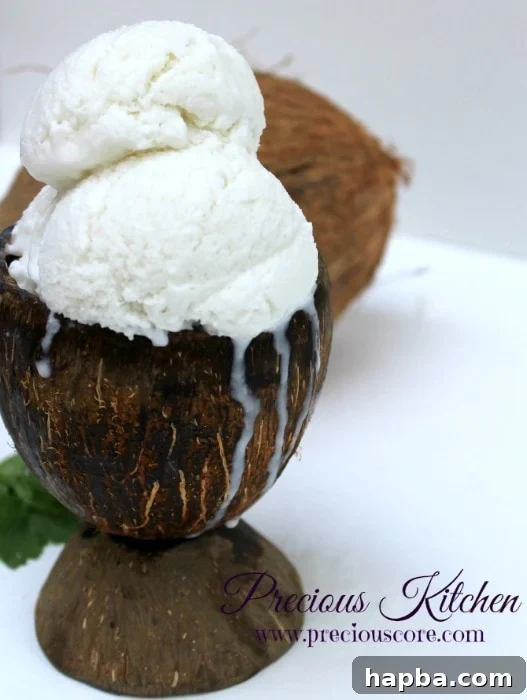 |
| Pure tropical bliss in every scoop! |
Elevate Your Experience: The Best Toppings for Coconut Ice Cream
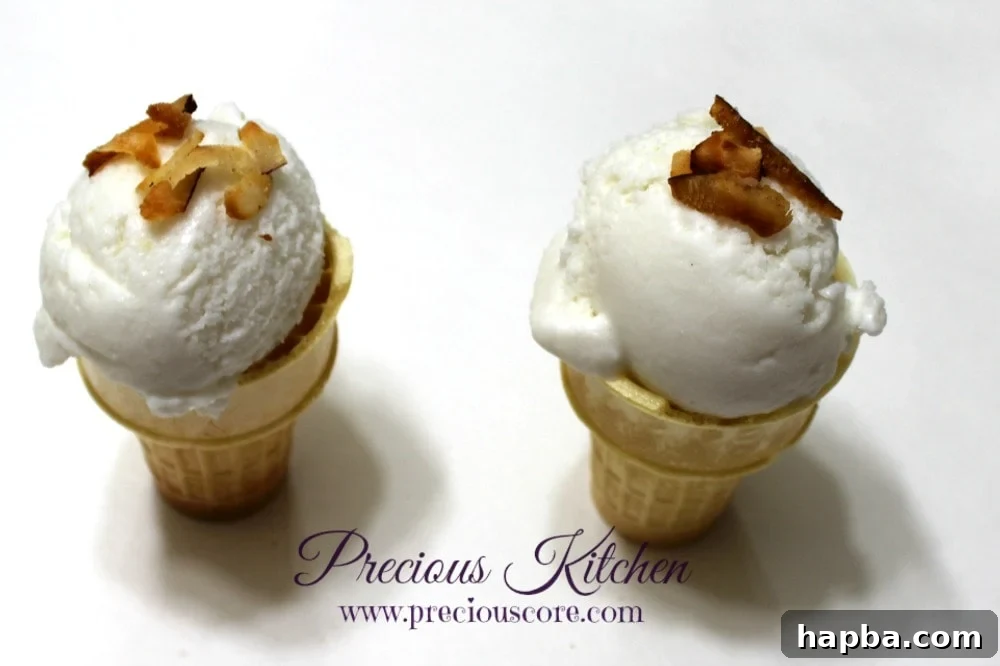
While this coconut ice cream is absolutely divine on its own, adding a few thoughtful toppings can elevate it to an entirely new level of indulgence. If you happen to have some toasted coconut flakes on hand, they are an absolute must-try. Their delicate crunch and intensified coconut flavor provide a textural contrast and aromatic boost that promises a bump-free trip straight to coconut heaven. Toasting coconut flakes is simple: just spread them on a baking sheet and bake at 300°F (150°C) for 5-10 minutes, or until golden brown, stirring occasionally. The aroma alone is worth the effort!
Beyond Toasted Flakes: Creative Topping Ideas
- Fresh Tropical Fruits: Slices of ripe mango, pineapple chunks, or a scattering of fresh berries like raspberries or blueberries complement the creamy coconut beautifully. Their natural sweetness and slight tartness create a refreshing balance.
- Chocolate Drizzle or Shavings: A warm chocolate fudge sauce or a sprinkle of dark chocolate shavings introduces a classic pairing that’s always a winner. The rich bitterness of chocolate against the sweet coconut is simply irresistible.
- Chopped Nuts: Almonds, cashews, or macadamia nuts offer a satisfying crunch and nutty depth that harmonizes wonderfully with the coconut base. Lightly toasting them beforehand will enhance their flavor even further.
- Caramel or Butterscotch Sauce: For an extra layer of decadence, a swirl of rich caramel or butterscotch sauce can add a delightful stickiness and a comforting sweetness.
- A Pinch of Sea Salt: If you enjoy the sweet and salty dynamic, a tiny sprinkle of flaky sea salt on top can bring out even more complex flavors, mirroring the subtle salty finish within the ice cream itself.
Experiment with these suggestions or create your own signature combination. The beauty of homemade ice cream is the freedom to customize it exactly to your liking, making every serving a unique and personal treat.
Mastering the Art of Homemade Coconut Ice Cream: Ingredients Breakdown
Crafting exceptional homemade coconut ice cream begins with understanding and selecting the right ingredients. Each component plays a vital role in achieving that perfect creamy texture and rich, authentic flavor. Here’s a closer look at the key “actors” involved in this delicious production:
The Core Ingredients:
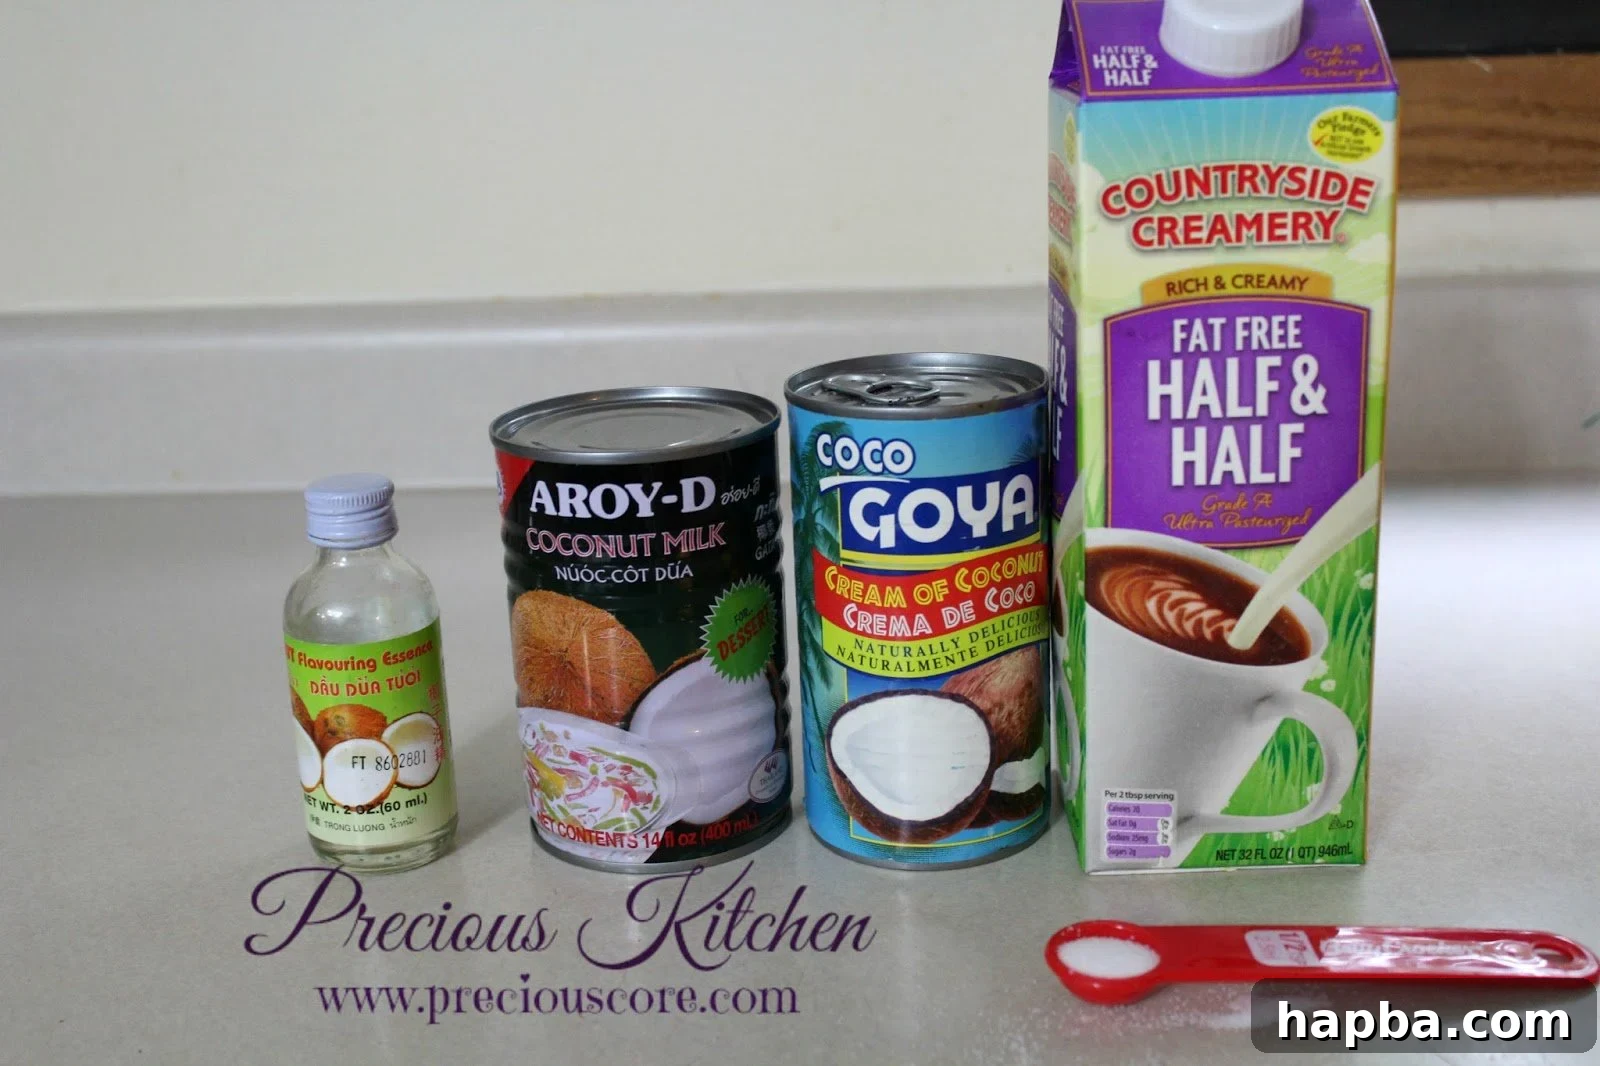
- 1 Can (13.5 oz / 400ml) Full-Fat Coconut Milk: This is the foundation of our ice cream, providing the essential coconut flavor and contributing significantly to its creamy texture. Always opt for full-fat coconut milk, as the higher fat content is crucial for a smooth, less icy result. Look for brands without too many additives, and don’t worry if the cream has separated to the top; it will reincorporate during mixing.
- 1 Can (15 oz / 425g) Cream of Coconut: This sweetened coconut product is distinct from coconut milk. It’s thicker, richer, and already sweetened, making it perfect for adding body, sweetness, and an intense coconut flavor. Brands like Coco Lopez or Goya are commonly available. Do not confuse it with regular coconut milk or cream, as it’s specifically formulated for desserts and cocktails, providing a significant portion of the sweetness needed for this recipe.
- 1 Cup Heavy Whipping Cream or Half and Half: This ingredient is key for achieving that luxurious, dairy-like creaminess.
- Heavy Whipping Cream (Dairy Option): For the richest, most decadent texture, heavy whipping cream (with at least 36% fat) is ideal. It whips beautifully and prevents ice crystal formation, resulting in a super smooth ice cream.
- Half and Half (Lighter Dairy Option): If you prefer a slightly lighter version without compromising too much on creaminess, half and half (a mix of whole milk and light cream) can be used. The final texture will be a bit less rich than with heavy cream, but still delicious.
- Vegan Alternative: For a completely dairy-free or vegan version, you can substitute the heavy whipping cream or half and half with an additional can of full-fat coconut cream (the thick part scooped from a chilled can of full-fat coconut milk) or a high-quality, plant-based heavy cream alternative. Ensure it’s designed for whipping to get the best texture.
- Half Teaspoon Salt: This might seem counterintuitive for a dessert, but salt is a flavor enhancer. It doesn’t make the ice cream taste salty (unless you add too much), but rather brightens and deepens the other flavors, particularly the sweetness and the coconut notes. It balances the richness, preventing the ice cream from being cloyingly sweet and adding that irresistible finish.
- Half Teaspoon Coconut Flavor (Optional): For those who desire an even more pronounced coconut punch, a good quality coconut extract or flavor can be added. This is entirely optional, as the combination of coconut milk and cream of coconut already provides a robust flavor. However, if you’re a true coconut aficionado, it’s a great way to intensify the experience.
By understanding the role of each ingredient, you’re not just following a recipe; you’re mastering the craft of homemade ice cream, allowing you to appreciate the subtle complexities that make this dessert so special.
Your Simple Step-by-Step Guide to Creamy Coconut Ice Cream
This recipe is designed for simplicity, allowing anyone to create delicious homemade ice cream with minimal fuss. Whether you have an ice cream maker or not, you can achieve a wonderfully creamy result. Here’s how to do it:
Prep Time & Yield:
- Prep: 10 minutes (active mixing time)
- Partially Active Time: Approximately 6 hours (freezing with intermittent beating)
- Cook: 0 minutes
- Yield: Approximately 6-8 servings
Ingredients
(Please note: Use full-fat versions for best results regarding texture and flavor)
- 1 can (13.5 oz / 400ml) full-fat coconut milk
- 1 can (15 oz / 425g) cream of coconut
- 1 cup heavy whipping cream or half and half (or vegan alternative like full-fat coconut cream, chilled)
- ½ teaspoon salt
- ½ teaspoon coconut flavor (optional, for intensified taste)
Equipment You’ll Need:
- Large mixing bowl (preferably plastic or metal, which chills faster)
- Whisk or electric mixer
- Freezer-safe container with a lid (e.g., a loaf pan, an airtight plastic container)
- Spatula or spoon for scraping and mixing
- (Optional) Ice cream maker, if you have one
Instructions:
Step 1: Combine and Whisk All Ingredients
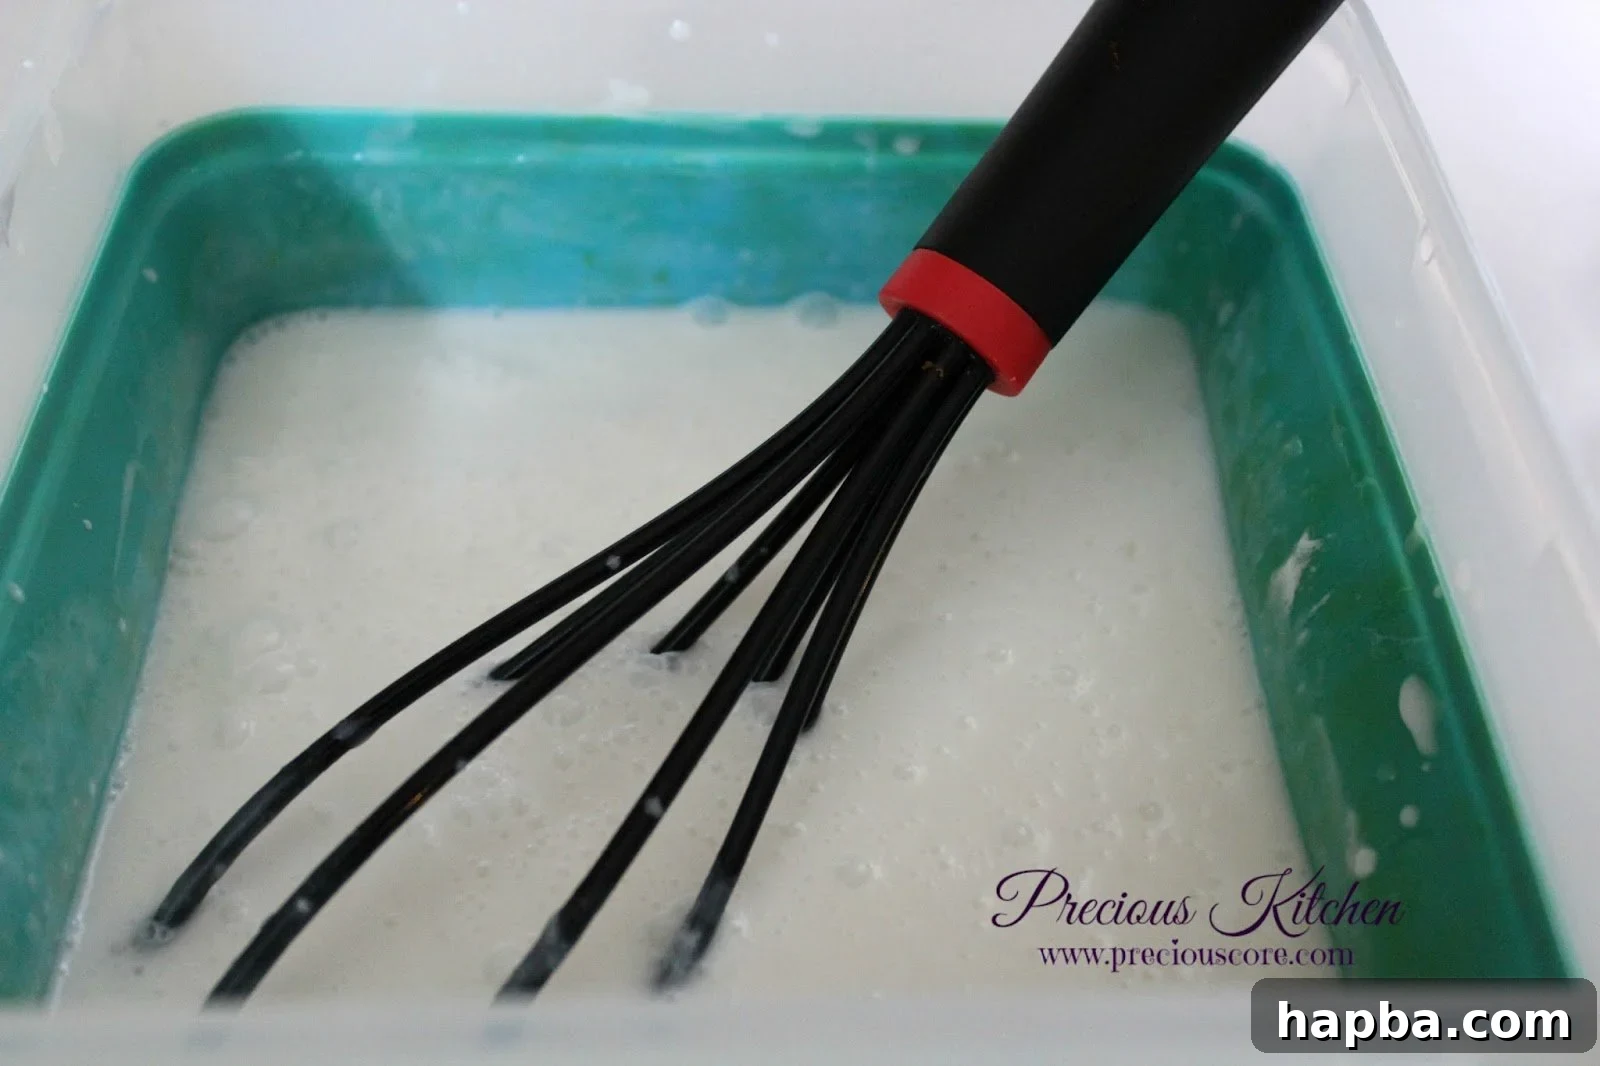
In your large mixing bowl, combine the can of full-fat coconut milk, the can of cream of coconut, the heavy whipping cream (or half and half/vegan alternative), the salt, and the optional coconut flavor. Give them a good, thorough mix. You can use a whisk for about 2-3 minutes or an electric mixer on low speed for 1 minute until all ingredients are completely combined and smooth. Ensure there are no lumps, especially from the cream of coconut which can be quite thick. This initial mixing is crucial for an even flavor throughout your ice cream.
Step 2: Initial Freeze (for No-Churn Method) or Churn (for Ice Cream Maker)
If you have an ice cream maker, simply pour the well-mixed base into the frozen bowl of your machine and churn according to the manufacturer’s instructions, typically for 20-30 minutes, until it reaches a soft-serve consistency. Then, transfer it to a freezer-safe container for final hardening.
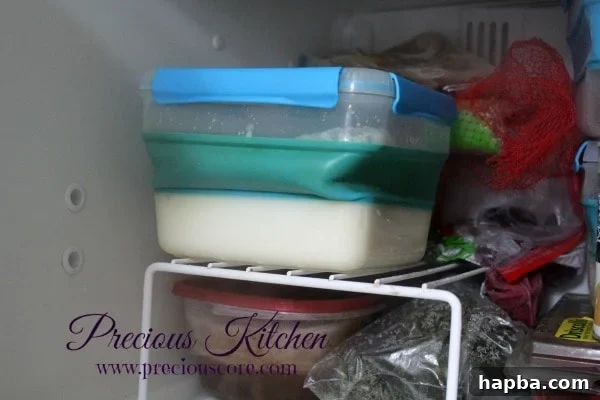
For the no-churn method (which this recipe primarily caters to), cover your bowl tightly with a lid or plastic wrap and place it in the freezer. The initial chill allows the mixture to start solidifying before the beating process begins.
Step 3: The Secret to No-Churn Creaminess (Manual Beating Method)
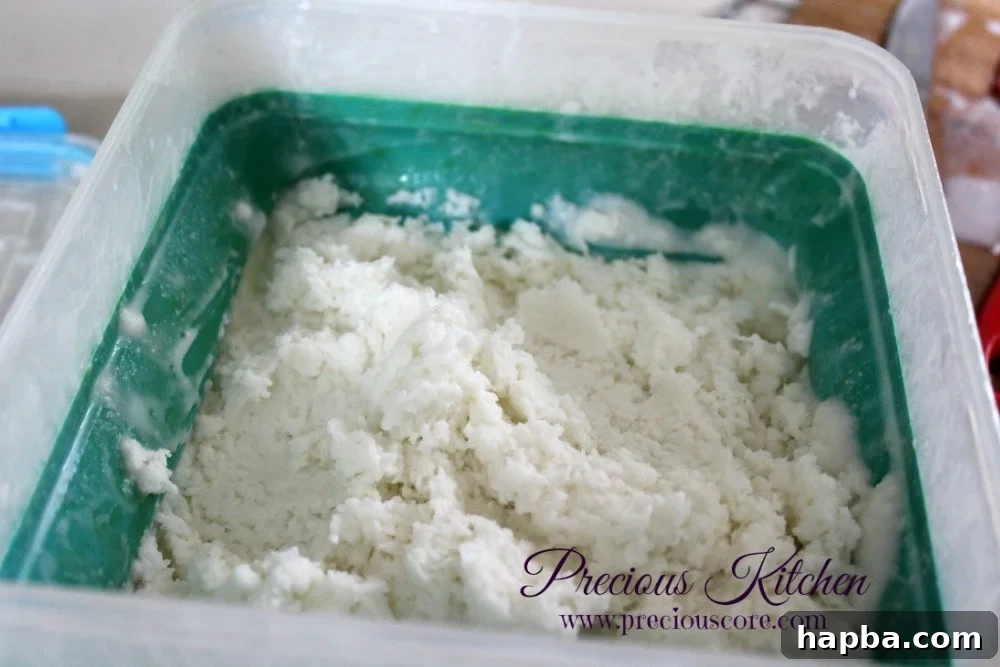
This is the most important step for achieving a smooth, creamy texture without an ice cream maker. After about 45 minutes to an hour in the freezer (when the edges start to freeze but the center is still soft), remove the bowl. Using a sturdy spoon, spatula, or even an electric mixer, vigorously beat the partially frozen mixture. Break up any ice crystals forming on the edges and thoroughly incorporate them back into the softer center. This process helps distribute the fat and sugar evenly, preventing large ice crystals from forming, which is what makes homemade ice cream typically icy.
Return the bowl to the freezer. Repeat this beating process every 20-30 minutes for approximately 6 hours. Yes, it requires some dedication and being home, but it’s well worth the effort for the luxurious texture you’ll achieve. This method mimics the continuous churning of an ice cream maker, breaking up crystals as they form. I often choose to do this on a relaxing Sunday when I have no plans to go out, making it part of a fun, low-key afternoon.
Step 4: Final Freeze & Serve
After approximately 6 hours of intermittent beating, your coconut ice cream should have reached a firm, scoopable consistency. Transfer it to an airtight freezer-safe container for its final hardening phase. Allow it to freeze for at least another 2-4 hours, or overnight, for the best results. When you’re ready to serve, if the ice cream is too hard, let it sit at room temperature for 5-10 minutes to soften slightly, making it easier to scoop.
And just like that, your incredibly delicious, creamy homemade coconut ice cream is ready! How easy and rewarding was that? Now, if you’ll excuse me, I have some serious ice cream licking to do. Enjoy your tropical treat!
Tips for the Perfect Homemade Coconut Ice Cream
To ensure your coconut ice cream turns out perfectly every time, keep these expert tips in mind:
- Chill Your Bowl: If you’re using the no-churn method, placing your mixing bowl in the freezer for 15-30 minutes before mixing can help start the chilling process faster and contribute to a creamier result.
- Quality Ingredients Matter: As mentioned, full-fat coconut milk and good quality cream of coconut are non-negotiable for the best flavor and texture. High-quality heavy cream also makes a significant difference.
- Don’t Skimp on the Salt: That half teaspoon of salt truly enhances all the flavors. Resist the urge to omit it; it’s a game-changer!
- Beat Thoroughly: Whether with a whisk or electric mixer, ensure all ingredients are fully incorporated before freezing. This prevents separation and ensures a uniform texture.
- Prevent Freezer Burn: Always store your ice cream in an airtight container. Press a piece of parchment paper or plastic wrap directly onto the surface of the ice cream before putting the lid on to minimize exposure to air and prevent ice crystals from forming on top.
- Softening Before Serving: Homemade ice cream tends to freeze harder than commercial varieties due to fewer stabilizers. Take it out of the freezer 5-10 minutes before serving to let it soften slightly for easier scooping and a creamier mouthfeel.
Explore Variations: Customize Your Tropical Treat
One of the joys of making ice cream at home is the ability to customize it to your heart’s content. Here are some delightful variations to try once you’ve mastered the basic recipe:
- Fruity Swirl: After the final beatings and before the last freeze, gently swirl in a purée of your favorite tropical fruits like mango, passion fruit, or pineapple. Heat the fruit with a little sugar, then cool before swirling.
- Chocolate Dream: Add mini chocolate chips or finely chopped dark chocolate during the last beating phase. For a more intense chocolate flavor, swirl in a cooled chocolate ganache or fudge sauce.
- Nutty Crunch: Mix in chopped roasted cashews, macadamia nuts, or almonds for added texture and flavor.
- Spiced Delight: Infuse the mixture with warm spices like a pinch of cardamom, cinnamon, or even a hint of ginger for an exotic twist. You can do this by steeping the spices in the coconut milk briefly before chilling and mixing.
- Coffee Kick: Dissolve a teaspoon of instant espresso powder or strongly brewed, cooled espresso into the mixture for a coconut-coffee fusion.
- Lime Zest Brightness: A teaspoon of fresh lime zest added to the mixture can provide a vibrant, zesty lift that perfectly complements the coconut.
Frequently Asked Questions About Homemade Coconut Ice Cream
Q: Can I make this ice cream vegan?
A: Absolutely! The base of this recipe is naturally dairy-free (coconut milk and cream of coconut). To make it fully vegan, simply substitute the heavy whipping cream with an equal amount of full-fat coconut cream (scooped from the top of a chilled can of full-fat coconut milk) or a high-quality vegan heavy cream alternative. Ensure your chosen substitute is thick and high in fat for the best texture.
Q: How long does homemade coconut ice cream last in the freezer?
A: When stored in an airtight container with minimal air exposure (e.g., plastic wrap pressed directly onto the surface), homemade ice cream typically lasts for up to 2-3 weeks in the freezer. Beyond that, its texture and flavor may start to deteriorate, and it can become icy.
Q: Why is my ice cream icy instead of creamy?
A: Icy ice cream is usually due to large ice crystal formation. This can happen if the mixture wasn’t beaten enough during the freezing process (for the no-churn method), or if the fat content was too low. Ensure you’re using full-fat coconut milk and the recommended heavy cream or a rich vegan alternative. The intermittent beating is crucial for breaking up ice crystals as they form, leading to that coveted creamy texture.
Q: Can I reduce the sugar in this recipe?
A: Cream of coconut is a key ingredient and contributes significant sweetness. While you could try to reduce it slightly, it might affect the overall texture and sweetness balance. If you prefer less sweet desserts, I recommend trying the recipe as is first, then adjusting the amount of cream of coconut by a small increment (e.g., a quarter cup less) in future batches to see if it meets your preference without compromising the texture too much. You could also try unsweetened shredded coconut instead of cream of coconut, but you would then need to add an alternative sweetener (like maple syrup or agave) and increase the fat content with more full-fat coconut milk to maintain creaminess.
Q: What’s the difference between coconut milk and cream of coconut?
A: While both come from coconuts, they serve different purposes. Coconut milk is a thinner liquid made from grated coconut flesh and water, used in cooking and beverages. Cream of coconut is a much thicker, sweeter, and more concentrated product, often used in desserts and cocktails (like piña coladas). It has a higher fat and sugar content, making it ideal for adding richness and sweetness to this ice cream.
Armed with these tips and insights, you are now ready to embark on your journey to creating the most delectable homemade coconut ice cream. It’s a simple, rewarding process that yields a dessert so profoundly delicious, you’ll wonder why you ever bought it from a store. Go ahead, give it a try, and treat yourself to a scoop (or two!) of tropical paradise!