
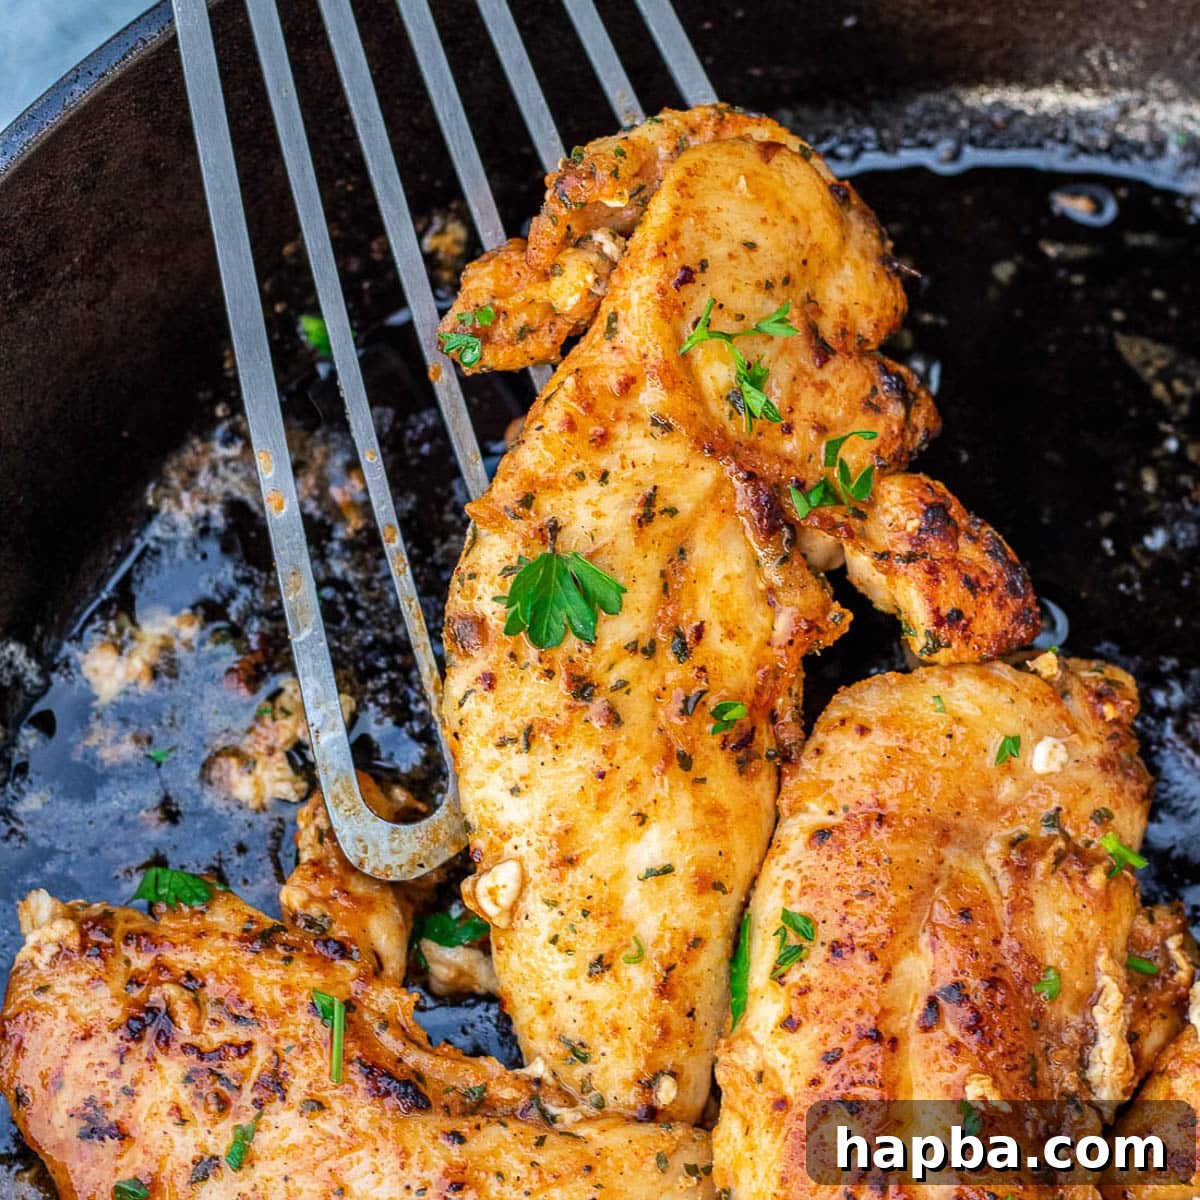
Transform your dinner routine with these incredibly delicious Pan Seared Chicken Tenders. Each bite promises a burst of flavor, combined with a perfectly tender and juicy texture that will make them a staple in your kitchen. This versatile recipe is not just for special occasions; it’s designed for effortless everyday cooking, bringing gourmet taste to your table in minutes. Whether you’re looking for a quick protein boost for your salad, a delightful pairing for roasted vegetables, or the star of a hearty carb-loaded meal, these chicken tenders deliver satisfaction every time. Get ready to enjoy a fuss-free, yet utterly fulfilling meal that the whole family will adore!
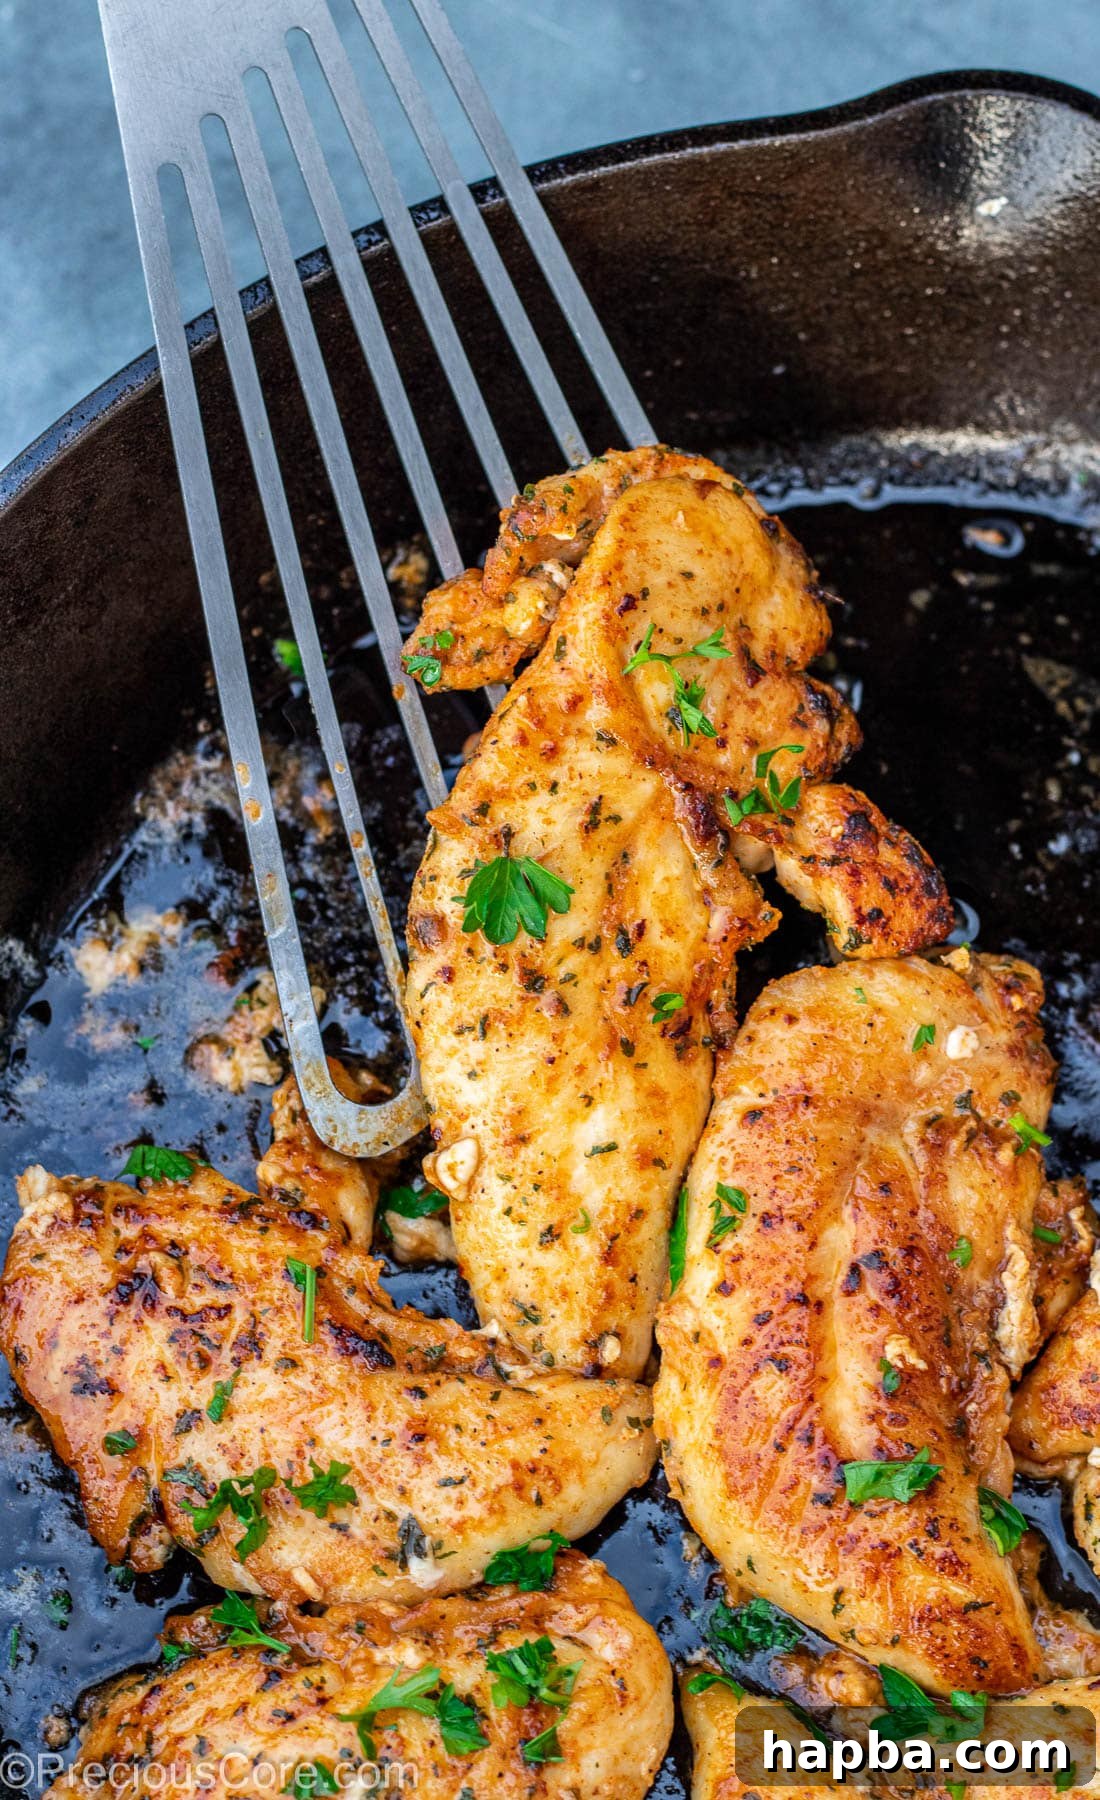
Say goodbye to bland and dry chicken. This recipe is your ticket to masterfully cooked chicken tenderloins that are ideal for any night of the week. Imagine stepping into the kitchen and having a savory, mouth-watering meal ready in record time. It’s the kind of dinner dream that truly comes true with minimal effort and maximum flavor!
Elevate your meal by serving these delectable tenders alongside flavorful side dishes. They pair beautifully with aromatic Garlic Herb Rice, vibrant Garlic Butter Green Beans, or rustic Easy Roasted Potatoes for a complete and utterly satisfying culinary experience.
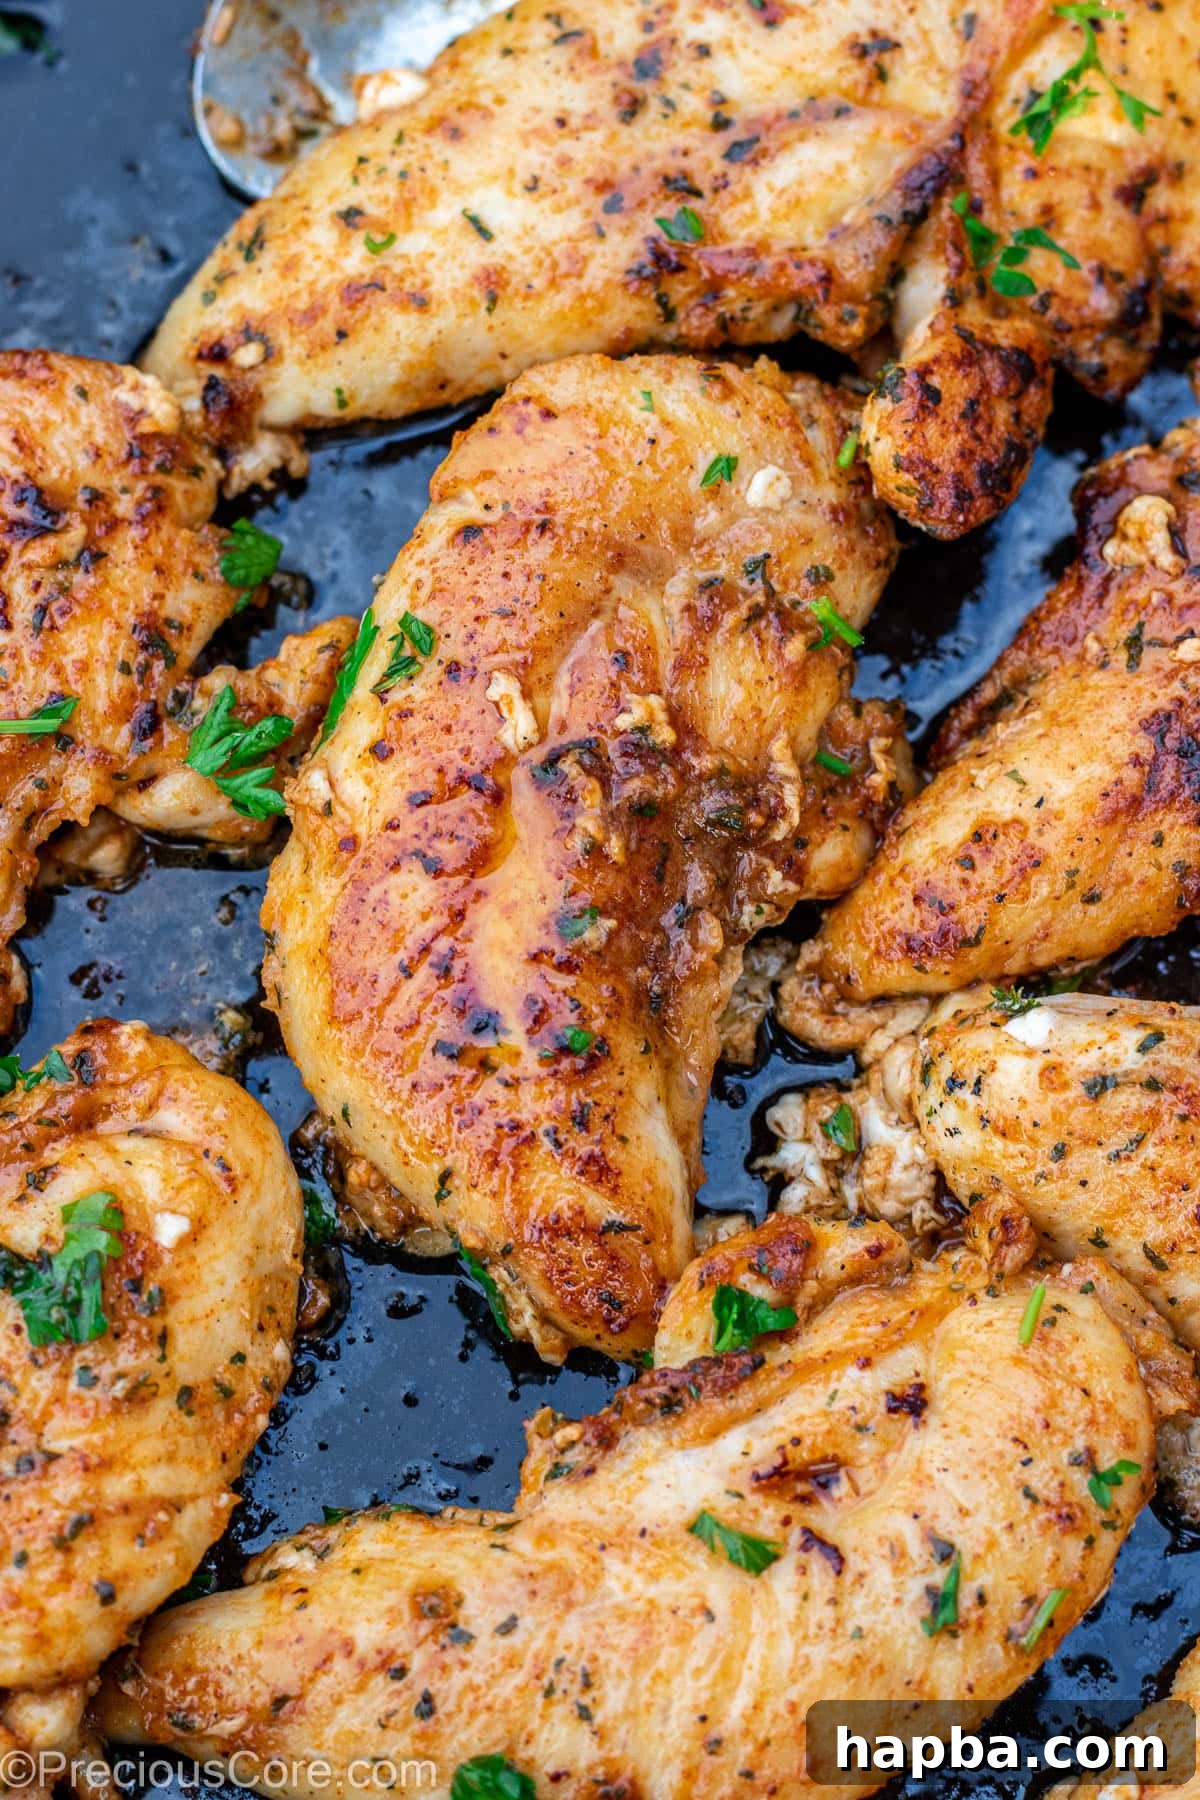
Why You’ll Absolutely Love This Recipe
- Unbelievably Quick Weeknight Dinner: Perfect for those busy evenings, this recipe minimizes cooking time without sacrificing flavor, making it a go-to solution for fast and delicious meals.
- Consistently Juicy Chicken: Forget dry, overcooked chicken! Our pan-searing method locks in natural juices, ensuring every tenderloin is incredibly moist and succulent.
- Rich Butter Sauce: A luxurious butter sauce forms directly in the pan, adding an irresistible richness and depth of flavor that coats each piece of chicken beautifully.
- Lightning-Fast Cooking Time: From raw to ready in just about 7 minutes of active cooking, these tenders are ideal when hunger strikes and time is short.
- No Special Equipment Needed: You don’t need fancy gadgets. All it takes is a reliable large skillet, making this recipe accessible for any home cook.
- Excellent for Meal Prep: Cook a larger batch and enjoy the convenience of prepped meals throughout the week. They hold their flavor and texture wonderfully.
- Versatile Leftovers: Leftover chicken tenders are incredibly versatile! Slice them into a fresh wrap for a quick lunch, toss them into rice bowls, or sprinkle over your favorite salad for an instant upgrade.
- A Family Favorite: This recipe is designed to please everyone, even the pickiest eaters will find these flavorful, tender chicken strips irresistible.
- Naturally Gluten-Free & Low Carb: No breading or flour dipping is required, making this a fantastic option for those seeking gluten-free or lower-carb meal choices without compromising on taste.
Mastering Pan Searing for Perfect Chicken Tenders
Pan-searing is undeniably the best method to cook chicken strips, ensuring they remain incredibly juicy while developing a beautiful, golden crust. The chicken tenderloin, often simply called a “chicken tender,” is a small, distinct muscle found directly under the chicken breast. Known for its naturally lean and tender nature, it’s perfectly suited for quick cooking methods. You can easily find pre-packaged chicken tenders in the poultry section of most grocery stores.
If chicken tenderloins aren’t available, don’t fret! You can simply purchase boneless, skinless chicken breasts and slice them into uniform 1-inch thick strips. This ensures even cooking and allows you to enjoy the same great results. While chicken can be cooked in various ways—grilled, baked in the oven, air-fried, or even deep-fried—pan-searing on the stovetop offers a unique advantage. It combines the speed of frying with the flavor development of grilling, creating a truly superior chicken tender.
At its core, pan-searing is a cooking technique that involves cooking meat, poultry, or fish in a hot skillet over medium-to-high heat with a small amount of oil. The goal is to achieve a beautiful, caramelized crust on the exterior of the protein, known as the Maillard reaction, which dramatically enhances its flavor and texture. This rapid cooking process is ideal for chicken tenders because their small size and delicate structure mean they cook very quickly, minimizing the risk of drying out.
What sets this particular recipe apart is its simplicity and reliance on natural flavor. Unlike many chicken tender recipes that call for flour coatings or breading, this approach lets the inherent taste of the chicken shine through, augmented by a thoughtfully chosen blend of seasonings and a finish of rich butter. It’s a method that consistently produces flavorful, succulent chicken without any unnecessary fuss, making it a fantastic addition to your culinary repertoire.
For more quick and easy pan-seared dinner ideas that don’t compromise on flavor, be sure to check out these delicious recipes: Pan Seared Shrimp, Pan Seared Sea Bass, and Pan Fried Teriyaki Salmon.
Simple Ingredients for Extraordinary Flavor
Achieving truly great-tasting, pan-fried chicken tenders without the need for flour or breading comes down to a few minimal yet impactful ingredients. Here’s a closer look at everything you’ll need to create this flavor-packed dish:
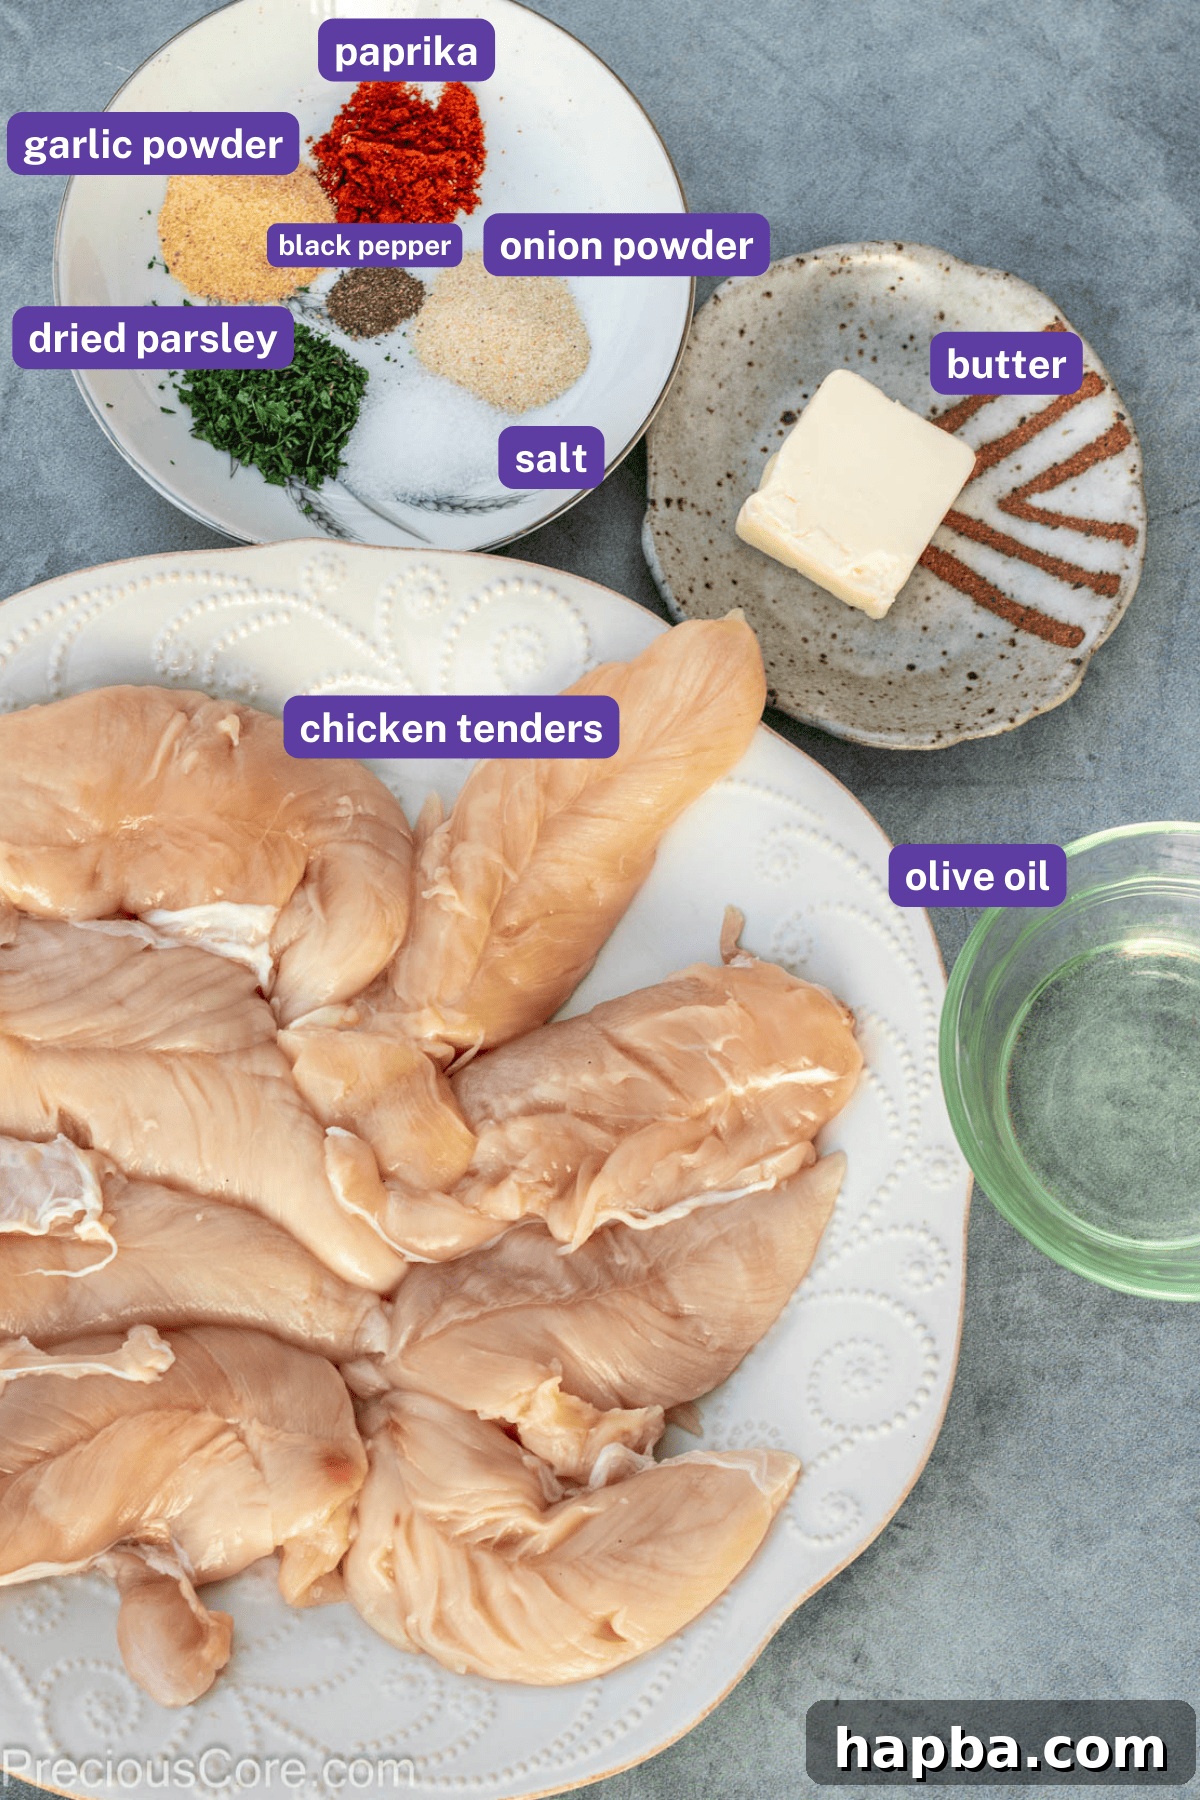
- Chicken Tenders: The star of our dish! You can easily find pre-packaged chicken tenderloins in the meat section of your local grocery store or supermarket. This recipe is designed for one pound of chicken tenders, which typically yields about 8 pieces and comfortably serves 3-4 people. If you’re feeding a larger family or planning for leftovers, feel free to double the recipe. For optimal searing, ensure your tenders are of similar thickness.
- Olive Oil: Essential for pan-searing, olive oil provides a good cooking medium with a moderate smoke point. You can also opt for other flavorless oils suitable for medium-high heat, such as avocado oil, canola oil, or vegetable oil. The key is to use an oil that can withstand the heat necessary for a proper sear without burning.
- Seasoning Blend: This carefully balanced combination of spices is what truly takes these chicken tenders over the top. We use a mix of salt, black pepper, pungent garlic powder, savory onion powder, vibrant parsley flakes, and a touch of sweet paprika. This blend creates a deeply savory and aromatic coating that adheres beautifully to the chicken, infusing it with incredible flavor.
- Unsalted Butter: Adding a knob of unsalted butter towards the end of the cooking process is a game-changer. As it melts, it creates a rich, glossy pan sauce that you can spoon over the tenders, adding an extra layer of decadence and helping to keep the chicken moist. For an even more luxurious flavor, consider using high-quality European butter if it’s available to you.
For the full, detailed list of ingredients with precise measurements, please refer to the comprehensive recipe card provided below.
Creative Substitutions and Flavorful Variations
- Chicken Alternatives: While chicken tenders are perfect, this recipe is highly adaptable. Feel free to substitute with boneless, skinless chicken breasts or boneless chicken thighs. Simply cut them into even 1-inch strips or bite-sized pieces to ensure they cook evenly and quickly, matching the tenderloin’s cooking time.
- Seasoning Customization: Unleash your inner chef by experimenting with various seasoning blends. Italian seasoning adds a Mediterranean flair, Cajun seasoning brings a spicy, smoky kick, chili powder offers a warm, earthy depth, and lemon pepper seasoning provides a bright, zesty note. Remember to adjust the amount of salt in the recipe if your chosen seasoning blend already contains salt, or opt for salt-free versions.
- Amp Up the Spice: For those who love a little heat, introducing some red pepper flakes or a pinch of cayenne pepper into your seasoning mix will give these tenders a delightful spicy kick. Start with a small amount and adjust to your preferred level of heat.
- Baking Option: If you prefer to bake, season the chicken tenders as directed in the recipe. Arrange them in a single layer on a baking sheet and bake in a preheated oven at 400 degrees Fahrenheit (200 degrees Celsius) for 20 to 25 minutes. Ensure they are fully cooked by checking that the juices run clear and an internal temperature of 165°F (74°C) is reached.
- Herb Infusion: Add fresh herbs like finely chopped rosemary, thyme, or oregano to your seasoning blend or directly to the pan with the butter for an aromatic boost.
- Citrus Zest: A touch of lemon or lime zest added with the seasoning can brighten the overall flavor profile, adding a fragrant and tangy note.
- Marinade Magic: For even deeper flavor, consider a quick 15-30 minute marinade before searing. A simple marinade of olive oil, lemon juice, garlic, and your favorite herbs can make a big difference.
Step-by-Step Guide: How To Pan Sear Chicken Tenders Perfectly
Achieving a beautiful, flavorful crust on your chicken tenders starts with a crucial step: always pat the chicken thoroughly dry with paper towels. This removes excess moisture, which is essential for searing and prevents the chicken from steaming instead of browning. In just four simple steps, you’ll have a wonderfully tasty dinner of pan-cooked chicken tenders ready to enjoy. Follow these instructions for an easy and impressive meal:
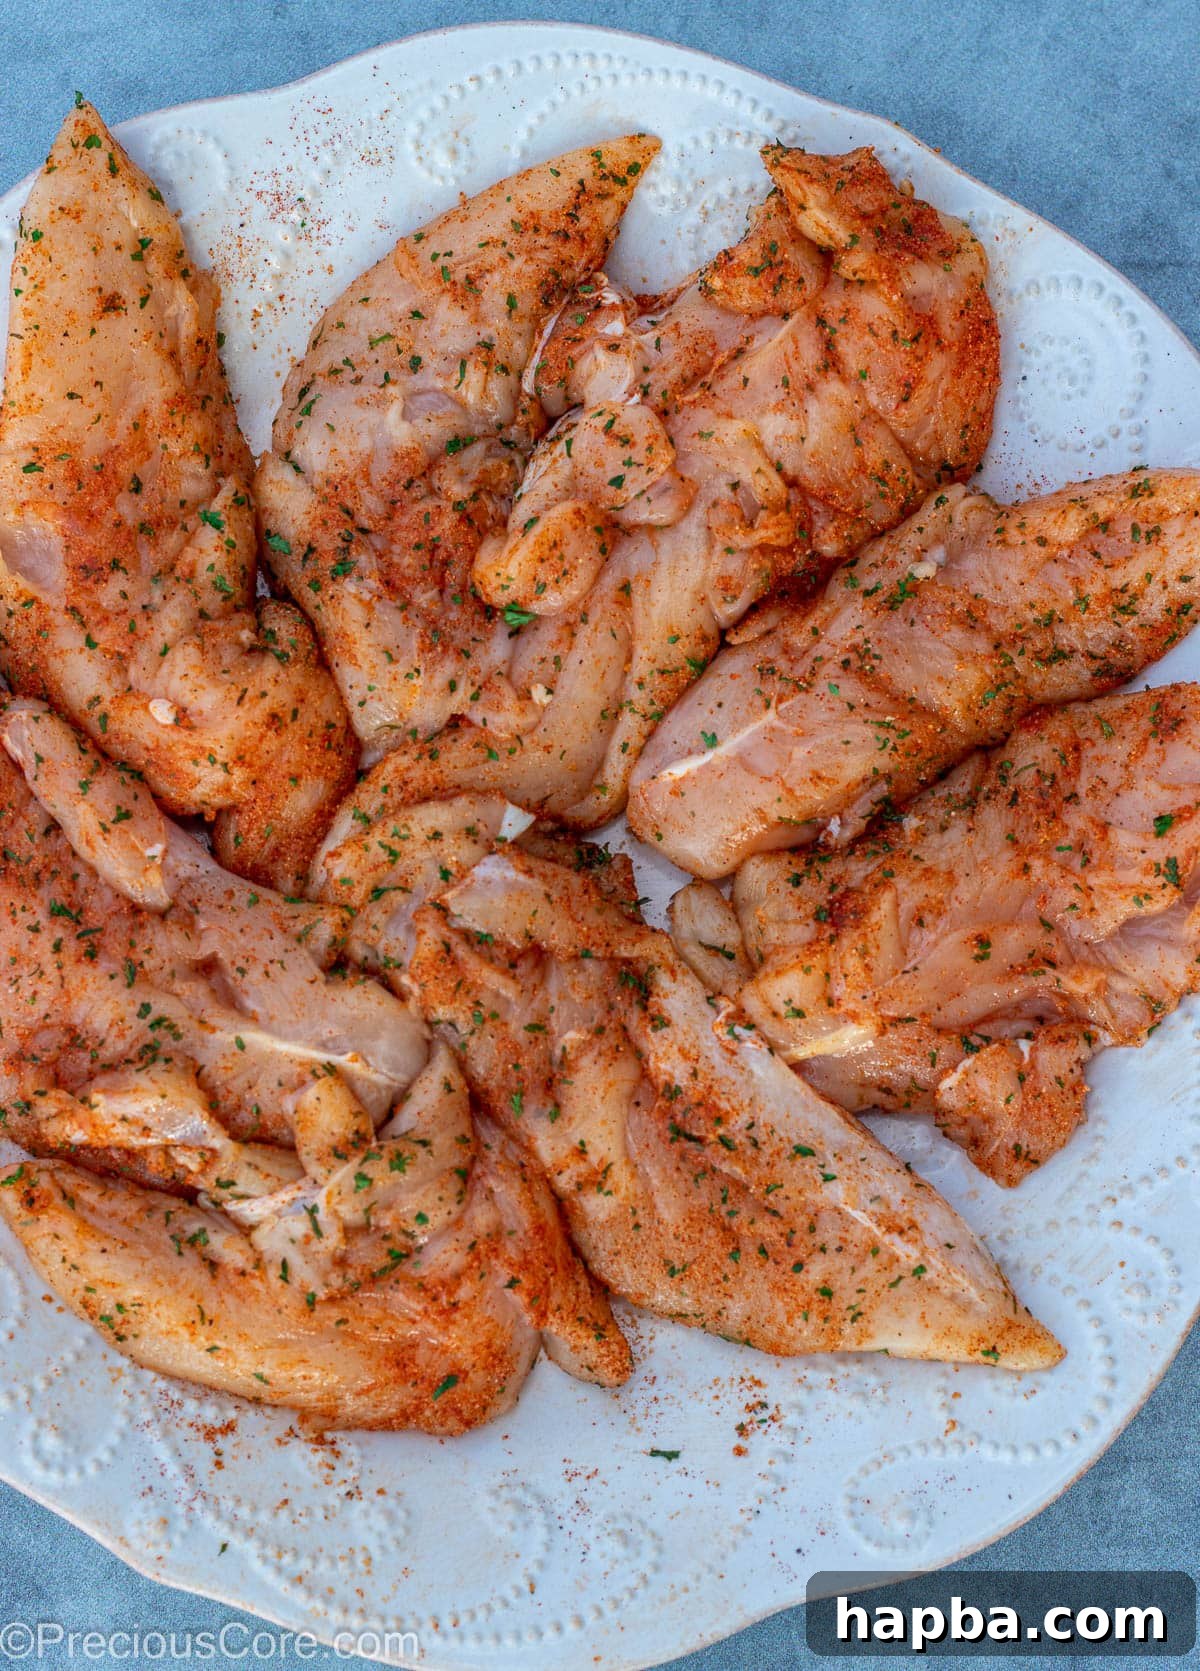
Step 1: Prepare and Season the Chicken. In a small bowl, combine the salt, ground black pepper, garlic powder, onion powder, paprika, and dried parsley. Sprinkle this seasoning blend evenly over both sides of the patted-dry chicken tenders. Use your fingertips to gently rub the seasoning into the chicken, ensuring every piece is well-coated for maximum flavor.
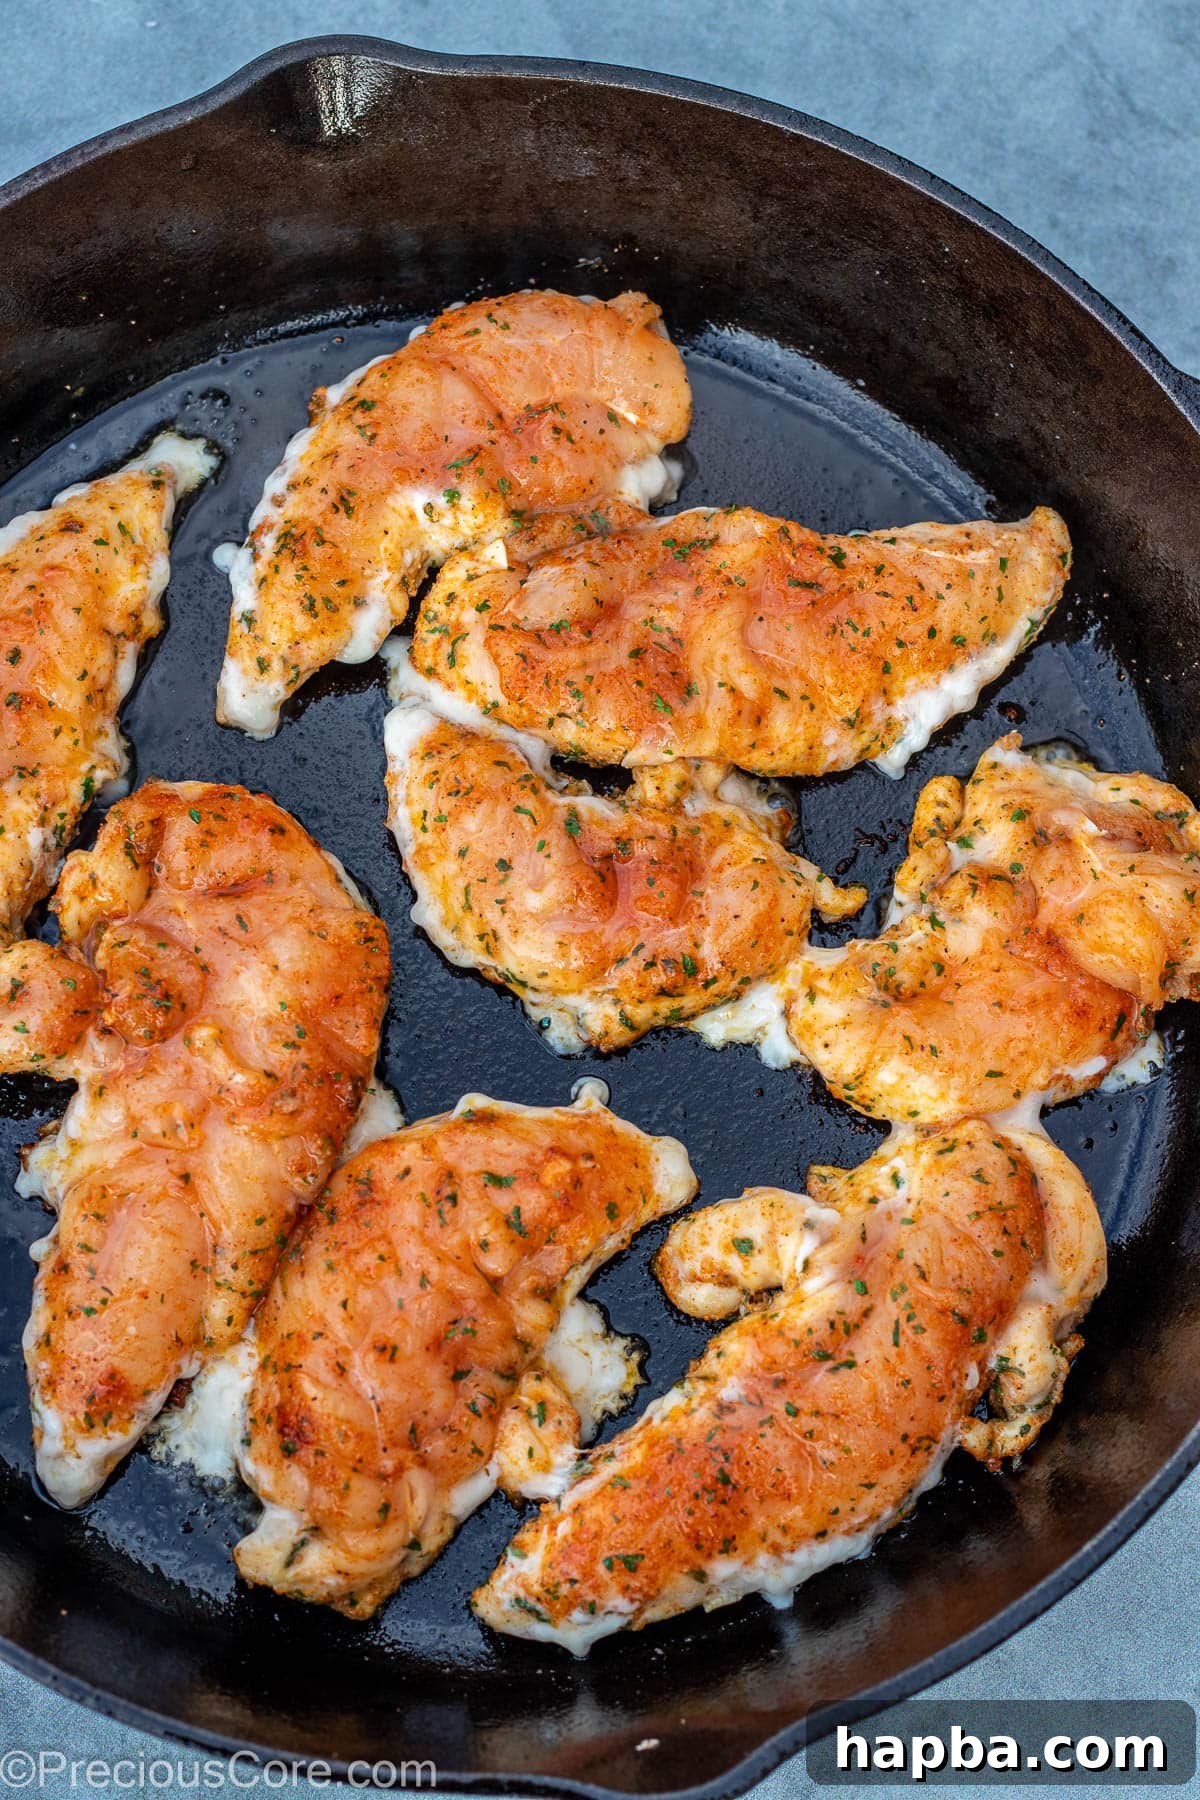
Step 2: Sear the First Side. Place a large skillet (cast iron or heavy-bottomed stainless steel works best) over medium-high heat. Add the olive oil and allow it to heat up for about 2 minutes, until it shimmers and just begins to smoke faintly. Carefully place the seasoned chicken tenders in a single layer into the hot skillet. Do not overcrowd the pan; cook in batches if necessary. Press each tender down slightly to ensure good contact with the pan. Cook for approximately 4 minutes on the first side, allowing a beautiful golden-brown crust to form.
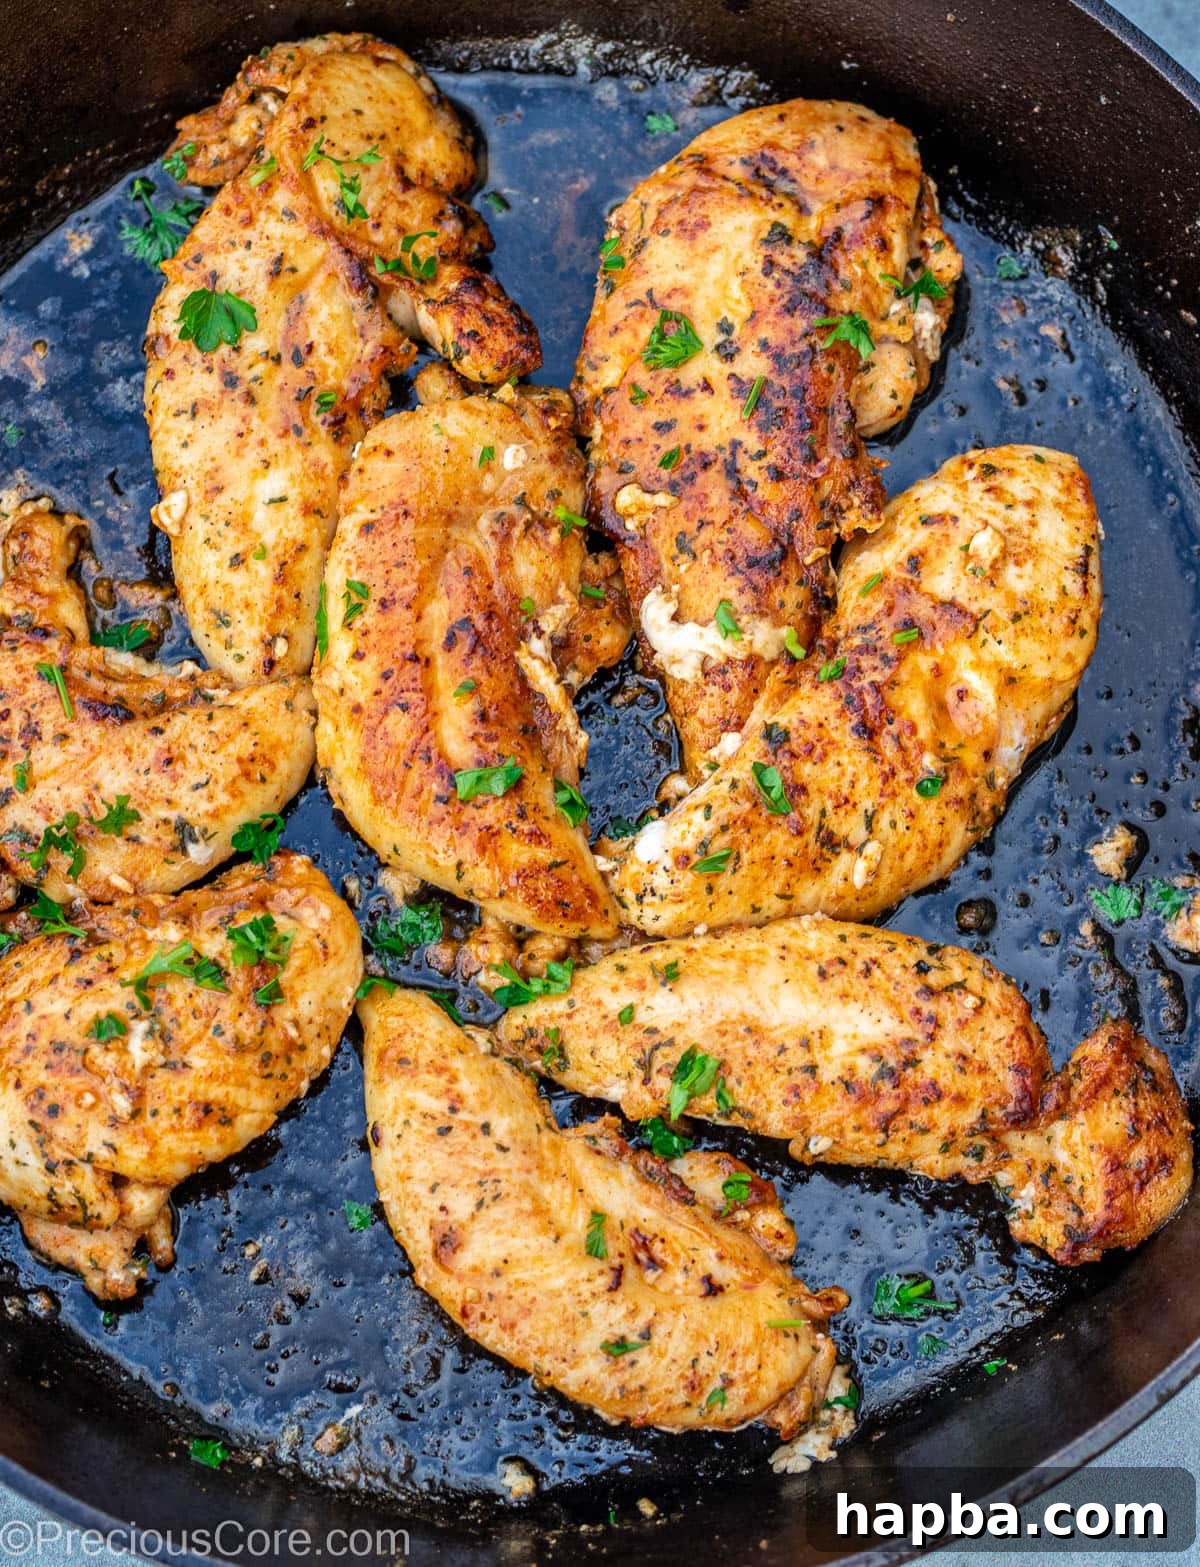
Step 3: Flip and Finish Cooking. Once the first side is nicely browned and the chicken releases easily from the pan, flip each tenderloin to the other side. Continue to cook for another 3-4 minutes, or until the chicken is cooked through. The internal temperature should reach 165°F (74°C) at its thickest part, and the juices should run clear. Avoid overcooking to maintain tenderness.
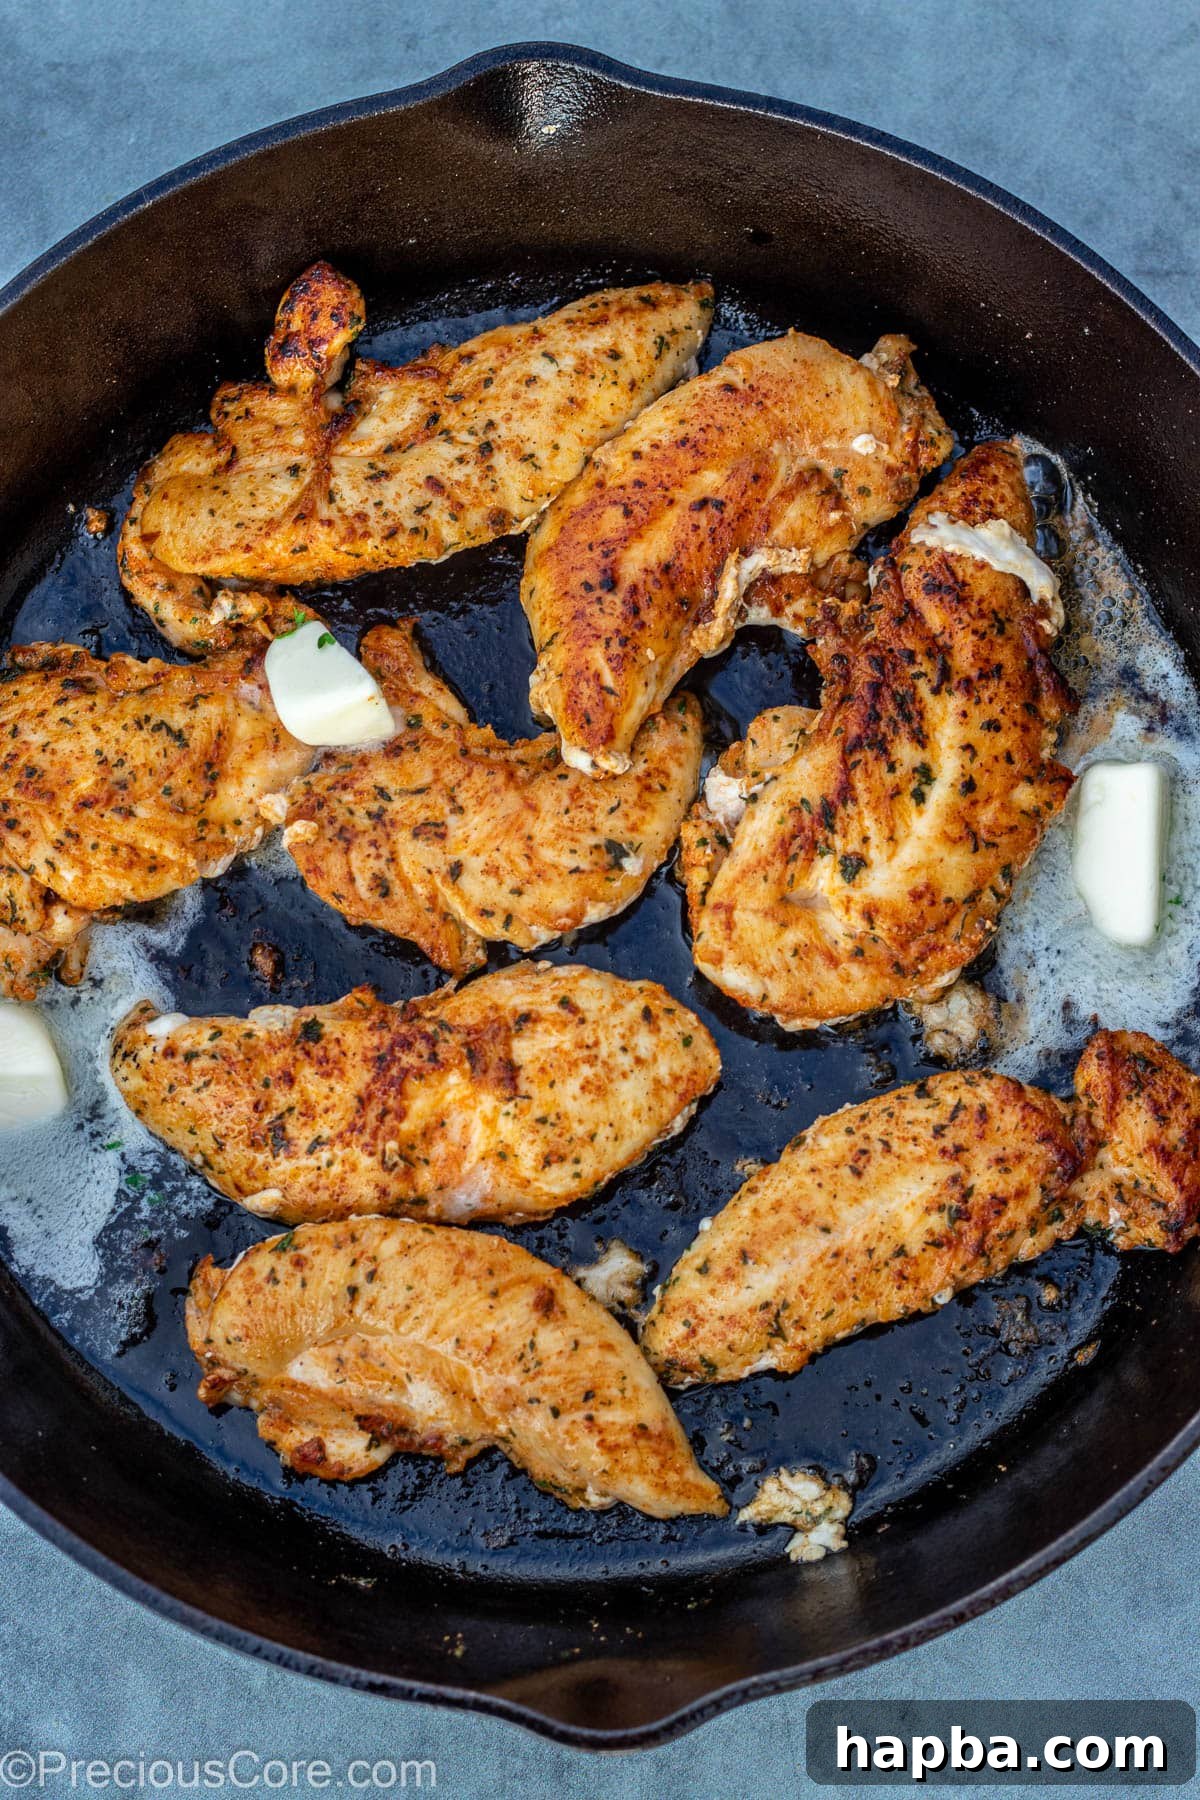
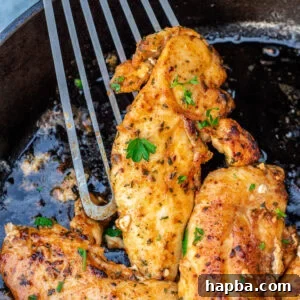
Step 4: Infuse with Butter. Once the chicken tenders are fully cooked, add the unsalted butter to the pan. Let it melt and sizzle, allowing it to slightly brown. Then, generously spoon the melted, fragrant butter over the chicken tenders. This step adds incredible richness and creates a simple yet delicious pan sauce that will coat each tender.
For an optimal sear and a beautiful golden crust, ensure your pan is smoking hot before you add the chicken. This high heat is crucial for developing that desirable crispy exterior and locking in the juices.
Once your perfectly pan-seared chicken tenders are done, transfer them to a serving platter. For an added touch of freshness and visual appeal, garnish them with some freshly chopped parsley. Serve them warm immediately with your favorite accompanying side dishes for a truly memorable meal.
These flavorful Pan Seared Chicken Tenders are a fantastic complement to creamy Buttermilk Mashed Potatoes and a side of vibrant, quickly Sauteed Vegetables, creating a balanced and comforting dinner.
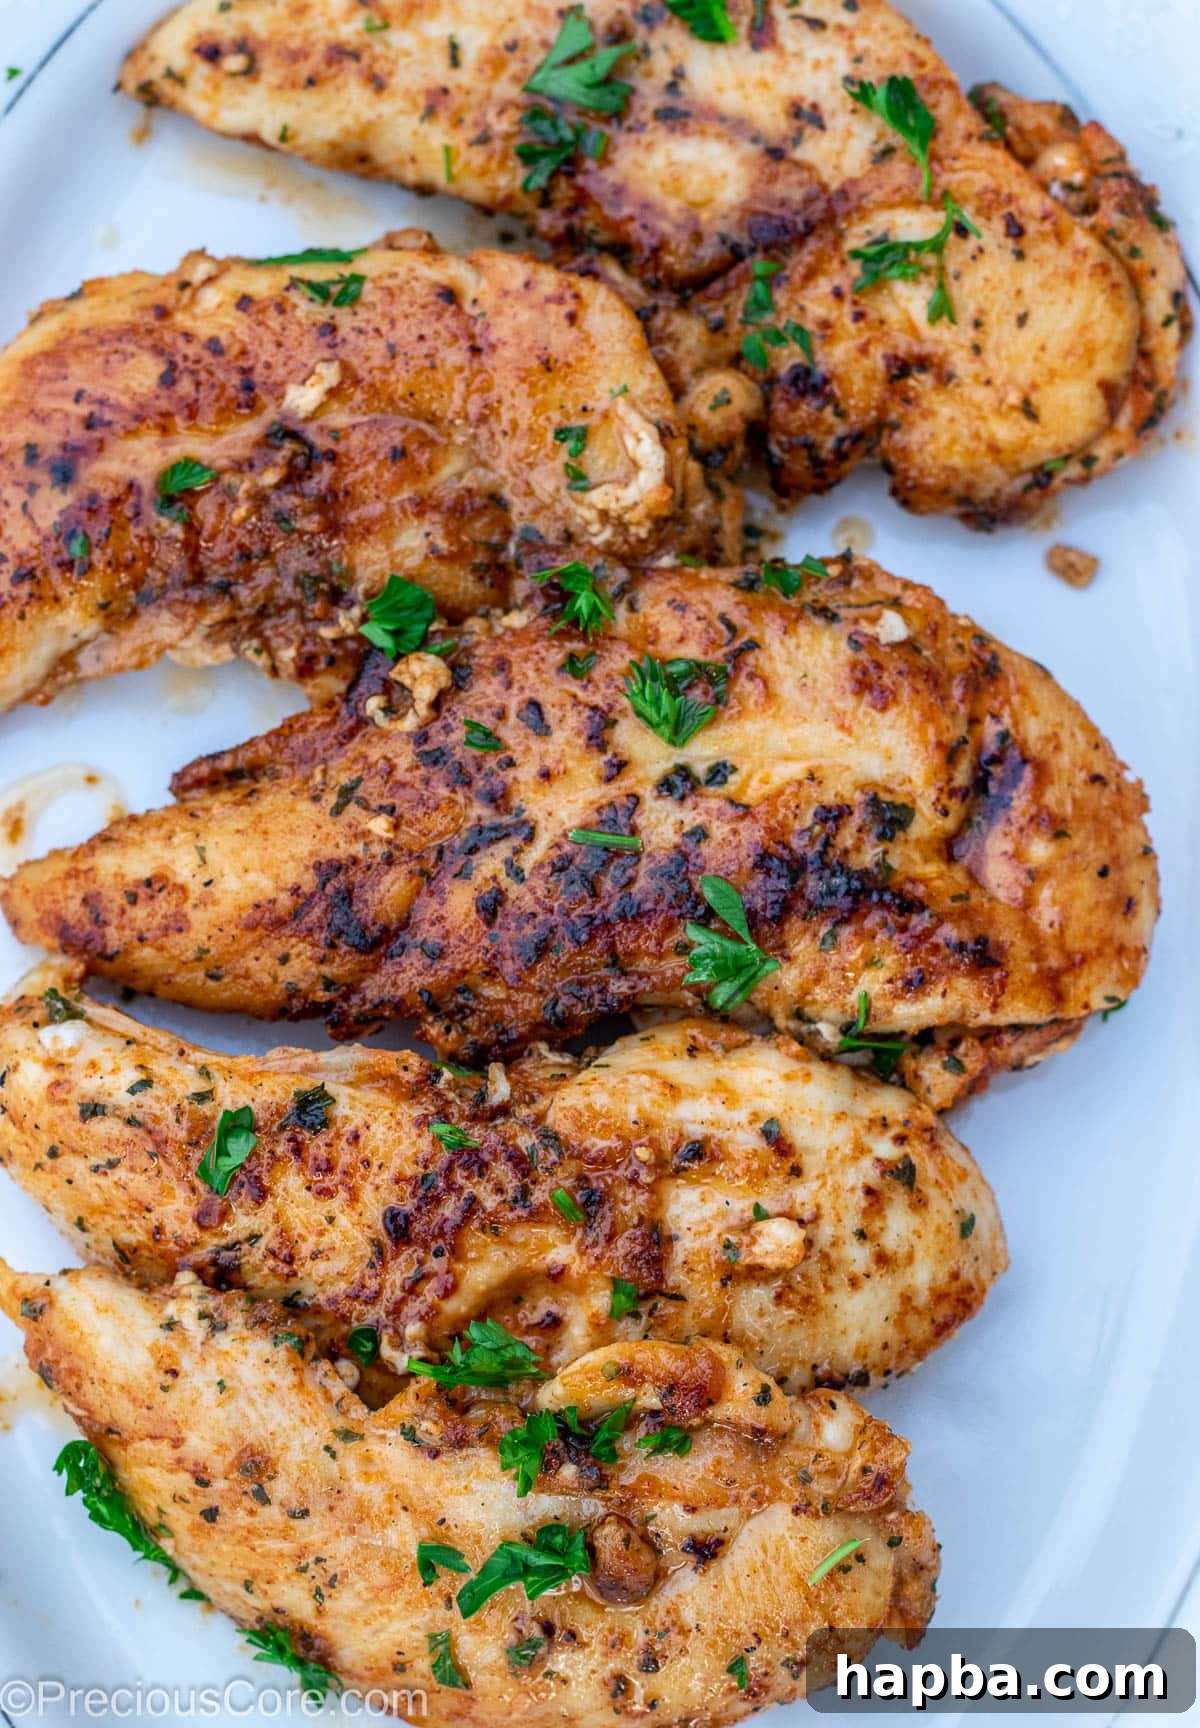
To ensure food safety and prevent overcooking, always verify that chicken is done by checking its internal temperature. It should register 165 degrees Fahrenheit (73 degrees Celsius) on a reliable meat thermometer.
For another easy pan-seared chicken recipe, don’t miss this guide for Thin Sliced Chicken Breasts.
Recipe FAQs
To achieve perfectly cooked chicken tenders with a beautiful sear and locked-in juices, pan-sear them over medium-high heat for about 4 minutes on the first side. Then, flip them and cook for an additional 3-4 minutes on the other side. This quick cooking time ensures they are tender and moist without drying out.
Preventing overcooking is key to juicy chicken. Make sure your pan is properly preheated (smoking hot) and avoid overcrowding. Flip the chicken as soon as it develops a golden-brown crust and easily releases from the pan. Adhere to the recommended cooking times and temperatures, and if in doubt, use a meat thermometer to ensure the internal temperature reaches exactly 165°F (74°C).
These versatile chicken tenders pair wonderfully with a variety of sides. Create a vibrant rice bowl with flavorful Garlic Herb Rice and refreshing Mango Avocado Salsa. For a lighter option, slice the cooked chicken into strips and add them to a crisp Lettuce Salad. They are also excellent with roasted vegetables or mashed potatoes.
Don’t forget to explore these other fantastic pan-seared protein recipes: Pan Seared Tilapia and Pan Seared Boneless Pork Chops.
Expert Tips for Pan-Searing Success
- Aromatic Butter Basting: Before spooning the melted butter over the chicken, toss in a fresh smashed garlic clove and a few sprigs of fresh thyme or rosemary. Let them infuse the butter for about 30 seconds to a minute before basting, for an incredible aromatic boost.
- Brighten with Lemon: For a burst of fresh, zesty flavor, squeeze a generous amount of fresh lemon juice over the chicken tenders just before serving. This brightens the entire dish and complements the rich butter beautifully.
- Rest the Chicken: After cooking, transfer the chicken tenders to a plate and let them rest for 2-3 minutes. This allows the juices to redistribute throughout the meat, resulting in even more tender and moist chicken.
- Achieve the Best Sear: Ensure your chicken tenders are completely dry before seasoning and placing them in the hot pan. Any moisture will cause the chicken to steam rather than sear, preventing that desirable crispy crust.
- Don’t Overcrowd the Pan: Cook the chicken in batches if necessary. Overcrowding the skillet lowers the pan’s temperature and releases moisture, leading to steaming instead of proper searing.
- Storage & Reheating: Store any leftover pan-seared chicken tenders in an airtight container in the refrigerator for up to 3 days. To reheat, gently warm them in a skillet over medium-low heat with a small amount of oil or broth to maintain moisture. Avoid high heat, which can dry them out.
Explore More Easy Dinner Recipes
Craving more effortless and delicious dinner ideas? Discover these fantastic recipes that are perfect for any night of the week:
- Grilled Chicken Nuggets
- Pan Seared Ribeye Steak
- Pan Grilled Salmon
- Lemon Butter Tilapia
- Marry Me Chicken
- Chicken Drumsticks in Creamy Sauce
- Pan Seared Lamb Chops
Serving Suggestions to Complete Your Meal
These versatile pan-seared chicken tenders are a perfect canvas for a wide array of side dishes. Here are some fantastic pairings to create a complete and delicious meal:
- Garlic Butter Green Beans: A simple yet elegant vegetable side that complements the chicken perfectly.
- Rosemary Garlic Mashed Potatoes: Creamy, aromatic mashed potatoes provide a comforting and hearty contrast.
- Sautéed Vegetables: A medley of seasonal vegetables quickly sautéed adds color, nutrients, and texture.
- Easy Roasted Potatoes: Crispy on the outside, fluffy on the inside, these are a classic and satisfying side.
- Mango Avocado Salsa: For a fresh, vibrant, and slightly sweet accompaniment, this salsa adds an exciting tropical twist.
If you make this Pan Seared Chicken Tenders recipe, we’d love to hear your thoughts! Please consider leaving a star rating below. Your feedback means a lot to us.
Pan Seared Chicken Tenders
5
10
15
8 tenders
Rate
Print Recipe
Equipment
-
1 10-inch skillet (cast iron or another heavy-bottomed skillet)
Ingredients
- 1 pound chicken tenders (about 8 tenders)
- ½ teaspoon salt
- ⅛ teaspoon ground black pepper
- 1 teaspoon garlic powder
- 1 teaspoon onion powder
- ½ teaspoon paprika
- 1 teaspoon dried parsley
- 2 Tablespoons olive oil
- 2 Tablespoons unsalted butter
Instructions
-
Thoroughly pat the chicken tenders dry with paper towels. This crucial step helps achieve a crisp sear.
-
In a small bowl, mix together the salt, ground black pepper, garlic powder, onion powder, paprika, and dried parsley flakes until well combined.
-
Sprinkle the seasoning mixture evenly on both sides of the dried chicken tenders. Use your fingertips to gently rub the seasoning onto the chicken, ensuring a full and even coating.
-
Place your skillet on medium-high heat and add the olive oil. Allow the oil to heat up for about 2 minutes, or until it shimmers and is just beginning to faintly smoke. This indicates the pan is hot enough for searing.
-
Carefully add the seasoned chicken tenders to the hot skillet in a single layer. Do not overcrowd the pan, as this can lower the temperature and lead to steaming rather than searing. Press each chicken tender gently onto the skillet to ensure full contact.
-
Cook on the first side for approximately 4 minutes, allowing a beautiful golden-brown crust to form. Then, flip the chicken to the other side and cook for another 3-4 minutes, or until the chicken is cooked through and the internal temperature reaches 165°F (74°C).
-
Once the chicken is fully cooked, add the unsalted butter to the pan. Let the butter melt and lightly brown, then generously spoon the melted butter and pan juices over the chicken tenders.
-
Serve the pan-seared chicken tenders warm with your favorite side dish and enjoy!
Notes
2. Chicken Options: Feel free to use boneless chicken thighs or chicken breasts, simply cut into strips of similar size, as an alternative to chicken tenders.
3. Seasoning Variety: Don’t hesitate to experiment with different seasoning blends such as Italian seasoning, lemon pepper seasoning, or Cajun spices to customize the flavor.
4. Storage: Store leftover pan-seared chicken tenders in an airtight container in the refrigerator for up to 4 days. For longer storage, freeze them in an airtight bag or container for up to 3 months.
Nutrition
Carbohydrates: 1g |
Protein: 12g |
Fat: 5g |
Saturated Fat: 1g |
Polyunsaturated Fat: 1g |
Monounsaturated Fat: 3g |
Trans Fat: 0.01g |
Cholesterol: 36mg |
Sodium: 212mg |
Potassium: 220mg |
Fiber: 0.1g |
Sugar: 0.04g |
Vitamin A: 79IU |
Vitamin C: 1mg |
Calcium: 5mg |
Iron: 0.3mg
Additional Info
Tried this recipe?
Mention @preciouscore or tag #PreciousCore!