
Homemade Healthy Fruit & Yogurt Popsicles: A Refreshing Treat for All Ages
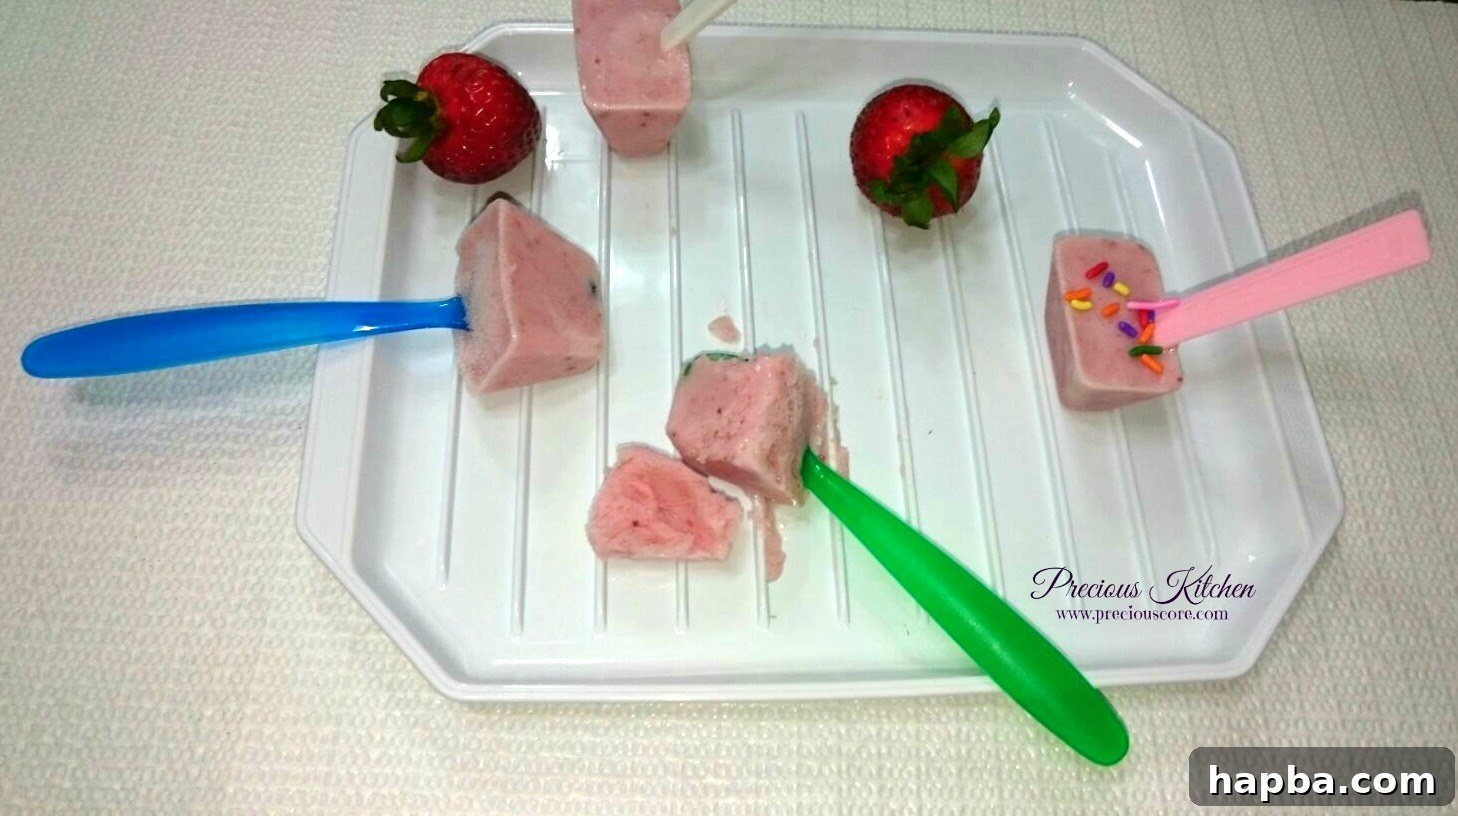
There’s something truly magical about popsicles. They instantly transport you back to childhood, evoking memories of sunny days and simple pleasures. While these homemade yogurt and fruit popsicles were initially crafted with “the kids” in mind, it’s safe to say they quickly became a beloved treat for adults too – myself included! One bite, and I was delightfully transformed into a kid again, savoring every cool, fruity, and creamy moment. What makes them even better? They are perfectly healthy, made with wholesome ingredients you can feel good about.
In fact, these aren’t just a delicious snack or dessert; they’re so wholesome and packed with natural goodness that you could even confidently enjoy them for breakfast. Imagine starting your day with a burst of fruity flavor and creamy yogurt, all while staying refreshed and energized. They offer a fantastic alternative to sugary store-bought options, giving you complete control over what goes into your body.
Why Choose Homemade Popsicles? The Benefits Are Endless
Opting for homemade healthy fruit popsicles over their store-bought counterparts offers a myriad of advantages. Firstly, you eliminate artificial colors, flavors, and high-fructose corn syrup that often lurk in commercial brands. This recipe focuses on real fruit, natural dairy, and a touch of natural sweetness, ensuring a pure and nourishing experience. You get to control the sugar content, making them suitable for various dietary needs, whether you prefer less sugar or a dairy-free alternative.
Secondly, making your own popsicles is incredibly cost-effective. A few simple ingredients can yield a substantial batch, saving you money in the long run. It’s also a fantastic activity to involve the whole family, especially younger children, teaching them about healthy eating and the joy of creating something delicious from scratch. The customization possibilities are virtually limitless, allowing you to tailor flavors to everyone’s preferences.
Mastering the Magic with Just Four Ingredients
The beauty of this healthy popsicle recipe lies in its stunning simplicity. You only need four core ingredients to achieve these perfectly creamy and refreshing treats. This minimalist approach not only makes preparation incredibly quick but also ensures a clean, natural flavor profile that truly shines. Don’t fret if strawberries aren’t in season or aren’t your favorite; the versatility of this recipe is one of its greatest strengths.
You can easily substitute strawberries with another kind of fruit, opening up a world of delightful flavor combinations. For instance, juicy mango will lend a tropical sweetness and creamy texture that is simply divine. Freshly squeezed orange juice, on its own or combined with other fruits, will be zesty and invigorating. And oh, watermelon? It will be absolutely ah-mazingggg – light, hydrating, and perfectly sweet for a hot summer day. Other fantastic options include blueberries for an antioxidant boost, raspberries for a tangy kick, or even peaches for a velvety smooth treat. Feel free to experiment with your favorite seasonal fruits to discover new and exciting variations!
Beyond the fruit, let’s talk about the other key components. The yogurt provides that wonderful creamy base and a healthy dose of probiotics. While plain yogurt is great, you could use Greek yogurt for extra protein and a thicker consistency, or even dairy-free yogurts like almond, oat, or coconut yogurt for those with dietary restrictions. Skim milk contributes to the smooth liquid consistency, but whole milk would make the popsicles even richer, and plant-based milks (almond, soy, oat) are excellent alternatives. Lastly, honey offers natural sweetness; feel free to adjust the amount to your taste or substitute with maple syrup, agave, or even a sugar-free sweetener if preferred. If your fruit is very sweet, you might even skip added sweeteners entirely!
Yogurt and Fruit Popsicles
Ingredients
Prep: 5 minutes
Freezing time: 3-5 hours (or overnight)
- 6 large strawberries (or 1 cup of your fruit of choice, e.g., mango, blueberries, peaches)
- 2 small cups of plain yogurt (Greek, regular, or dairy-free alternative)
- 1 cup of skim milk (or whole milk, almond milk, oat milk)
- 2 tablespoons honey (adjust to taste, or use maple syrup, agave, or omit)
Equipment Needed:
- Blender (standard or personal-sized)
- Popsicle molds or ice cube trays
- Popsicle sticks (or a creative alternative!)
Directions
Step 1: Prepare Your Ingredients
Before you begin, ensure your fruit is washed, hulled (for strawberries), peeled and chopped (for mango), or otherwise ready for blending. Measure out your yogurt, milk, and honey. Having everything prepped will make the blending process seamless and quick. Remember, the quality of your fruit will significantly impact the flavor of your popsicles, so opt for ripe, fresh produce whenever possible.
Step 2: Blend to Perfection
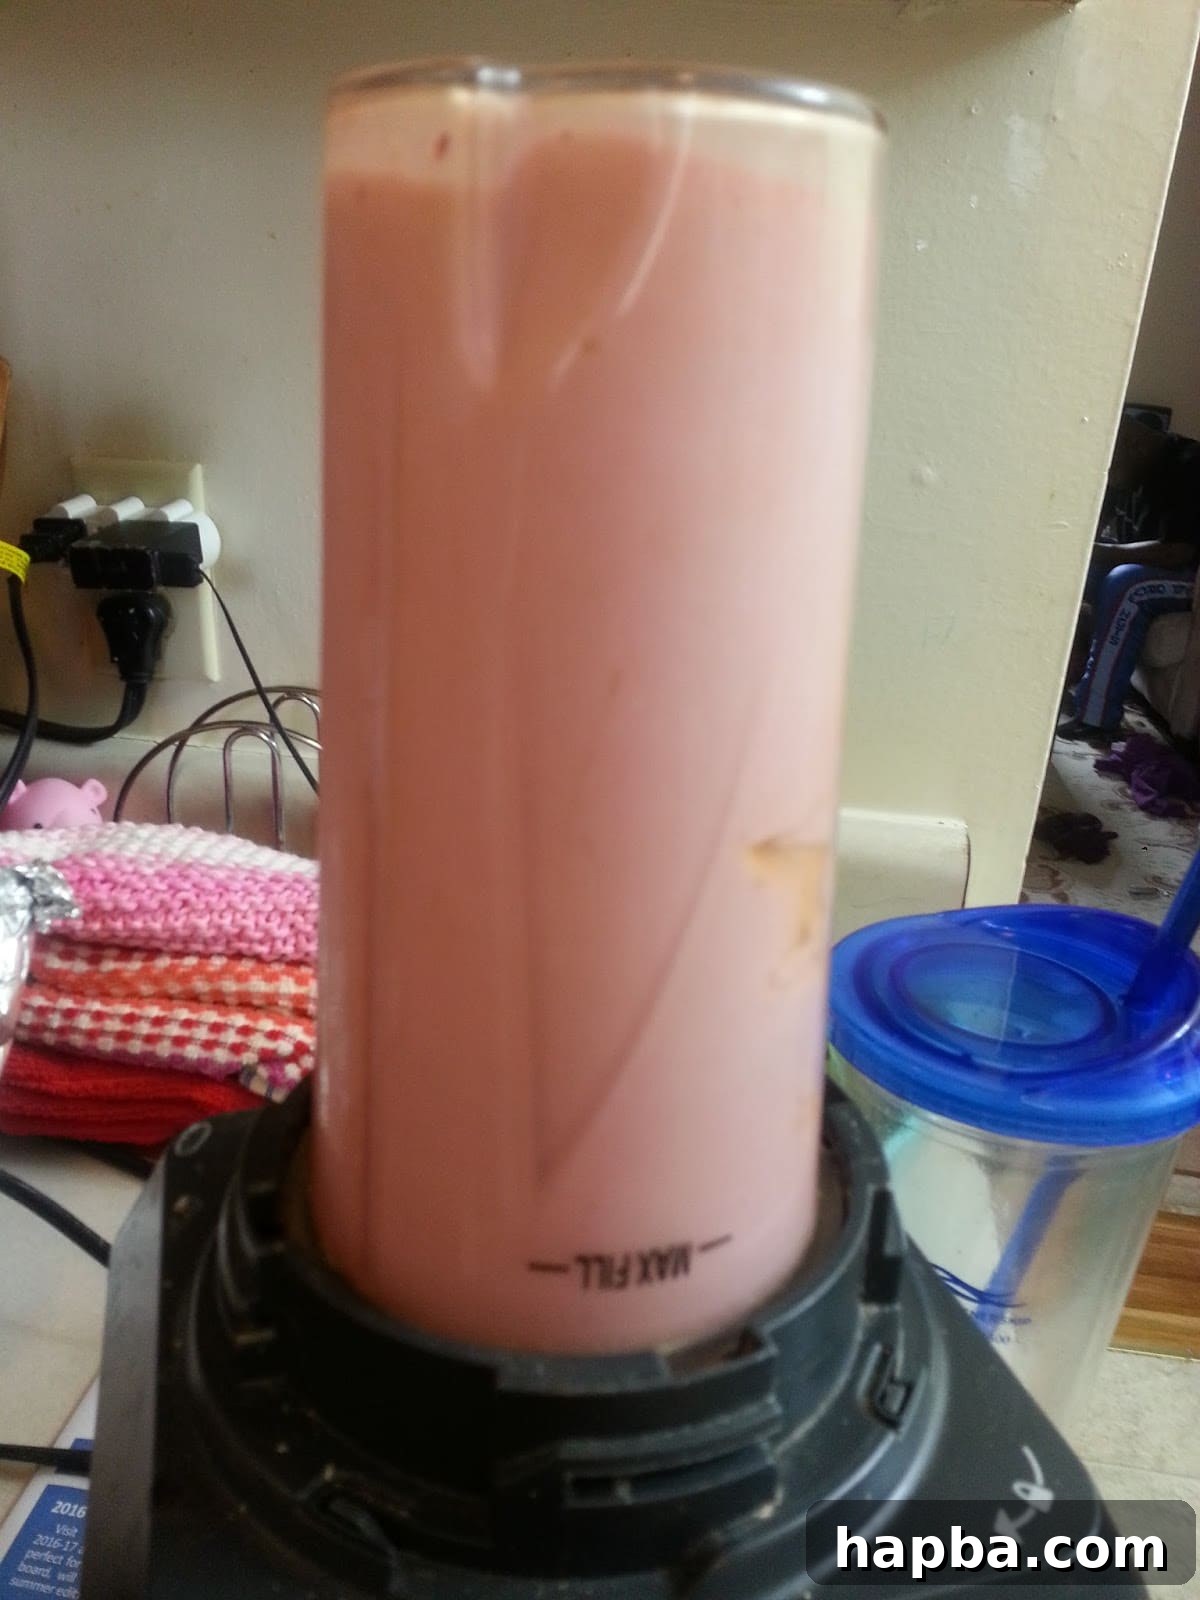
Place all your measured ingredients – the fruit, yogurt, milk, and honey – into your blender. If you’re using a smaller personal blender, like I did, you might find it easier to blend the mixture in two separate batches to ensure everything is thoroughly combined and smooth. This prevents overloading the blender and ensures a consistent texture throughout your popsicle batch.
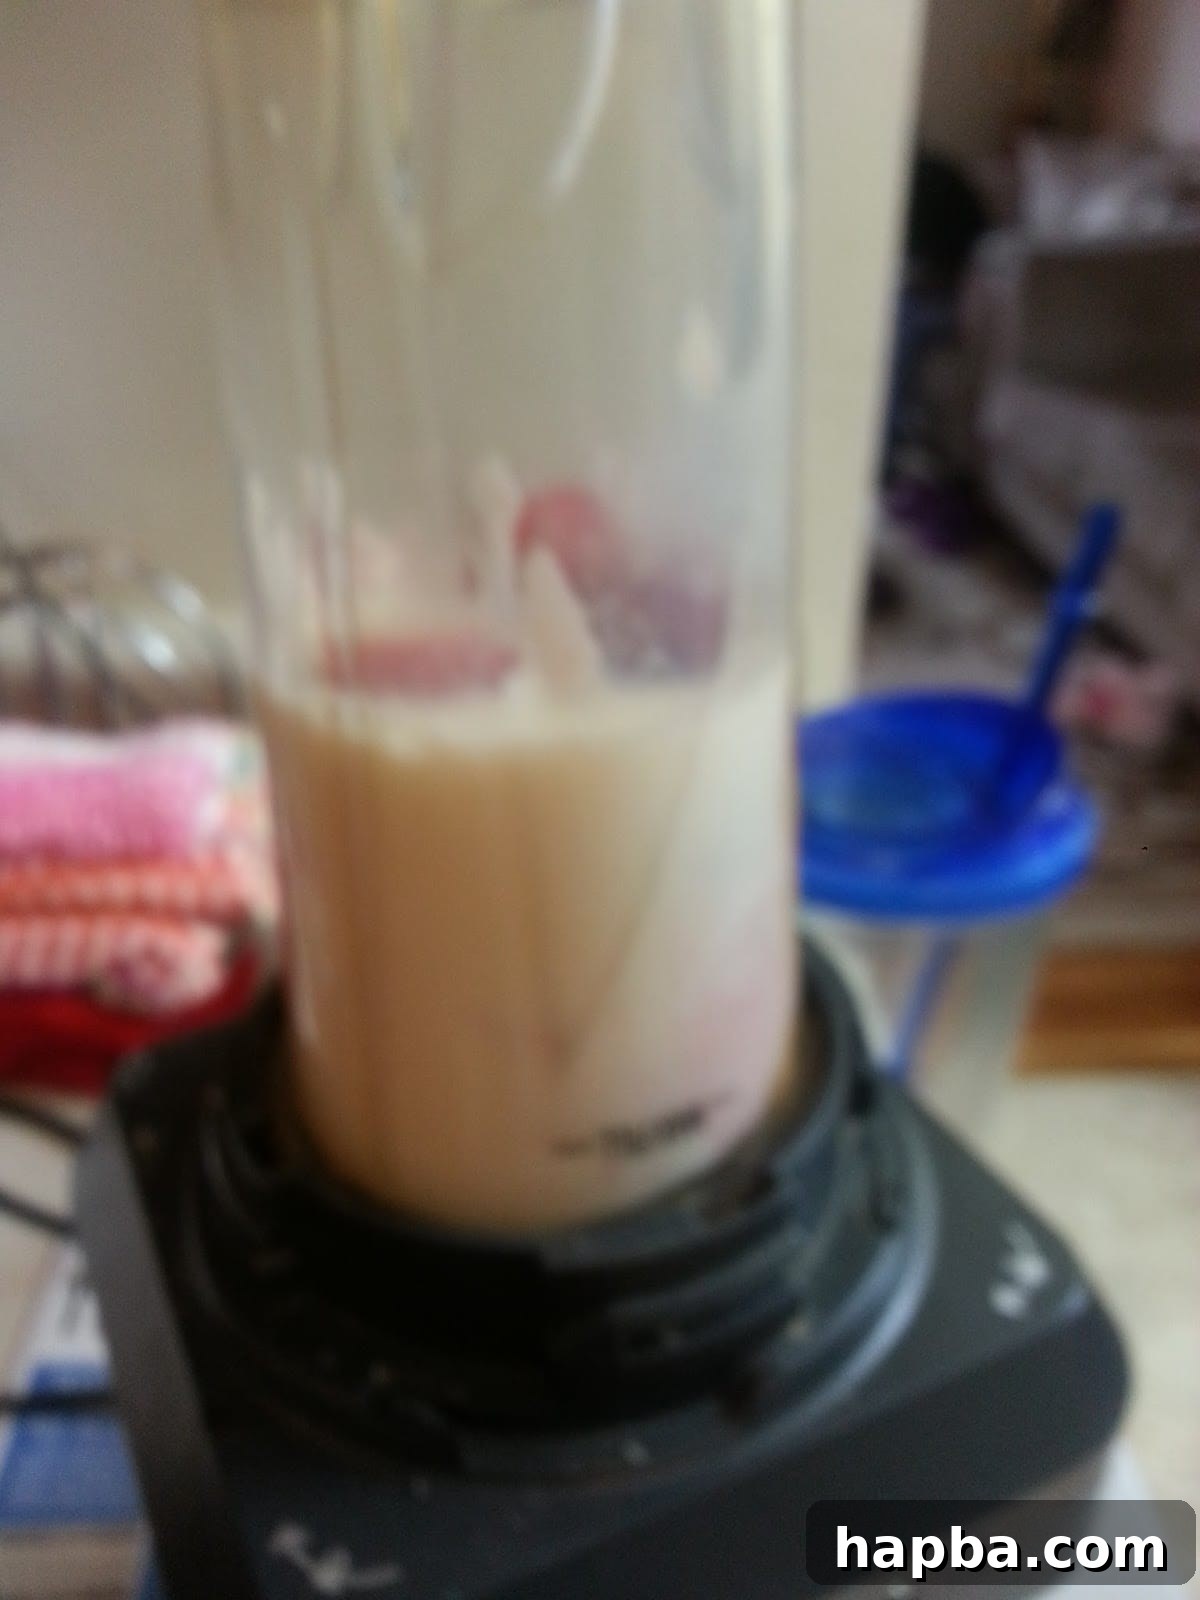
Blend the mixture until it is completely smooth and creamy. You want to eliminate any large chunks of fruit, ensuring a uniform consistency that will freeze beautifully. Depending on your blender’s power, this might take anywhere from 30 seconds to a couple of minutes. If the mixture appears too thick to pour easily, add another splash of milk (about 1-2 tablespoons) and blend again until you reach the desired pourable consistency. Before moving to the next step, give the mixture a quick taste test and adjust the sweetness if necessary. This is your last chance to add a bit more honey or another sweetener!
Step 3: Fill Your Molds
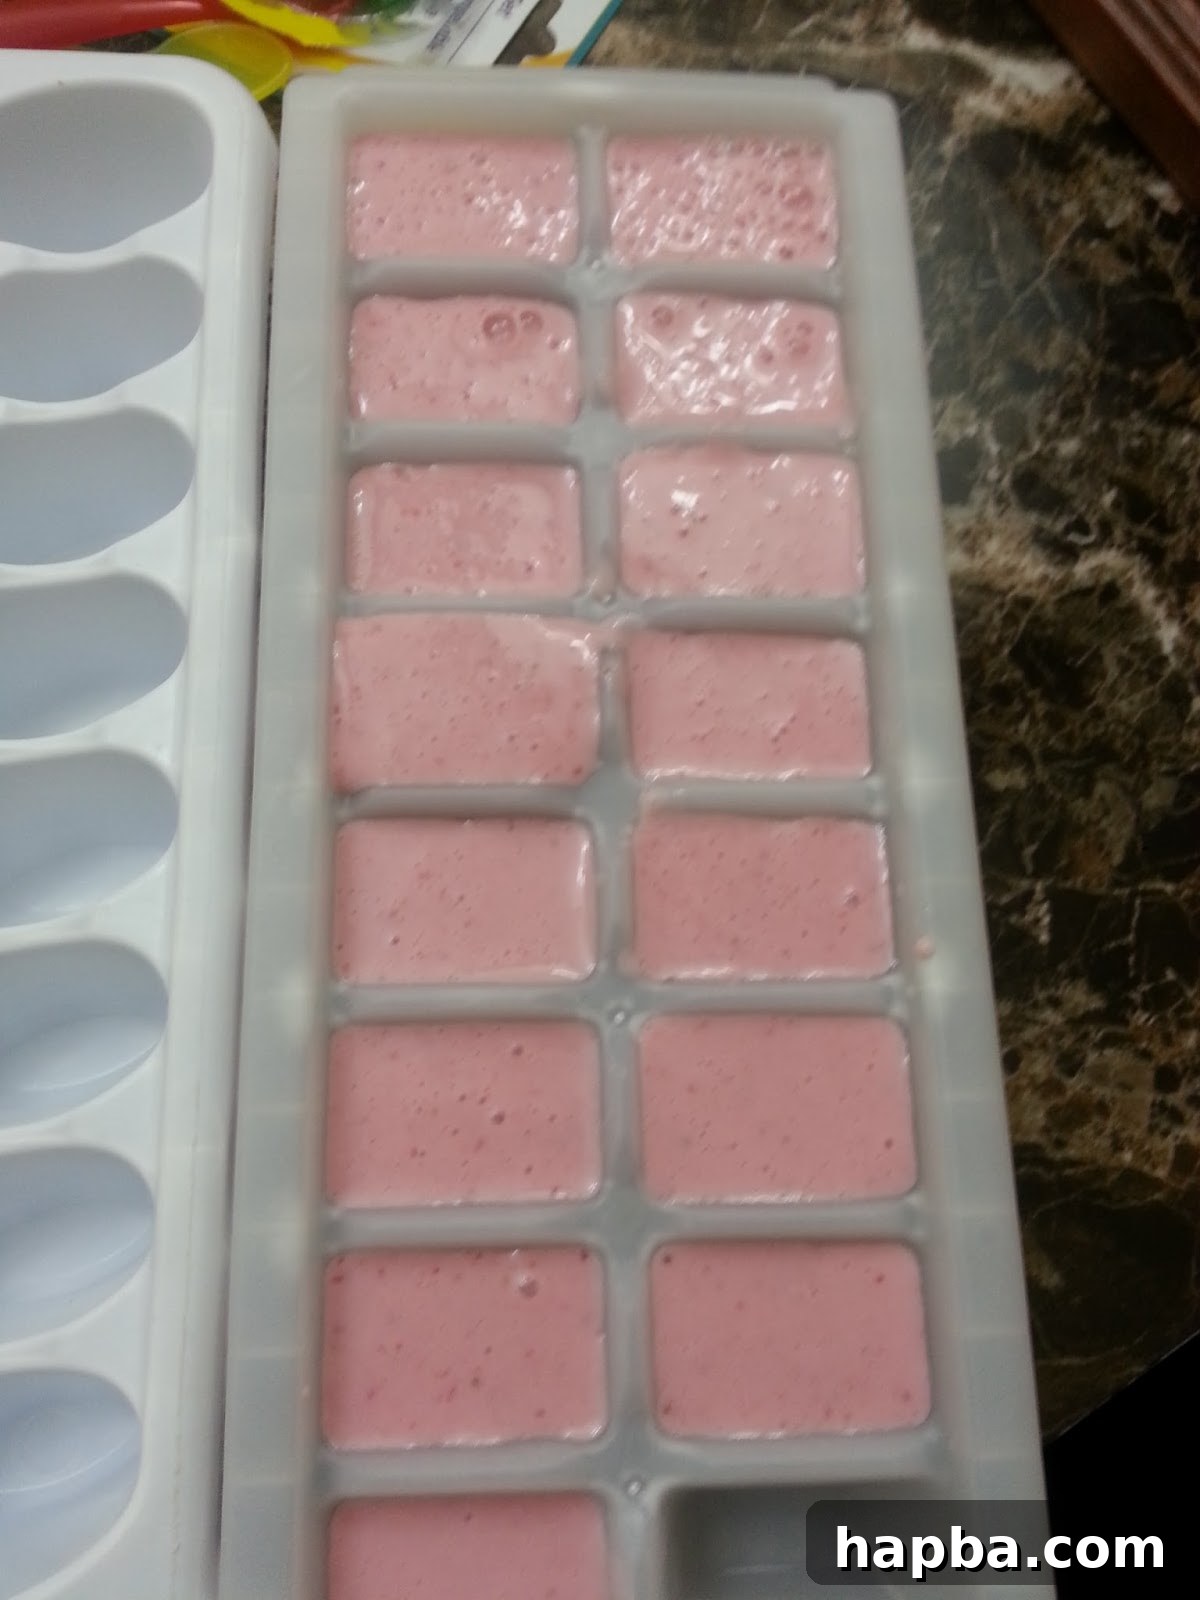
Once your blend is perfectly smooth and tastes just right, it’s time to pour it into your chosen molds. Whether you’re using classic popsicle molds, ice cube trays (as I did for smaller, bite-sized treats), or even small paper cups, carefully fill each compartment. I found that this recipe yielded enough mixture to fill two standard ice cube trays, which is perfect for a small batch or if you want to make different flavors. Don’t overfill them, as liquids expand slightly when frozen. Leave a little bit of headspace at the top of each mold.
Step 4: The Initial Freeze & Stick Insertion
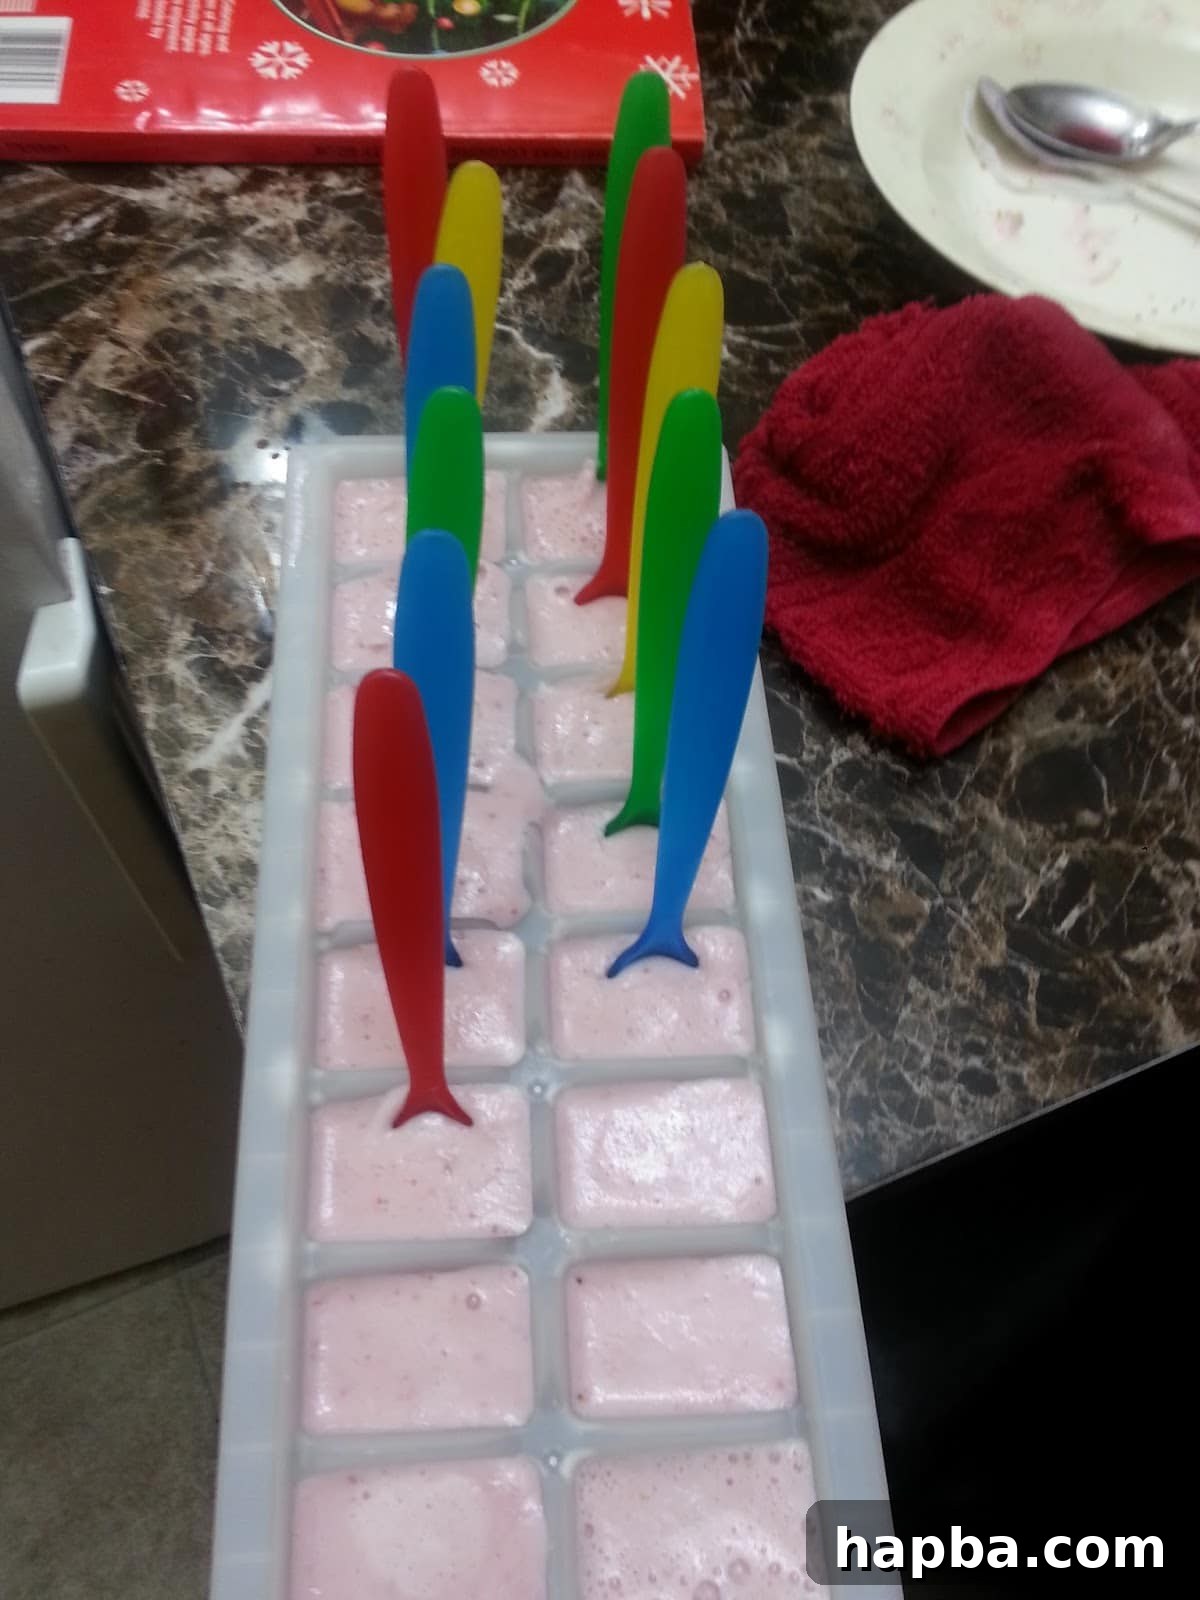
Place the filled molds into the freezer for about an hour. This initial freezing time is crucial because it allows the mixture to firm up slightly but not completely solidify. When it’s partially frozen and slightly hard, it’s the perfect moment to carefully insert your popsicle sticks (or your creative alternatives!) into the center of each popsicle. This ensures that the sticks stand upright and are perfectly centered once the popsicles are fully frozen.
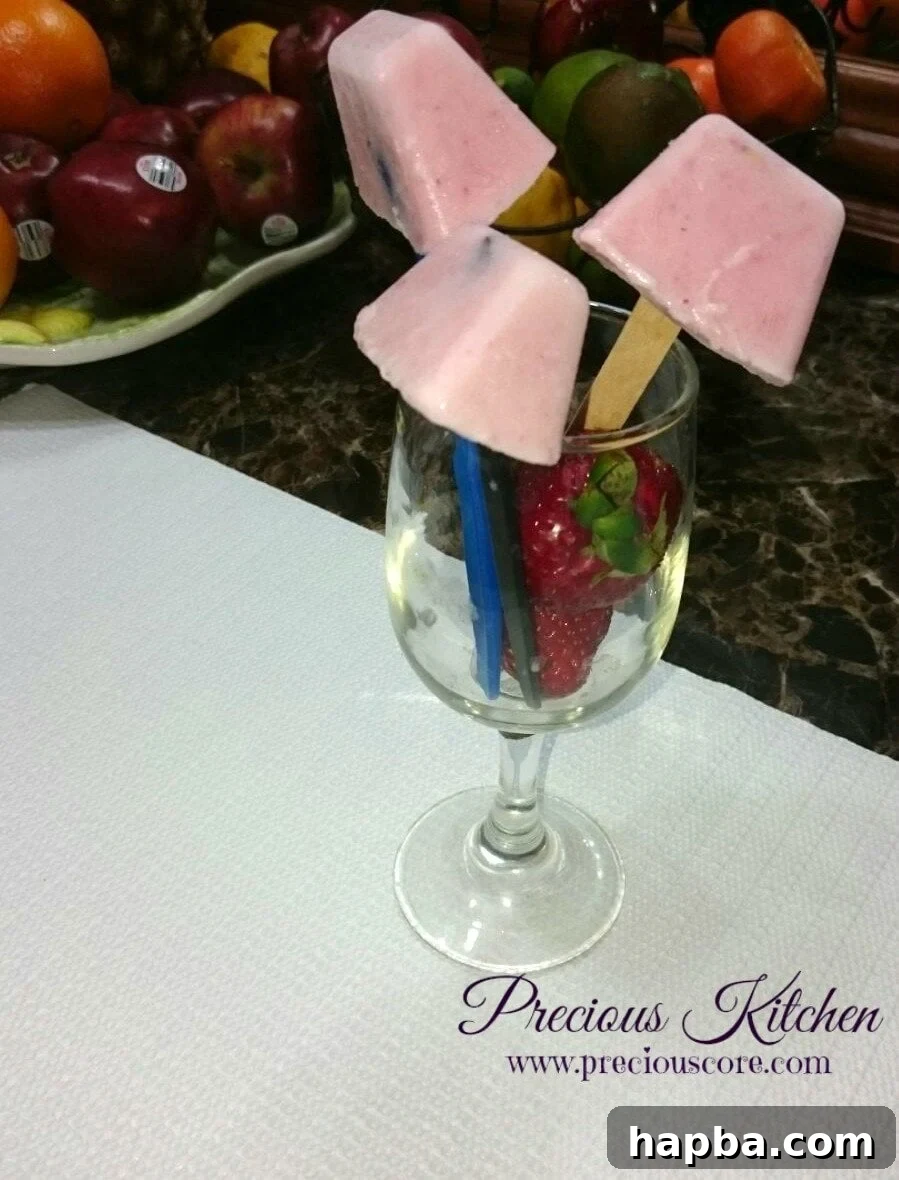
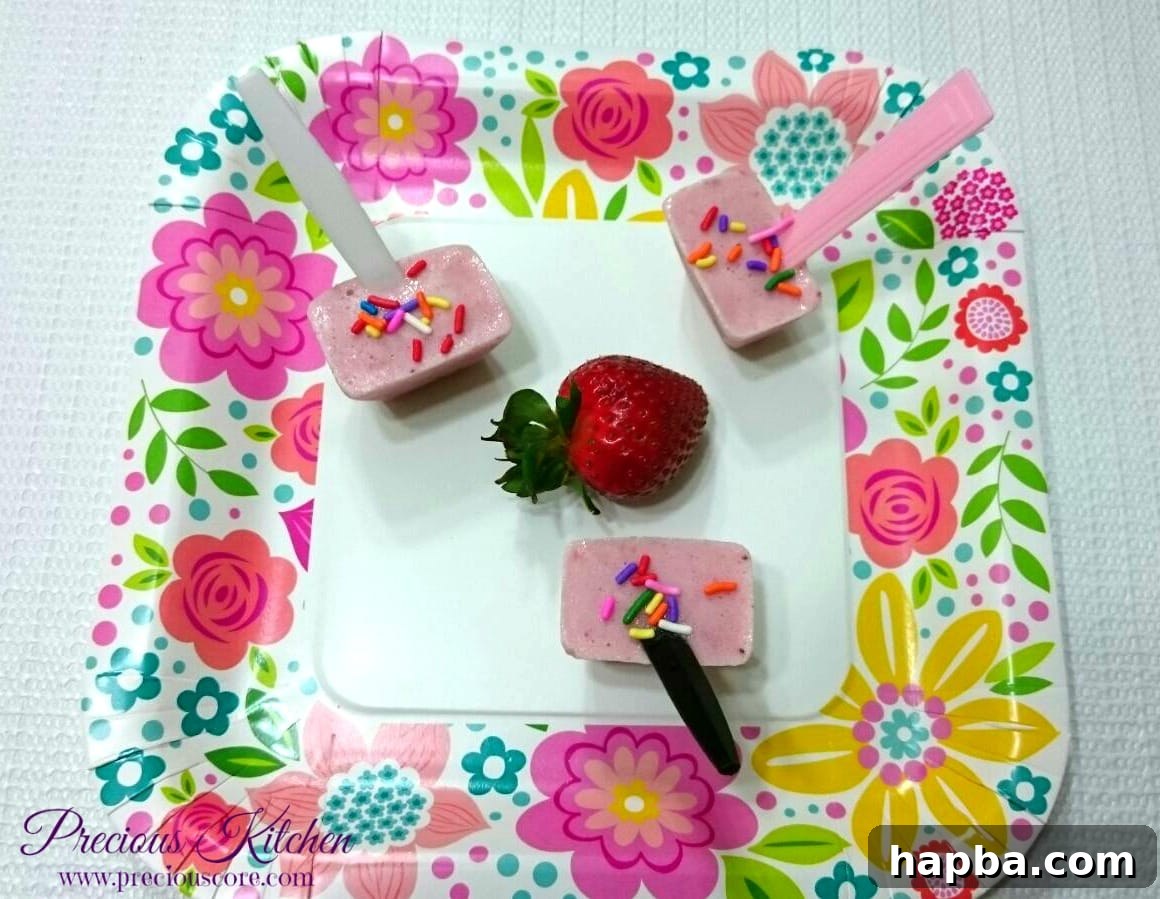
Speaking of sticks, if you find yourself without traditional popsicle sticks, don’t despair! Resourcefulness is key in the kitchen. In a moment of sheer “survival tactics,” I used plastic spoons, and they worked wonderfully. Other great alternatives include sturdy reusable plastic sticks, small wooden skewers, or even reusable silicone straws. The goal is simply to have something to hold onto while enjoying your treat!
Step 5: The Final Freeze & Serving
Let your popsicles continue to freeze until they are solid and firm, reaching perfection. This typically takes about 3 to 5 hours, depending on the size of your molds and the temperature of your freezer. For best results and ultimate convenience, you could also leave them to freeze overnight. Patience is a virtue when it comes to homemade popsicles, as a thorough freeze ensures they hold their shape and have the ideal icy texture.
Before serving, don’t rush! Remove the popsicles from the freezer and let them rest at room temperature for about 2 to 5 minutes. This brief resting period allows the outer layer to slightly soften, making it much easier to remove them from their molds without breaking. For stubborn molds, you can quickly run the outside of the mold under warm water for a few seconds. Gently pull on the stick, and your perfectly frozen, healthy fruit and yogurt popsicle should slide right out.
Serving Suggestions and Creative Variations
These healthy yogurt popsicles are fantastic on their own, but don’t stop there!
- Layered Popsicles: Create a multi-colored effect by freezing different fruit purees in layers. Freeze one layer for an hour, then add the next, and so on.
- Nutritional Boost: Stir in a tablespoon of chia seeds or flax seeds into the mixture before blending for added fiber and omega-3s.
- Chocolate Drizzle: For a dessert-like treat, once the popsicles are completely frozen, dip them in melted dark chocolate and sprinkle with shredded coconut or chopped nuts.
- Spice it Up: A tiny pinch of cinnamon or a dash of vanilla extract can elevate the flavor profile, especially with fruits like peaches or bananas.
- Tropical Twist: Blend with coconut milk instead of skim milk, and add a squeeze of lime juice for an extra refreshing kick.
- Breakfast Parfait Pops: Add a layer of granola at the bottom of the mold before pouring in the mixture for a fun twist on a breakfast parfait.
Storage Tips for Your Homemade Popsicles
Once your healthy fruit popsicles are perfectly frozen and you’ve enjoyed a few, you’ll want to store the rest properly to maintain their freshness and prevent freezer burn. The best way to store them is individually wrapped in parchment paper, wax paper, or plastic wrap. Then, place the wrapped popsicles in an airtight freezer bag or container. This extra layer of protection helps keep them fresh, prevents them from picking up freezer odors, and makes them easy to grab whenever a craving strikes. Stored correctly, these homemade treats can last in the freezer for up to 2-3 weeks, though they rarely last that long!
Conclusion: Embrace Your Inner Child!
Making these homemade healthy fruit and yogurt popsicles is more than just following a recipe; it’s an invitation to rediscover simple joys, get creative in the kitchen, and nourish your body with wholesome goodness. They are incredibly versatile, easy to make, and offer a delicious, guilt-free way to cool down and satisfy your sweet tooth. Whether you’re making them for your children, a summer party, or simply for yourself, these popsicles are guaranteed to bring a smile to your face. So, gather your ingredients, blend away, and enjoy being the kid that you truly are – healthy, happy, and refreshed! Share your favorite fruit combinations and tag us in your delicious creations!