
Mastering Crochet Braids for Kids: An Easy & Beautiful DIY Guide
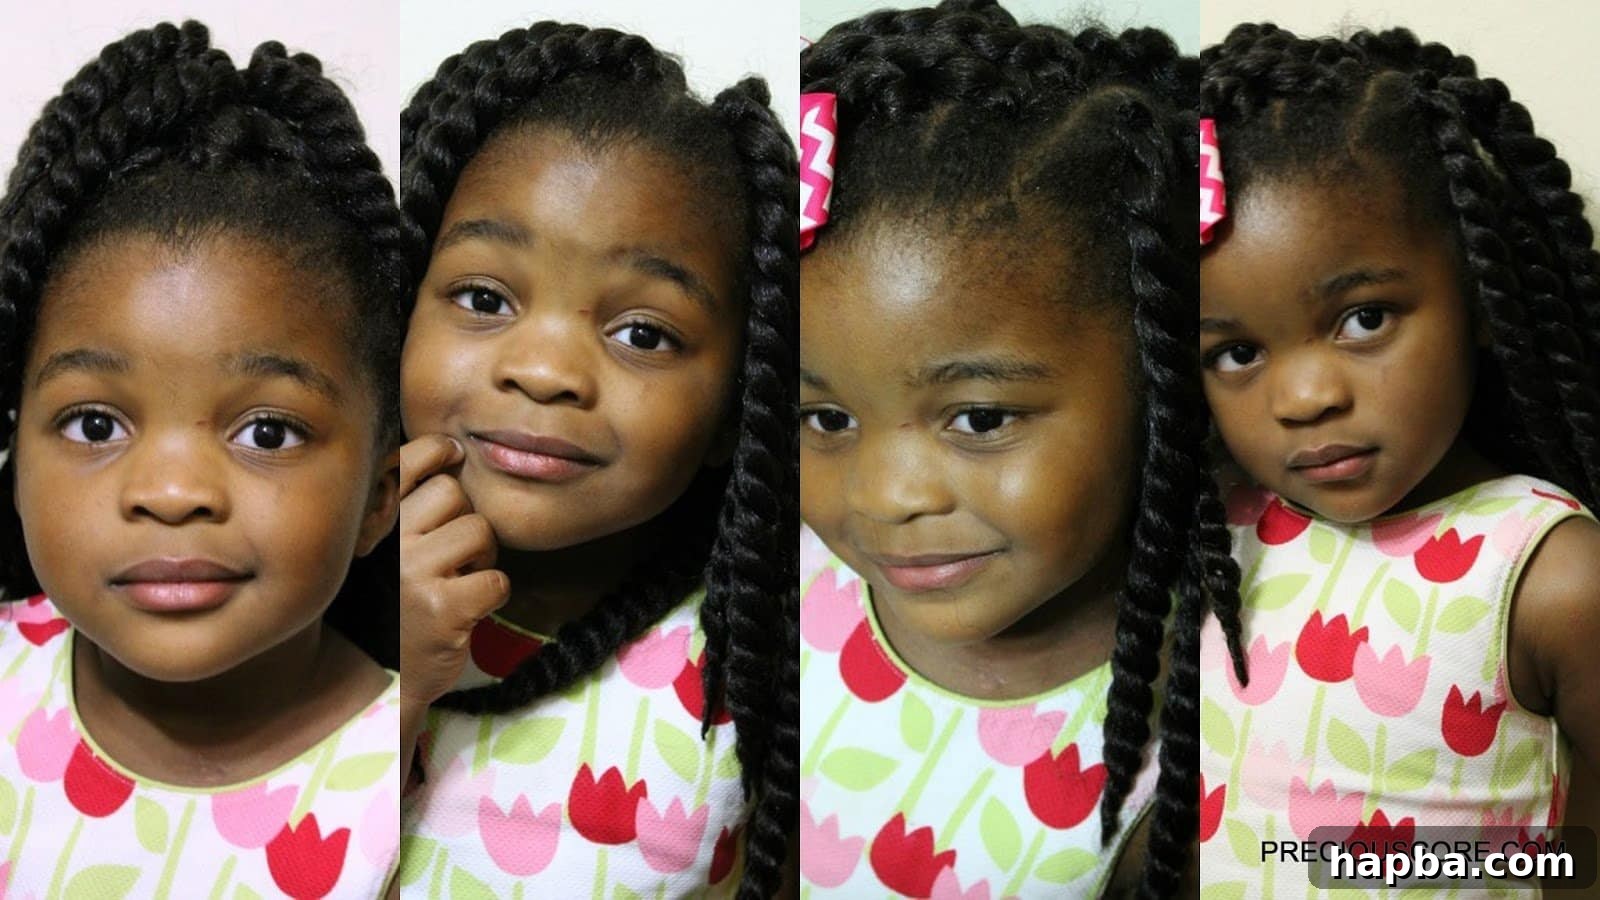
Every parent knows the unique joys and challenges of styling their children’s hair. One recent morning, my five-year-old, with her characteristic wisdom, declared, “Mummy, I have an idea for you! How about you make a video of you doing our hair? Your website is full of only cooking!” Her keen observation truly caught me off guard! Kids truly notice everything, don’t they? She’s been persistently requesting a hair video and even a “day in the life” vlog. While those might be on the horizon, I figured I could at least share a comprehensive hair pictorial to start. One step at a time, right?
For months, I’d been captivated by the vibrant array of crochet braid styles flooding my social media feeds. The sheer beauty and apparent ease of installation piqued my curiosity, prompting me to finally give this popular protective hairstyle a try. And I must say, I was far from disappointed. The process turned out to be incredibly straightforward, and the resulting braids were absolutely stunning!
Crochet braids are a revolutionary hair extension technique where pre-braided, twisted, or curly hair is crocheted onto your natural hair using a specialized latch hook tool, commonly known as a crochet hook. This method creates a seamless, natural-looking style that’s both protective and stylish. I’ve successfully done this style on both of my older girls, and it has been a game-changer for our family. As a busy mom, I simply don’t have hours to dedicate to intricate braiding sessions for each child. This method allows me to create beautiful, long-lasting styles without the typical time commitment, saving me from those dreaded #Mommydaughtertroubles. If a complete hair novice like myself can achieve such fantastic results, then you, my friend, can certainly do it too!
Why Crochet Braids Are a Parent’s Best Friend
Choosing the right hairstyle for children involves balancing aesthetics, practicality, and most importantly, hair health. Crochet braids excel in all these areas, making them an ideal choice for busy parents and active kids alike. Here’s why this protective style stands out:
- Time-Saving: The primary appeal of crochet braids is their rapid installation. Unlike traditional braiding methods that can take many hours, crochet braids can be installed in a fraction of the time, often within 2-4 hours, depending on the desired fullness and length. This means less time in the styling chair and more time for play!
- Gentle and Protective: Crochet braids are excellent for protecting your child’s natural hair from daily manipulation, harsh weather conditions, and styling damage. Since the extensions are looped onto cornrows rather than directly braided with the natural hair, there’s less tension on the scalp, promoting healthier hair growth and reducing breakage.
- Versatile Styling: The market offers an astonishing variety of crochet hair textures and styles, from bouncy curls and wavy patterns to elegant Senegalese twists, Havana twists, and box braids. This allows for endless creative possibilities, ensuring your child can rock a new look every few weeks without damaging their own hair.
- Low Maintenance: Once installed, crochet braids require minimal daily styling. They maintain their look for weeks, freeing up valuable morning time for both parents and children. Simple daily care like scalp moisturizing and sleeping with a satin bonnet or pillowcase is usually all that’s needed.
- Beginner-Friendly: As I can attest, the technique itself is surprisingly simple to master. With a little practice, even those with limited braiding experience can achieve professional-looking results right at home.
- Cost-Effective: Doing crochet braids at home is significantly more economical than frequent salon visits for professional braiding, offering a high-quality style without the hefty price tag.
What You’ll Need for Your Crochet Braid Project
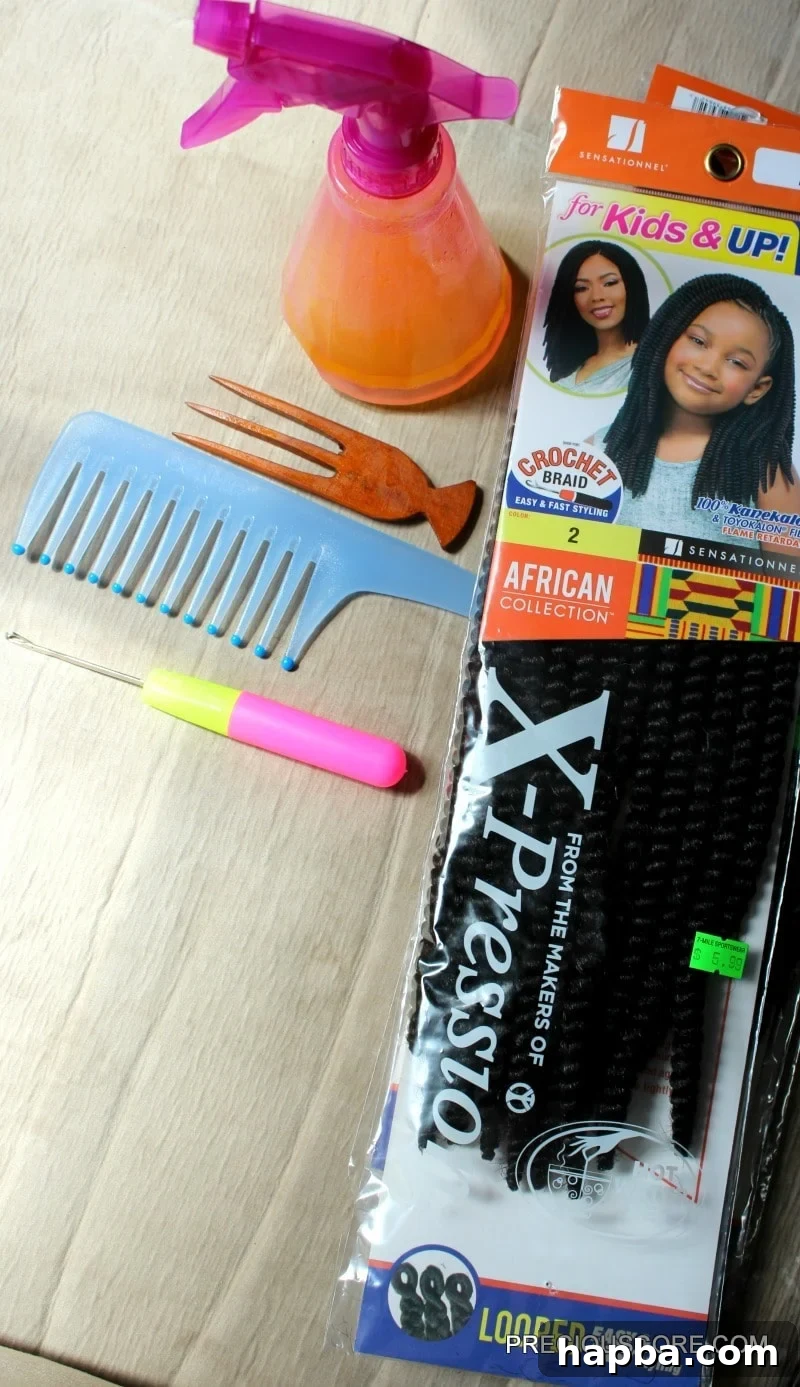
Before embarking on your crochet braid journey, gathering all your supplies is key. Having everything readily available will make the process smoother and more enjoyable. Here’s a detailed look at the essentials:
- Crochet Braids Hair: For my daughters, I opted for 3 packs of 12-inch Senegalese twists, which provided a beautiful, natural-looking fullness without being overly bulky for kids. The quantity can vary based on the desired volume and length; some people might use up to five packs, but for children, I find fewer packs create a more comfortable and manageable style. Consider Havana twists, spring twists, faux locs, or various curly patterns to explore different looks.
- Crochet Hook (Latch Hook Tool): This is the crucial tool for installing the extensions. Its small latch allows you to easily pull the hair through the cornrows.
- DIY Hair Detangler: A good detangler is indispensable for preparing the hair. Whether homemade or store-bought, it helps in easing out knots and making the braiding process much smoother.
- Combs: You’ll need a rat-tail comb for parting and sectioning, and a wide-tooth comb for detangling.
- Hair Clips: Essential for sectioning off hair and keeping it out of the way while you work.
- Edge Control or Hair Gel (Optional): For neatening edges and giving the final style a polished look.
- Shears or Scissors: For trimming any loose strands or packaging.
Step-by-Step Guide: How to Install Crochet Braids for Kids
This tutorial is designed for beginners and focuses on creating a neat, comfortable, and long-lasting protective style for your child. Follow these steps carefully, and you’ll be amazed at the beautiful results!
Step 1: Prepare the Natural Hair and Create the Cornrow Base
Proper preparation is the foundation of any great protective style. This stage ensures your child’s natural hair is healthy and ready for the extensions.
- Detangle and Moisturize: Begin by thoroughly spraying your child’s hair with a detangling spray. This is crucial for loosening knots and making the hair manageable. Gently comb through the hair using a wide-tooth comb, working from the ends upwards to minimize breakage. Apply a light leave-in conditioner or moisturizer to ensure the hair remains hydrated under the extensions.
- Braid into Cornrows: Carefully section your child’s hair and begin braiding it into neat cornrows that run all the way to the back of the head. In Cameroon, where I’m from, these are affectionately known as “bakala.” The pattern of your cornrows forms the foundation for your crochet braids, so aim for neatness and consistency. For a typical child’s head, you’ll likely create about 8-10 cornrows.
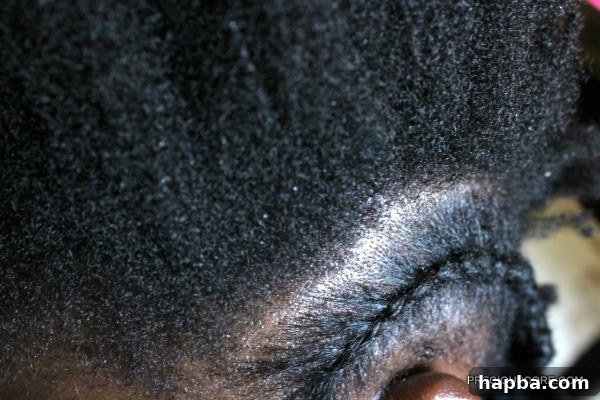
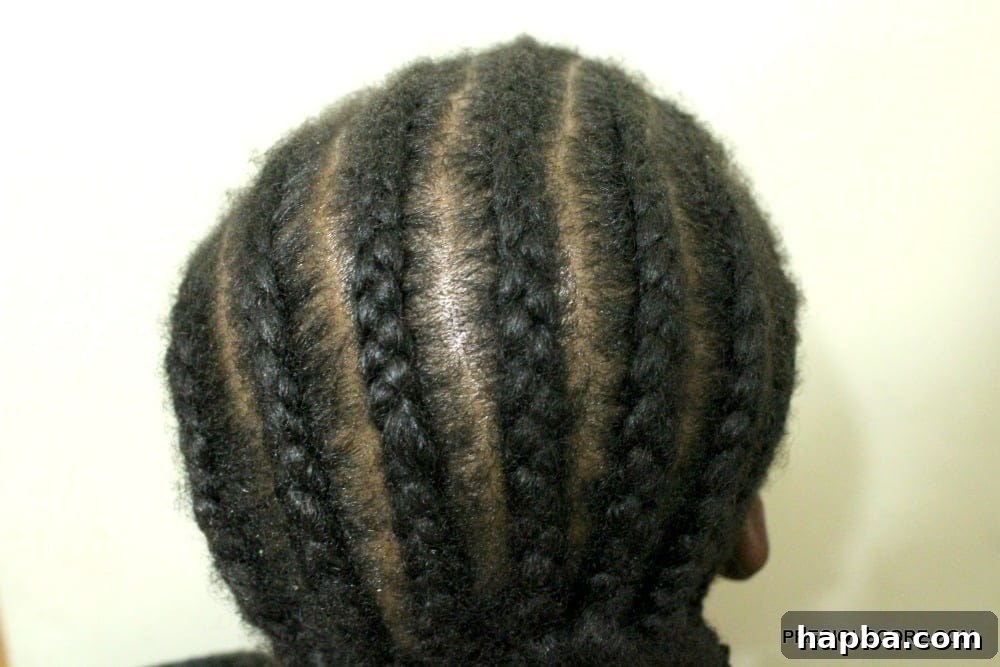
Expert Tip for the Base: At the nape of the neck, I connected the ends of the cornrows into one large horizontal cornrow. I then carefully tucked this large cornrow into another adjacent cornrow to neatly hide the edges and ensure a smooth, flat base. This technique is vital for a seamless finish. I really should do a video for this part – would that be helpful? Yes!
Step 2: The Magical Installation of Crochet Braids
This is where the transformation truly begins, and it’s surprisingly quick and fun!
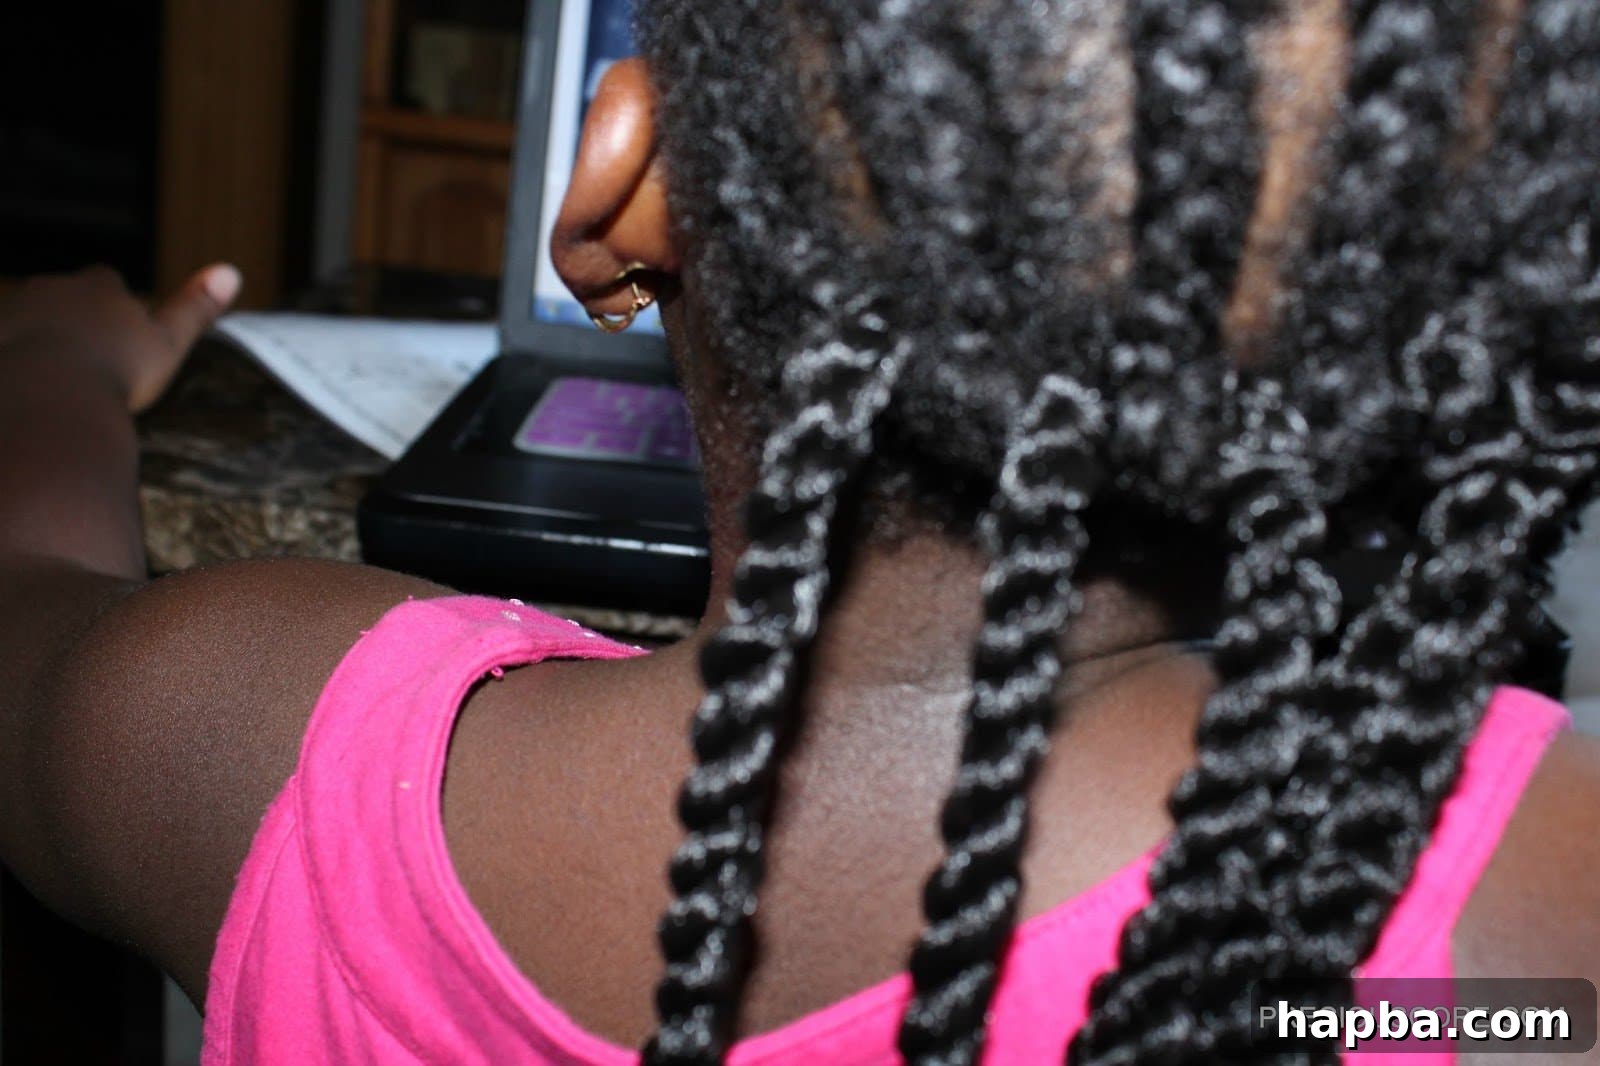
Take one pre-looped crochet braid extension in one hand. With your other hand, carefully insert the crochet hook (latch closed) through a cornrow, under a small section of the braid. Make sure to go under the cornrow itself, not just the natural hair.
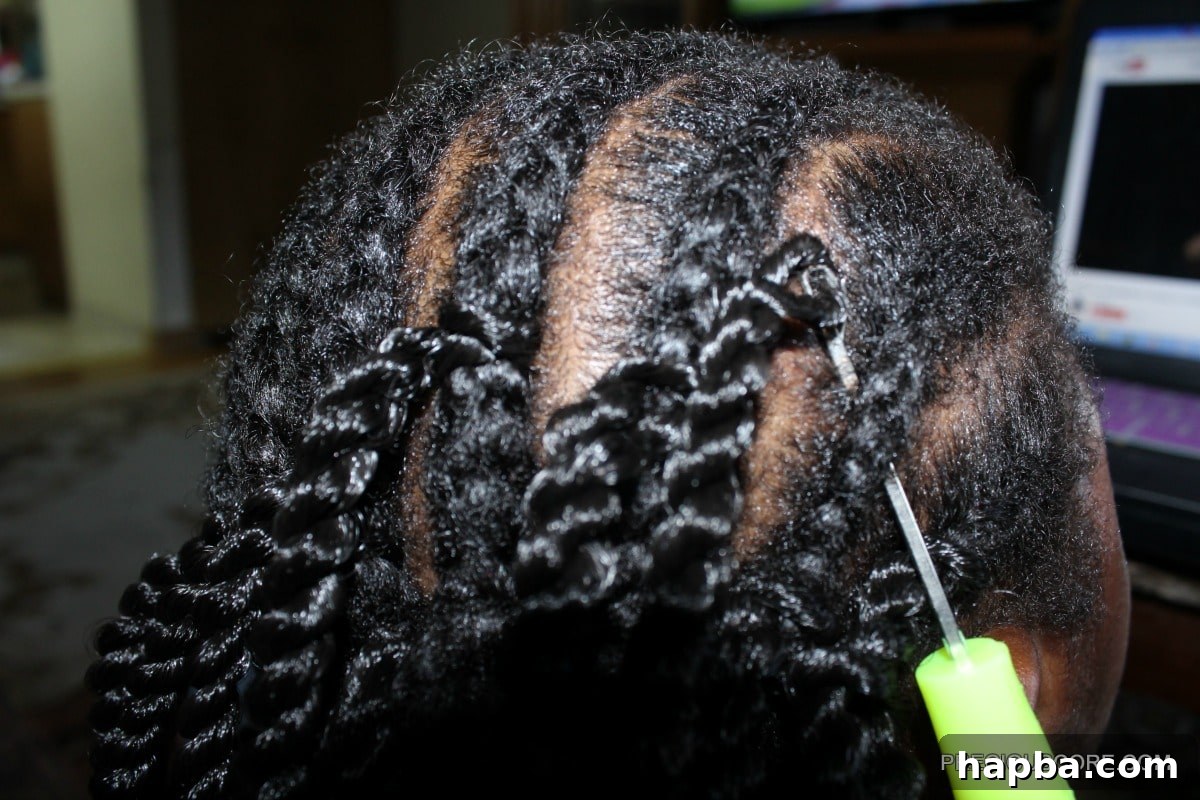
Once the hook is through, open the latch. Loop the pre-looped end of the crochet hair extension onto the open latch of the hook. Close the latch securely to prevent the hair from slipping off.
Step 3: Pulling Through and Creating the First Loop
This step brings the extension hair partially through the cornrow.
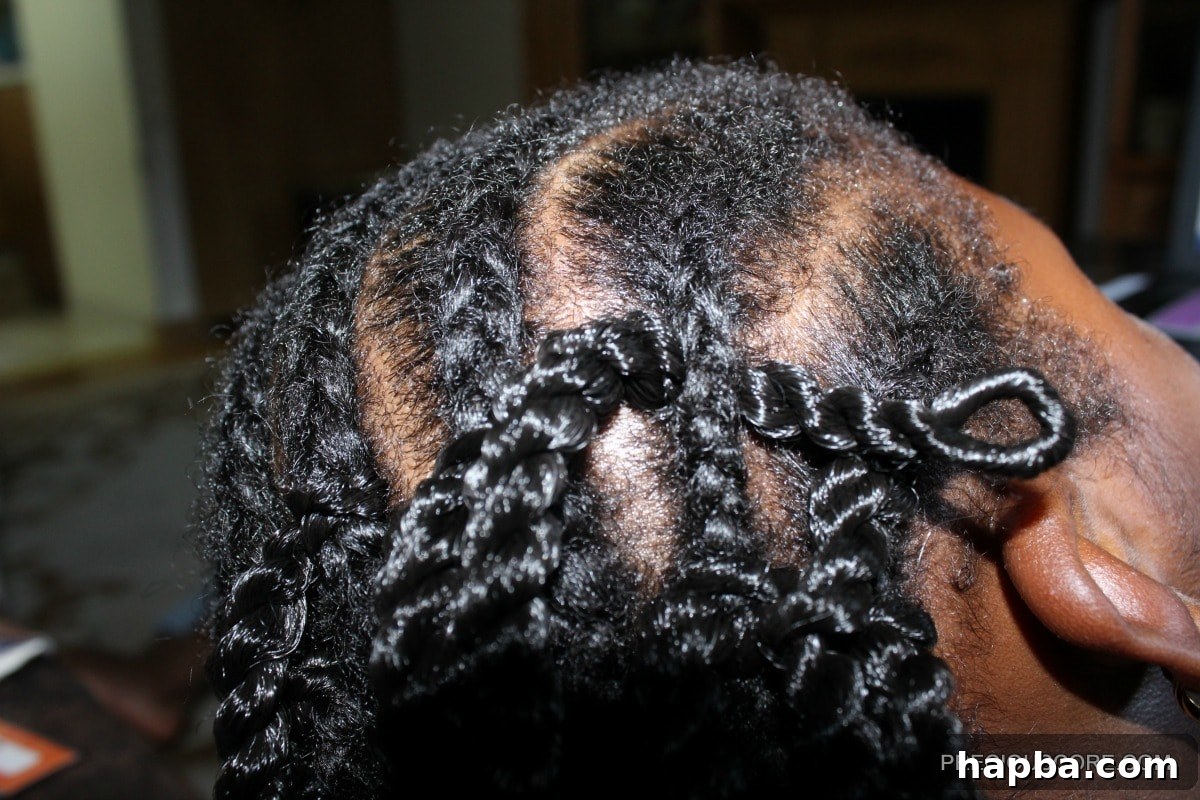
Gently slide the hooked hair back through the cornrow, pulling the loop of the extension through until you have a small loop protruding from the other side of the cornrow. Once the loop is through, you can remove the crochet hook from the hair.
Step 4: Securing the Braid with a Knot
This final step firmly attaches the extension to the cornrow.
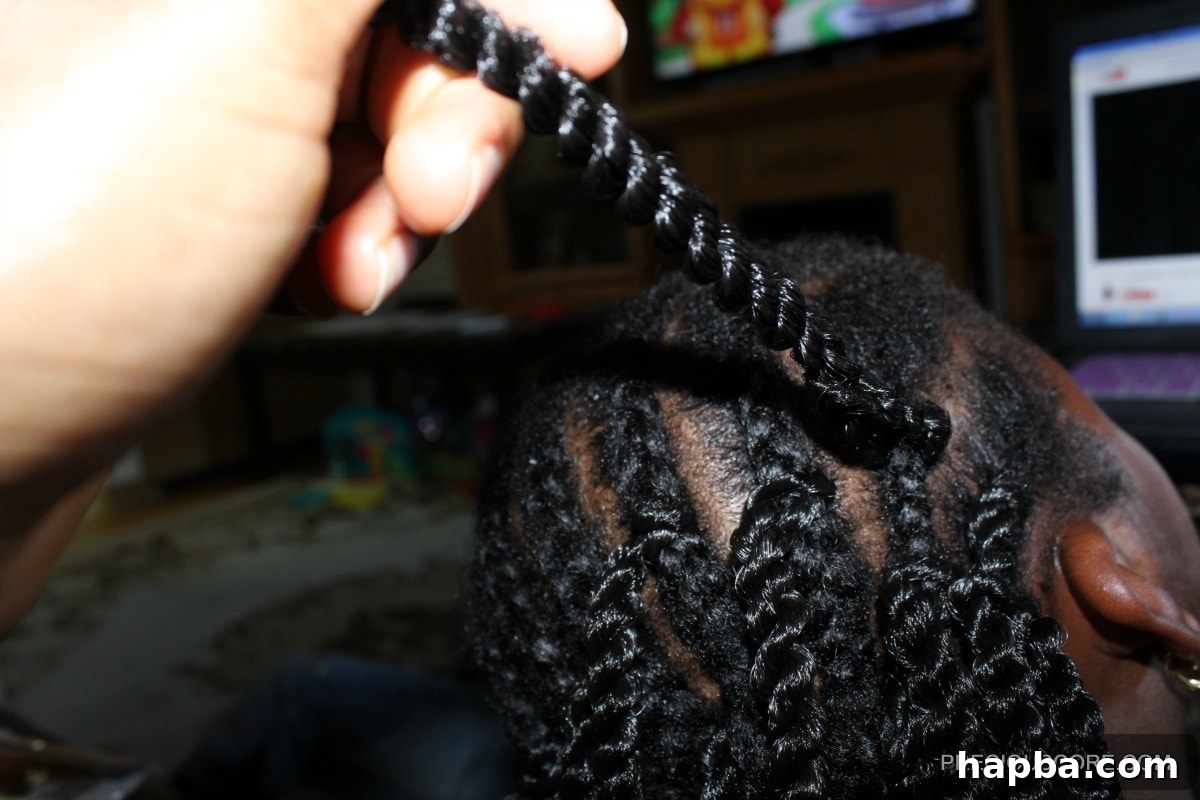
Now, take the two free ends of the crochet hair extension. Feed these ends through the pre-looped opening that you just pulled through the cornrow. Once the ends are through, pull them gently but firmly to secure the extension tightly in a knot around the cornrow. Ensure the knot is snug but not so tight that it causes discomfort to the scalp.
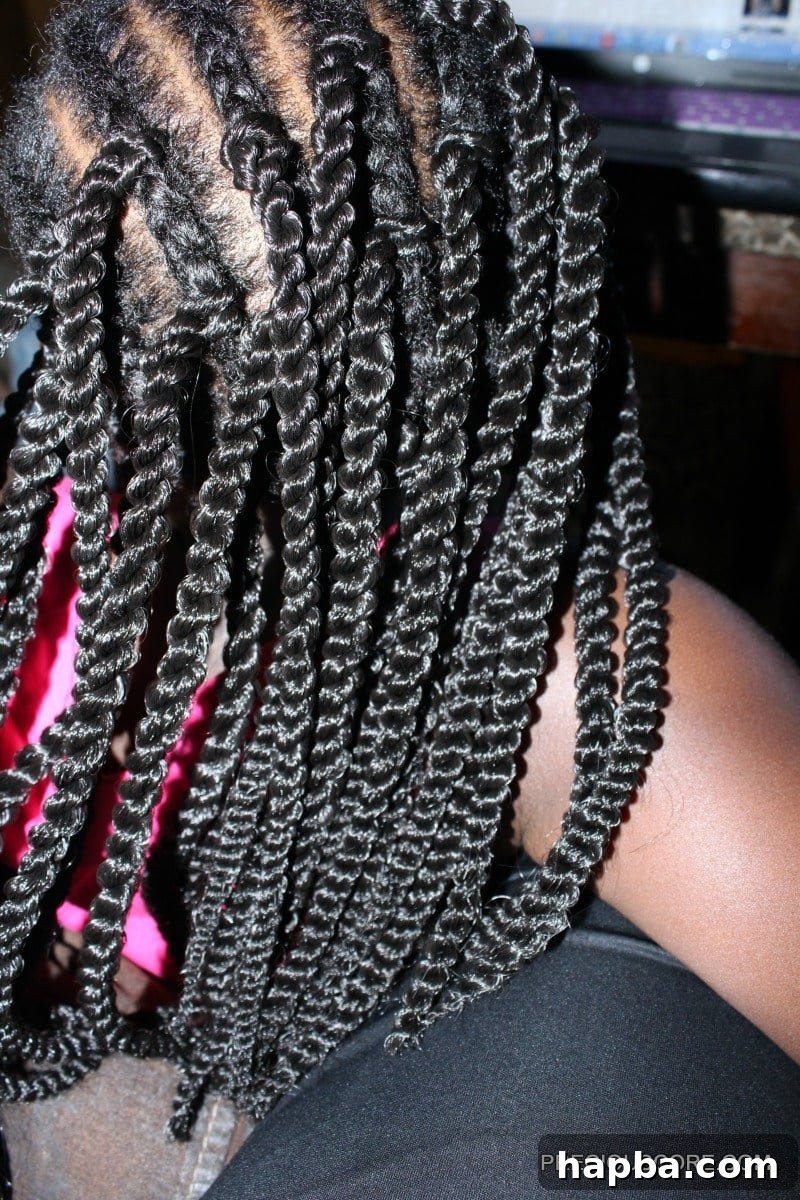
Repeat and Refine: Continue this process, spacing out the braids as desired to achieve your preferred fullness. For a natural look, aim for consistent spacing. Remember, practice makes perfect! The entire installation process, from start to finish, typically takes me about 3 hours, which is incredibly efficient compared to the 7 hours I usually spend on traditional braids. The lighter style shown at the top of this post, using 12-inch Havana Twists, took me only two hours!
Unveiling the Beauty: What Opening the Braids Reveals
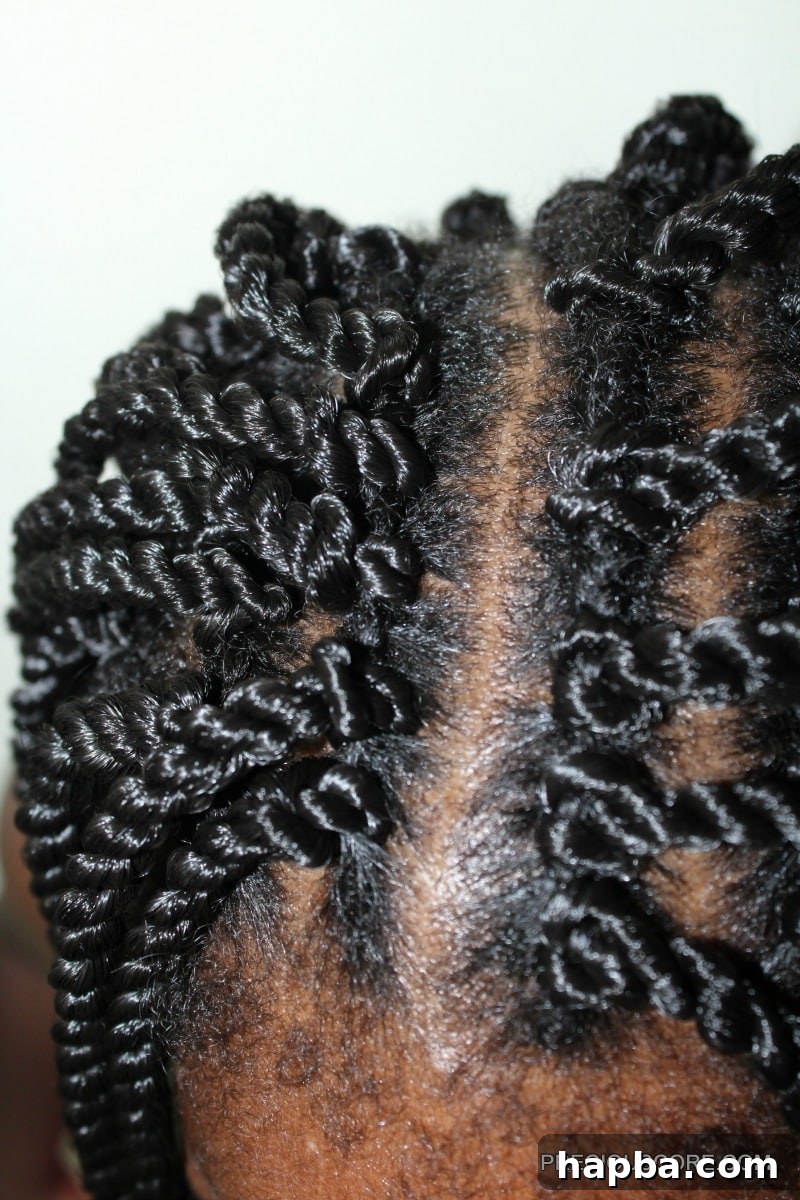
Once all the crochet braids are installed, you’ll see a beautiful, voluminous head of hair. If you’ve used pre-twisted or pre-braided hair, it will already have its defined look. However, if you’ve used curly or wavy crochet hair, sometimes they come tightly packaged. Opening these braids (gently separating the strands) can reveal even more natural texture and volume, giving a fuller, more organic appearance. You can gently fluff and separate the strands to achieve your desired level of fullness and definition.
To give the style a polished finish, you can lay your child’s edges with a little edge control gel. This step isn’t strictly necessary but can help tame flyaways and create a sharp, neat hairline.
Maintaining Your Child’s Crochet Braids
To ensure the longevity and freshness of the crochet braids, as well as the health of your child’s natural hair underneath, proper maintenance is key:
- Moisturize the Scalp: Every few days, lightly spray the scalp with a diluted leave-in conditioner or a natural oil blend (like jojoba, almond, or peppermint oil) to keep it hydrated and prevent itchiness.
- Nighttime Protection: Always have your child sleep with a satin bonnet or on a satin pillowcase. This reduces friction, prevents frizz, and helps the braids last longer.
- Gentle Cleansing: If the braids need to be refreshed, you can lightly cleanse the scalp with a diluted shampoo and cotton swab, focusing on the spaces between the cornrows. Avoid saturating the braids too much, especially if they are curly, as this can lead to frizz.
- Avoid Over-Manipulation: While styling options are abundant, try to avoid excessive pulling or styling that puts strain on the roots.
- Duration: Crochet braids can last anywhere from 4 to 8 weeks, depending on the hair type, installation, and maintenance. It’s generally recommended not to keep any protective style in for longer than 8 weeks to allow the natural hair and scalp to breathe and be properly cleansed.
Removal: Gentle and Safe
When it’s time to take down the crochet braids, patience is your best friend. Cut the crochet hair as close to the knot as possible without cutting the natural hair. Then, gently unravel the cornrows underneath. Apply a detangler or conditioner to your child’s natural hair as you go, to help loosen any shed hair and make the detangling process easier. This ensures minimal breakage and maintains the health of their natural hair.
Embrace the Crochet Braid Journey!
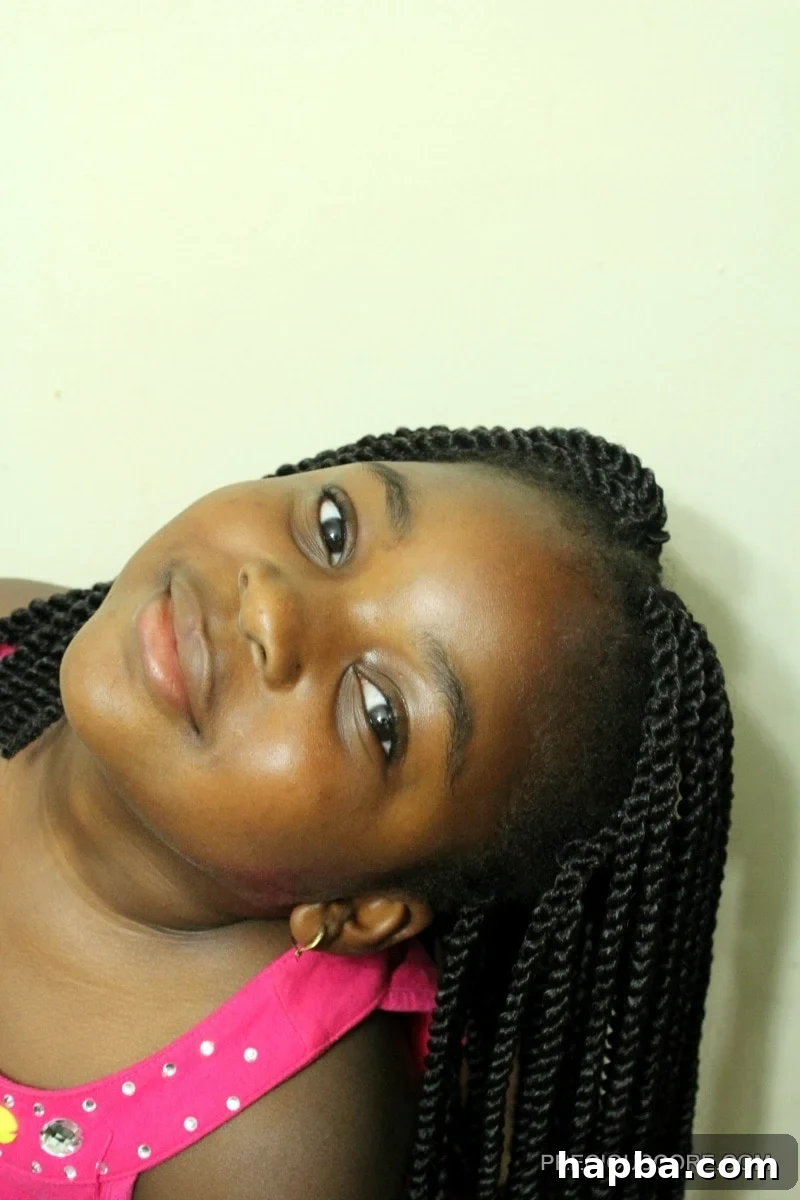
I genuinely hope this detailed guide empowers you to confidently create some awesome and beautiful crochet braids for the little ladies (or gentlemen!) in your life. It’s a wonderful way to protect their hair, save time, and explore a variety of stunning styles without the usual hassle. Don’t be intimidated; if I can do it, you certainly can too! Embrace the process, enjoy the bond with your child, and delight in the gorgeous results. Happy styling!