
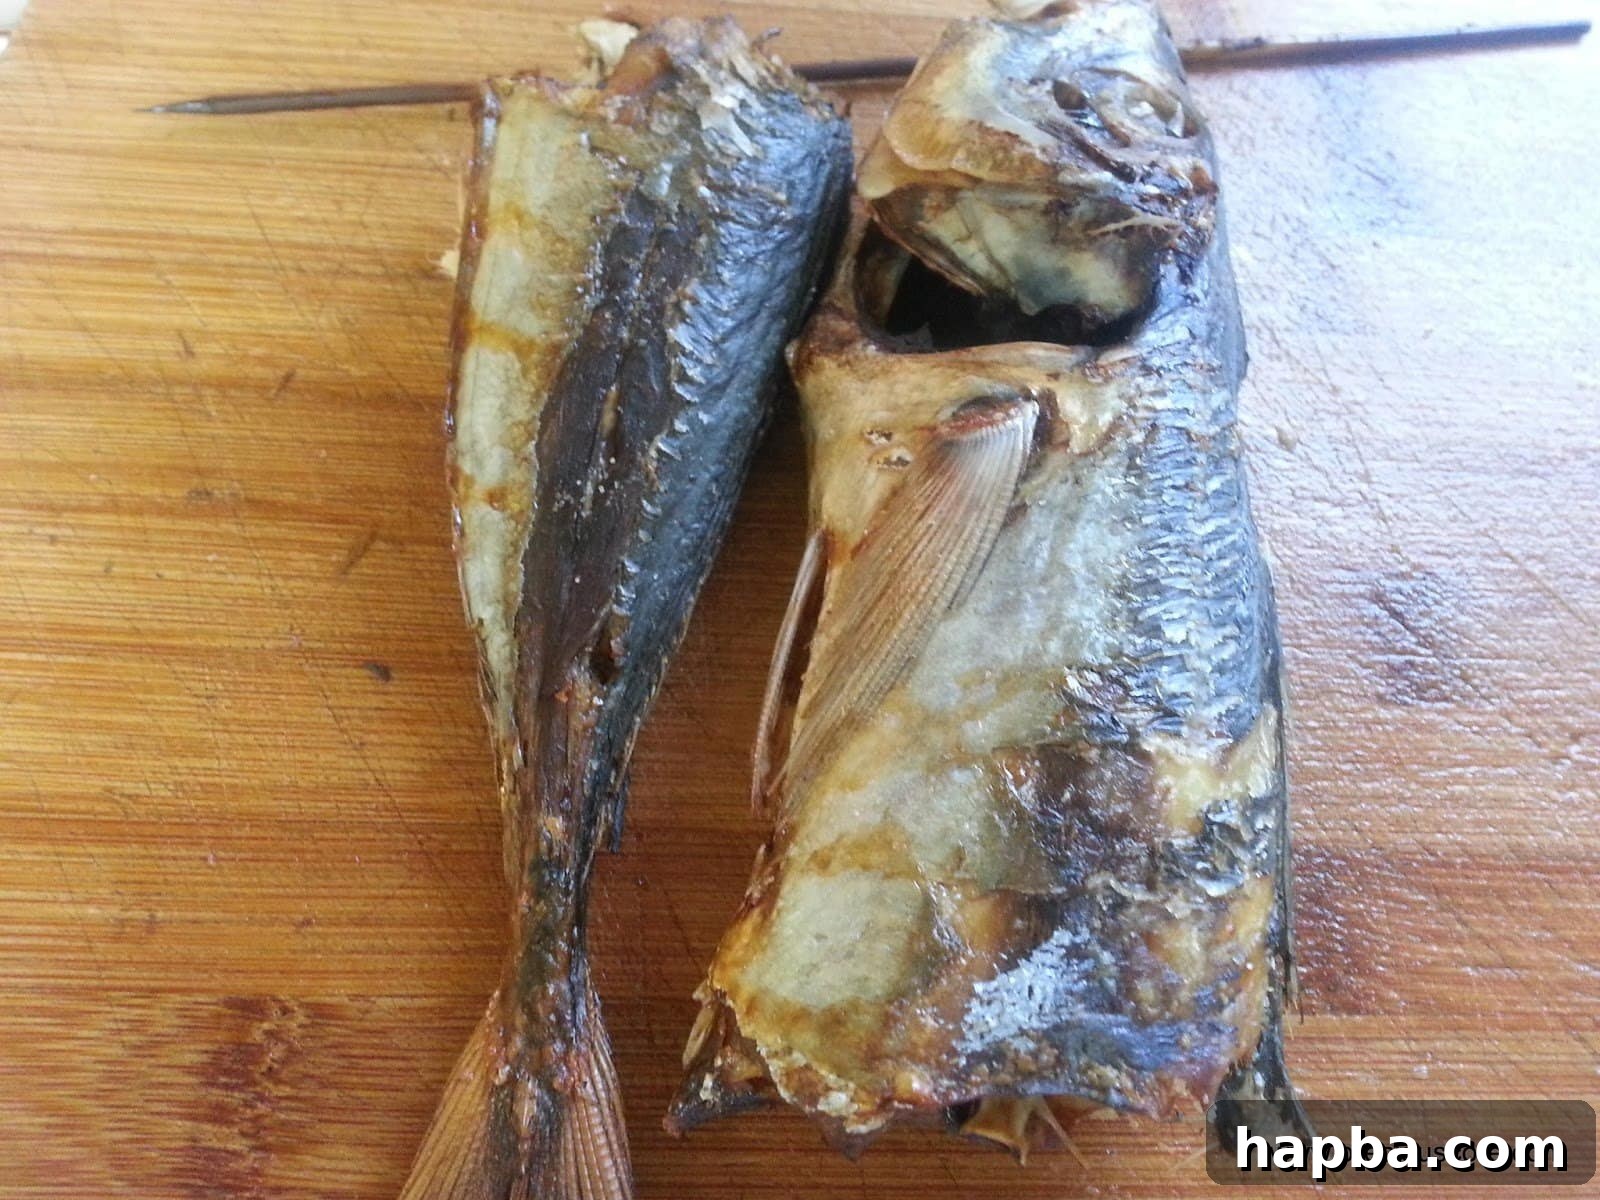
Mastering Homemade Dried Fish: A Culinary Journey from Frozen to Flavorful
For many who embark on the journey of relocating, especially to countries like the United States, the vibrant tapestry of their home cuisine often faces a peculiar challenge: the availability of staple ingredients. Among these, dried fish holds a special, almost revered place in numerous traditional dishes, particularly across African culinary landscapes. Its distinct umami, chewy texture, and deep flavor profile are irreplaceable, transforming a simple meal into an authentic feast. However, once settled in a new land, this beloved ingredient often becomes a luxury, a rare find tucked away in specialty African markets, often at a premium price.
The absence of dried fish can leave a void in the heart of many traditional recipes. Take, for instance, a rich pot of Eru, a celebrated West African soup, where the smoky, concentrated essence of dried fish is absolutely paramount. In moments of culinary yearning, many, including myself, have resorted to ingenious workarounds, such as frying frozen fish and incorporating it into dishes. While this method offers a pleasant alternative, the added oil from frying and the slightly different texture mean it doesn’t quite capture the unique character of truly dried fish. This quest for authenticity and accessibility led me to discover a simple yet incredibly effective solution: drying fish right in your own oven. With readily available frozen fish, you can recreate that coveted dried fish experience, bringing the authentic flavors of home directly to your kitchen.
Why Make Your Own Oven-Dried Fish? The Benefits Beyond Nostalgia
The decision to make your own dried fish goes beyond mere sentimentality; it’s a practical, economical, and healthy choice. The scarcity of traditional dried fish in many Western supermarkets means that when you do find it, it often comes with a hefty price tag. By utilizing frozen fish, which is typically much more affordable and widely available, you significantly cut down on costs. Furthermore, making it yourself gives you complete control over the process and ingredients. You avoid any unknown preservatives or additives that might be present in commercially dried products.
Beyond the cost and health benefits, there’s an undeniable satisfaction in crafting your own ingredients. The flavor profile of homemade oven-dried fish is often superior to fried alternatives for dishes requiring that specific taste. The slow drying process concentrates the natural flavors, developing a rich, savory depth that frying simply can’t replicate. It imparts an authentic taste and texture that is crucial for traditional stews and soups, making your dishes genuinely sing with the flavors of your heritage. This method empowers you to bridge the gap between imported ingredients and local availability, ensuring your favorite meals are never out of reach.
Selecting the Perfect Fish for Oven Drying
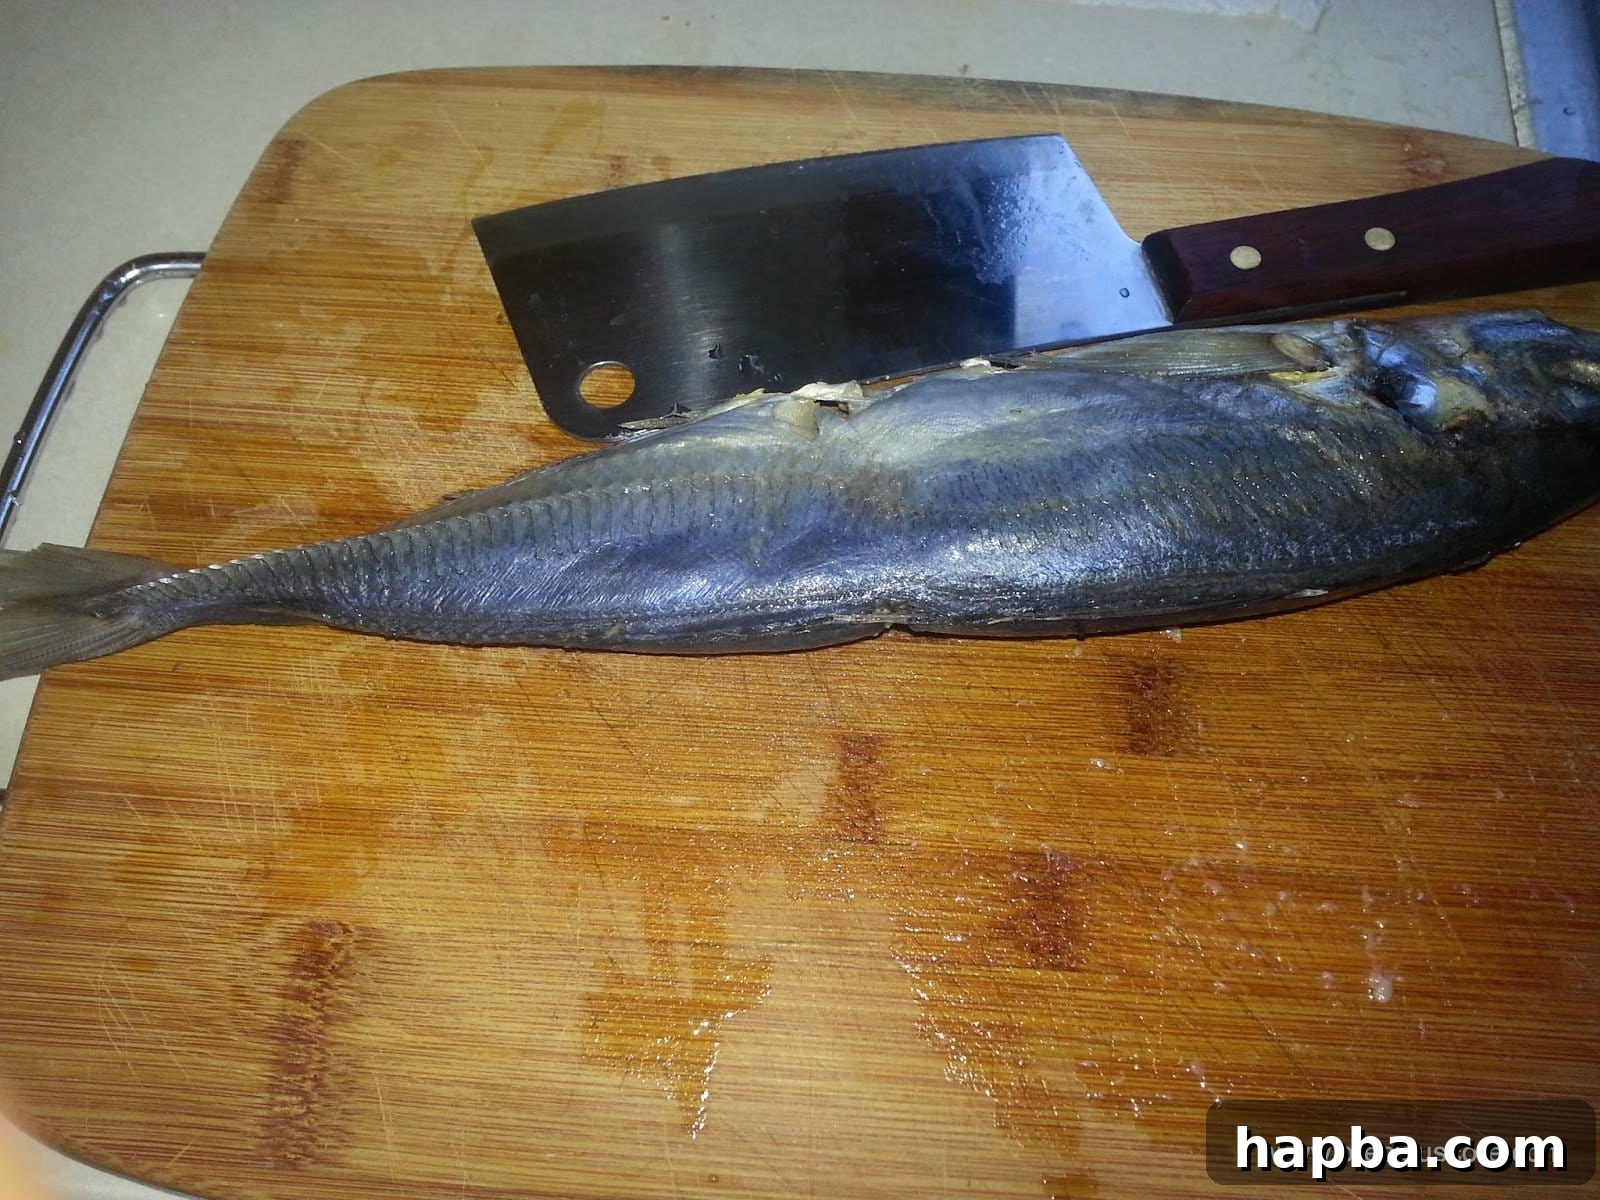
The success of your homemade dried fish begins with choosing the right canvas – the fish itself. While many varieties can be oven-dried, some yield better results than others. For this recipe, I frequently use what’s known locally as “Morocco fish,” which is often labeled as Yellow Tail Mackerel here in the U.S. This type of fish is an excellent choice due to its firm flesh and moderate fat content, which allows it to dry effectively without becoming excessively oily or crumbly.
However, your options are not limited to mackerel. Thinly cut tilapia fillets are another fantastic alternative, as mentioned in the original tip, drying beautifully to a texture akin to the esteemed Bonga fish. Other suitable candidates include cod, haddock, sardines, or even smaller whole fish varieties. The key is to select fish with relatively firm, white flesh and a fat content that isn’t excessively high, as too much fat can sometimes hinder the drying process and lead to a shorter shelf life. Frozen fish is perfectly suitable and often more convenient for this method, as it’s readily available year-round and can be thawed as needed.
Essential Tools and Simple Ingredients
Gathering your tools and ingredients is the first step towards your delicious homemade dried fish. The beauty of this method lies in its simplicity, requiring only a few basic items you likely already have in your kitchen:
- Fish of choice: Whole fish (like Yellow Tail Mackerel) or fillets (like Tilapia).
- Salt: A pinch, for seasoning and aiding the drying process.
- Baking Sheet: To catch any drips.
- Wire Rack: Crucial for ensuring even air circulation around the fish, preventing one side from steaming.
- Oven: Your primary drying apparatus.
- Sharp Knife or Kitchen Shears: For cleaning and preparation.
- Optional: Bamboo Skewers or Wooden Sticks: For traditional piercing.
Step-by-Step Guide: Preparing Your Fish for Oven Drying
Step 1: Thorough Cleaning and Gutting
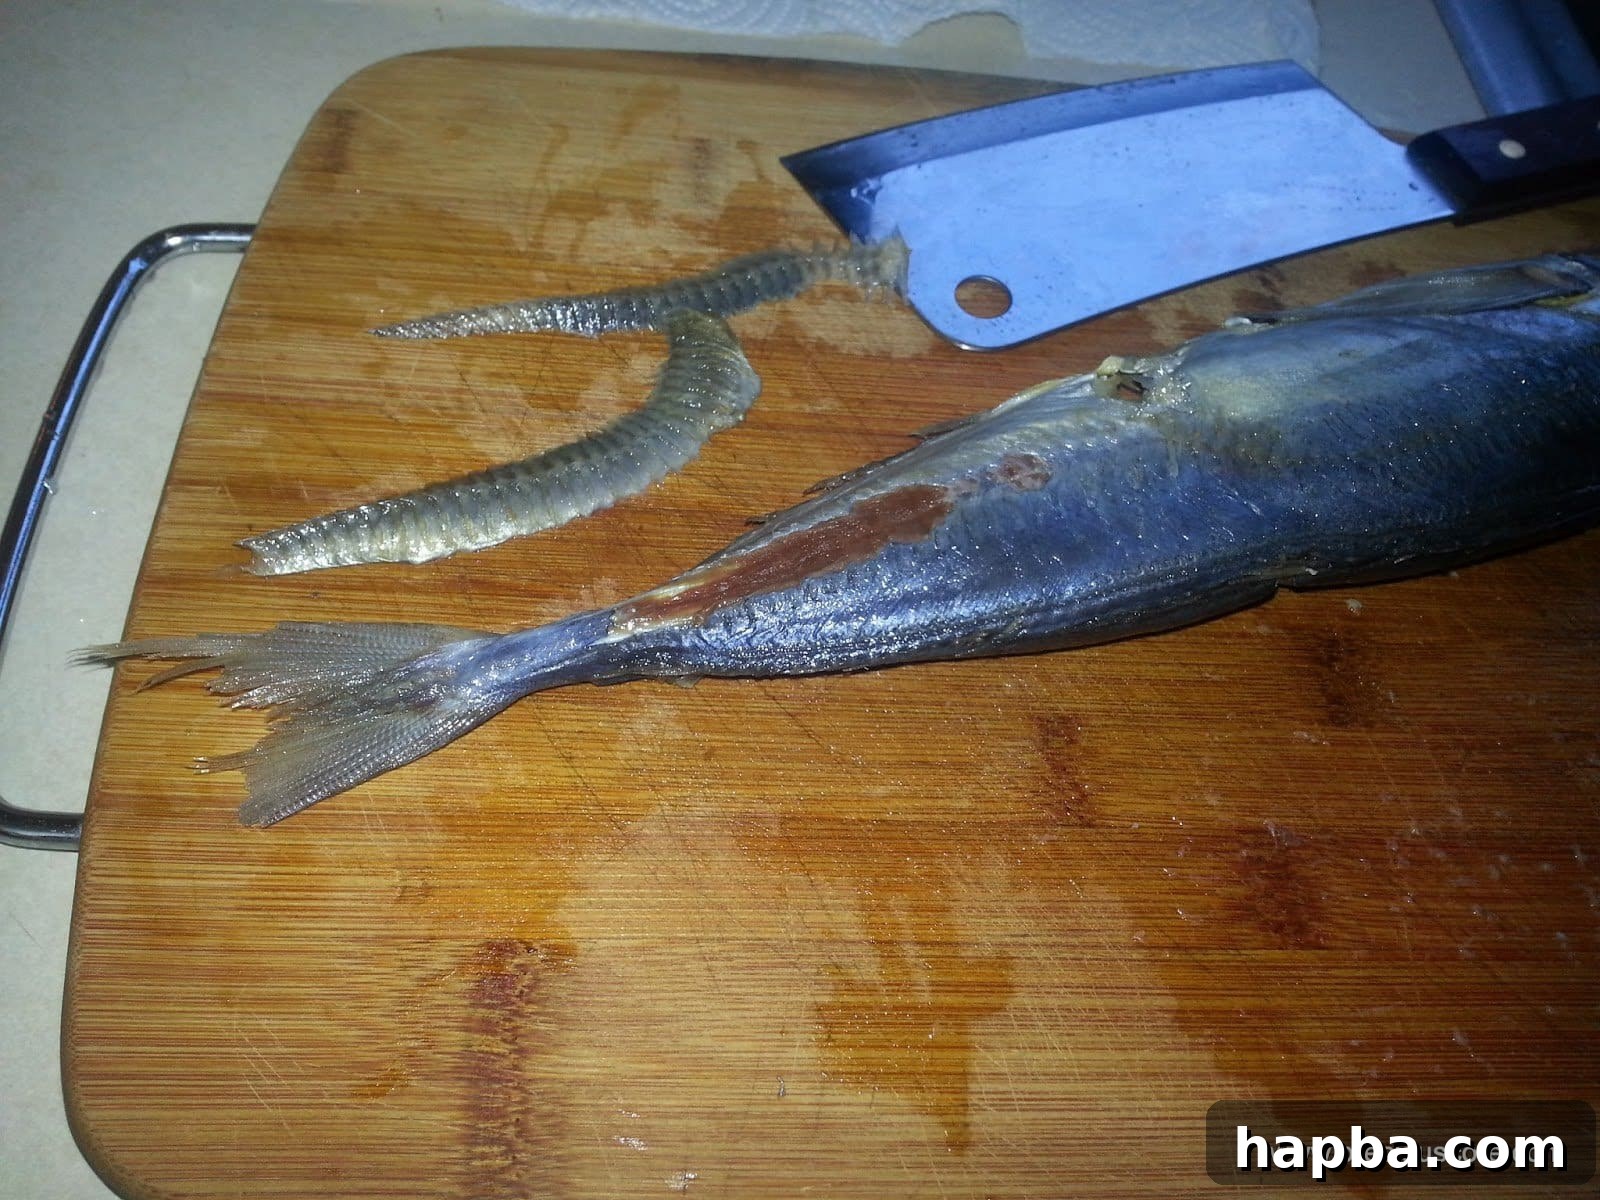
If you’re starting with a whole frozen fish, begin by thawing it completely in the refrigerator overnight. Once thawed, the cleaning process is crucial for both hygiene and the quality of the dried product. Start by removing any scales if present, scraping them off with the back of a knife or a descaler. Next, make a slit along the belly of the fish and carefully remove all the internal organs or guts. Rinse the fish thoroughly under cold running water, ensuring all cavities are clean. This step is vital to prevent any off-flavors or spoilage during the drying process.
Step 2: Removing the Gills (Optional but Recommended)
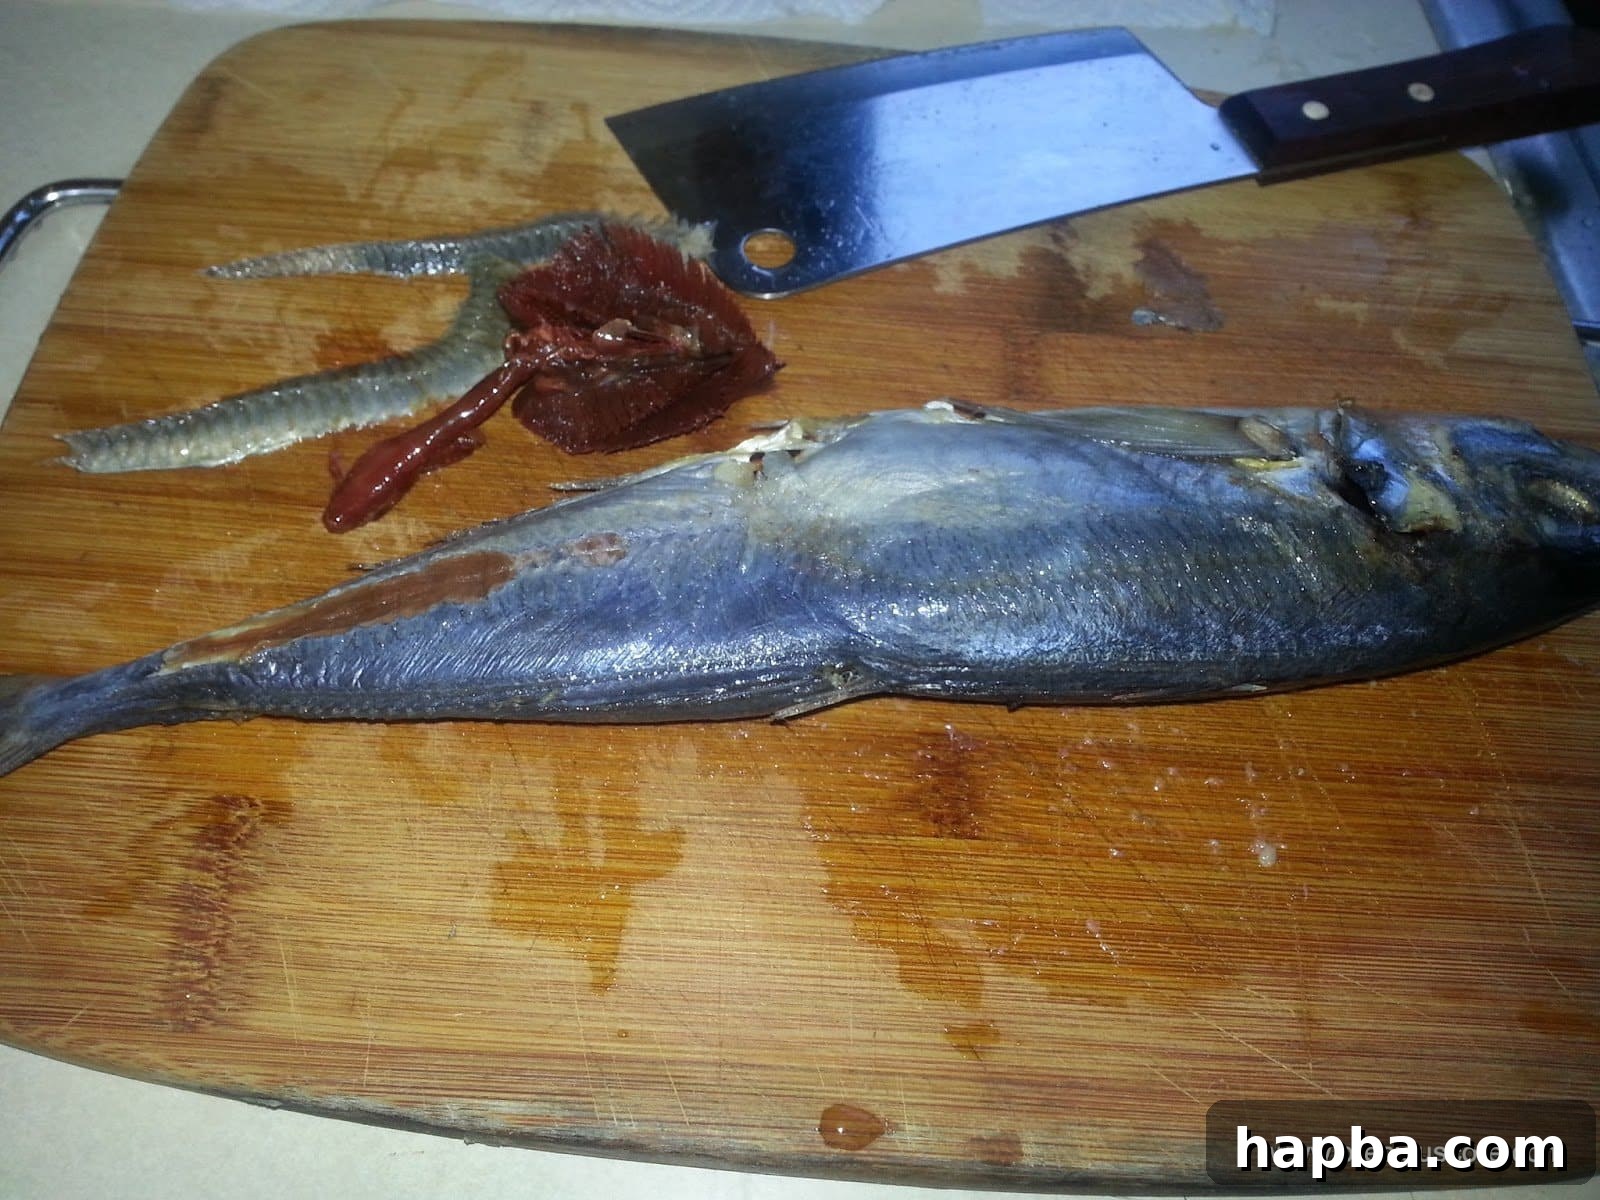
While removing the gills isn’t strictly mandatory for oven drying, it’s a practice often recommended, especially for whole fish. Gills can sometimes harbor bacteria or contribute a slightly bitter taste to the final product if not properly cleaned or if the fish is to be stored for extended periods. Using a pair of kitchen shears or a sharp knife, carefully cut and pull out the gills from both sides of the fish’s head. This small step can contribute to a cleaner taste and more even drying, particularly around the head area.
Step 3: Seasoning with Salt
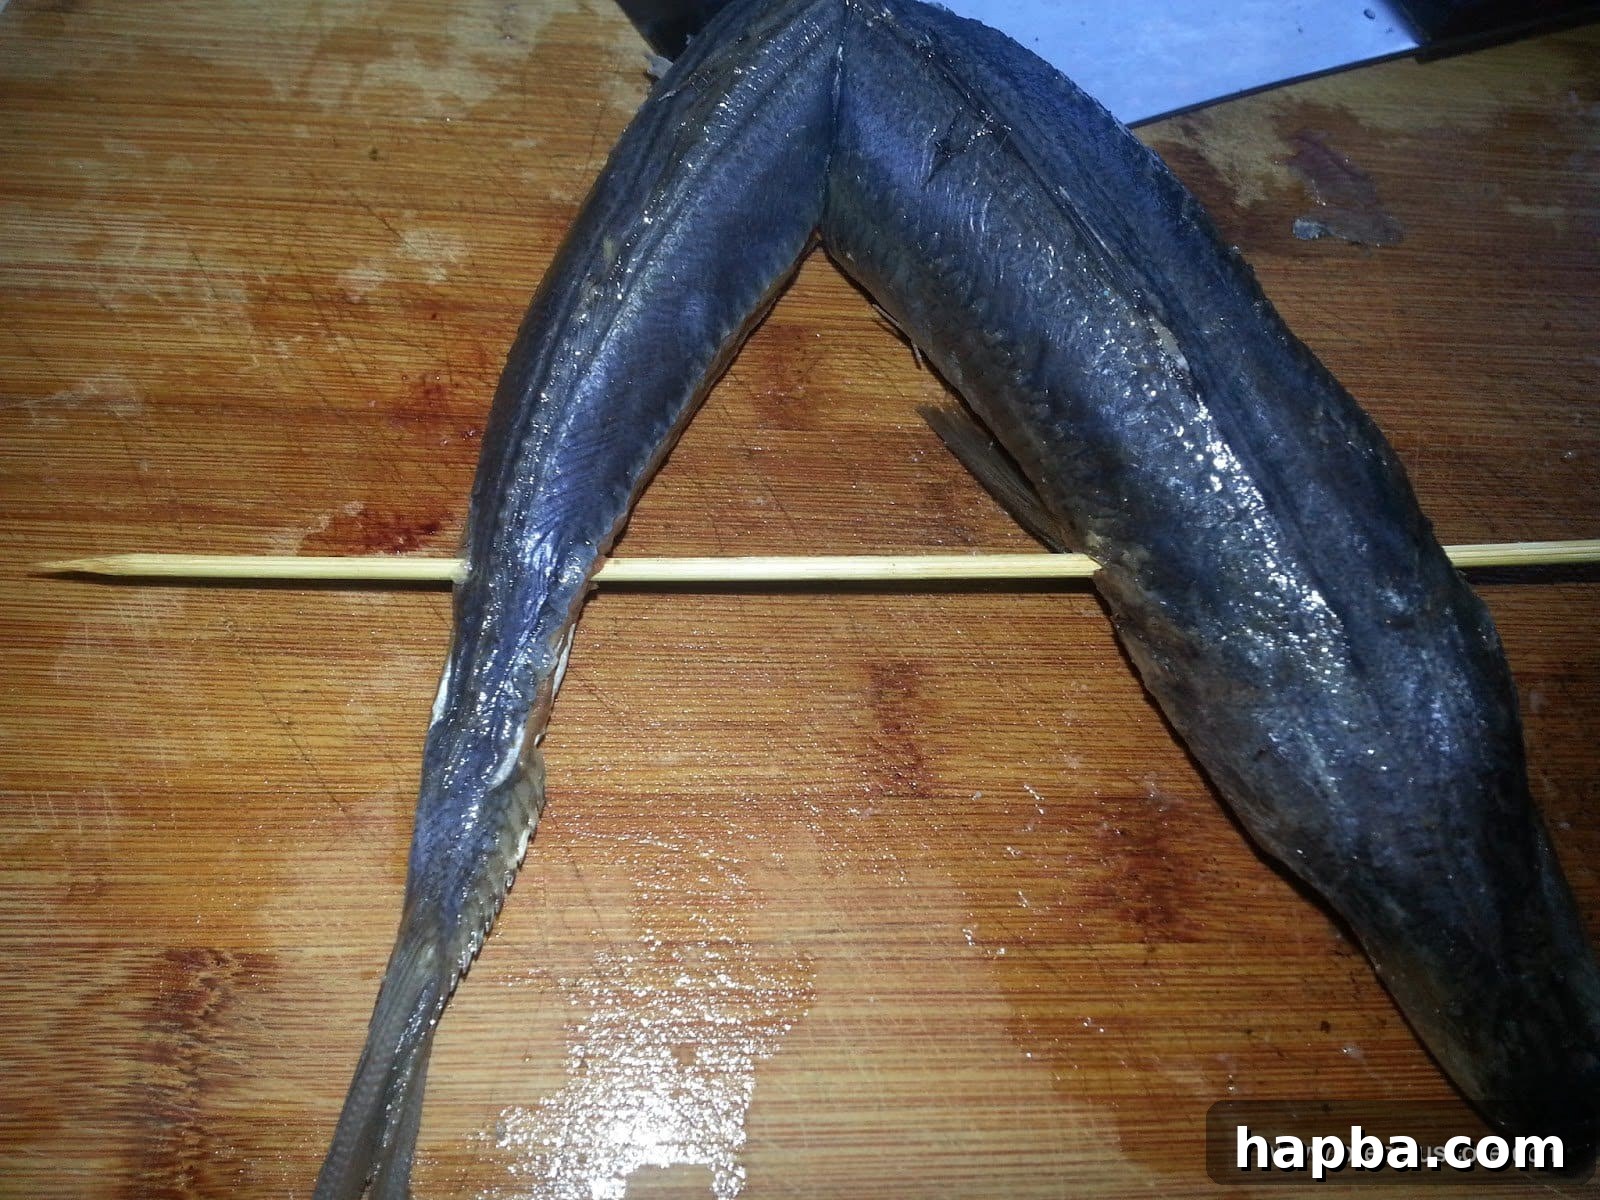
Salt plays a dual role in drying fish: it enhances flavor and acts as a natural preservative by drawing out moisture. After cleaning, lightly rub the fish all over with a pinch of salt, ensuring an even but not excessive coating. The goal is to season the fish and assist in the dehydration process, not to cure it heavily like salted cod. A light rub is sufficient to impart flavor and aid in the initial drying. This step prepares the fish for the oven, setting the stage for its transformation.
Step 4: The Traditional Skewering Technique (Optional Cultural Insight)
Here’s where a touch of traditional wisdom comes into play. As I used to observe my aunt, who expertly prepared smoked fish, I learned the practice of piercing the fish with a bamboo skewer or a sturdy stick. Honestly, at the time, I didn’t fully grasp the scientific rationale behind it – I simply followed suit, as it was a technique passed down through generations! However, over time, I’ve come to understand its practical benefits. Piercing the fish, especially through thicker sections, can help maintain its shape during the drying process and, more importantly, facilitates better air circulation. This improved airflow ensures a more even and thorough drying, particularly when dealing with whole fish. If you don’t have skewers, making a few shallow slits along the thicker parts of the fish can achieve a similar effect by allowing moisture to escape more readily.
Step 5: The Initial Bake for Firmness
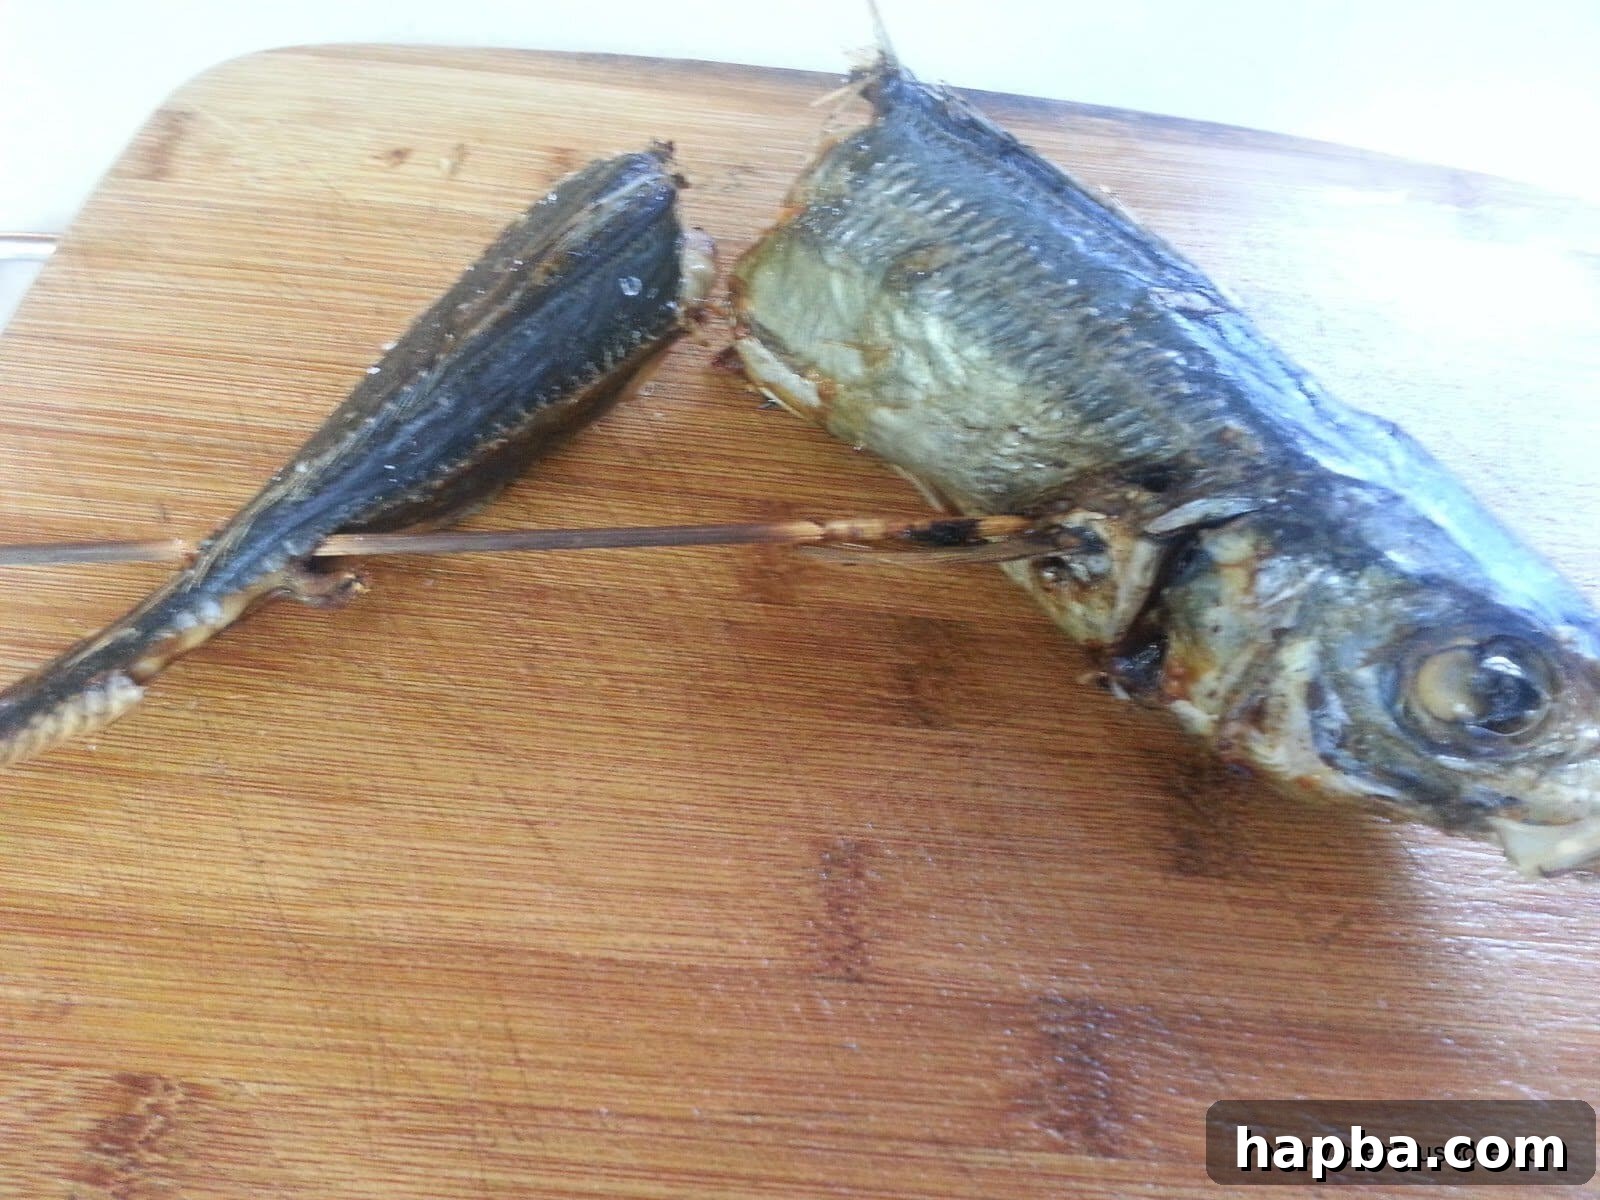
Now, it’s time to introduce your fish to the oven. Preheat your oven to a relatively high temperature of about 400 Degrees Fahrenheit (approximately 200°C). Place the prepared fish on a wire rack, which itself should be set over a baking sheet to catch any drips. This initial high-heat bake serves a specific purpose: it helps to firm up the fish’s flesh and begins the dehydration process quickly. Bake the fish at this temperature for approximately 10 minutes. This isn’t the final drying stage but rather a crucial preparatory step that sets the foundation for the slower, more deliberate drying phase to follow, ensuring the fish begins to dry out rather than just cooking.
The Art of Drying: Achieving Your Desired Texture
After the initial high-heat bake, your fish will be firm to the touch, but not yet fully dried. This is where the true art of oven-drying begins, transitioning from cooking to gentle dehydration. To achieve a thoroughly dried texture, akin to the resilience of Bonga fish or a slightly chewier consistency, you’ll need to lower the oven temperature significantly and extend the drying time. Reduce your oven temperature to about 200 Degrees Fahrenheit (approximately 93°C). Place the fish back on the wire rack over the baking sheet.
At this lower temperature, the fish will slowly dehydrate. The duration will vary depending on the thickness of your fish and your desired level of dryness. For thinner cuts like tilapia fillets, an hour might suffice. For whole fish, it could take several hours, or even longer. The key is patient monitoring. Check the fish periodically. You want it to feel firm, leathery, and significantly lighter, but not brittle or burnt. If it still feels soft or moist, simply let it continue drying. Flipping the fish every hour or so can also help ensure even dehydration on all sides. The aim is to remove enough moisture to preserve the fish and concentrate its flavors, creating that distinctive texture that crumbles beautifully into stews or can be enjoyed as a savory snack.
Enjoying Your Homemade Dried Fish
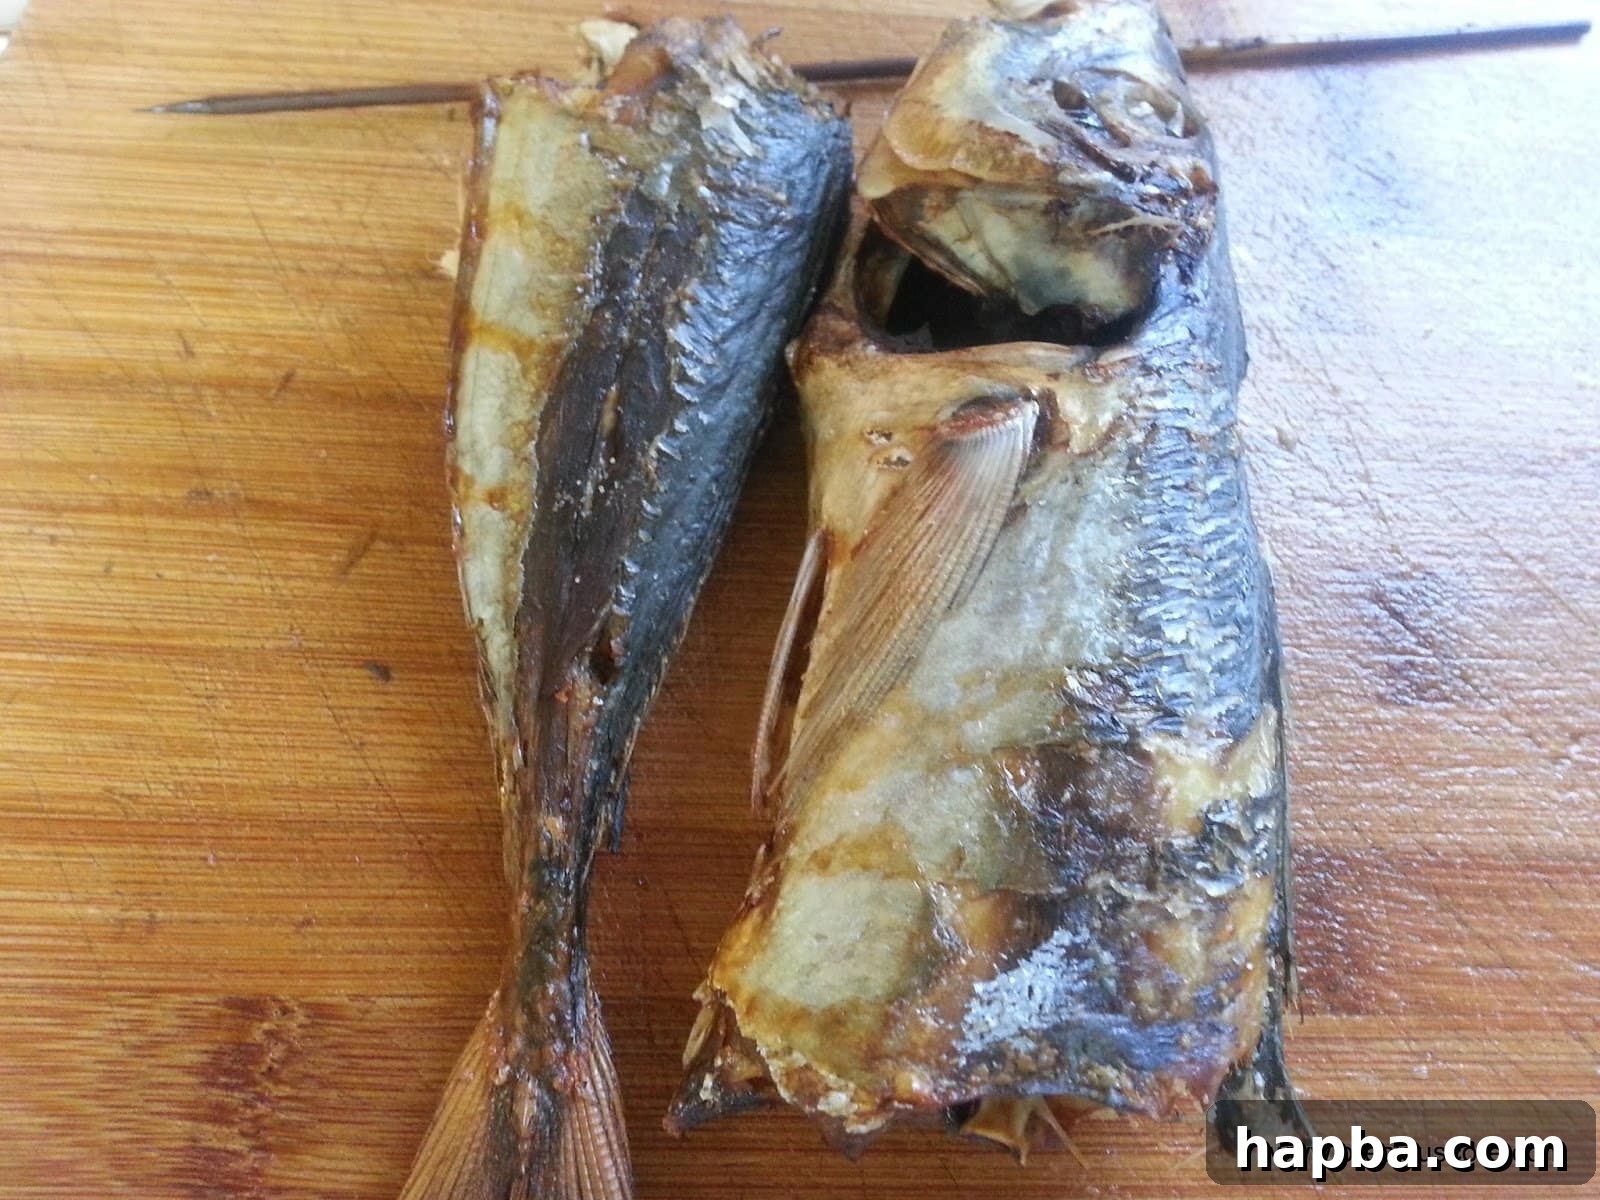
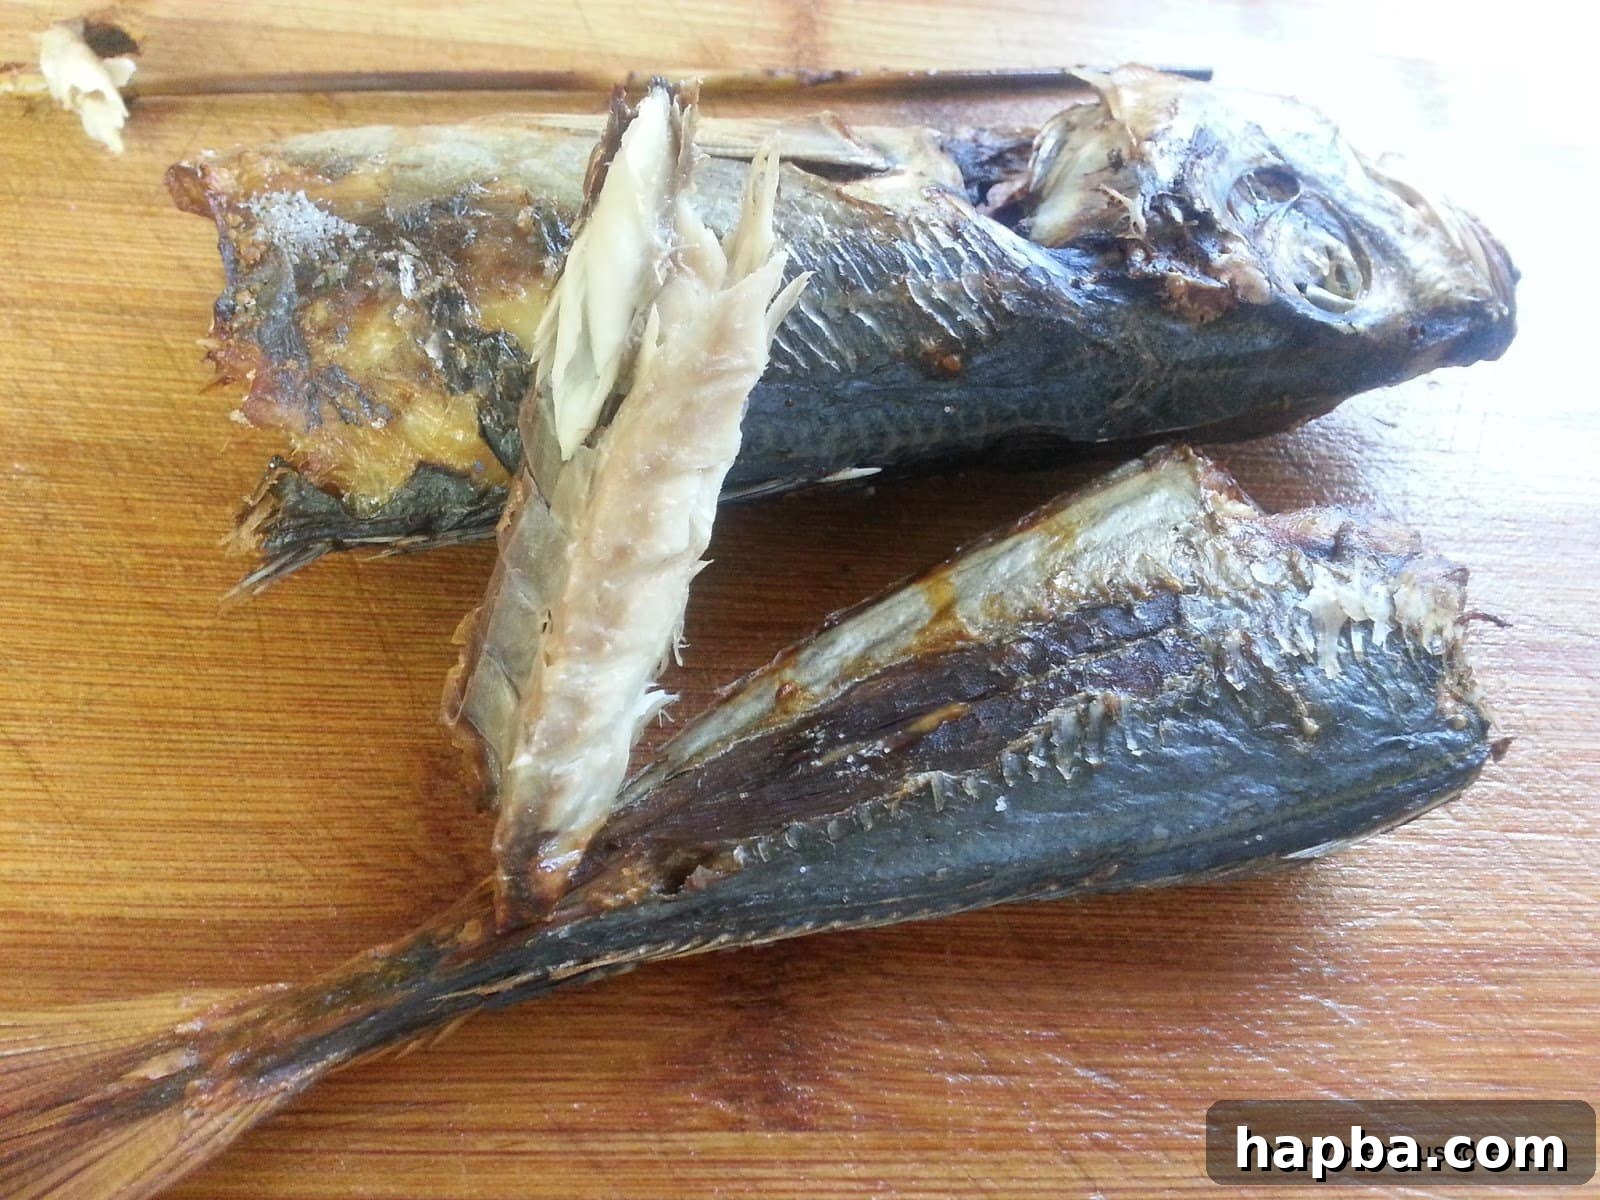
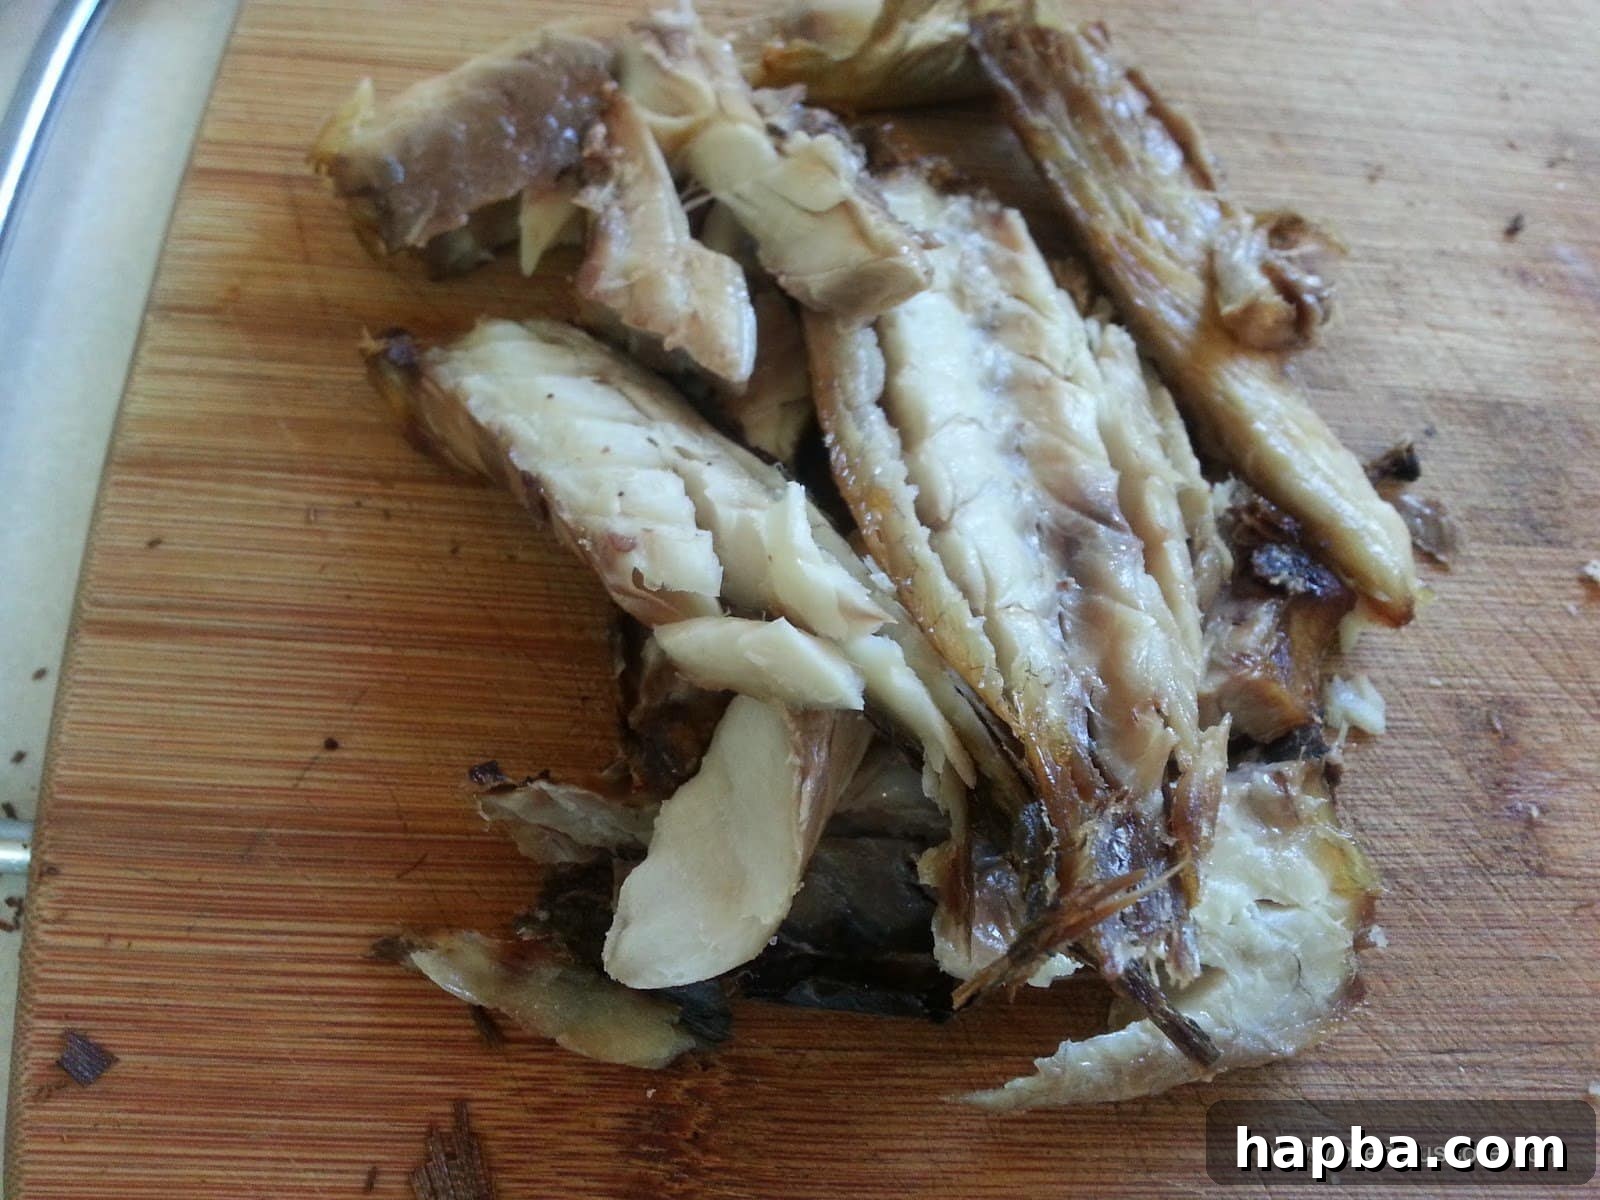
Once your fish has reached your desired level of dryness, it’s a moment of culinary triumph! The aroma alone will transport you. It’s impossible to resist cutting off a small piece and savoring it immediately – truly one of the benefits of being the chef in the kitchen. The texture will be dense, the flavors deeply concentrated, and it will be perfectly poised to elevate your next culinary creation.
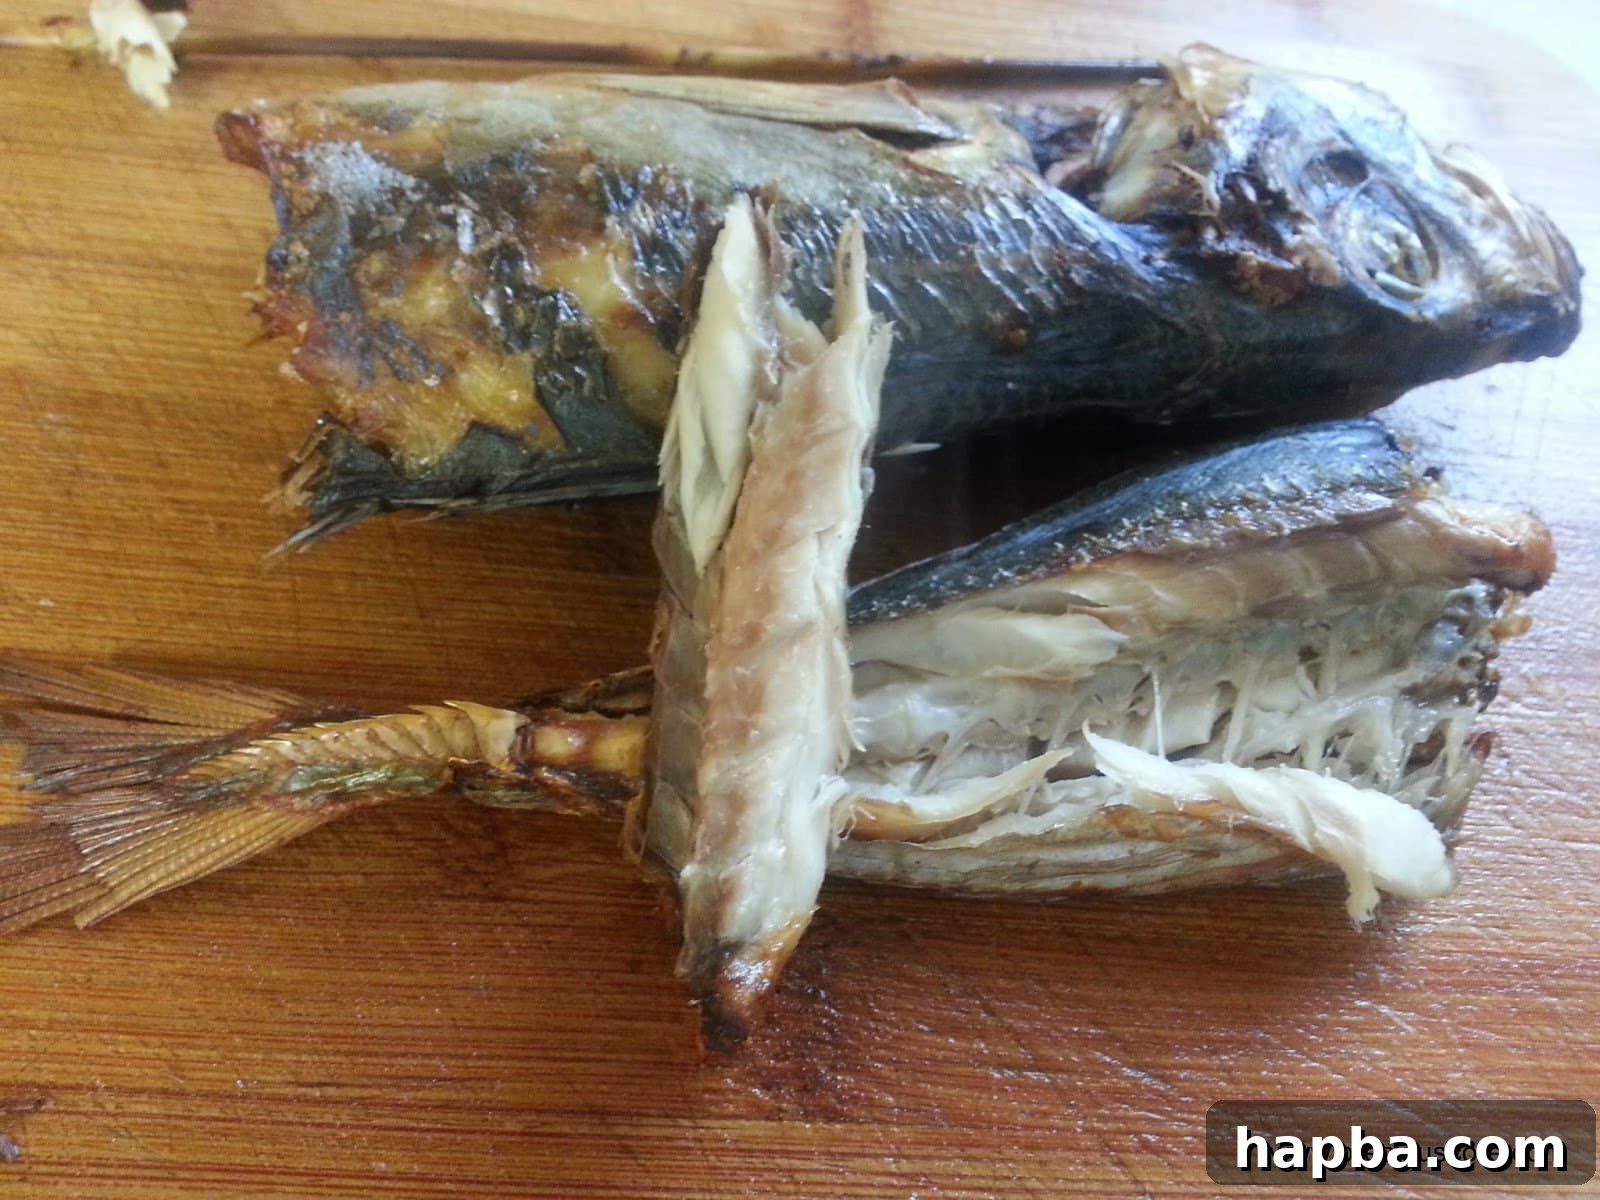
When dried as a whole fish, the result bears a striking resemblance to traditionally smoked fish in terms of its robustness and ability to hold its form in liquid-based dishes. However, it’s important to note that while it offers a similar effect, it’s not truly smoked fish, as it lacks the distinct smoky flavor and charred appearance that comes from a smoking process. It’s a unique product in its own right – a dehydrated delicacy perfect for enriching your soups and stews.
Popular Dishes Featuring Your Oven-Dried Fish
The true magic of oven-dried fish lies in its versatility and its power to infuse depth into a wide array of dishes. It’s an indispensable ingredient in many West and Central African cuisines, providing that crucial umami and distinctive flavor. Here are some incredible dishes you can prepare with your homemade goodness:
- Ogbono Soup (aka “Soup of the Year”): This popular West African soup, made from ground wild mango seeds, is famously enriched by the addition of dried fish, which adds a savory chewiness and a layer of complex flavor that is simply unmatched.
- Delicious Eru: A beloved Cameroonian dish, Eru is a leafy vegetable soup traditionally prepared with waterleaf or spinach, and an assortment of meats and, crucially, dried fish. The dried fish lends its unique taste and aroma, making Eru truly authentic and irresistible.
- Finger-Licking Kwacoco Bible: This delightful dish, also from Cameroon, features grated cocoyams mixed with various ingredients, wrapped in plantain leaves, and steamed. Dried fish is often incorporated into the mixture, offering pockets of intense flavor that complement the starchy cocoyam beautifully.
- Delicious Ekwang (Ekpang Kukwo): Another Cameroonian specialty, Ekwang is a complex and flavorful dish made from grated cocoyams, wrapped in cocoyam leaves, and cooked in a rich broth with ingredients like crayfish, palm oil, and, of course, dried fish. The dried fish is essential for its authentic taste and texture.
Note: For a quicker drying process and a texture similar to Bonga fish, using fish fillets works exceptionally well. I often use thinly cut tilapia fillets. For these, I let them dry in the oven for at least an hour at about 200 Degrees Fahrenheit. If after an hour they haven’t reached the desired dryness and crispness, I simply extend the drying time until they are firm, pliable, and almost completely dehydrated.
Storing Your Homemade Dried Fish
Proper storage is essential to preserve the quality and extend the shelf life of your homemade dried fish. Once completely cooled, place your dried fish in an airtight container or a heavy-duty freezer bag. You can store it in a cool, dry pantry for a few weeks, or in the refrigerator for a couple of months. For longer-term storage, up to six months or even more, freezing is an excellent option. Ensure it’s well-sealed to prevent freezer burn and maintain its flavor. When ready to use, simply rehydrate by soaking in warm water for a short period before adding to your recipes, or add directly to simmering stews where it will soften beautifully.
Embark on Your Own Culinary Adventure!
Bringing the taste of home to your table, no matter where you are, is a profoundly rewarding experience. Making your own oven-dried fish is a simple, cost-effective, and delicious way to reclaim those cherished flavors and ensure your traditional dishes retain their authentic soul. It’s a culinary hack that empowers you to control your ingredients and reconnect with your heritage.
So, will you try this out? I encourage you to experiment with different types of fish and drying times to discover your perfect homemade dried fish. Share your creations and let the authentic flavors of your kitchen shine!