
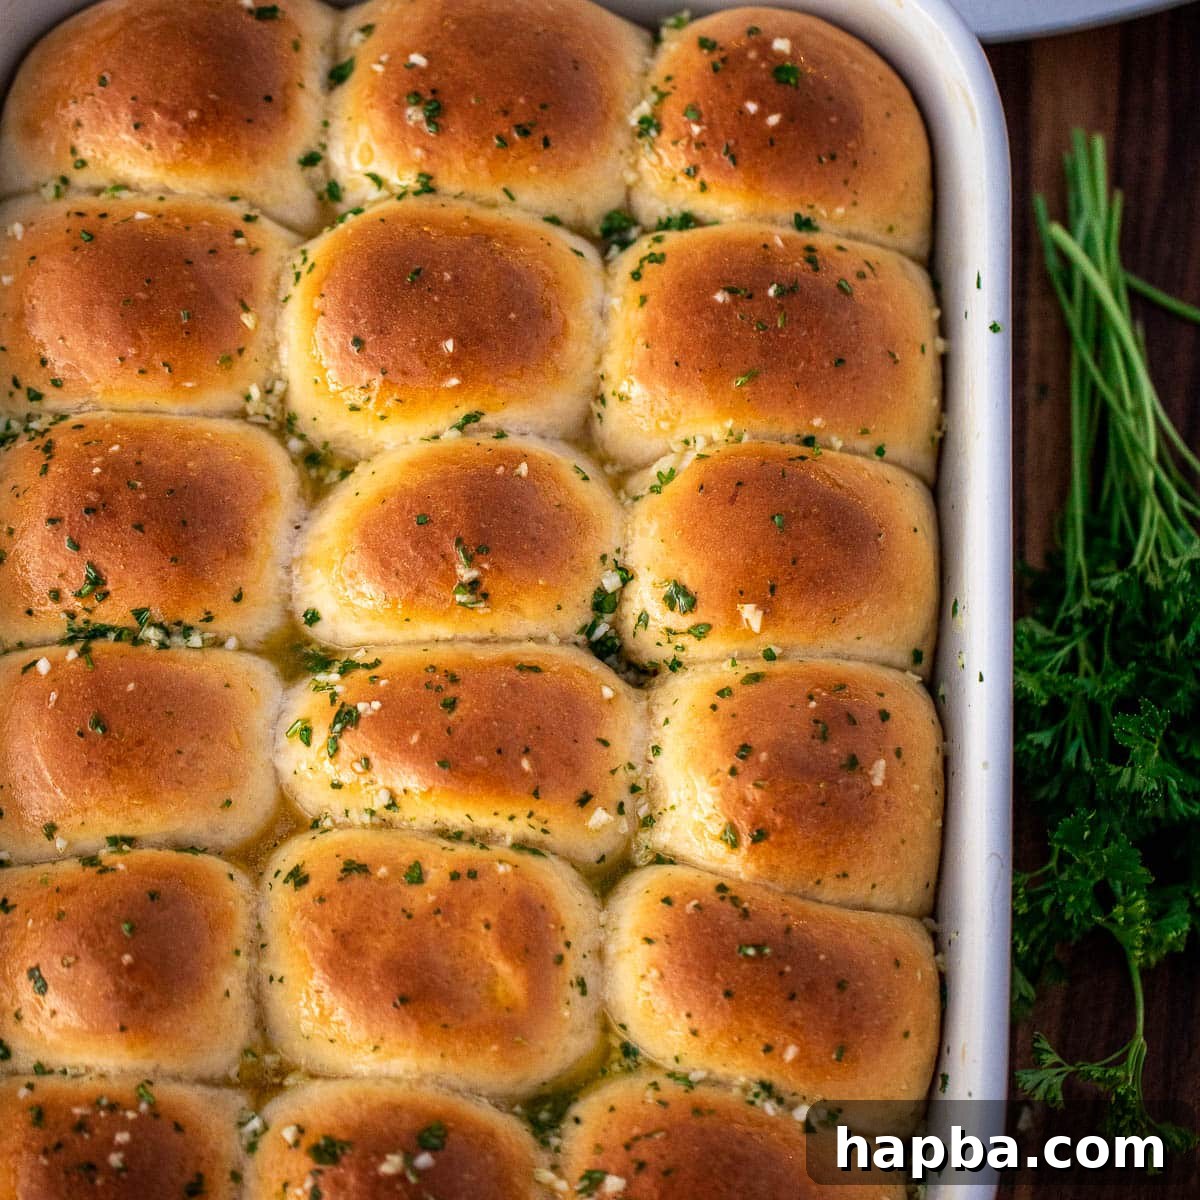
Garlic Butter Rolls: The Ultimate Fluffy, Buttery Side Dish
Prepare to impress your family and friends with these truly extraordinary Garlic Butter Rolls! Imagine soft, pillowy dinner rolls with a luxurious, brioche-like texture, generously brushed with an aromatic garlic herb butter. They are effortlessly delicious and surprisingly simple to make, making them the perfect show-stopping side dish for any occasion – from a casual weeknight dinner to grand holiday feasts like Thanksgiving, Christmas, or Easter.

These rolls are more than just a side; they are a culinary experience that will have everyone reaching for seconds. While you’re here, don’t miss our other fantastic bread recipes, including our quick easy dinner rolls that are ready in under an hour, our delightful sweet dinner rolls, and the irresistible Strawberry Cinnamon Rolls for a sweeter treat.
Pair these incredible garlic butter dinner rolls with comforting mains like herb roasted chicken or creamy buttermilk mashed potatoes for an unforgettable meal that truly satisfies!
Why These Are The Best Garlic Butter Rolls!
When we say “show-stopping,” we truly mean it. These Garlic Butter Rolls are so irresistibly good that they become an instant favorite. My husband, for example, confessed to devouring an astonishing number of them in one sitting the last time I baked a batch!
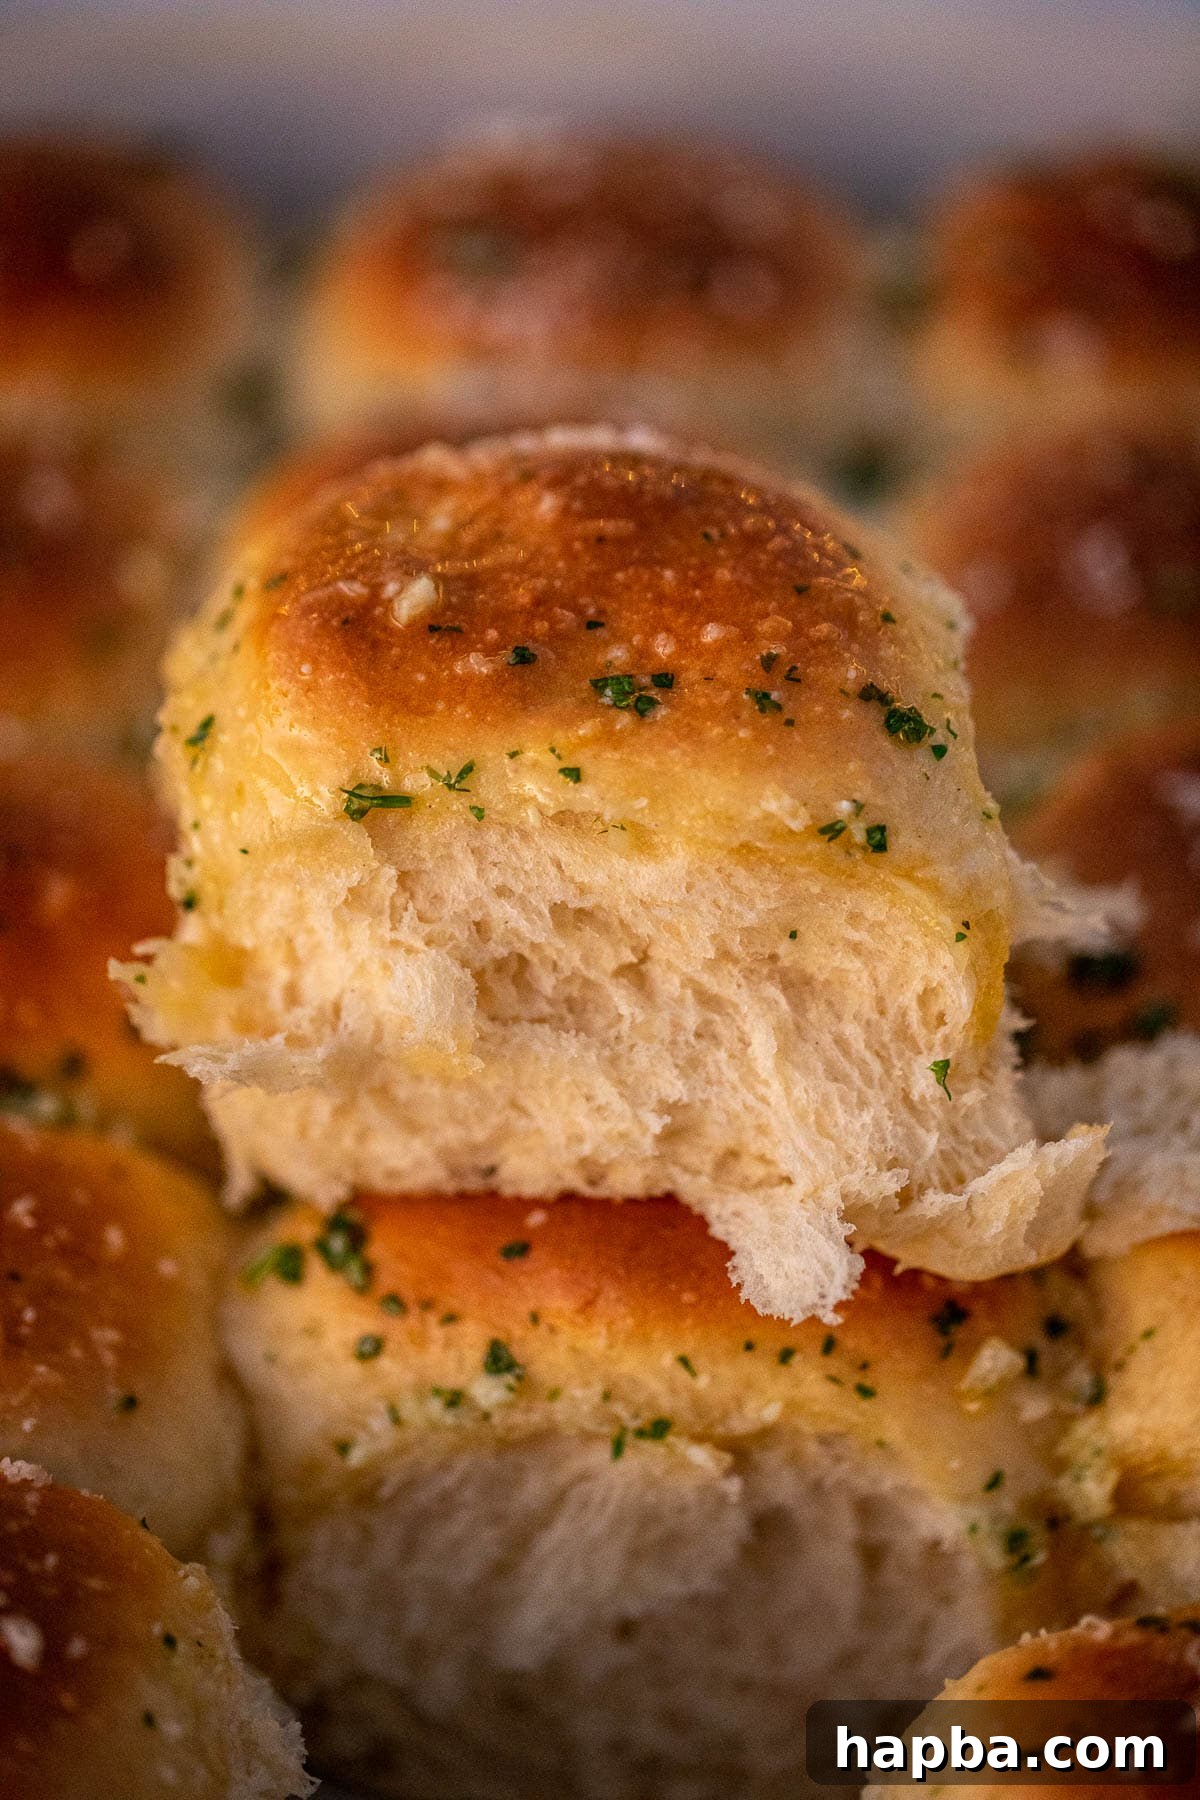
What makes them stand out? It’s a symphony of textures and flavors. They are unbelievably soft and fluffy – honestly, probably the fluffiest rolls I’ve ever created! The generous amount of butter incorporated into the dough gives them a rich, almost brioche-like quality that melts in your mouth. Then comes the garlicky punch, enhanced by fresh herbs, making them intensely flavorful and utterly addicting. Unlike many other dinner roll recipes, these boast a unique depth that elevates them far beyond a simple bread side.
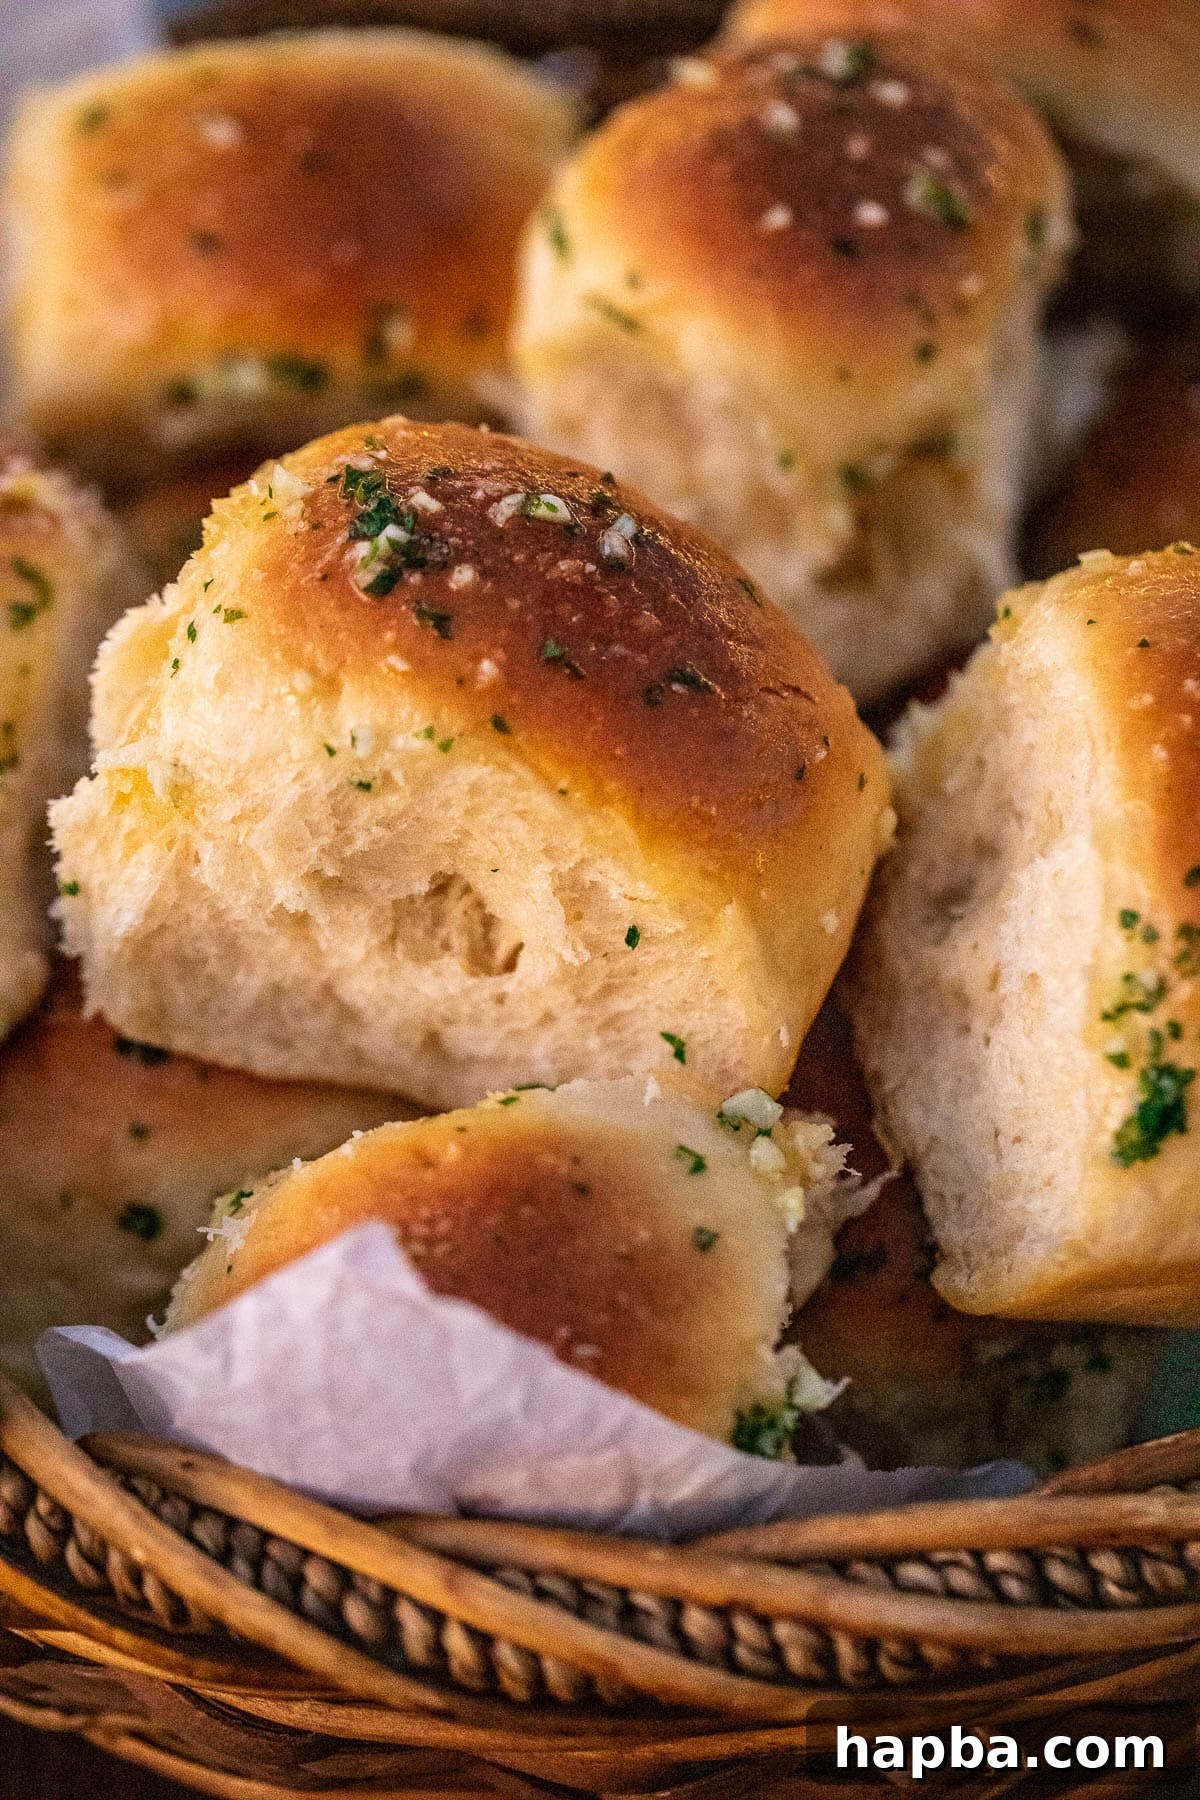
This recipe is an adaptation of my popular easy dinner rolls, but with a crucial enhancement: more butter in the dough. This simple addition transforms the texture, imparting that desirable softness and richness akin to brioche. The final flourish, brushing the warm rolls with a vibrant mixture of garlic butter and fresh parsley, infuses them with an incredible aroma and flavor that takes them to an unparalleled level of dinner roll deliciousness.
Key Ingredients For Garlic Butter Rolls
Crafting these delectable rolls requires a handful of common pantry staples, divided between the dough and the irresistible garlic butter topping. Using quality ingredients will always yield the best results, so choose wisely!
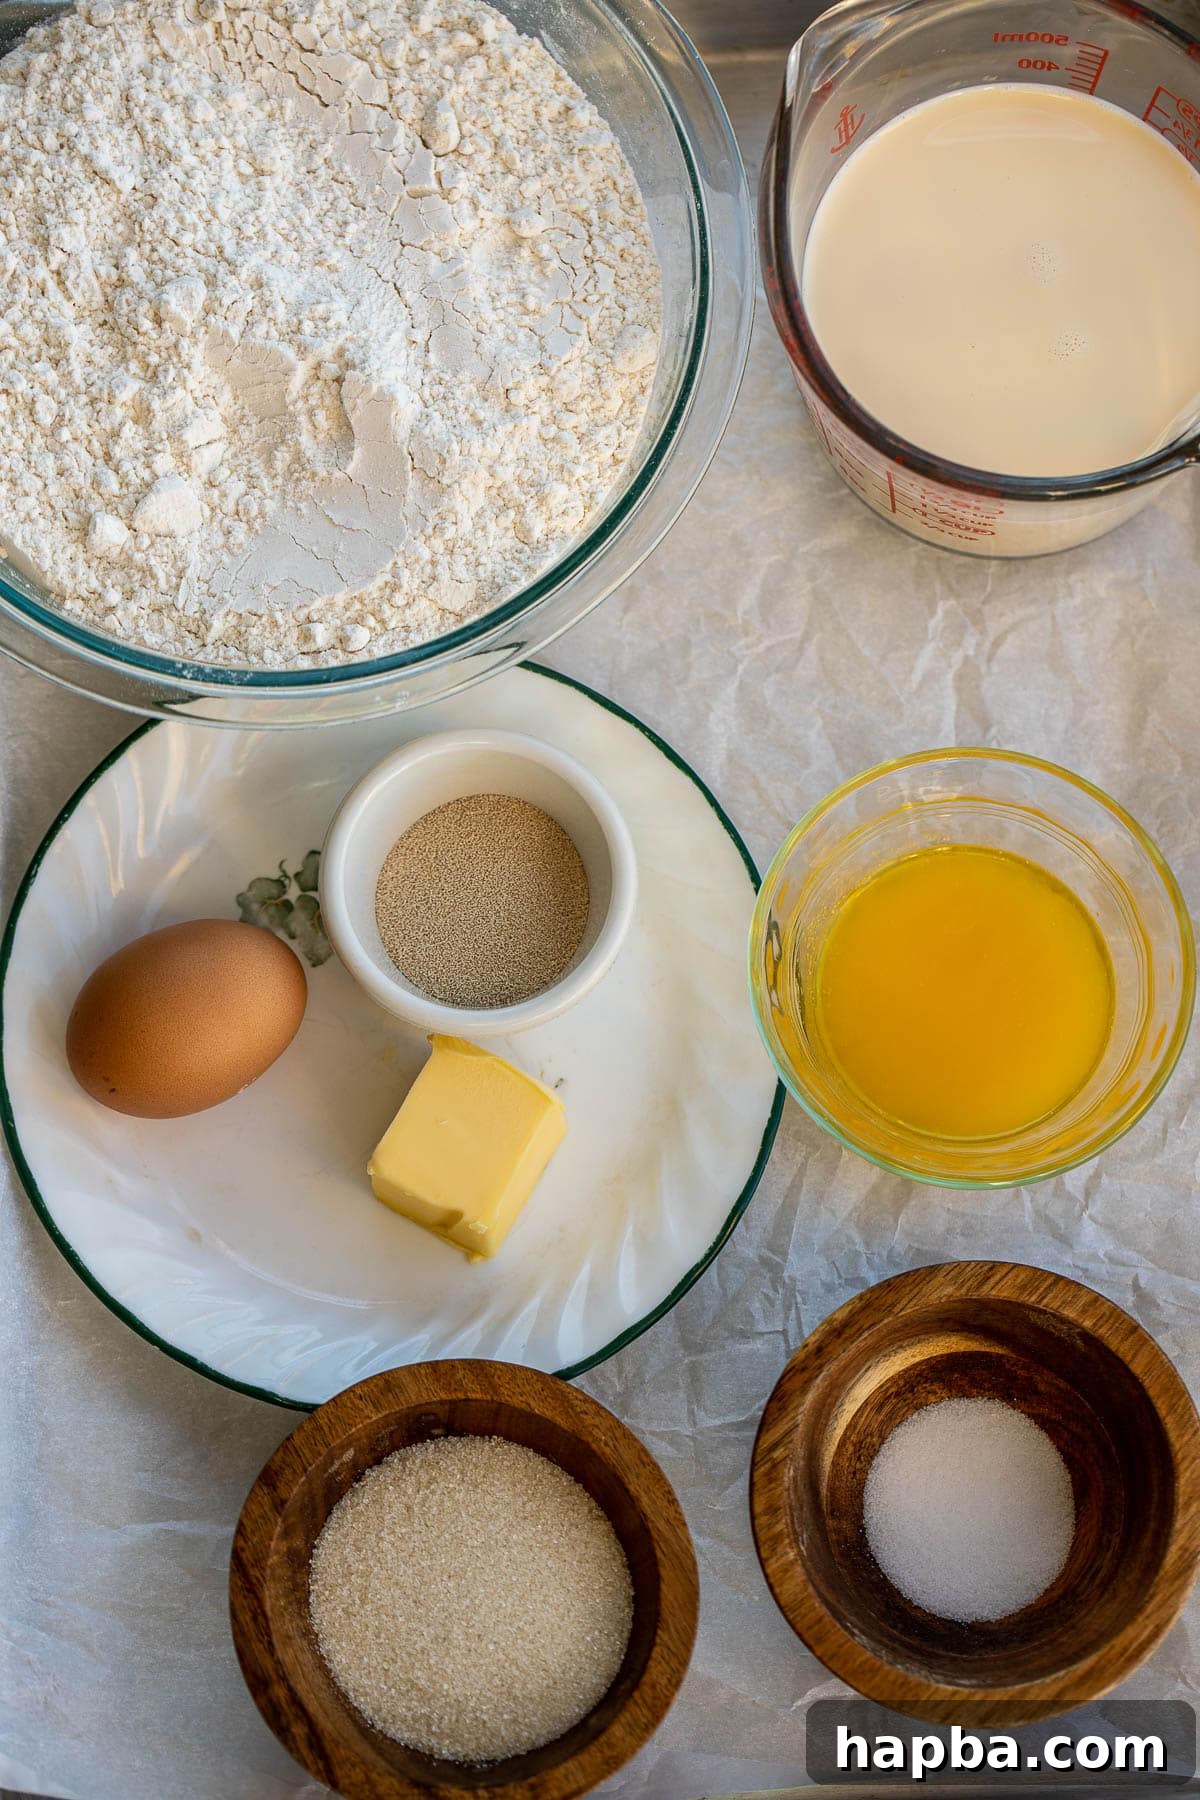
For the Soft Dinner Rolls, you will need:
- Flour: You can use either all-purpose flour or bread flour. Bread flour, with its higher protein content, will give your rolls a slightly chewier, more structured crumb, while all-purpose flour will still produce wonderfully soft results.
- Salt: Essential for flavor balance and controlling yeast activity.
- Sugar: Not just for sweetness, sugar feeds the yeast, helping the dough to rise beautifully, and contributes to the golden-brown crust.
- Instant Yeast or Rapid-Rise Yeast: The secret to our quick and easy process! Instant yeast allows for a single rise, significantly speeding up your bread-making. No need to proof it separately; just mix it directly with the dry ingredients.
- Butter: Use good quality unsalted butter for the best flavor. We highly recommend Kerrygold for its rich, creamy taste that truly shines through in the final product. Melted butter goes into the dough, and softened butter is kneaded in later for ultimate richness.
- Egg: Adds richness, moisture, and contributes to the soft texture and golden hue of the crust. Ensure it’s at room temperature for better incorporation into the dough.
- Evaporated Milk: This is a key ingredient for our signature softness and concentrated flavor. Its richness makes for an exceptionally tender crumb. If you don’t have evaporated milk, whole milk or 2% milk can be substituted, though the richness might be slightly different.
For the Flavorful Garlic Butter to brush over the rolls, you will need:
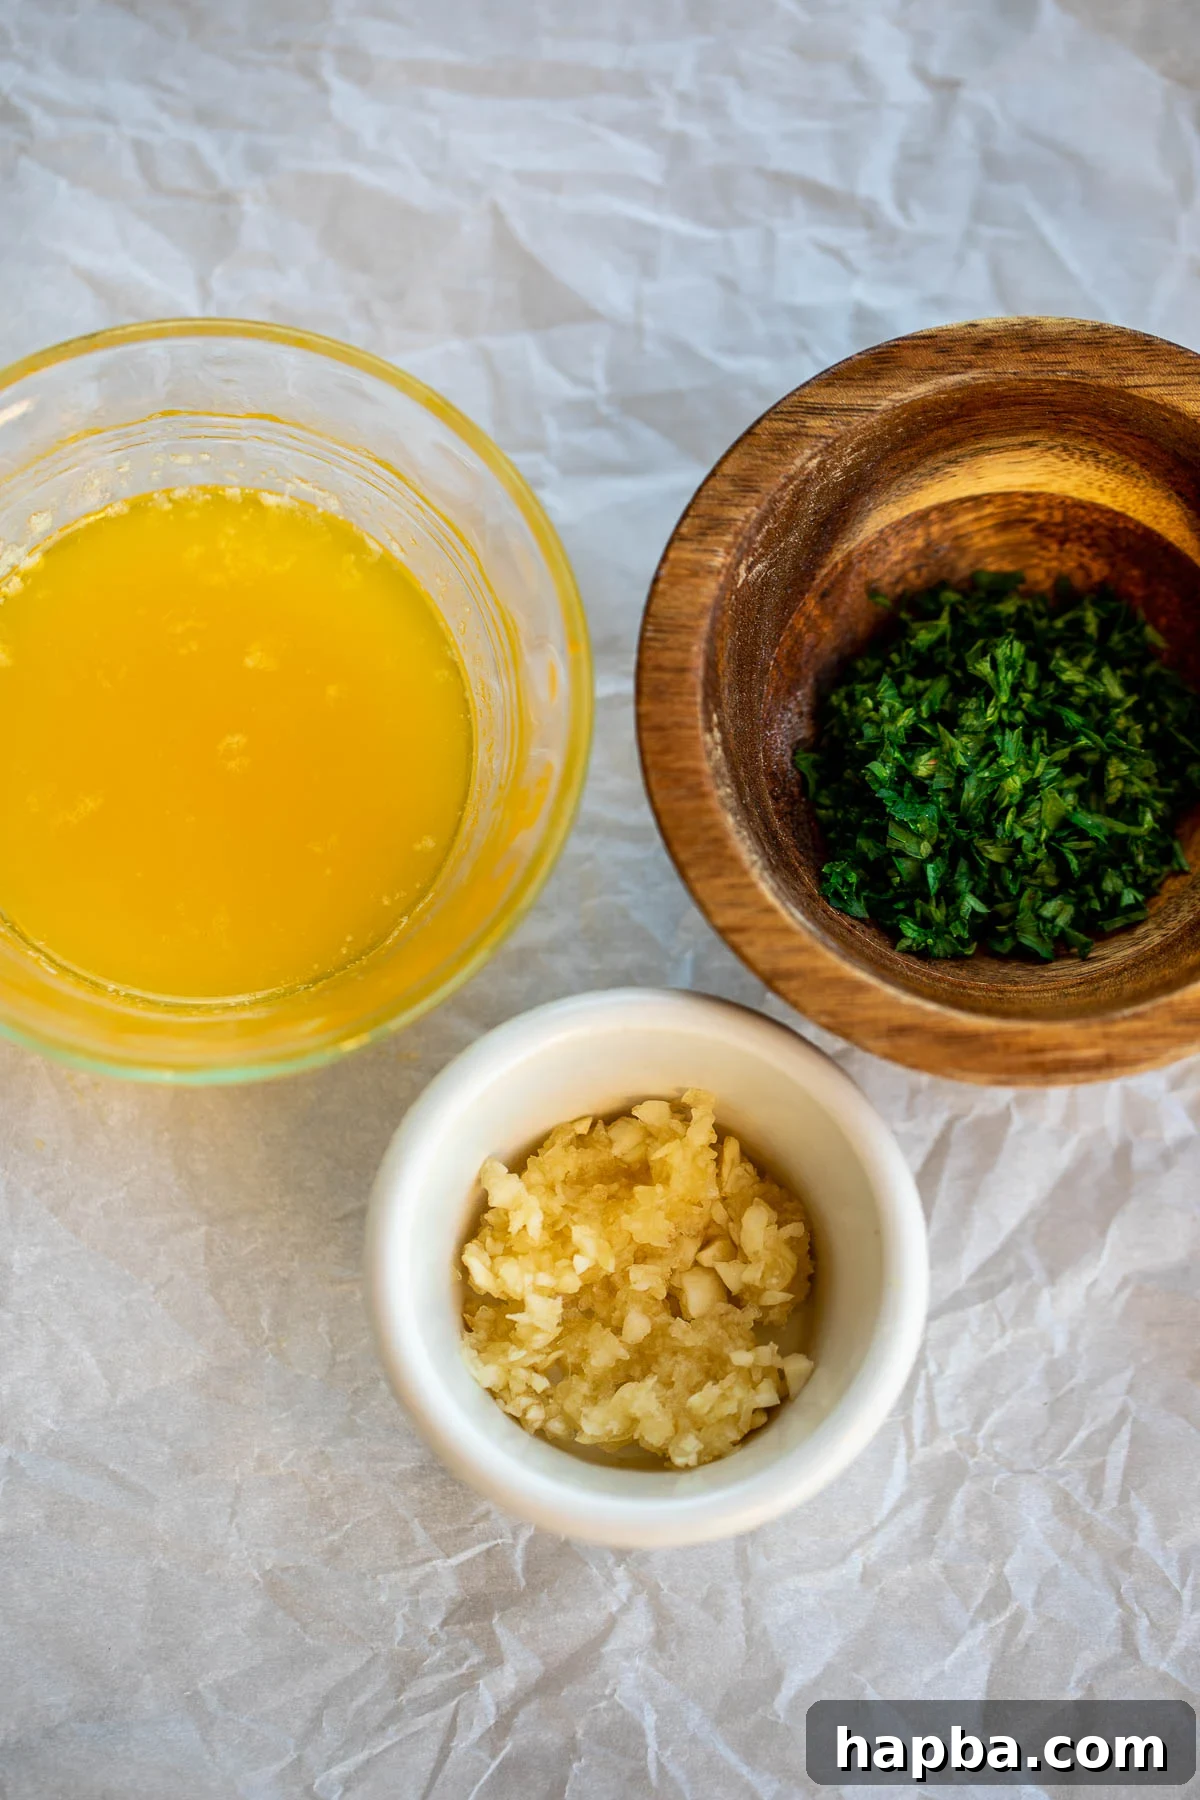
- Minced Garlic: Freshly minced garlic is non-negotiable for that pungent, aromatic kick. Don’t skimp on the garlic!
- Melted Butter: The base of our flavorful topping, carrying the garlic and herb notes beautifully.
- Minced Parsley: Freshly minced parsley adds a pop of color and a lovely herbaceous freshness. If fresh isn’t available, you can substitute with dried parsley, using about two-thirds of the fresh amount.
- Grated Parmesan (Optional): A fantastic addition for an extra layer of savory, nutty flavor and a hint of saltiness. Highly recommended!
Exact quantities for all ingredients are provided in the comprehensive recipe card below.
Step-by-Step Guide: How To Make Garlic Butter Rolls
Making these garlic butter rolls is a straightforward process, broken down into eight simple steps. Even novice bakers can achieve spectacular results!
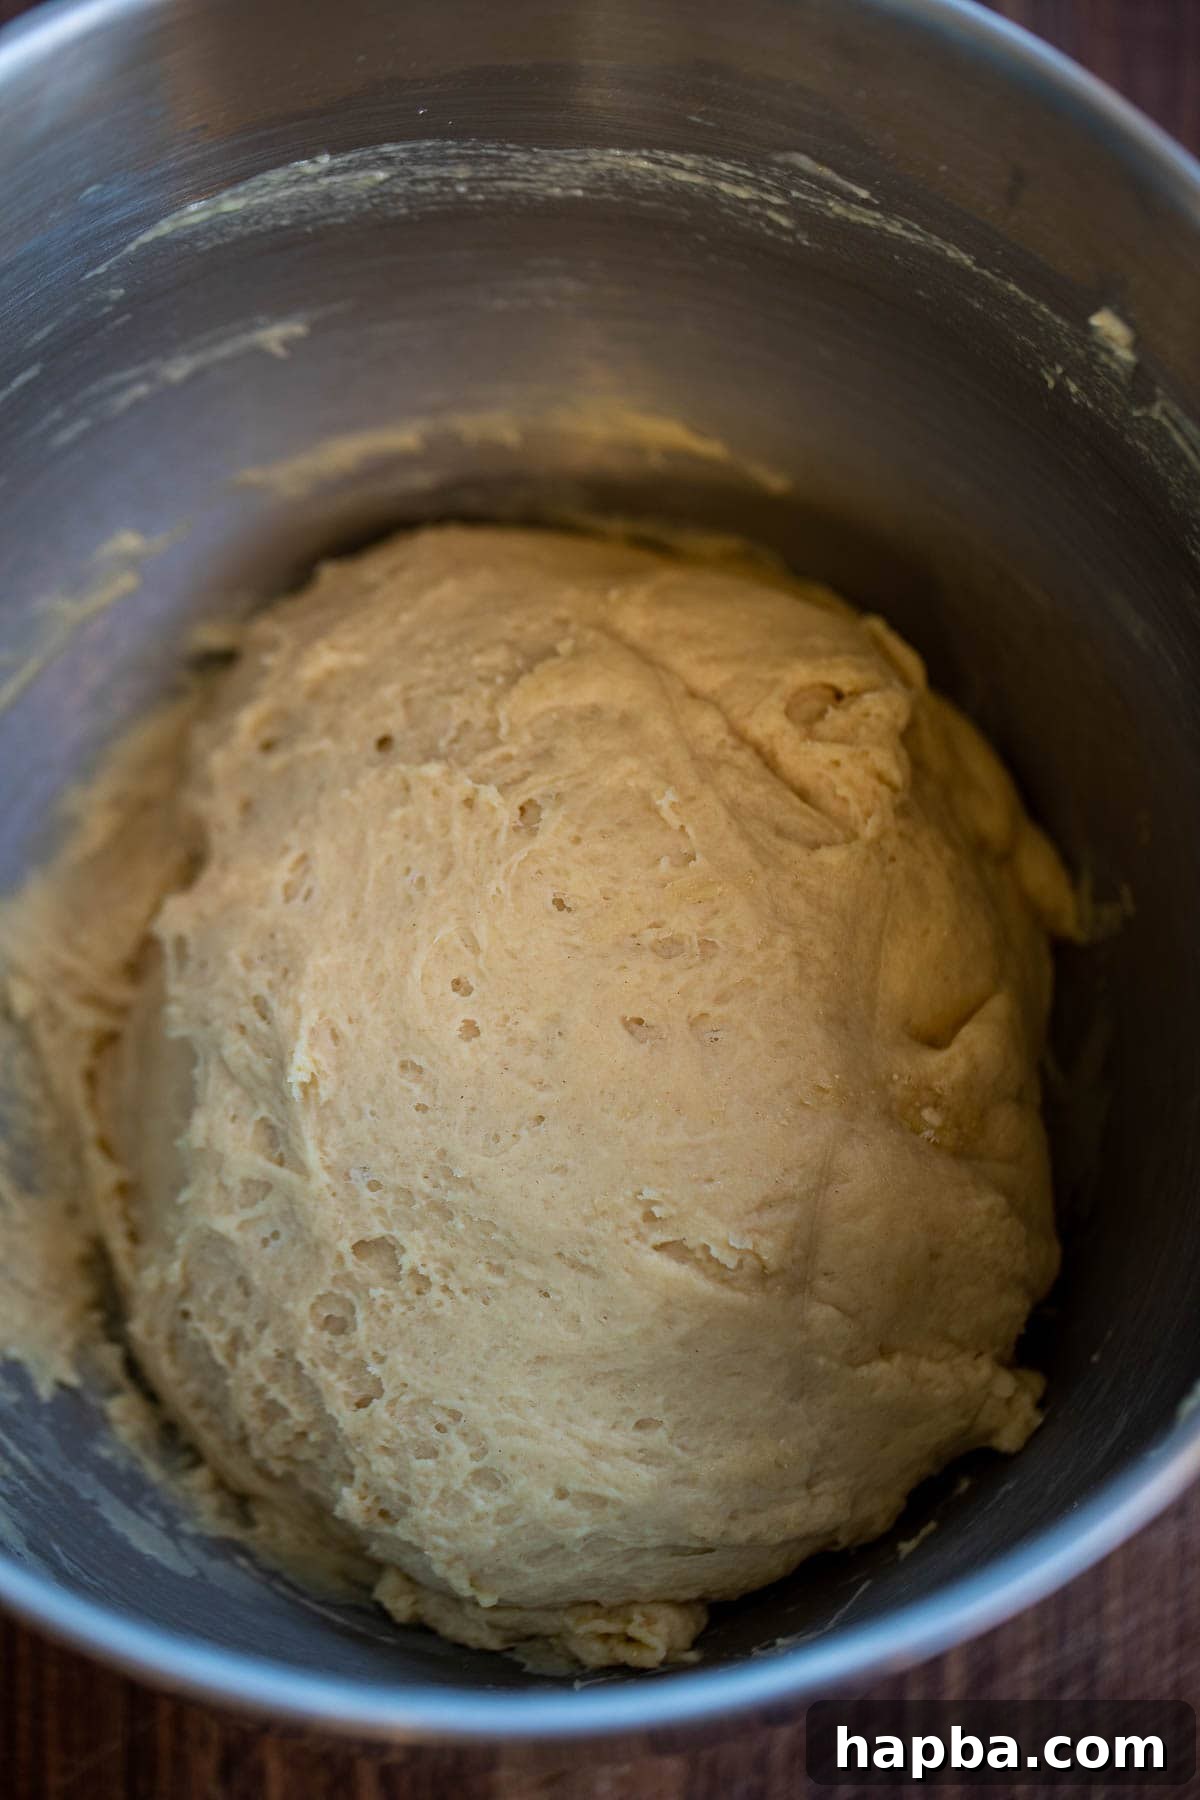
1. Combine and Mix Dough: In the bowl of your stand mixer (or a large mixing bowl for hand mixing), add the flour, salt, sugar, instant yeast, evaporated milk, 3 tablespoons of melted butter, and the egg. Mix on low speed with the dough hook attachment until a shaggy dough forms. Continue mixing until the dough comes together.
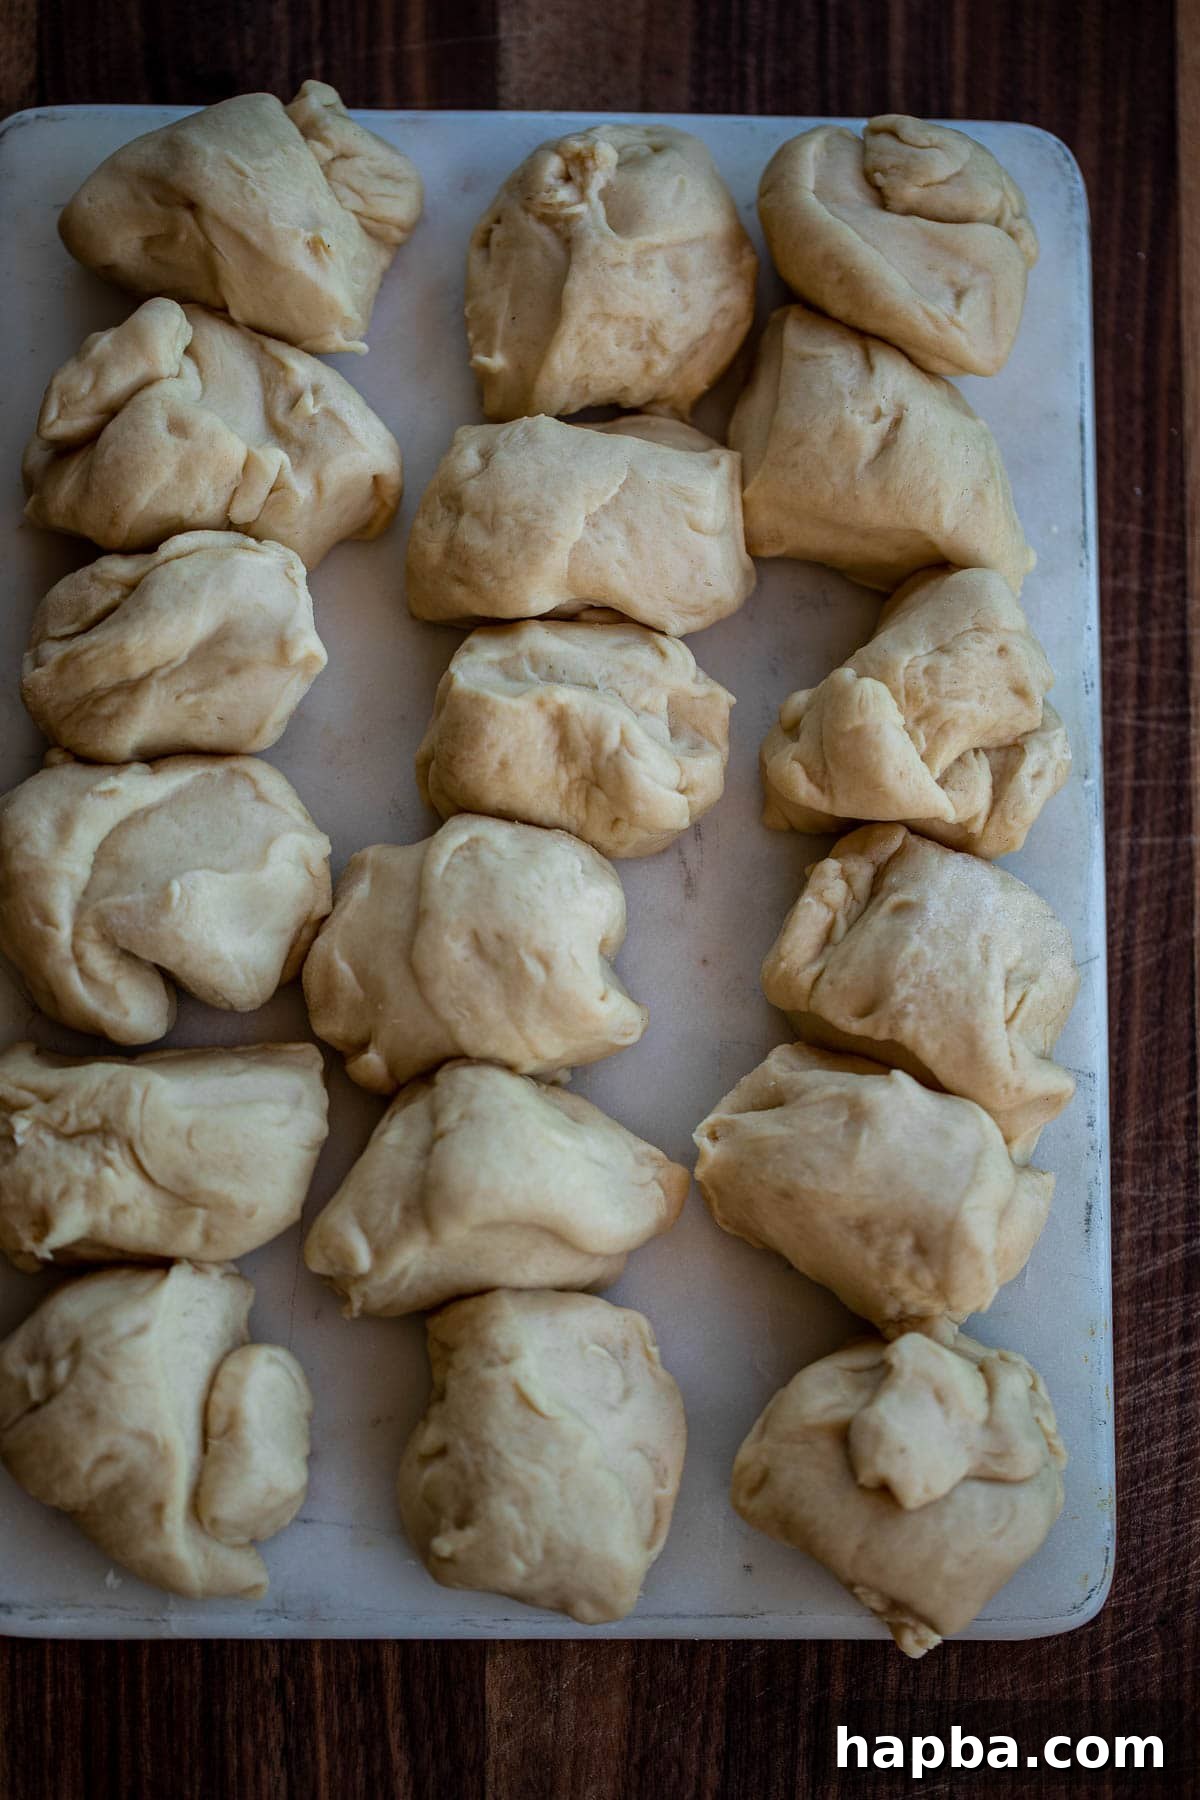
2. Add Remaining Butter and Divide: Once the dough is somewhat smooth, gradually add the remaining 2 tablespoons of softened unsalted butter, one tablespoon at a time, ensuring each addition is fully incorporated before adding the next. Knead for about 8-10 minutes until the dough is smooth, elastic, and pulls away from the sides of the bowl. Lightly flour a clean working surface and turn the dough out. Divide it into 18 equal pieces. For precision, use a kitchen scale to ensure each piece is roughly the same weight, or simply eyeball them.
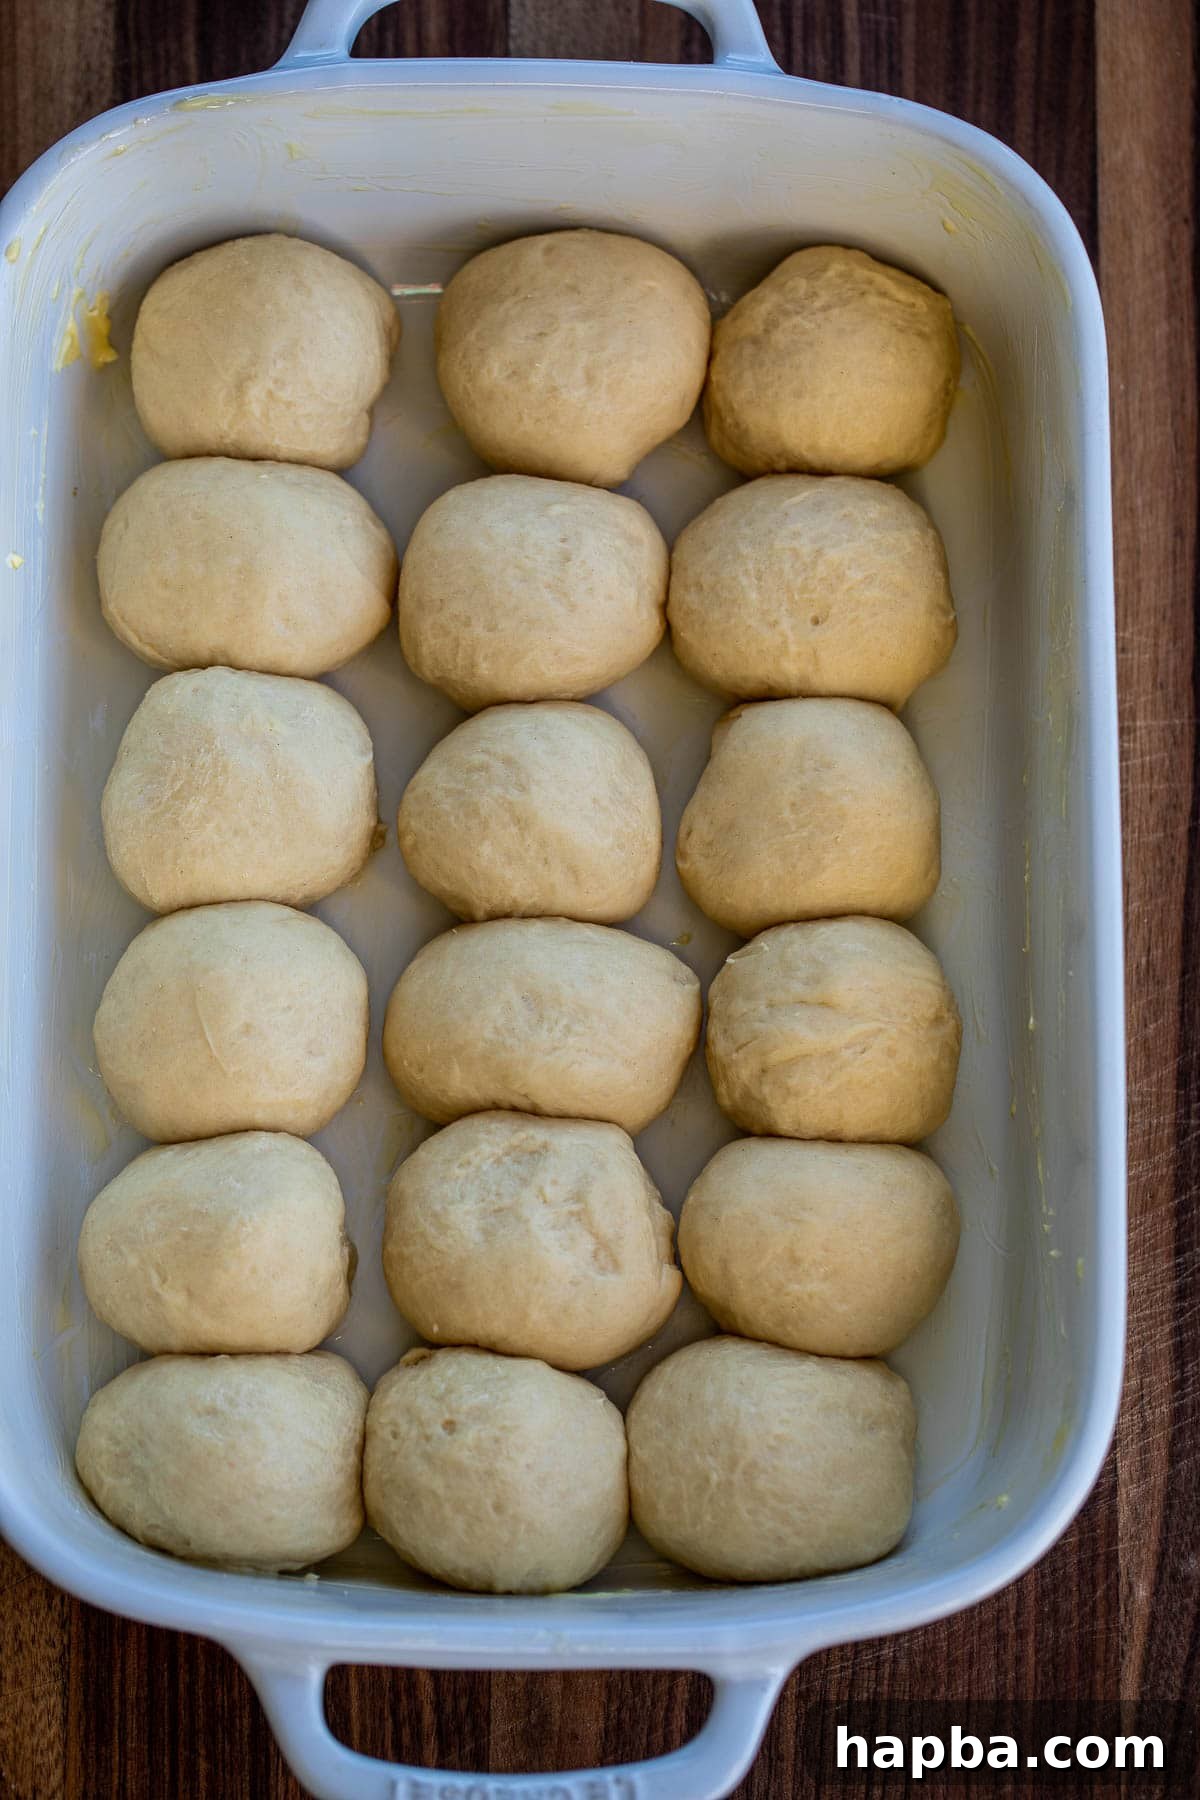
3. Shape and Arrange: Gently roll each individual dough piece into a smooth ball. Lightly grease a 9×13 inch baking dish (or line a large cookie sheet with parchment paper). Arrange the dough balls snugly in the prepared baking dish.
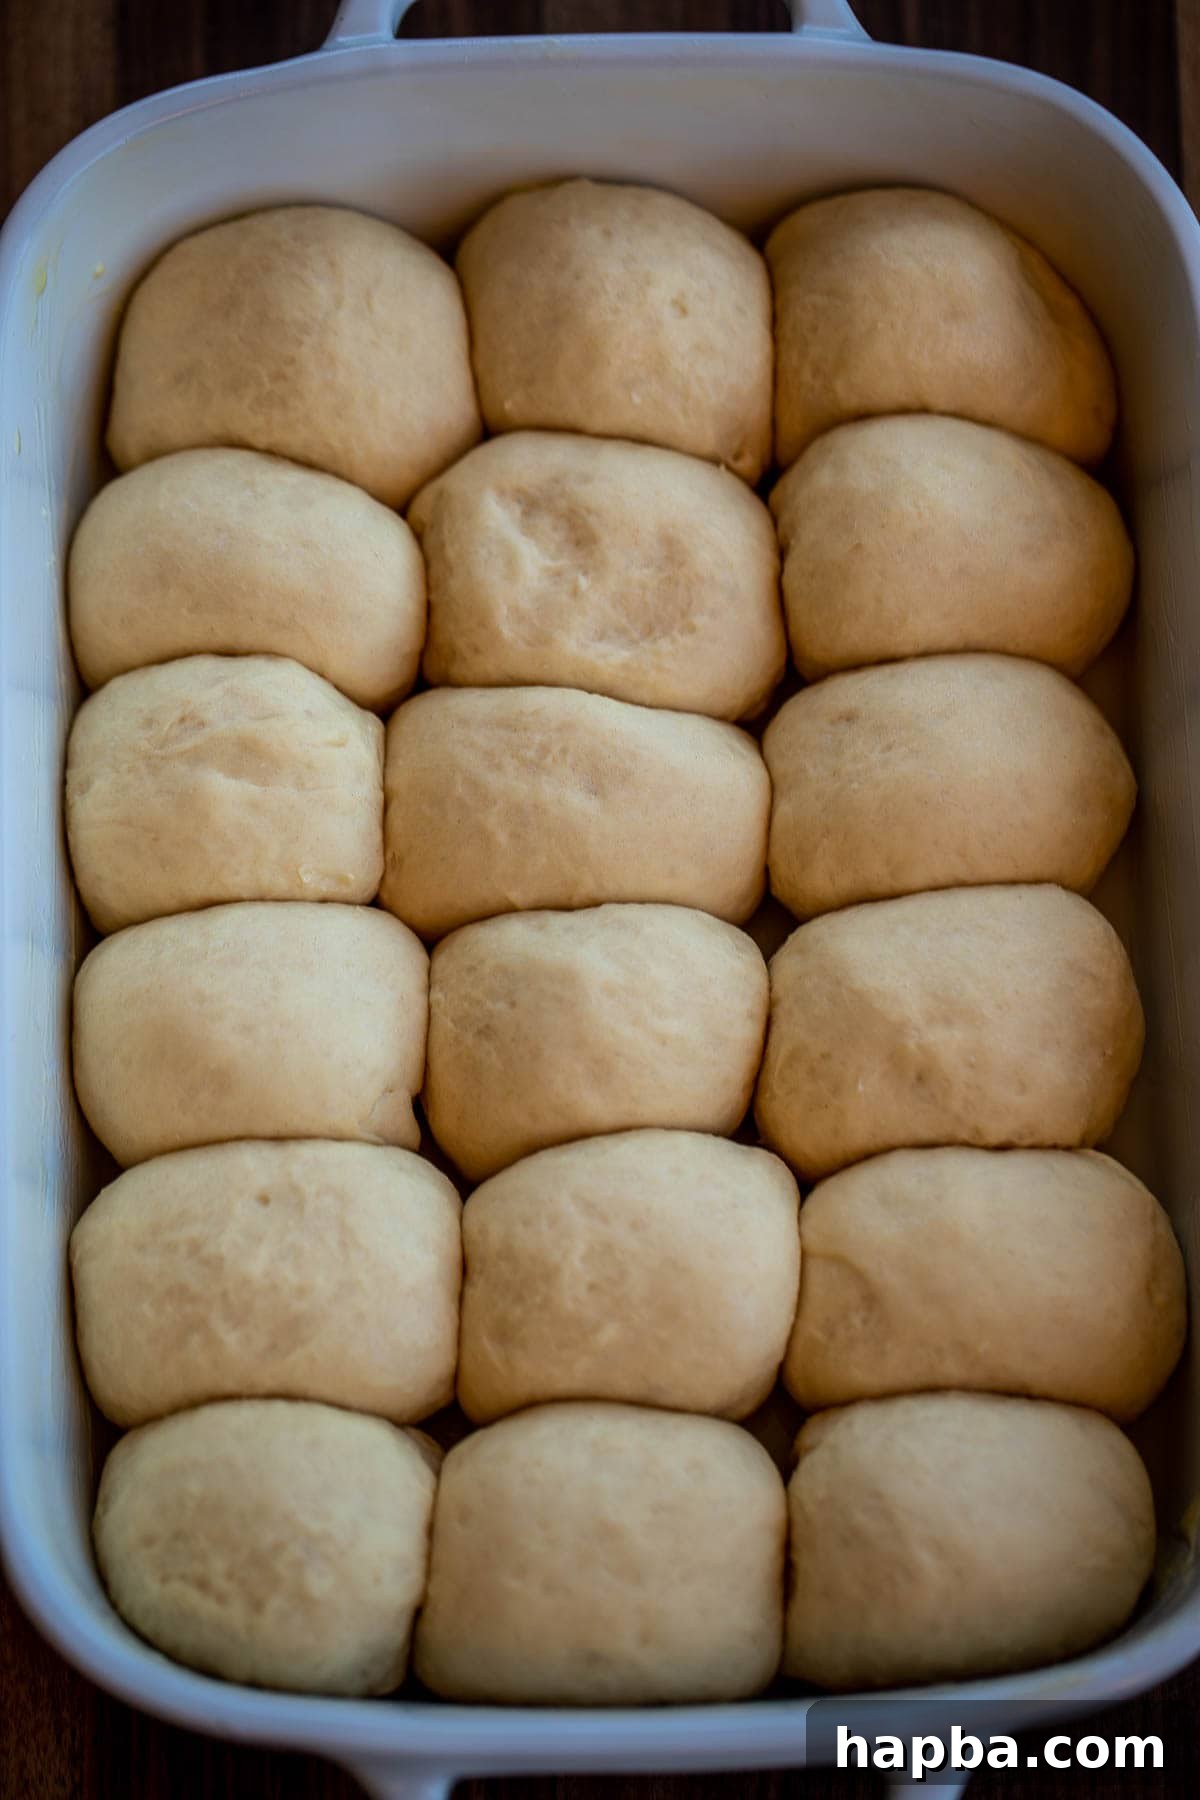
4. First Rise: Cover the baking dish loosely with a clean kitchen towel or plastic wrap. Place the rolls in a warm spot in your kitchen (like a slightly warmed, turned-off oven or near a sunny window) and let them rise for approximately one hour, or until they have visibly doubled in size and look puffy.
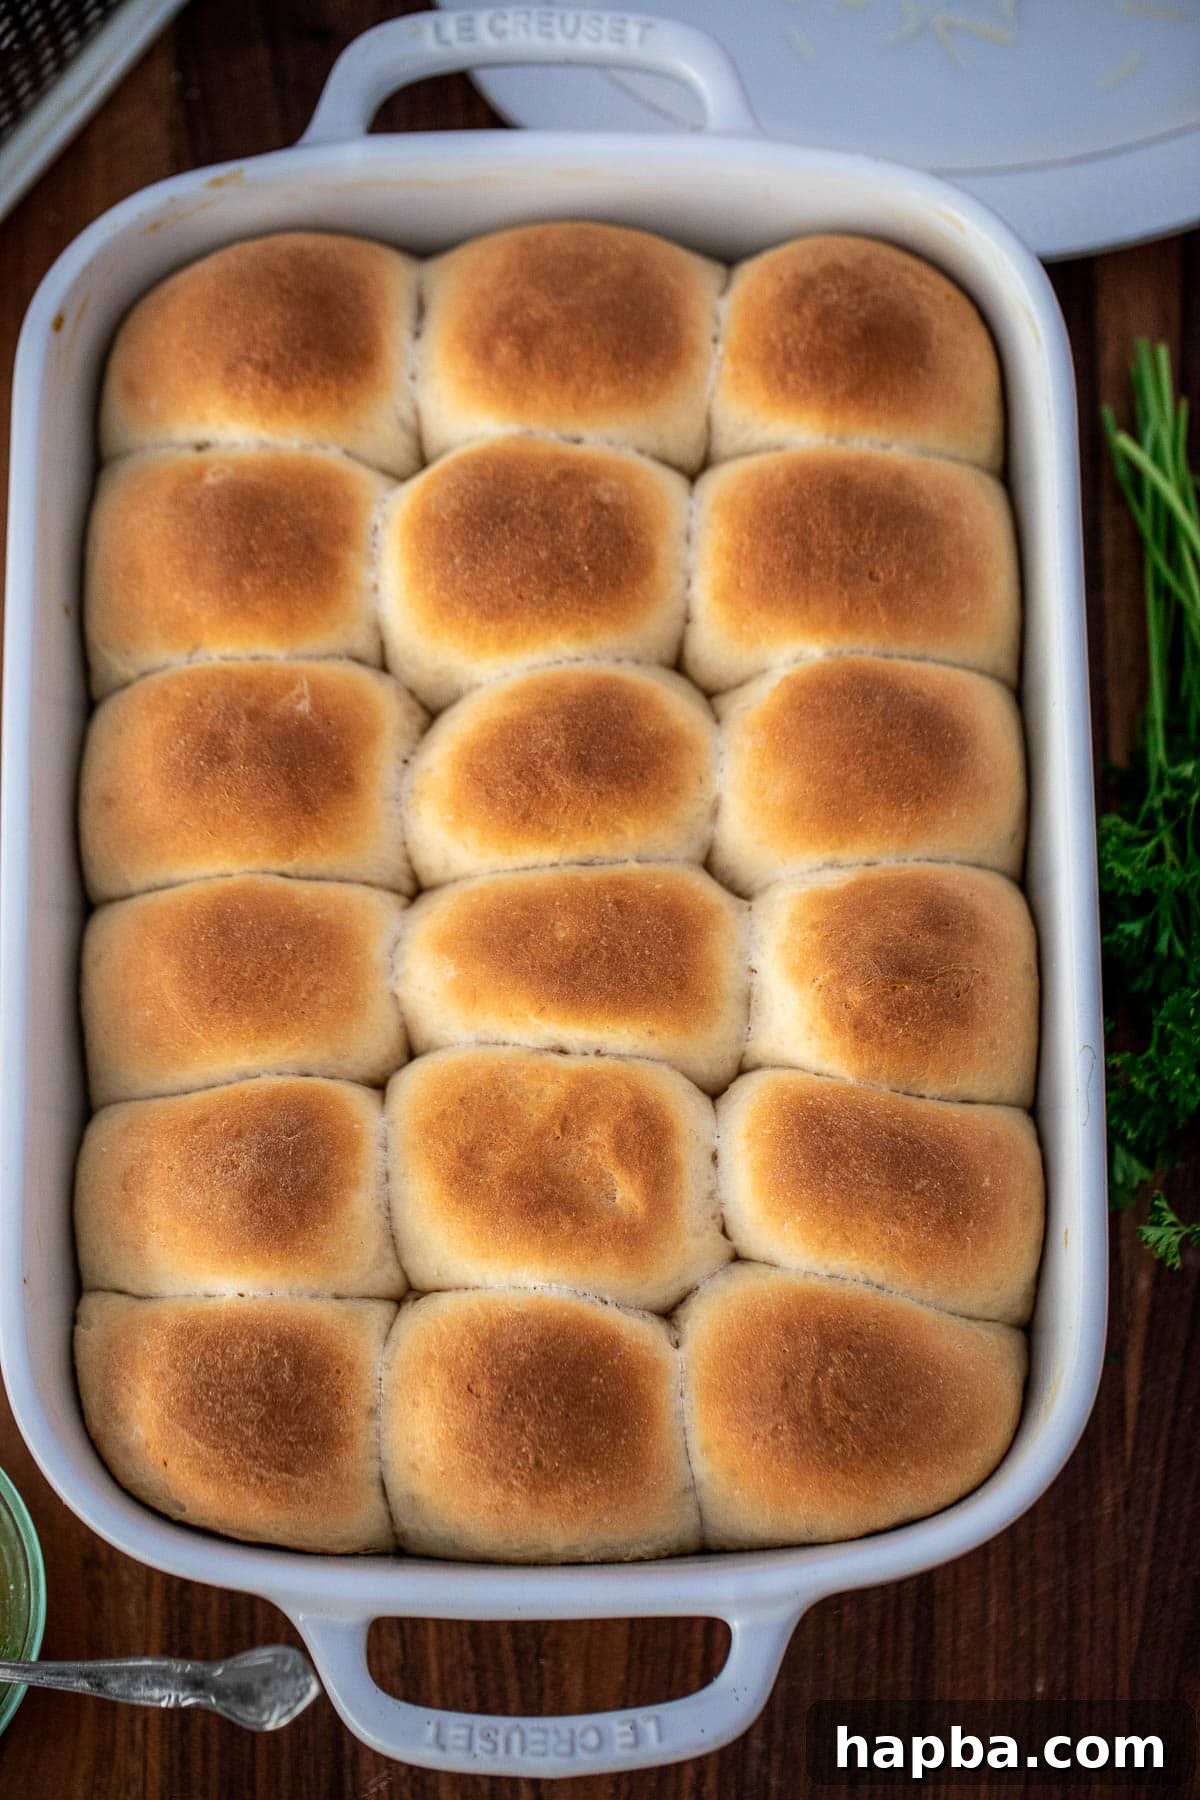
5. Bake to Golden Perfection: While the rolls are rising, preheat your oven to 350°F (180°C). Once risen, bake the rolls for 20-25 minutes, or until they are beautifully golden brown on top and cooked through. The internal temperature should register around 200°F (93°C) when fully baked.
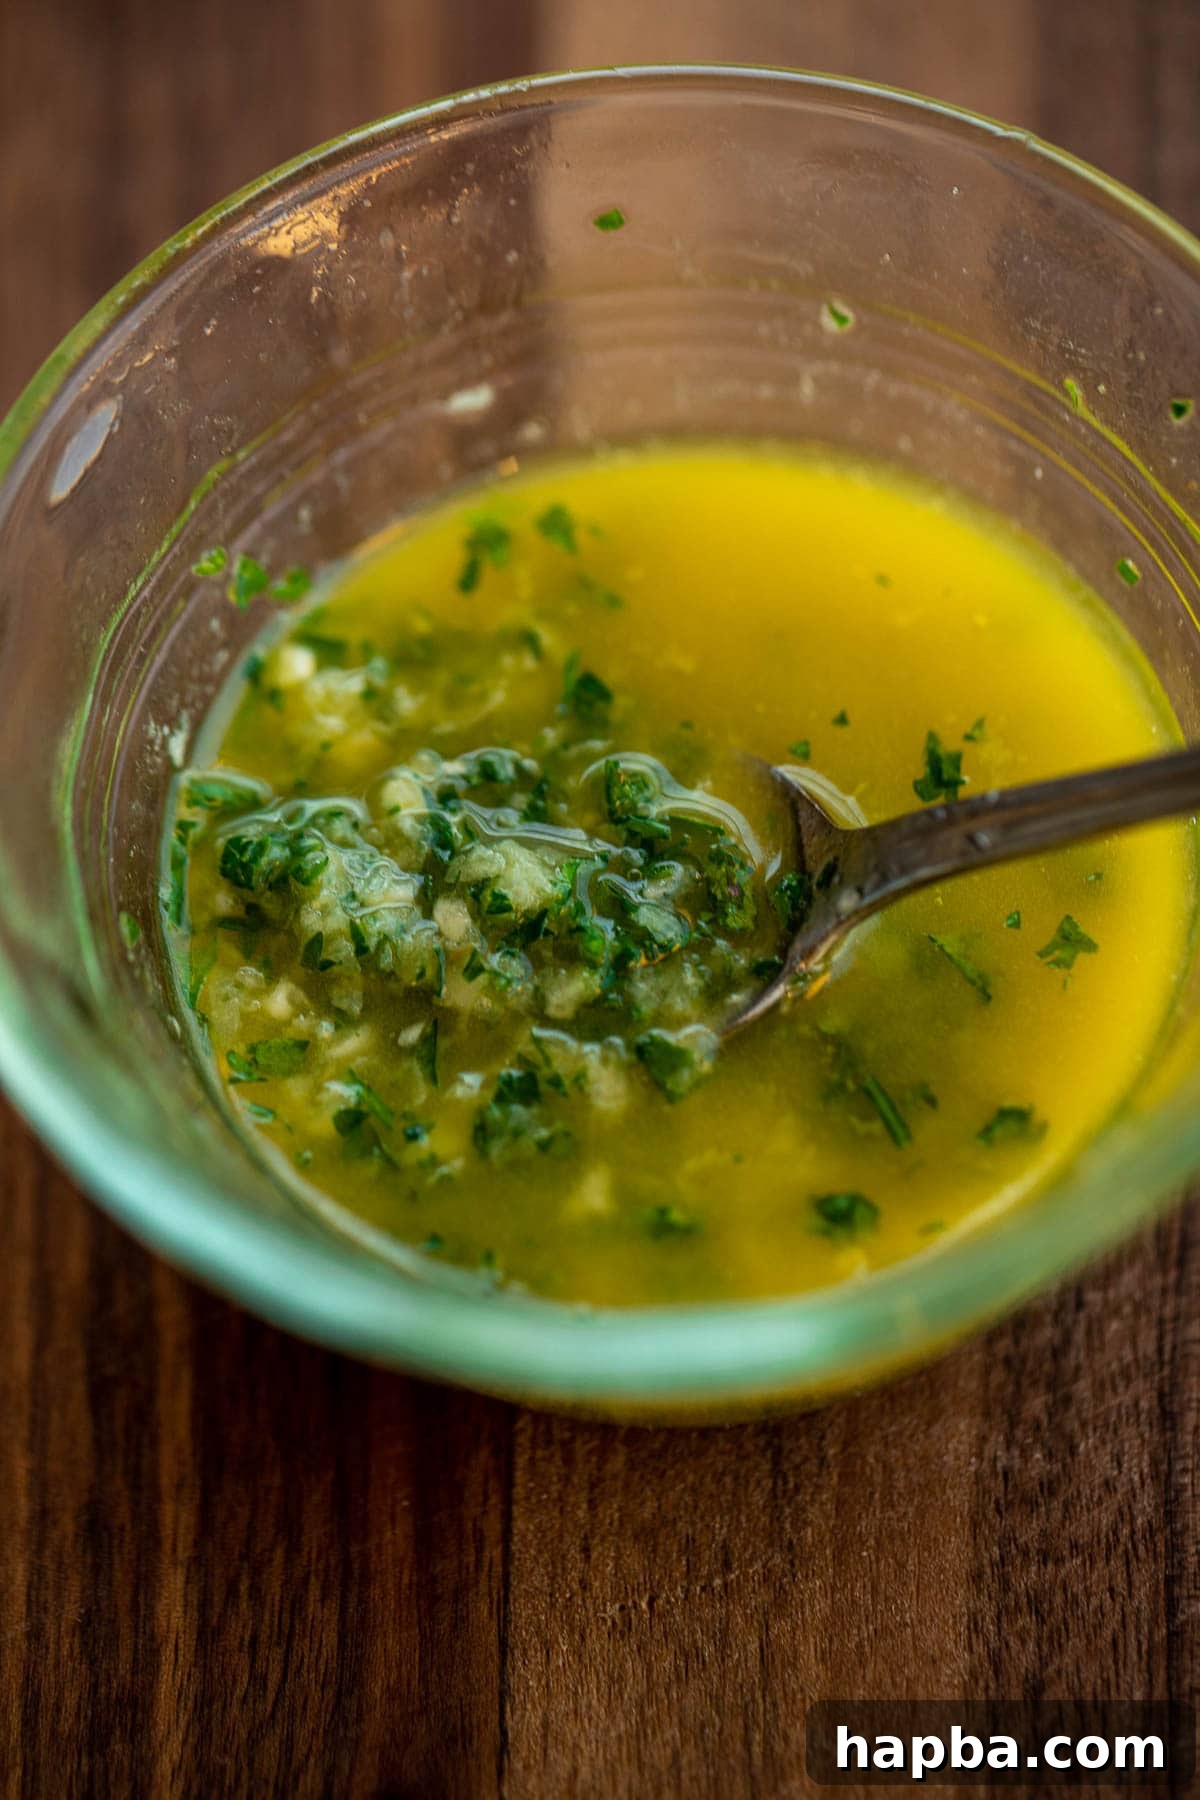
6. Prepare Garlic Butter: While your rolls are baking, prepare the aromatic garlic butter. In a small bowl, combine the finely minced garlic, melted unsalted butter, and fresh minced parsley. Stir everything together until well combined.
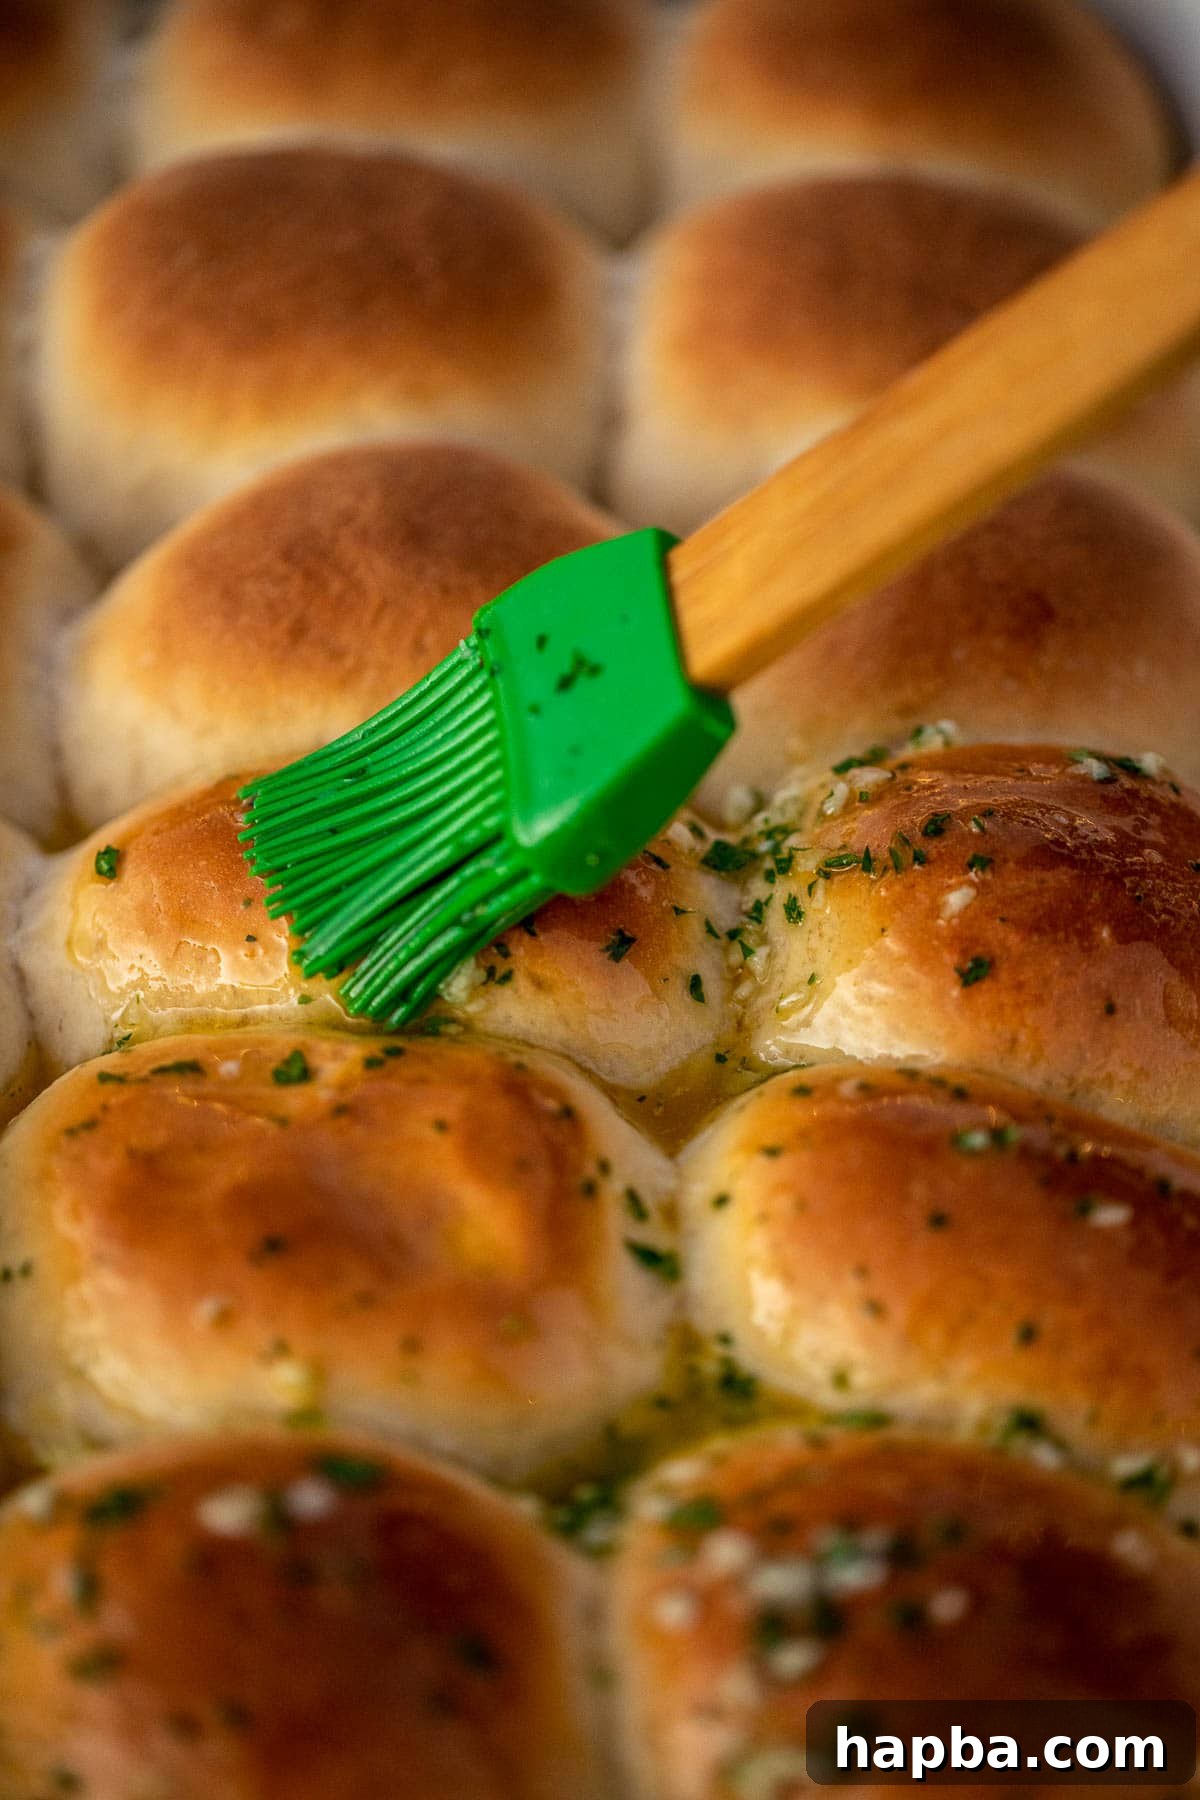
7. Brush with Garlic Butter: The moment your golden-brown rolls emerge from the oven, immediately brush them generously with the prepared garlic butter mixture. The warmth of the rolls will help the butter melt into every crevice, infusing them with incredible flavor. This step is crucial for maximum deliciousness!
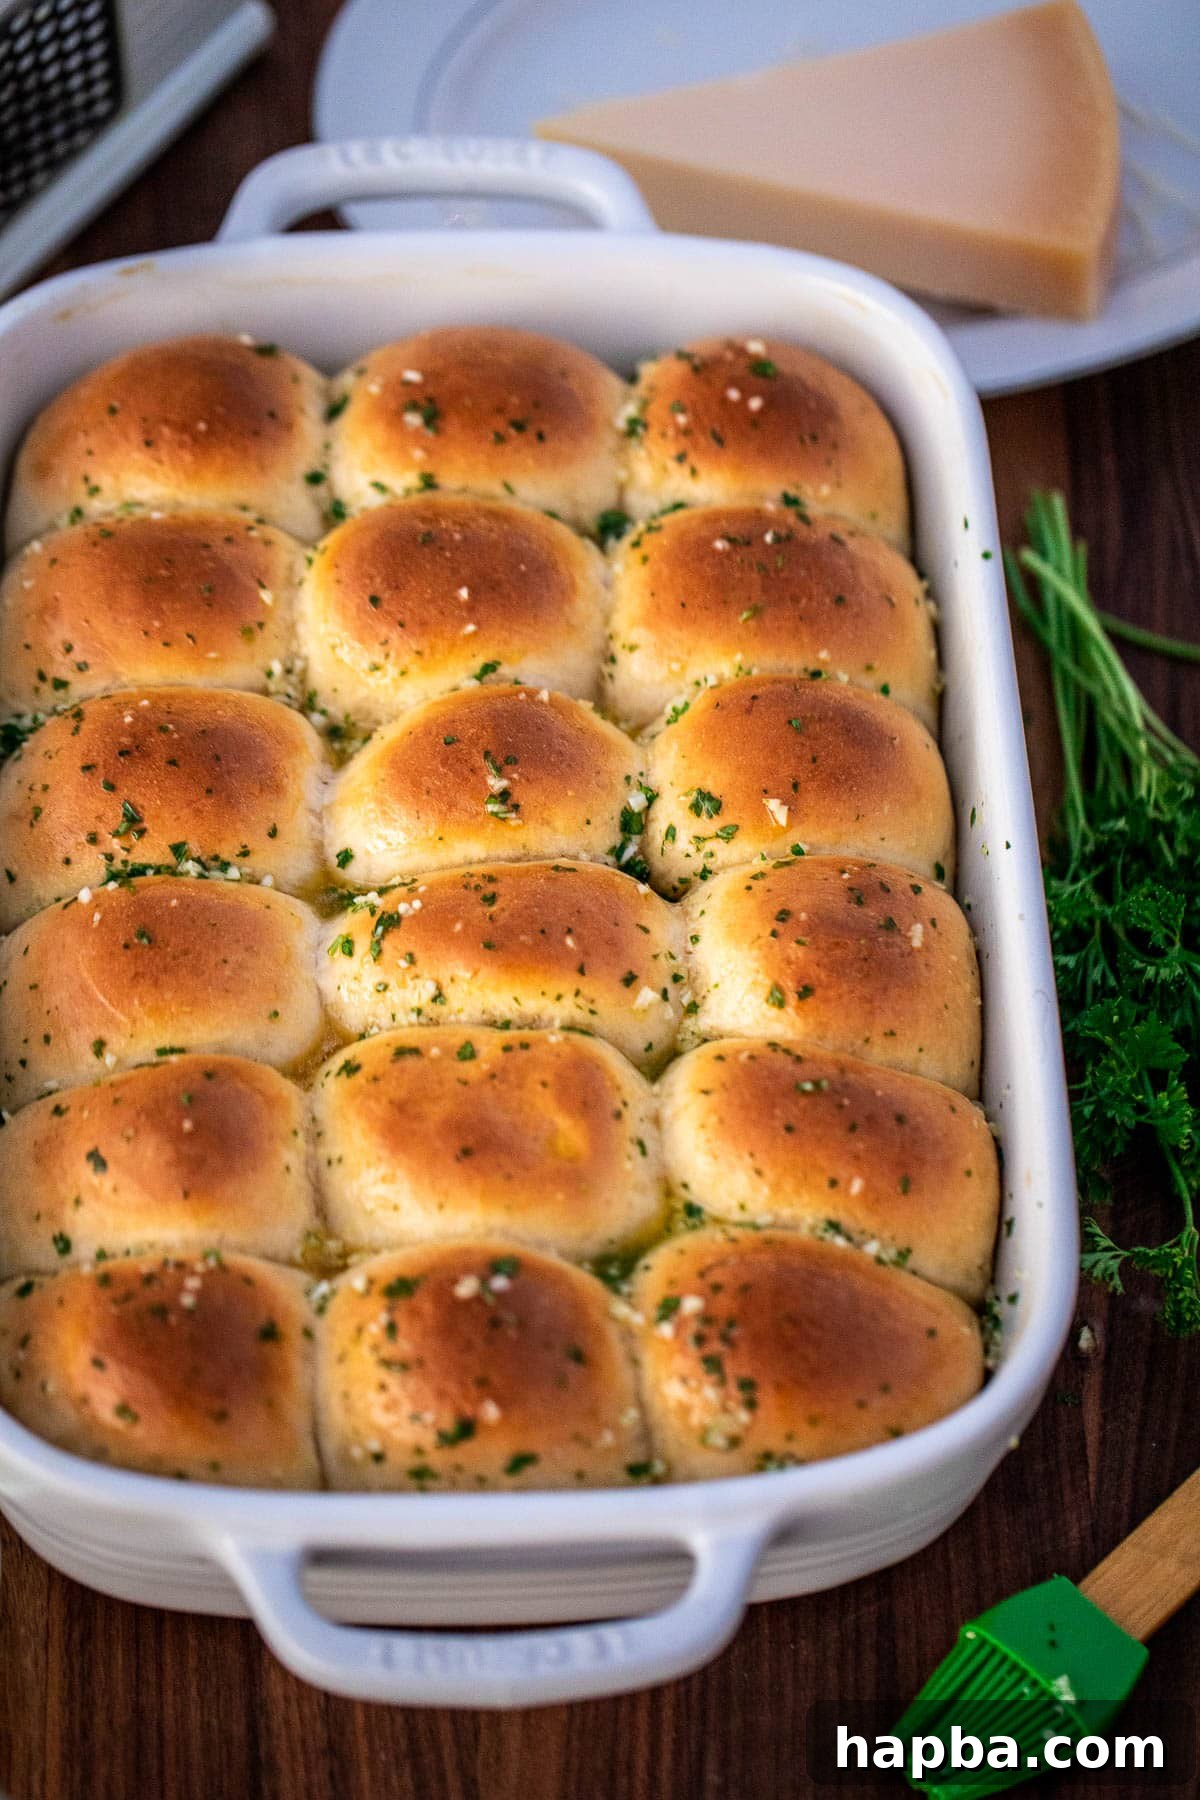
8. Serve Warm: Allow the rolls to cool slightly for a few minutes before serving them warm. If desired, sprinkle a generous amount of freshly grated Parmesan cheese over the top for an extra layer of savory flavor. Enjoy them as is, or with an extra slather of butter!
Pro Tips for Perfectly Soft & Fluffy Rolls
- Room Temperature Ingredients: Ensure your egg and evaporated milk are at room temperature. This helps them incorporate more easily into the dough, leading to a smoother, more consistent texture and better rise.
- Don’t Over-Flour: When kneading, resist the urge to add too much extra flour. A slightly sticky dough often results in a more tender roll. Only add enough flour to prevent excessive sticking.
- Warm Place for Rising: Yeast thrives in warmth. A slightly warm, draft-free environment is ideal for your dough to rise properly. If your kitchen is cold, a great trick is to warm your oven to its lowest setting for a few minutes, then turn it off and let the dough rise inside with the door slightly ajar.
- Perfect Milk Temperature: For optimal yeast activation, aim for milk heated between 110-115°F (43-46°C). Too hot, and you’ll kill the yeast; too cold, and it won’t activate properly. Use a kitchen thermometer for accuracy.
- Generous Garlic Butter: Don’t be shy with the garlic butter! Brushing the rolls while they are still hot ensures maximum absorption and flavor infusion.
- Optional Parmesan: As a personal preference, I often grate parmesan cheese over my rolls for an extra burst of umami and a delightful hint of saltiness. It takes them to another level, but they are equally delicious without it!
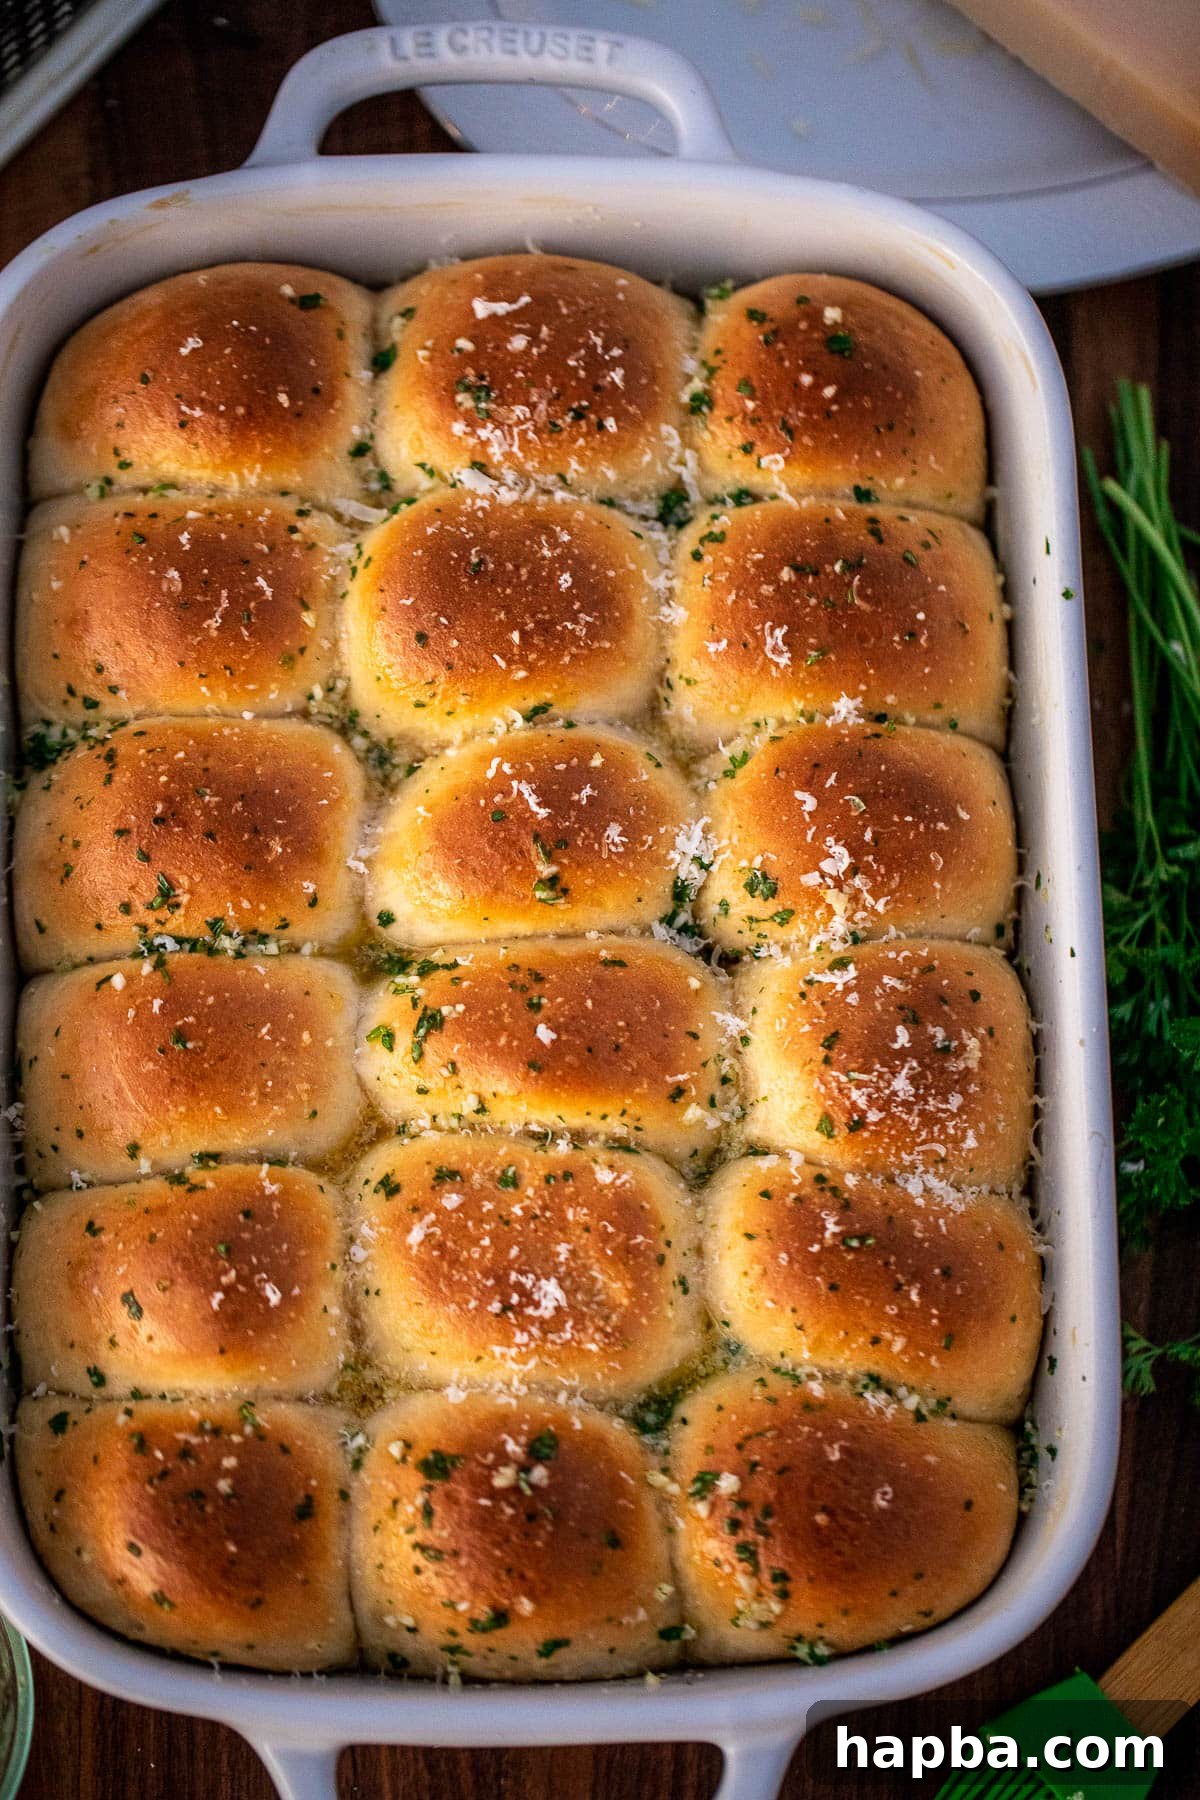
These rolls are also an incredible accompaniment to hearty dishes like this insanely good Beef Stew Without Wine, soaking up all the rich gravy.
Creative Variations to Try
While perfect as is, these garlic butter rolls are also wonderfully versatile. Feel free to experiment with these variations to customize them to your taste or occasion:
- Different Herbs: Expand on the herb butter by incorporating other fresh, finely minced herbs like rosemary or thyme. These herbs pair beautifully with garlic and also evoke classic holiday flavors, making them perfect for festive meals. A blend of all three – parsley, rosemary, and thyme – would be exquisite.
- Add Cheese to the Dough: For an even richer, savory experience, consider kneading a half cup of finely grated Parmesan, Asiago, or even a sharp cheddar cheese directly into the dough during the mixing stage. This adds another layer of flavor and moisture.
- Spice It Up: For a subtle kick, add a pinch of red pepper flakes to your garlic butter mixture. This offers a gentle warmth that complements the garlic beautifully without overpowering it.
- Sweet and Savory Touch: A tiny drizzle of honey or a sprinkle of brown sugar (about 1 teaspoon) in the dough can enhance the brioche-like quality and provide a delicate sweetness that balances the savory garlic butter perfectly.
- Bread Flour for Texture: If you’re looking for a slightly chewier, more structured roll, substitute all-purpose flour with bread flour. Its higher protein content develops more gluten, resulting in a bread with greater elasticity and a satisfying chew. However, rest assured that all-purpose flour works wonderfully for a soft, tender roll.
Remember, we also have easy dinner rolls that are ready in just one hour for when time is of the essence!
Essential Equipment for Baking
Having the right tools can make the baking process much smoother and more enjoyable. Here are a few pieces of equipment that I find indispensable for making these garlic butter rolls:
- Stand Mixer: While you can certainly mix the dough by hand, an inexpensive kitchen mixer makes the kneading process incredibly easy and hands-free. It ensures thorough mixing and proper gluten development, which is crucial for soft rolls.
- 9×13 Inch Baking Dish or Large Cookie Sheet: A standard 9×13 inch baking dish is perfect for allowing the rolls to rise and bake together, creating soft sides. Alternatively, a large cookie sheet or half sheet pan lined with parchment paper works well if you prefer rolls with slightly crispier edges.
- Basting Brush: A good quality basting brush is essential for evenly applying the garlic butter over the warm rolls. It helps distribute the flavorful topping thoroughly, ensuring every roll is deliciously coated.
- Kitchen Scale (Optional but Recommended): For perfectly uniform rolls, a kitchen scale helps divide the dough into equally sized pieces. This ensures even baking and a professional appearance.
- Instant-Read Thermometer: Useful for checking the milk temperature for yeast activation and verifying the internal temperature of the baked rolls for doneness.
Make-Ahead Instructions
These Garlic Butter Rolls are perfect for preparing in advance, especially when you’re hosting or looking to simplify your holiday baking. To make them ahead of time:
Prepare the dough as instructed, shape the rolls into balls, and arrange them in your greased baking dish. Instead of letting them rise at room temperature, cover the dish tightly with plastic wrap and place it in the refrigerator to rise overnight (for up to 12-18 hours). The cold temperature will significantly slow down the yeast activity.
The next morning, remove the baking dish from the fridge and let it sit at room temperature for about 1 to 1.5 hours, or until the rolls have visibly puffed up and warmed slightly. This allows the dough to continue rising and come closer to room temperature before baking. Note that cold dough will take slightly longer to bake, so keep an eye on them and ensure they are golden brown and cooked through before removing them from the oven.
Serving & Storage Suggestions
Serving:
These garlic butter rolls are best served warm, straight from the oven! The warm, buttery, garlicky aroma is truly intoxicating. They are fantastic on their own, or with an extra smear of butter. They make an excellent companion to:
- Roasts (chicken, turkey, beef, pork)
- Soups and stews (perfect for soaking up broth)
- Pasta dishes
- Holiday dinners (Thanksgiving, Christmas, Easter)
- Any meal where a delicious bread roll would be welcome!
Storage:
Leftover garlic butter rolls can be stored in an airtight container at room temperature for up to 2-3 days. For longer storage, they can be kept in the refrigerator for up to 5 days.
Reheating:
To best reheat, wrap the rolls loosely in foil and warm them in an oven preheated to 300°F (150°C) for about 10-15 minutes, or until heated through and soft again. You can also quickly warm them in the microwave for 15-30 seconds, but be careful not to overcook, as this can make them tough.
More Holiday Recipes to Love
Looking for more inspiration to complete your holiday menu? Check out these other cherished recipes that are perfect for festive gatherings:
- Herb Roasted Turkey
- Buttermilk Mashed Potatoes
- Baked Turkey Drumsticks
- Cinnamon Rolls With Cream Cheese Frosting
- Baked Turkey Wings
Garlic Butter Rolls Recipe
These rolls are SO soft and fluffy, and brushed at the end with a delicious garlic herb butter. Why have regular dinner rolls when you can have GARLIC BUTTER ROLLS? Insanely delicious and perfect for everyday dinners or the holidays. Plus, so easy to make as you only need to let the rolls rise once!
Prep: 30 mins
Cook: 20 mins
Rise: 1 hr
Total: 1 hr 50 mins
Servings: 18 rolls
Ingredients
For the Rolls:
- 4 cups all-purpose flour or bread flour
- 1 teaspoon salt
- 3 tablespoons sugar
- 1 tablespoon instant yeast (or 1 0.25 oz sachet)
- 1 ½ cups evaporated milk (from a 12-ounce can)
- 3 tablespoons unsalted butter, melted
- 1 large egg, room temperature
- 2 tablespoons unsalted butter, softened
For the Garlic Butter:
- 3 large cloves garlic, finely minced
- 3 tablespoons unsalted butter, melted
- 1 tablespoon minced parsley (substitute with 2 teaspoons of dried parsley if needed)
- Grated parmesan (optional, for topping)
Instructions
- Prepare pan. Grease a 9×13 inch baking dish with butter or cover a cookie sheet or half sheet pan with parchment paper.
- Heat milk. Place the evaporated milk into the microwave and heat for about 45 seconds until it reaches 110-115°F (43-46°C). Stir the milk after heating to ensure even temperature distribution.
- Make dough. To the bowl of a stand mixer, add the flour, salt, sugar, instant yeast, warm evaporated milk, the 3 tablespoons of melted butter, and the room temperature egg. Using the dough hook attachment, mix on low speed until a dough forms. Continue mixing for 5-7 minutes until the dough starts to come together. You can also mix all ingredients by hand in a large mixing bowl.
- Add extra butter to dough. With the mixer still running on low, add the remaining two tablespoons of softened unsalted butter, one tablespoon at a time. Ensure each tablespoon is fully incorporated before adding the next. Continue kneading for another 3-5 minutes until the dough is smooth, elastic, and pulls cleanly away from the sides of the bowl.
- Shape dough. Lightly flour a working surface and place the dough on it. Divide the dough into 18 equal pieces. A helpful way to do this is to first cut the dough into 3 equal pieces, then cut each of those 3 pieces into 6 equal smaller pieces. For true equality, use a kitchen scale to weigh each piece (they should be roughly the same size). Roll each dough piece into a smooth ball and place them in your prepared greased 9×13 inch baking dish or baking sheet.
- Let dough rise. Cover the rolls loosely with a clean kitchen towel or plastic wrap and place them in a warm, draft-free spot to rise for one hour, or until they have doubled in size and appear puffy.
- Preheat oven. While the dough is rising, preheat your oven to 350°F (180°C).
- Bake rolls. Once risen, place the baking dish with the rolls into the preheated oven and bake for 20-25 minutes, or until the tops are golden brown and the rolls are fully cooked through.
- Make garlic butter. While the rolls are baking, combine the finely minced garlic, 3 tablespoons of melted unsalted butter, and minced parsley in a small bowl. Stir until well combined.
- Brush with garlic butter. As soon as the rolls are removed from the oven, immediately brush them generously with the prepared garlic butter mixture. If desired, sprinkle some freshly grated Parmesan cheese over the warm rolls.
- Serve. Serve the garlic butter rolls warm, either plain or with an additional dollop of butter or your favorite side dish.
Notes
- 1. Cheese: The grated Parmesan cheese on top is optional but highly recommended for an extra layer of savory flavor. The rolls are delicious both with and without it.
- 2. Make Ahead: To prepare these rolls in advance, make the dough, shape the rolls, and let them rise overnight in the refrigerator. The next morning, remove them from the fridge, let them warm up for 1-1.5 hours, and then bake. Note that cold dough may take slightly longer to bake.
- 3. Bread Flour: Using bread flour instead of all-purpose flour can result in a bread with more structure and elasticity due to its higher protein content. However, all-purpose flour works perfectly well for a soft and tender crumb.
Nutrition Facts (per roll, estimated)
Calories: 174 kcal | Carbohydrates: 26g | Protein: 5g | Fat: 6g | Saturated Fat: 3g | Polyunsaturated Fat: 0.4g | Monounsaturated Fat: 1g | Trans Fat: 0.2g | Cholesterol: 23mg | Sodium: 159mg | Potassium: 109mg | Fiber: 1g | Sugar: 5g | Vitamin A: 271IU | Vitamin C: 1mg | Calcium: 69mg | Iron: 1mg
Additional Info
Course: Side Dish
Cuisine: American
Calories: 174 (per serving)
Tried this recipe?
Mention @preciouscore or tag #PreciousCore on Instagram! We love seeing your delicious creations!