
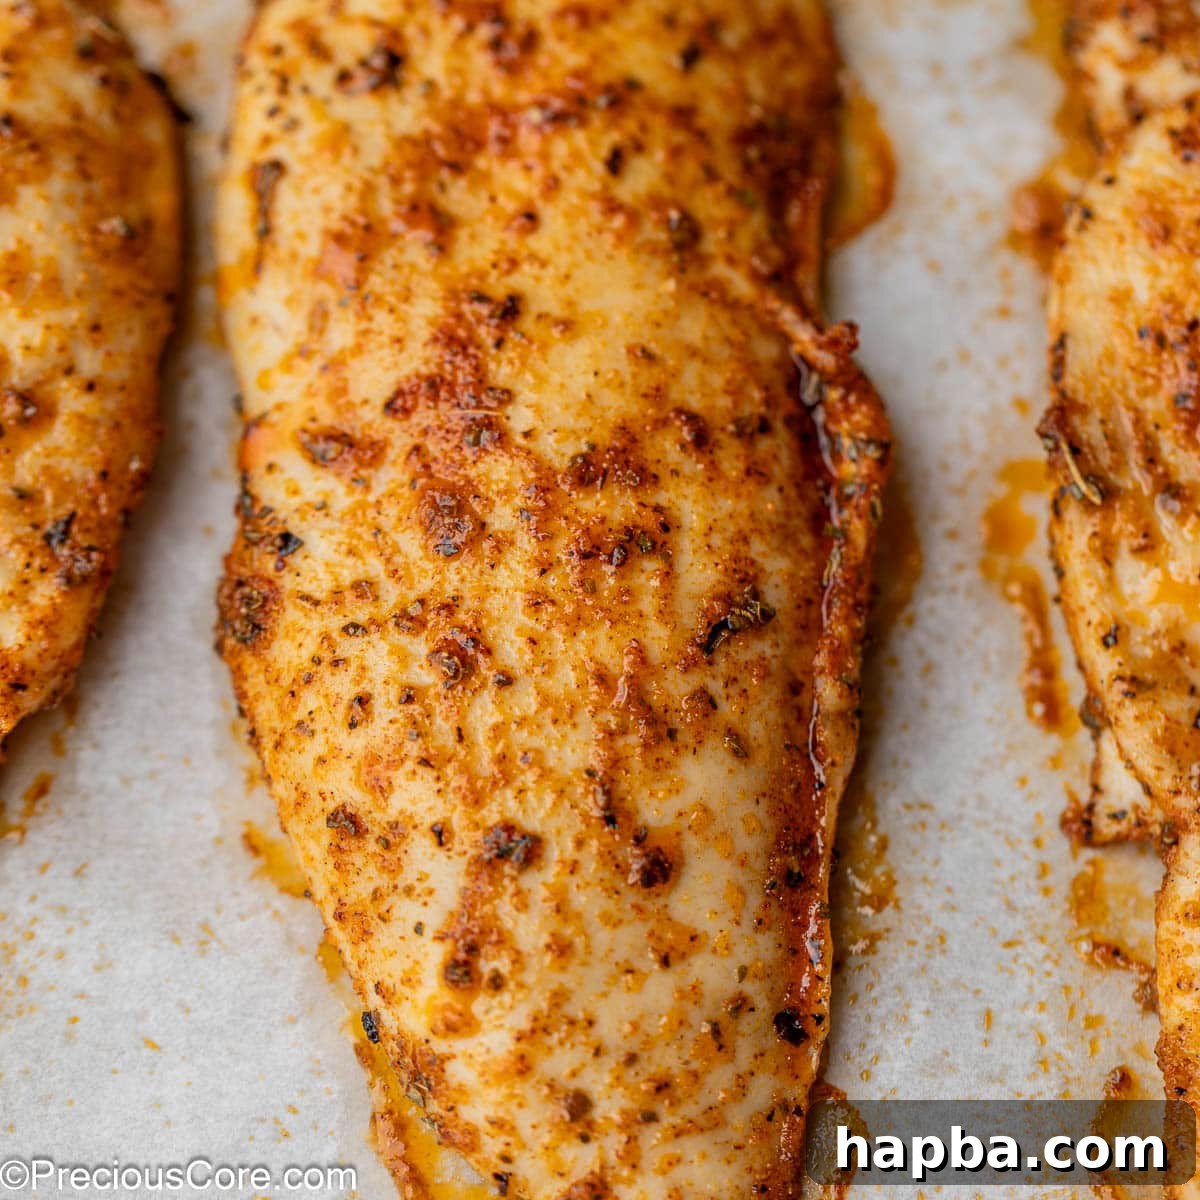
Tired of dry, uninspiring chicken breasts? Look no further! Learn the secrets to making **Perfectly Baked Thin Chicken Breasts** that are incredibly flavor-packed, irresistibly juicy, and astonishingly ready to serve in just 15 minutes. This recipe will transform your chicken dinners forever, ensuring tender, moist results every single time!
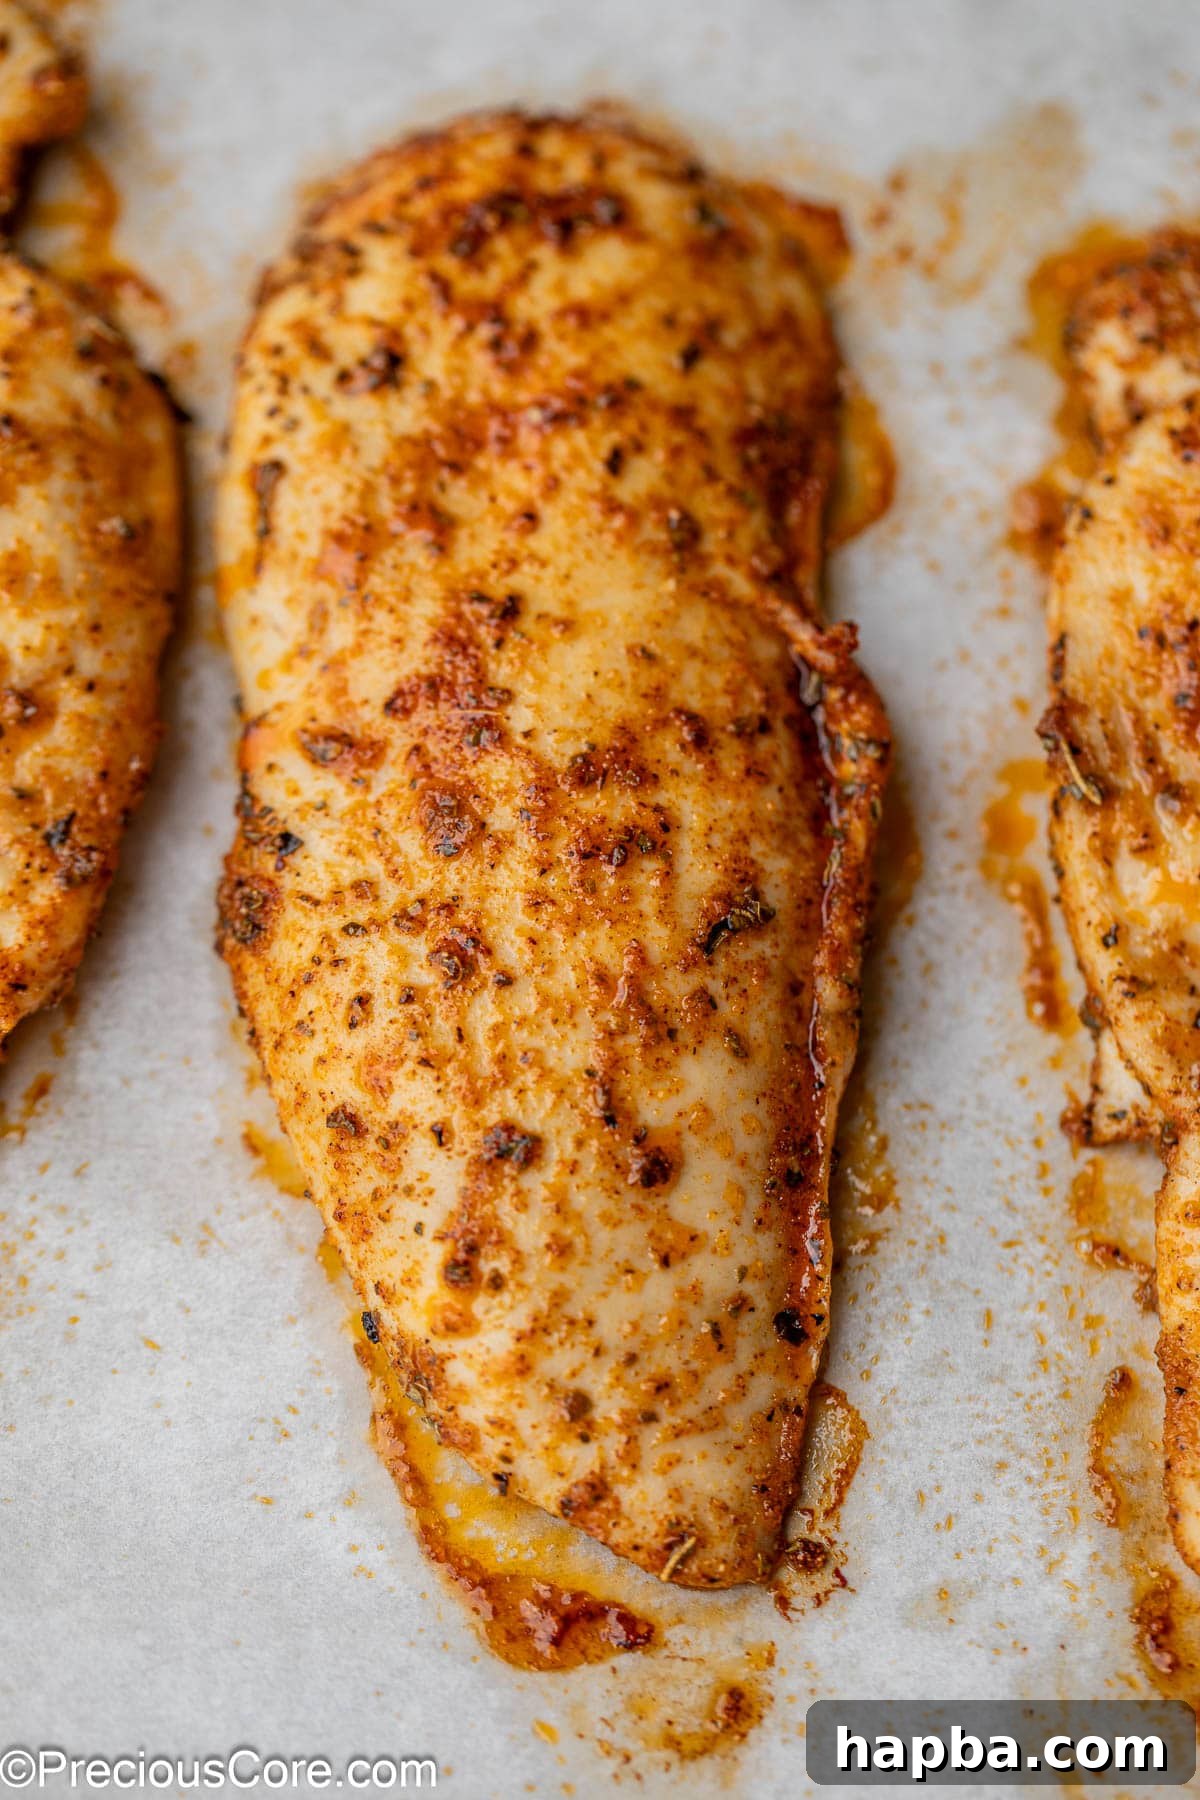
This thin chicken breast recipe is not only impressively easy to follow but also guarantees a stress-free experience in the kitchen, making it perfect for novice cooks and seasoned home chefs alike. It’s designed to bring delicious, healthy meals to your table without the fuss, ideal for busy weeknights or when you need a quick, satisfying protein.
If you cherish chicken as much as we do, explore some of our other beloved poultry creations. For more culinary inspiration, try our popular Pan-Seared Chicken Tenders, hearty Baked Chicken Leg Quarters, or our renowned Perfect Grilled Chicken.
Table of Contents
- Introduction to Baked Thin Chicken Breasts
- Why You’ll Adore This Recipe
- Essential Ingredients You’ll Need
- Step-by-Step Guide: How to Bake Thin Chicken Breasts
- Substitutions and Creative Flavor Variations
- Pro Tips for Perfectly Baked Thin Chicken Breasts
- Ensuring Your Chicken is Perfectly Cooked
- Frequently Asked Questions About Baking Chicken
- Delightful Serving Suggestions
- Discover More Chicken Recipes
- Full Recipe Card: Baked Thin Chicken Breasts
Introduction to Baked Thin Chicken Breasts: Your Go-To Recipe for Flavor and Juiciness
When it comes to versatile and reliable chicken recipes, this baked thin chicken breasts method stands out as an absolute winner. Often, chicken breasts get a bad rap for being dry or bland, but with the right technique, they can be transformed into a succulent, flavor-packed meal. This delectable chicken can effortlessly serve as the star of a casual weeknight dinner, be sliced for salads, or even act as an elegant protein for a more formal lunch gathering. Its simplicity and incredible flavor make it a staple you’ll turn to again and again, proving that healthy eating doesn’t have to sacrifice taste.
Over countless cooking sessions, I’ve honed the art of baking chicken to ensure it remains consistently juicy and bursting with flavor. The secret lies not just in the cooking time, but in a thoughtful combination of preparation techniques and a carefully chosen blend of seasonings. Unlike thicker cuts, thin chicken breasts cook quickly and evenly, making them less prone to drying out when treated correctly. Here, I’m thrilled to share with you every detail, from seasoning strategies to perfect baking temperatures, ensuring you achieve consistently perfect results without any guesswork. Say goodbye to dry, flavorless chicken and hello to culinary success!
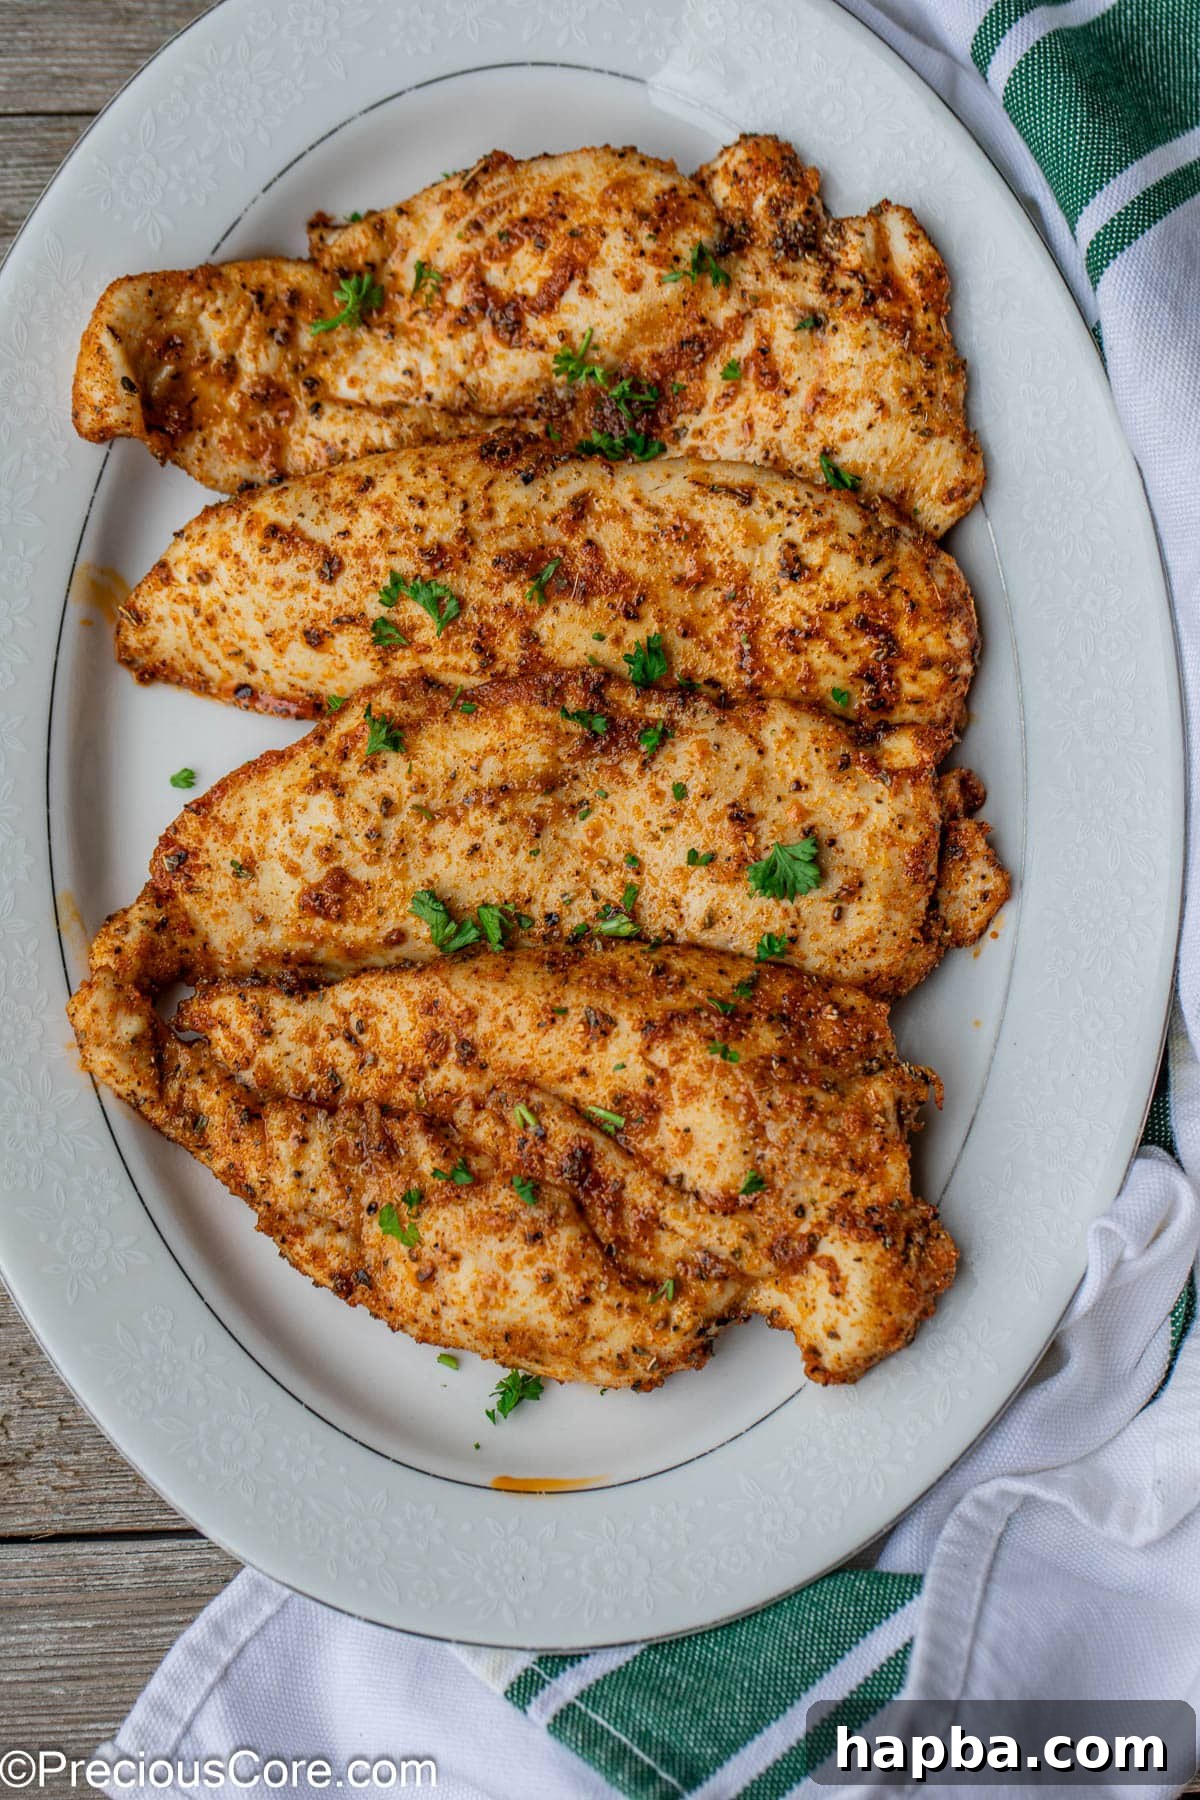
Why You’ll Adore This Easy Baked Thin Chicken Breast Recipe
- Unfailingly Juicy and Perfectly Seasoned: The biggest fear when cooking chicken breasts is ending up with a dry, rubbery, and bland result. This baked thin chicken breast recipe meticulously addresses these concerns! By following our precise seasoning blend and cooking method, you’ll achieve chicken that is incredibly tender, moist, and infused with layers of irresistible flavor. Each bite will be a testament to how simple yet effective our approach is, making dry chicken a distant memory. Prepare to be amazed by how this simple combination elevates your chicken to new culinary heights.
- A Family-Friendly Favorite: This recipe delivers a lean, healthy protein that is universally loved. Its tender texture and delightful, balanced seasoning make it a hit with even the pickiest eaters, ensuring everyone at the table enjoys their meal. You’ll take pride in serving a dish that is both nutritious and incredibly satisfying for your entire family, perfect for busy weeknights when you need a wholesome meal solution that pleases all palates.
- Excellent for Smart Meal Prep: Planning ahead for healthy lunches or streamlined weeknight dinners has never been easier. These baked thin chicken breasts are a meal prep dream! Cook a larger batch, allow the chicken to cool completely, then store it in an airtight container in the refrigerator for up to 3-4 days. It pairs beautifully with a variety of meal prep staples such as fluffy quinoa, brown rice, hearty pasta, roasted or steamed vegetables like broccoli and asparagus, and fresh, vibrant salads. It’s a versatile protein foundation for countless healthy meals throughout the week.
- Speedy Cooking Time: With thin chicken breasts, you significantly cut down on cooking time compared to thicker cuts. This recipe goes from raw ingredients to a delicious, perfectly cooked meal in just about 15 minutes, including prep time! This makes it an ideal choice for those hectic days when you need a quick yet wholesome dinner solution without compromising on taste or quality.
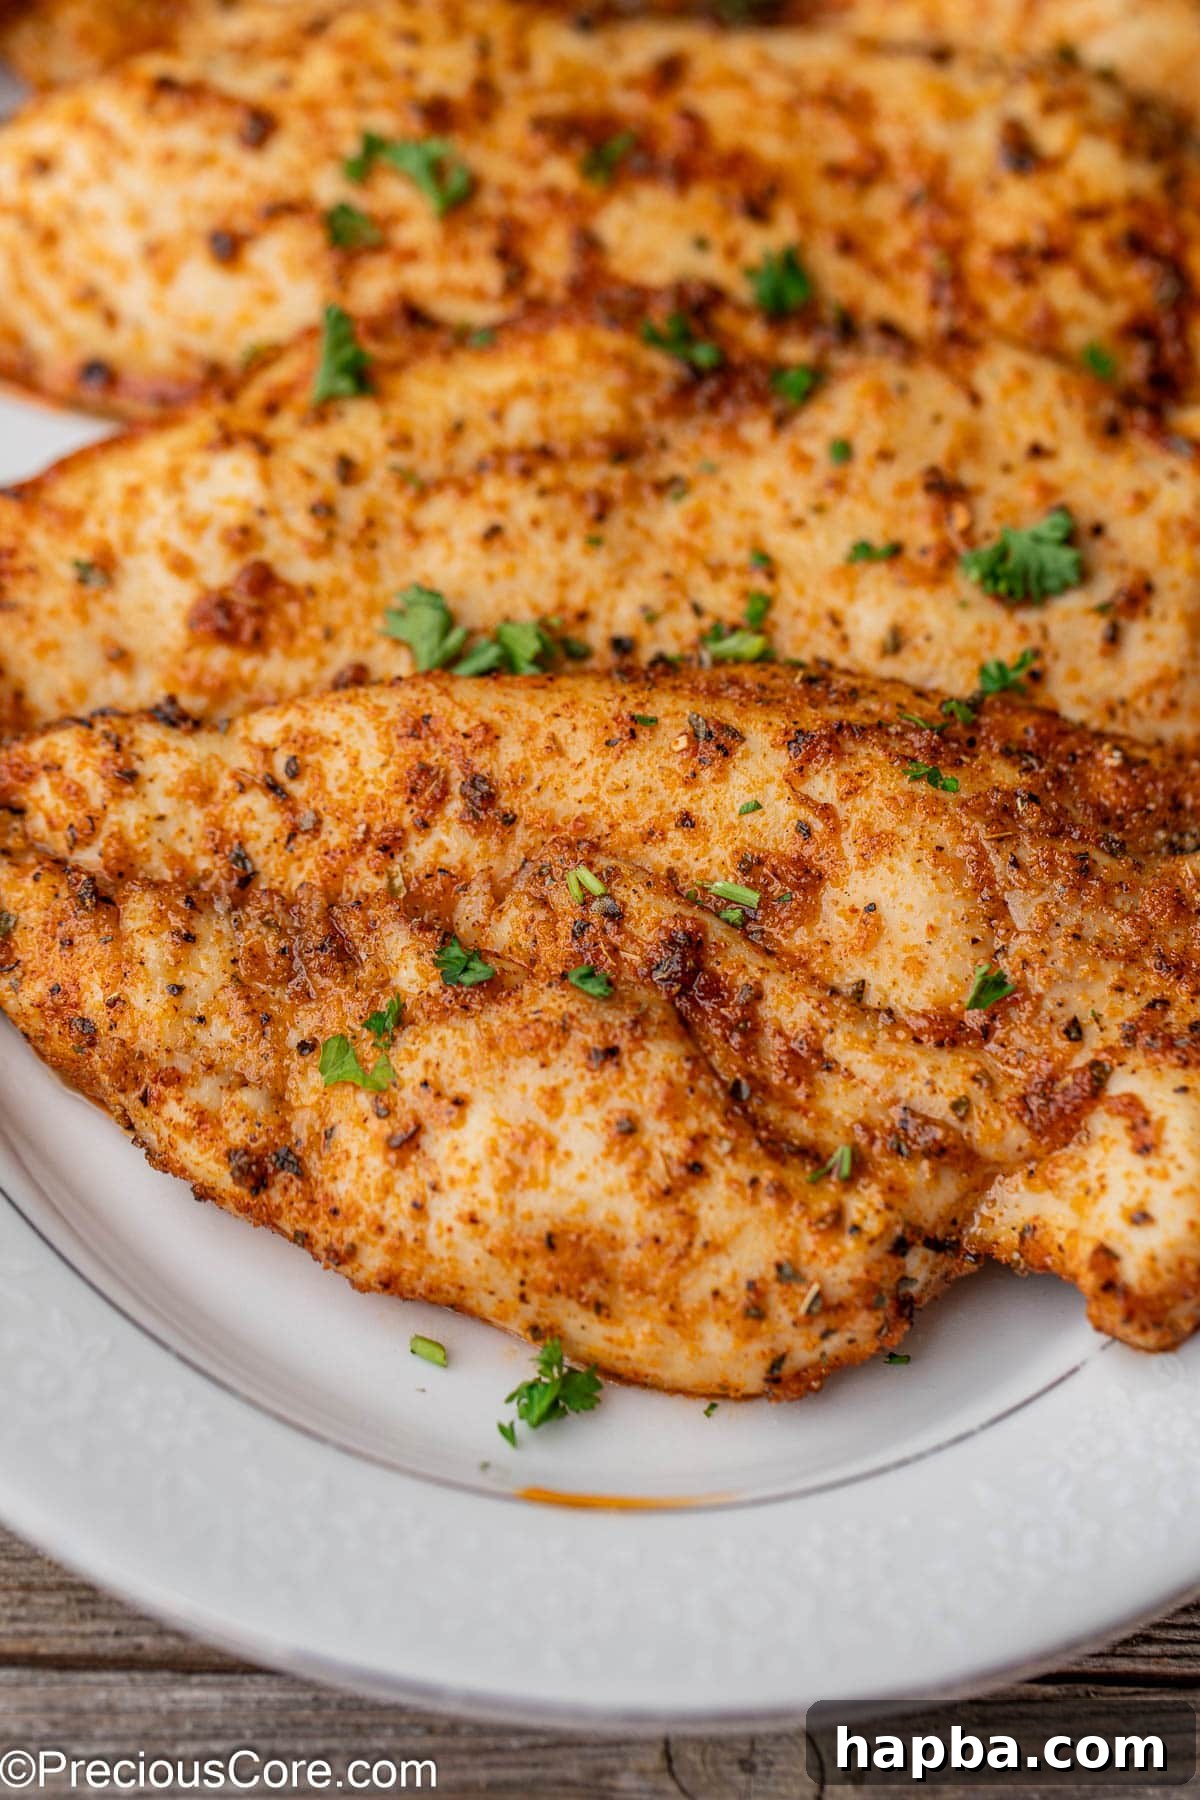
Essential Ingredients You’ll Need for Flavorful Baked Chicken
Crafting delicious baked thin chicken breasts requires just a handful of staple ingredients, each playing a crucial role in achieving that perfect juicy and flavorful result. These components work in harmony to create a tender interior and a beautifully golden-brown exterior. Here’s a closer look at what you’ll need, along with some helpful notes to guide your selection:
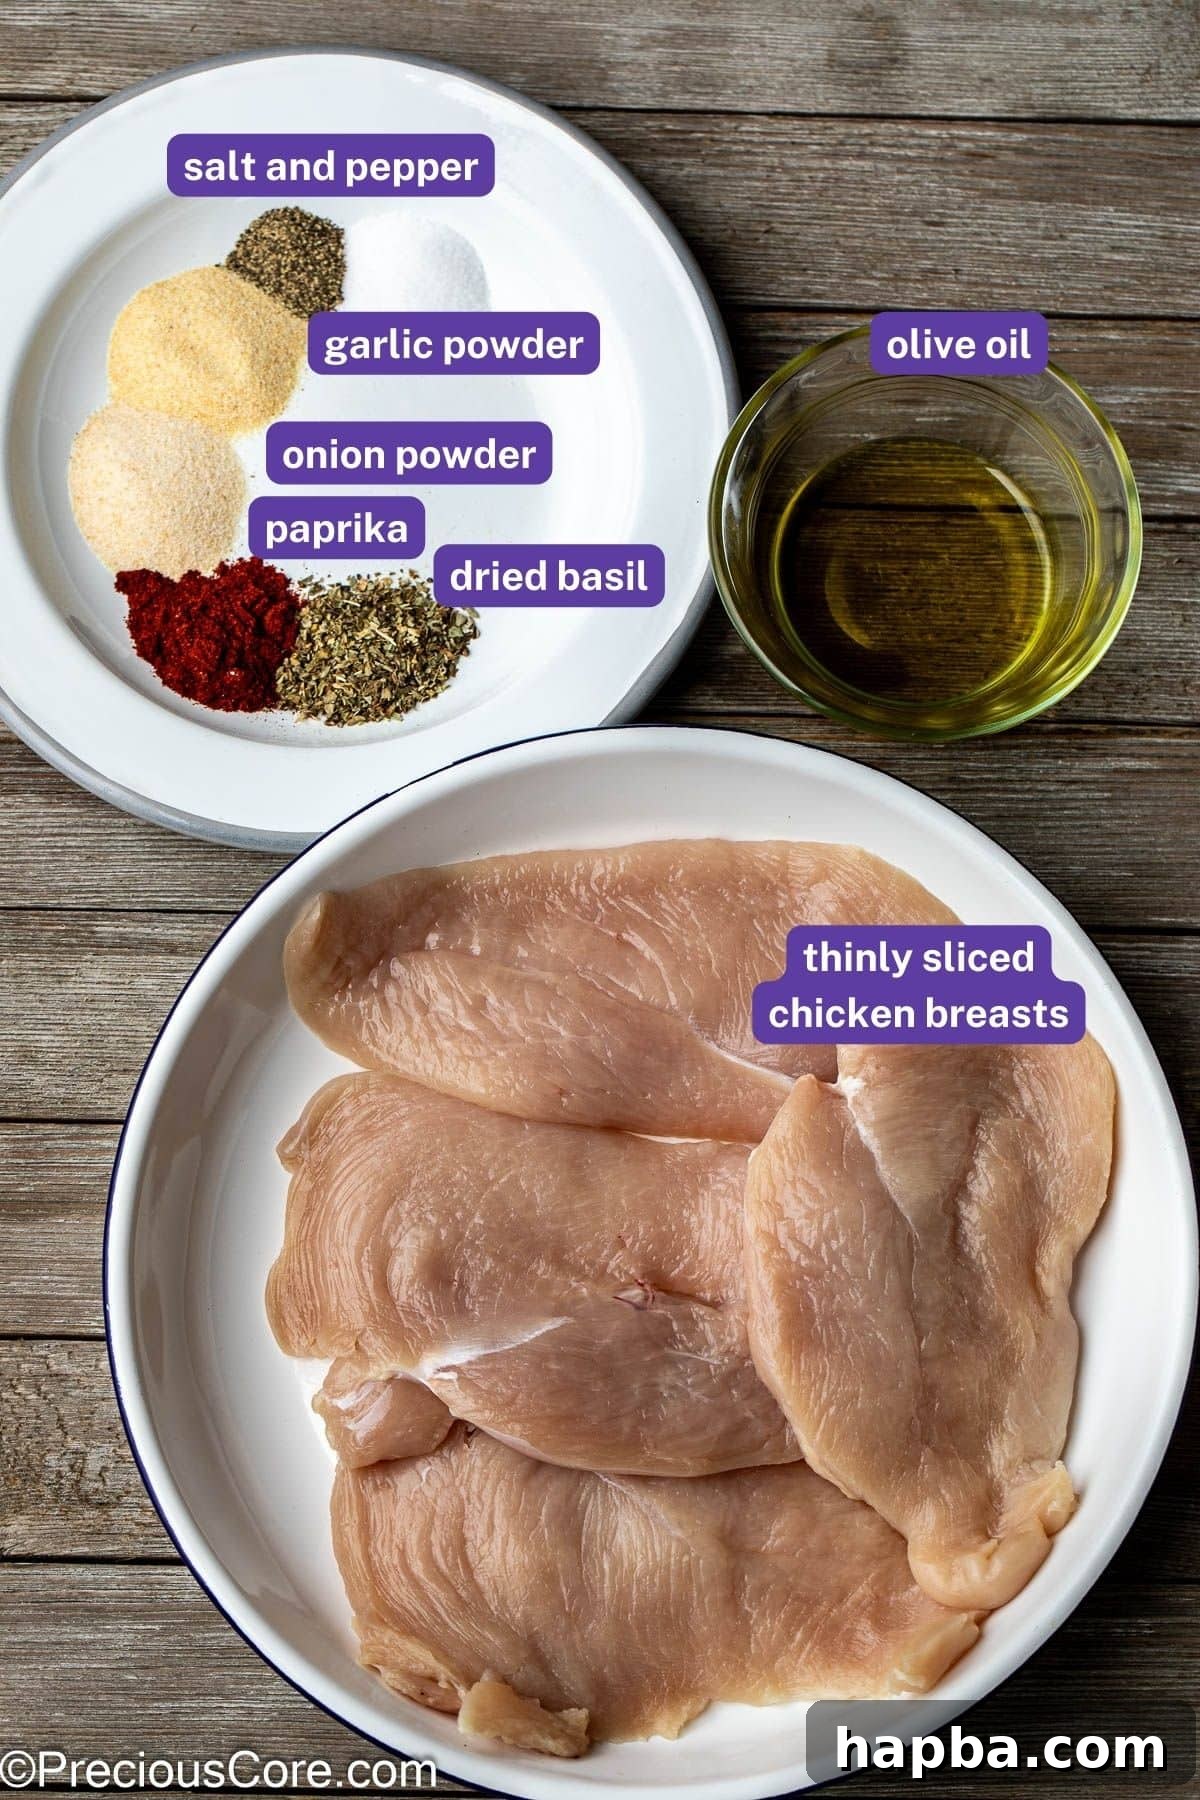
- Thin Chicken Breasts: The star of our dish! Using thinly sliced chicken breasts is paramount for quick cooking and ensures a uniformly tender and juicy result. These pieces brown beautifully in the oven, creating an appealing golden exterior. You can buy them pre-sliced at most grocery stores, often labeled as “chicken cutlets” or “thinly sliced chicken breasts.” Alternatively, you can easily prepare them yourself from regular boneless, skinless chicken breasts, which is often more economical (see our detailed tip below!).
- Olive Oil: A fundamental healthy fat that serves multiple crucial purposes in this recipe. Olive oil helps the chicken achieve a beautiful golden-brown sear and a slightly crisp exterior, locks in moisture, and acts as the perfect adhesive for all the delicious seasonings. This ensures that every surface of the meat is coated, guaranteeing maximum flavor with every bite.
- Paprika: This vibrant and versatile spice adds a beautiful color and a delightful, subtle peppery undertone to the chicken. Depending on your preference and the flavor profile you desire, you can use sweet paprika for a mild flavor, smoked paprika for a deeper, more robust and smoky essence, or even hot paprika for a touch of fiery heat. Choose the one that best suits your palate.
- Garlic Powder and Onion Powder: These two aromatic powders are a classic, unbeatable pairing for poultry. They deeply enhance the chicken’s natural savory flavors without overpowering them, creating a comforting and familiar taste profile. Unlike fresh garlic and onion, which can burn easily and become bitter at high oven temperatures, their powdered counterparts withstand the heat, infusing the meat evenly and consistently with robust flavor.
- Dried Basil: Adds a subtle, sweet, and slightly peppery herbal note that complements chicken wonderfully, offering a touch of Mediterranean brightness. Its fine green specks also contribute to an appetizing presentation, making the finished dish look as good as it tastes.
- Salt and Black Pepper: These foundational seasonings are crucial for bringing out and balancing all the other flavors in the dish. They are essential for enhancing the chicken’s natural taste and making the other spices truly shine. Always season generously, but to your taste, ensuring every piece of chicken is perfectly seasoned throughout for the most satisfying result.
Always refer to the detailed recipe card below for precise measurements of each ingredient to ensure the best results and a perfectly balanced flavor profile.
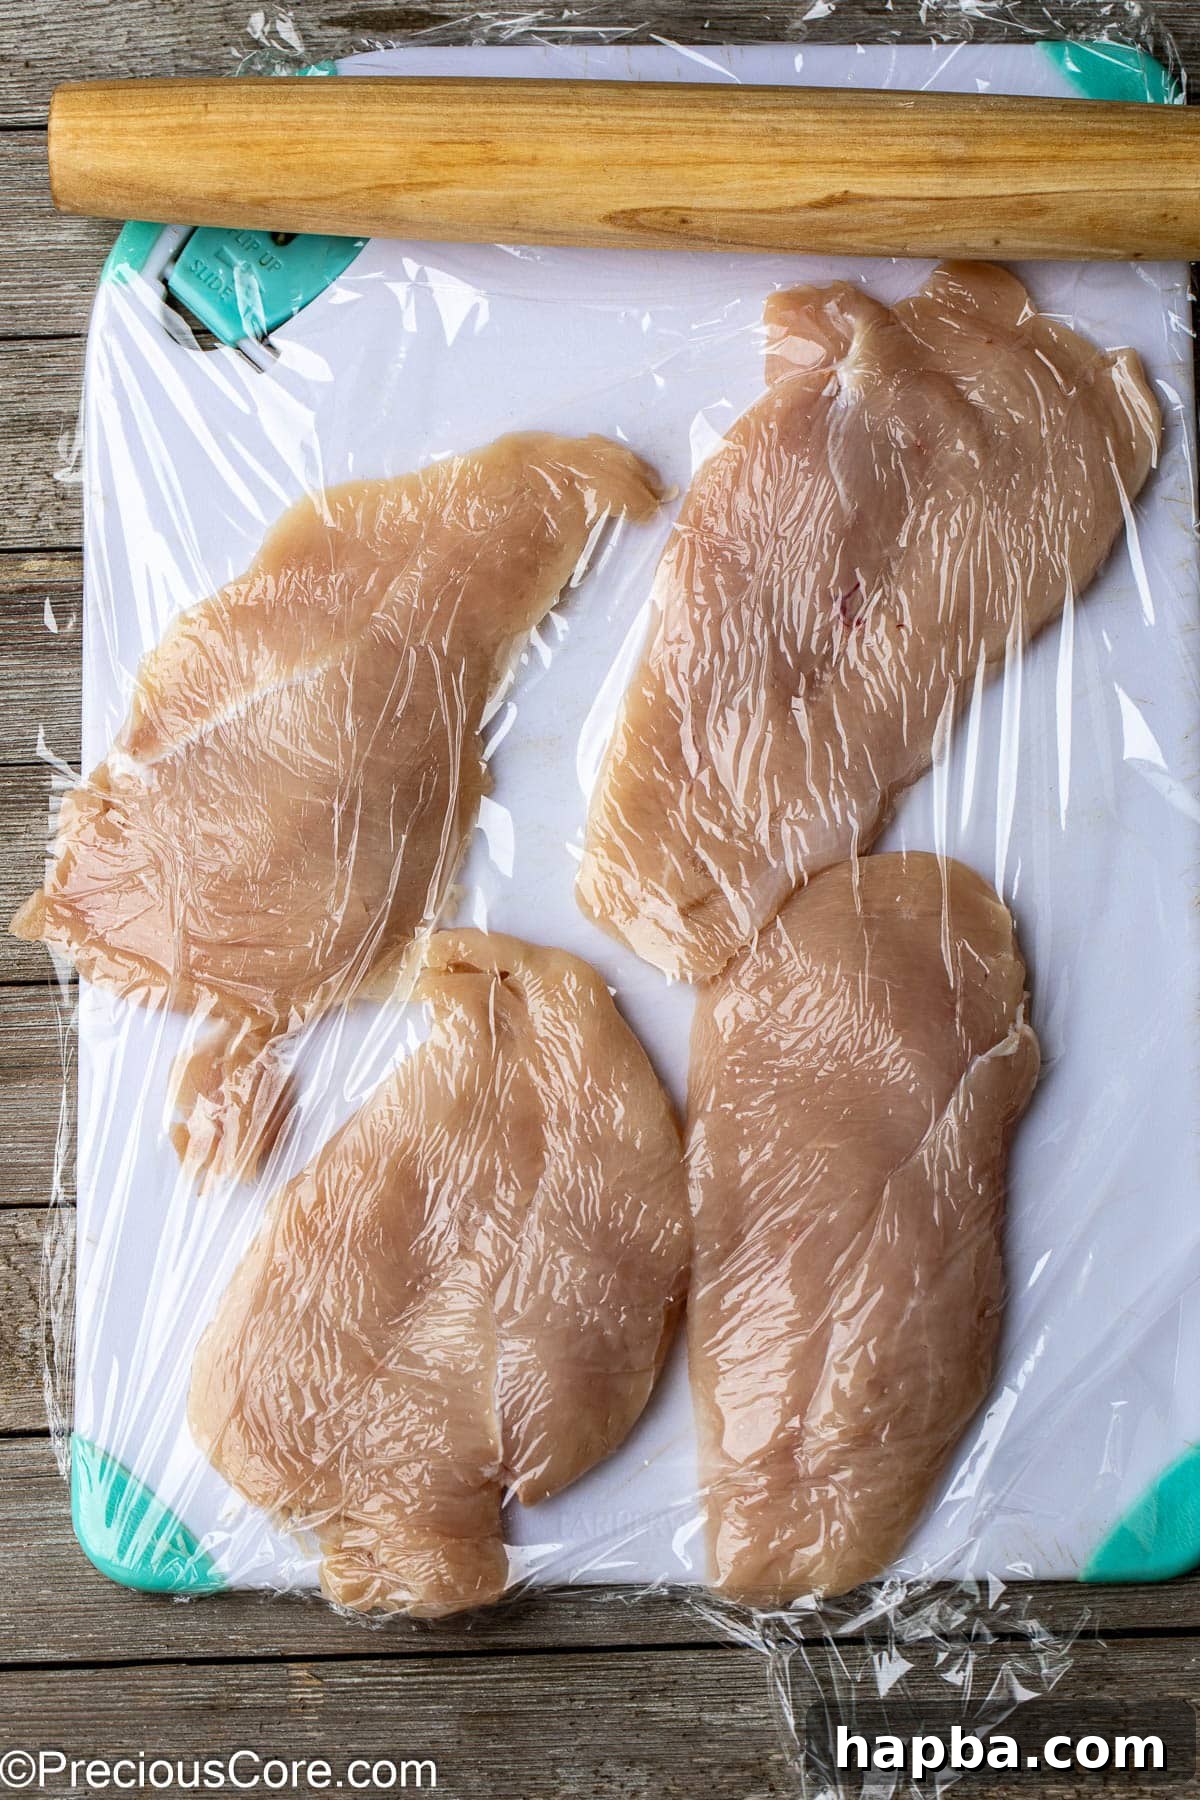
Pro Tip for Homemade Thin Chicken Breasts: To save money and ensure precise thickness, purchase regular boneless, skinless chicken breasts and butterfly them yourself. Simply place a breast on a cutting board, hold it flat with one hand, and carefully slice it horizontally through the middle, creating two thinner cutlets. For even cooking and maximum tenderness, place the cutlets between two pieces of plastic wrap and gently pound them with a meat mallet or a rolling pin until they are uniformly thin, about ½ inch thick. This technique helps prevent dry spots and promotes beautiful, consistent browning.
Step-by-Step Guide: How To Bake Thin Chicken Breasts to Perfection
Achieving juicy, flavorful, and perfectly cooked thin chicken breasts is incredibly straightforward with these step-by-step instructions. Follow these guidelines closely to master the art of baking thin chicken cutlets that are consistently delicious and moist. For optimal results, always allow your chicken breasts to rest at room temperature for about 10-20 minutes before you begin cooking; this helps ensure more even cooking and prevents the exterior from drying out prematurely.
- Preheat Your Oven: Begin by preheating your oven to 400°F (200°C). A properly preheated oven is absolutely critical for achieving that desirable golden crust and ensuring even, quick cooking. Never place chicken into a cold oven.
- Prepare Your Baking Sheet: Line a standard baking sheet with parchment paper for effortless cleanup and to prevent sticking. Alternatively, you can generously spray the baking sheet with a non-stick cooking spray.
- Prepare the Chicken: Take your room-temperature chicken breasts and pat them thoroughly dry on all sides with paper towels. This crucial step helps remove excess moisture, which in turn promotes superior browning and a crispier exterior. If not already thinly sliced, butterfly and flatten them as described in our “Pro Tip” section. Drizzle both sides of the chicken breasts evenly with the olive oil.
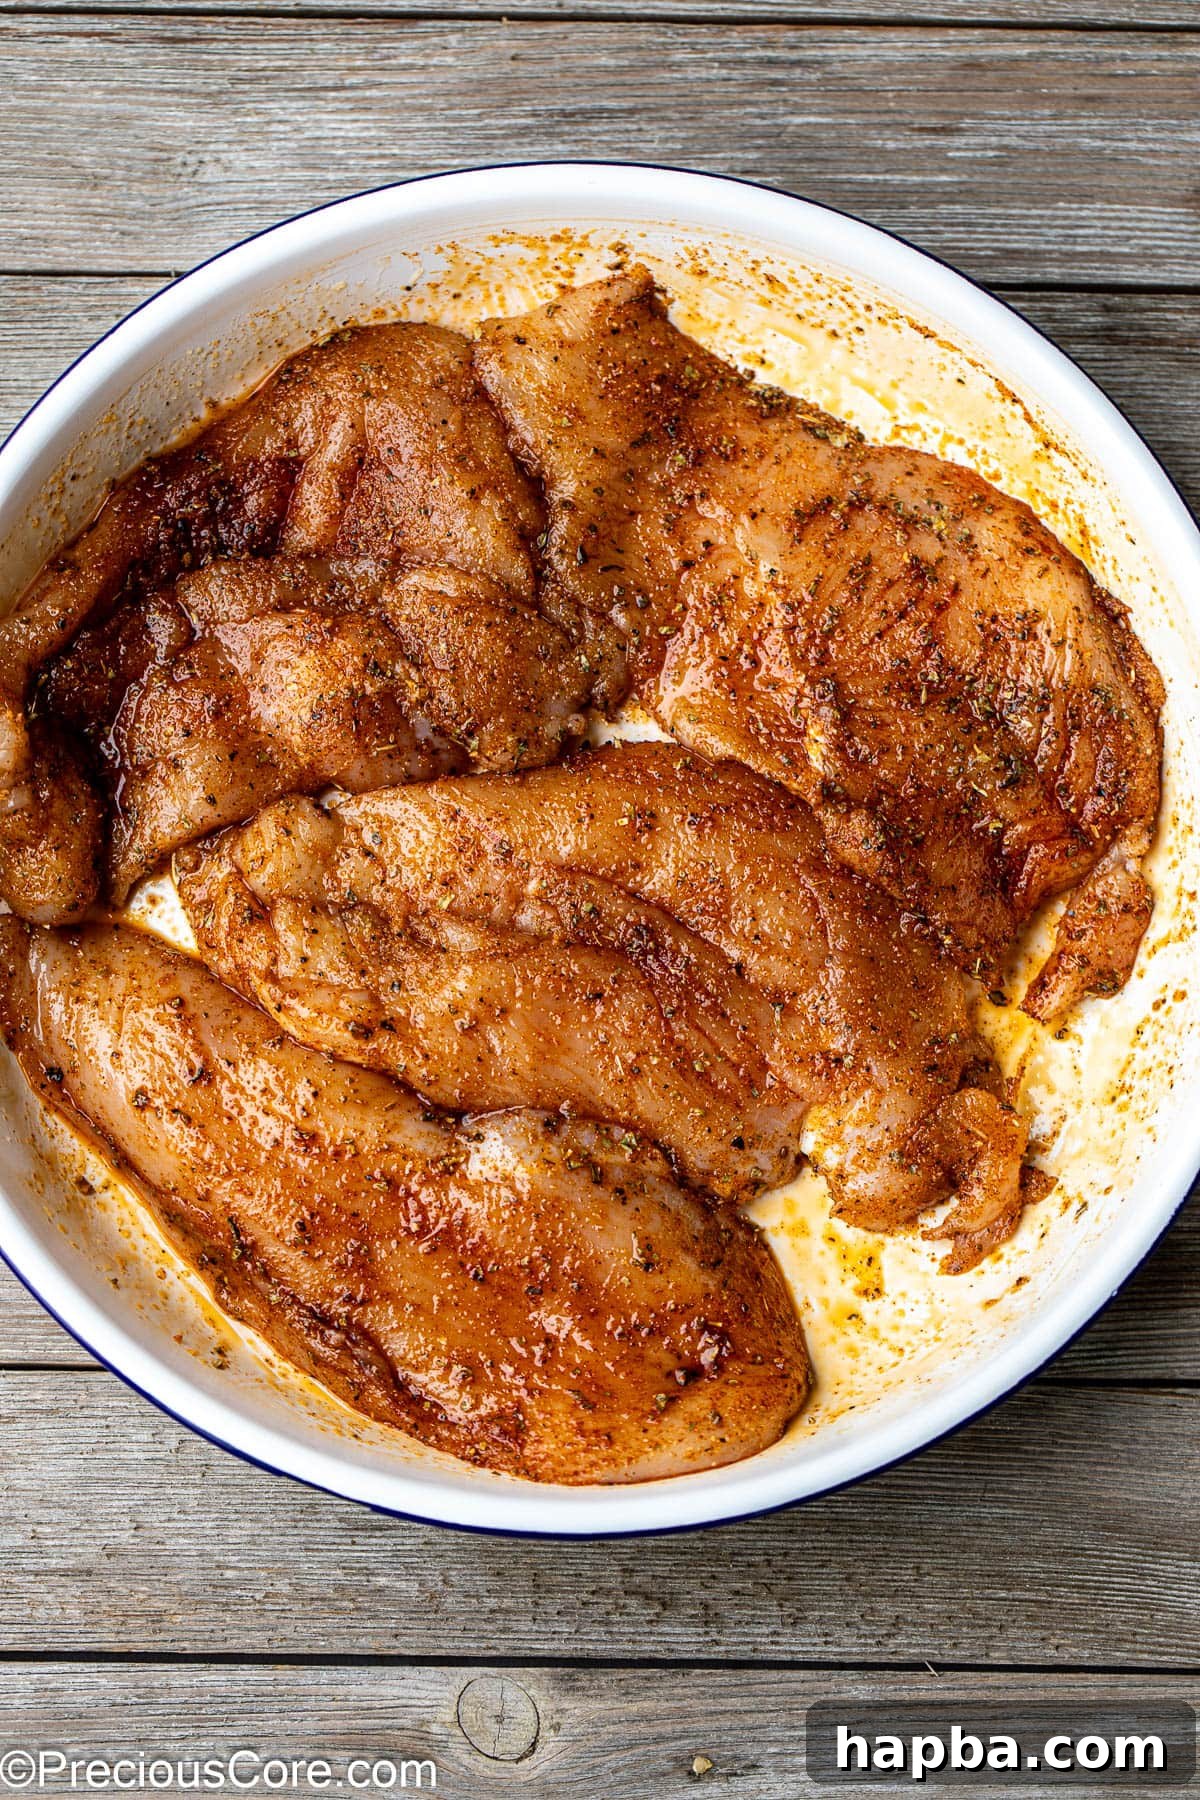
- Season Generously: In a small, separate bowl, combine all your dry seasonings: the salt, black pepper, garlic powder, onion powder, dried basil, and paprika. Mix them well to ensure an even blend. Then, sprinkle this carefully prepared seasoning blend evenly over both sides of the oiled chicken breasts. Gently rub the spices into the meat with your fingers to ensure every surface is thoroughly coated, maximizing flavor absorption and creating a beautiful, seasoned crust.
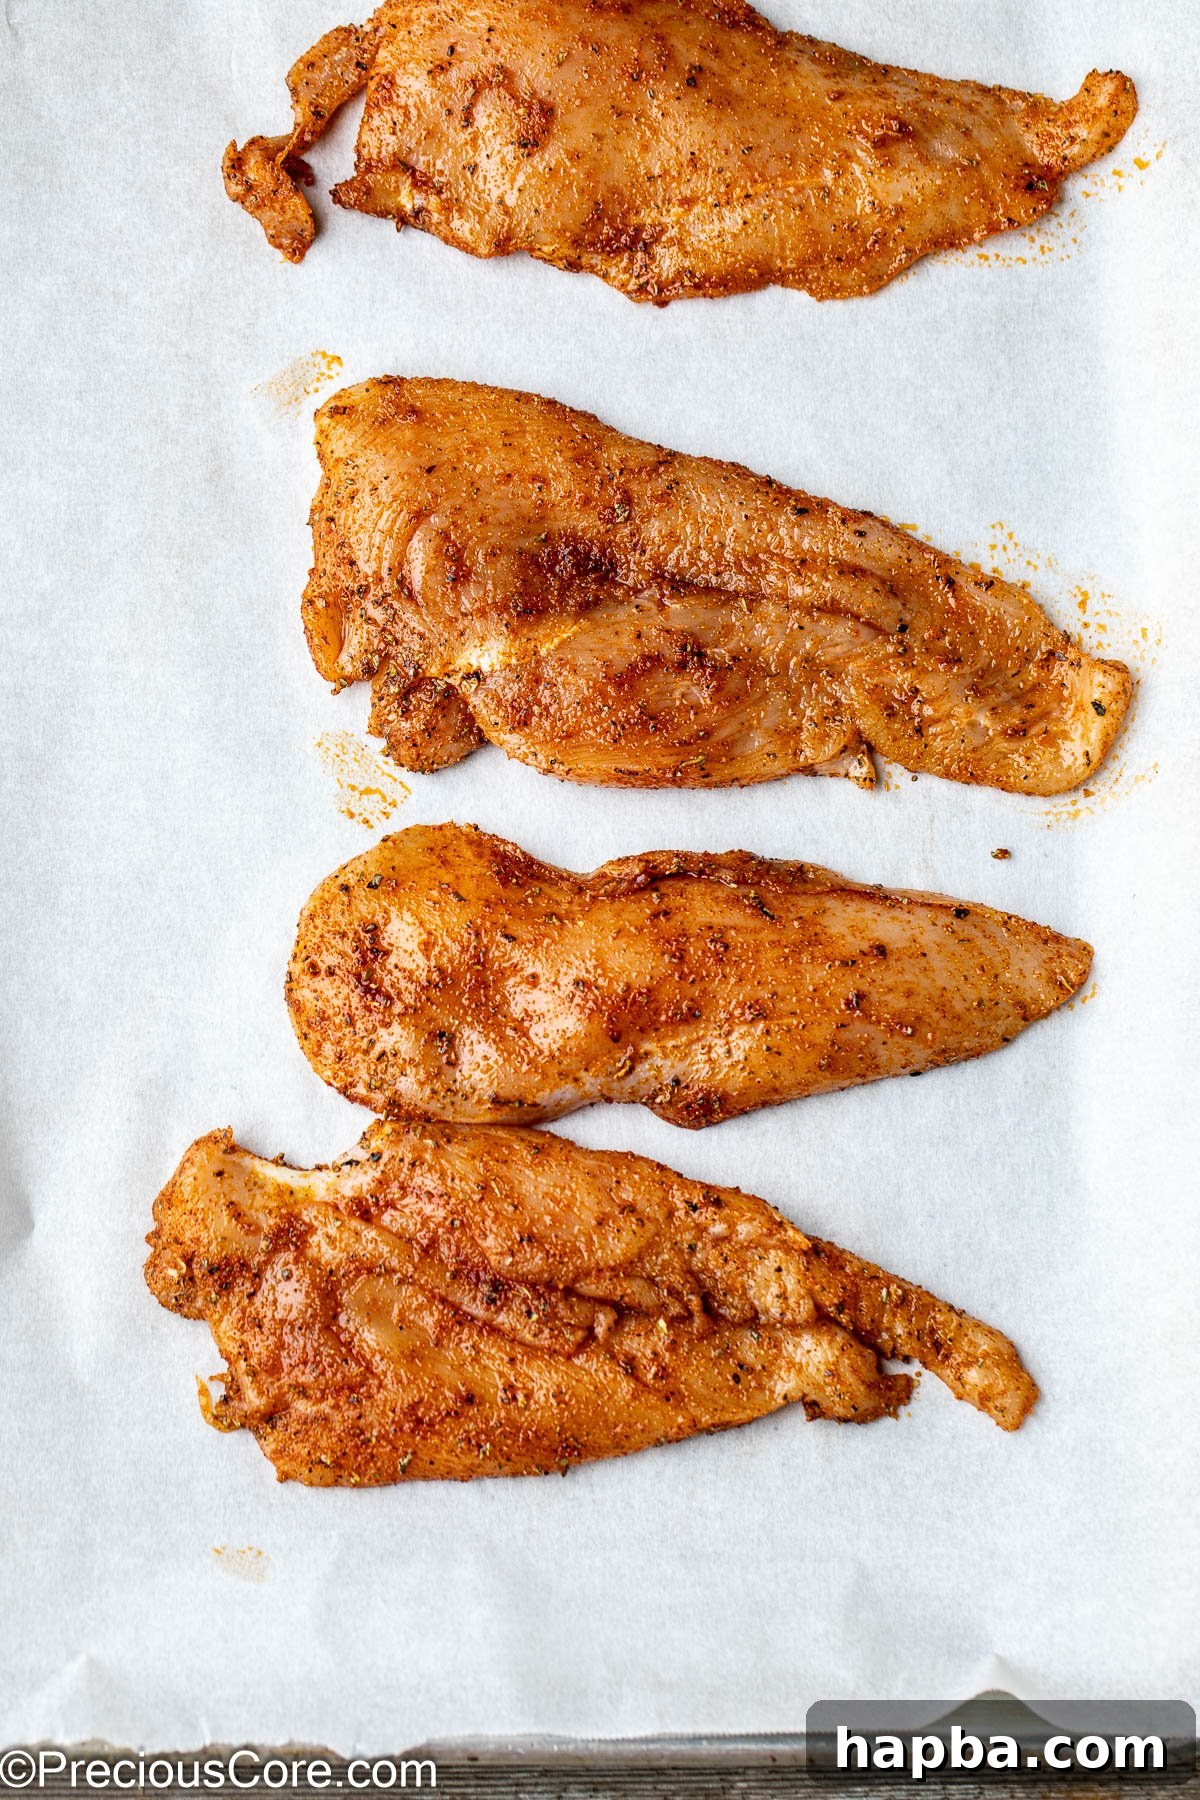
- Arrange on Baking Sheet: Carefully place the seasoned chicken breasts in a single layer on your prepared baking sheet. It is vital to ensure they are not overcrowded; give each piece a little space around it. Overcrowding the pan can lead to the chicken steaming rather than baking, hindering that beautiful golden-brown crust and juicy interior. If necessary, use a second baking sheet to accommodate all the chicken without crowding.
- Bake to Perfection: Transfer the baking sheet to the preheated oven and bake for approximately 10-13 minutes. The exact cooking time will depend slightly on the precise thickness of your chicken breasts and the calibration of your specific oven. For definitive doneness and food safety, always check the internal temperature with an instant-read meat thermometer, aiming for a consistent 165°F (74°C) in the thickest part of the meat.
- Rest Before Serving: Once baked and the internal temperature is confirmed, remove the chicken from the oven and let it rest on the baking sheet or a clean cutting board for 5-10 minutes. This essential resting period allows the muscle fibers to relax and the internal juices to redistribute evenly throughout the meat, resulting in an even more tender and succulent chicken. Skipping this step often leads to dry chicken as the juices escape upon slicing.
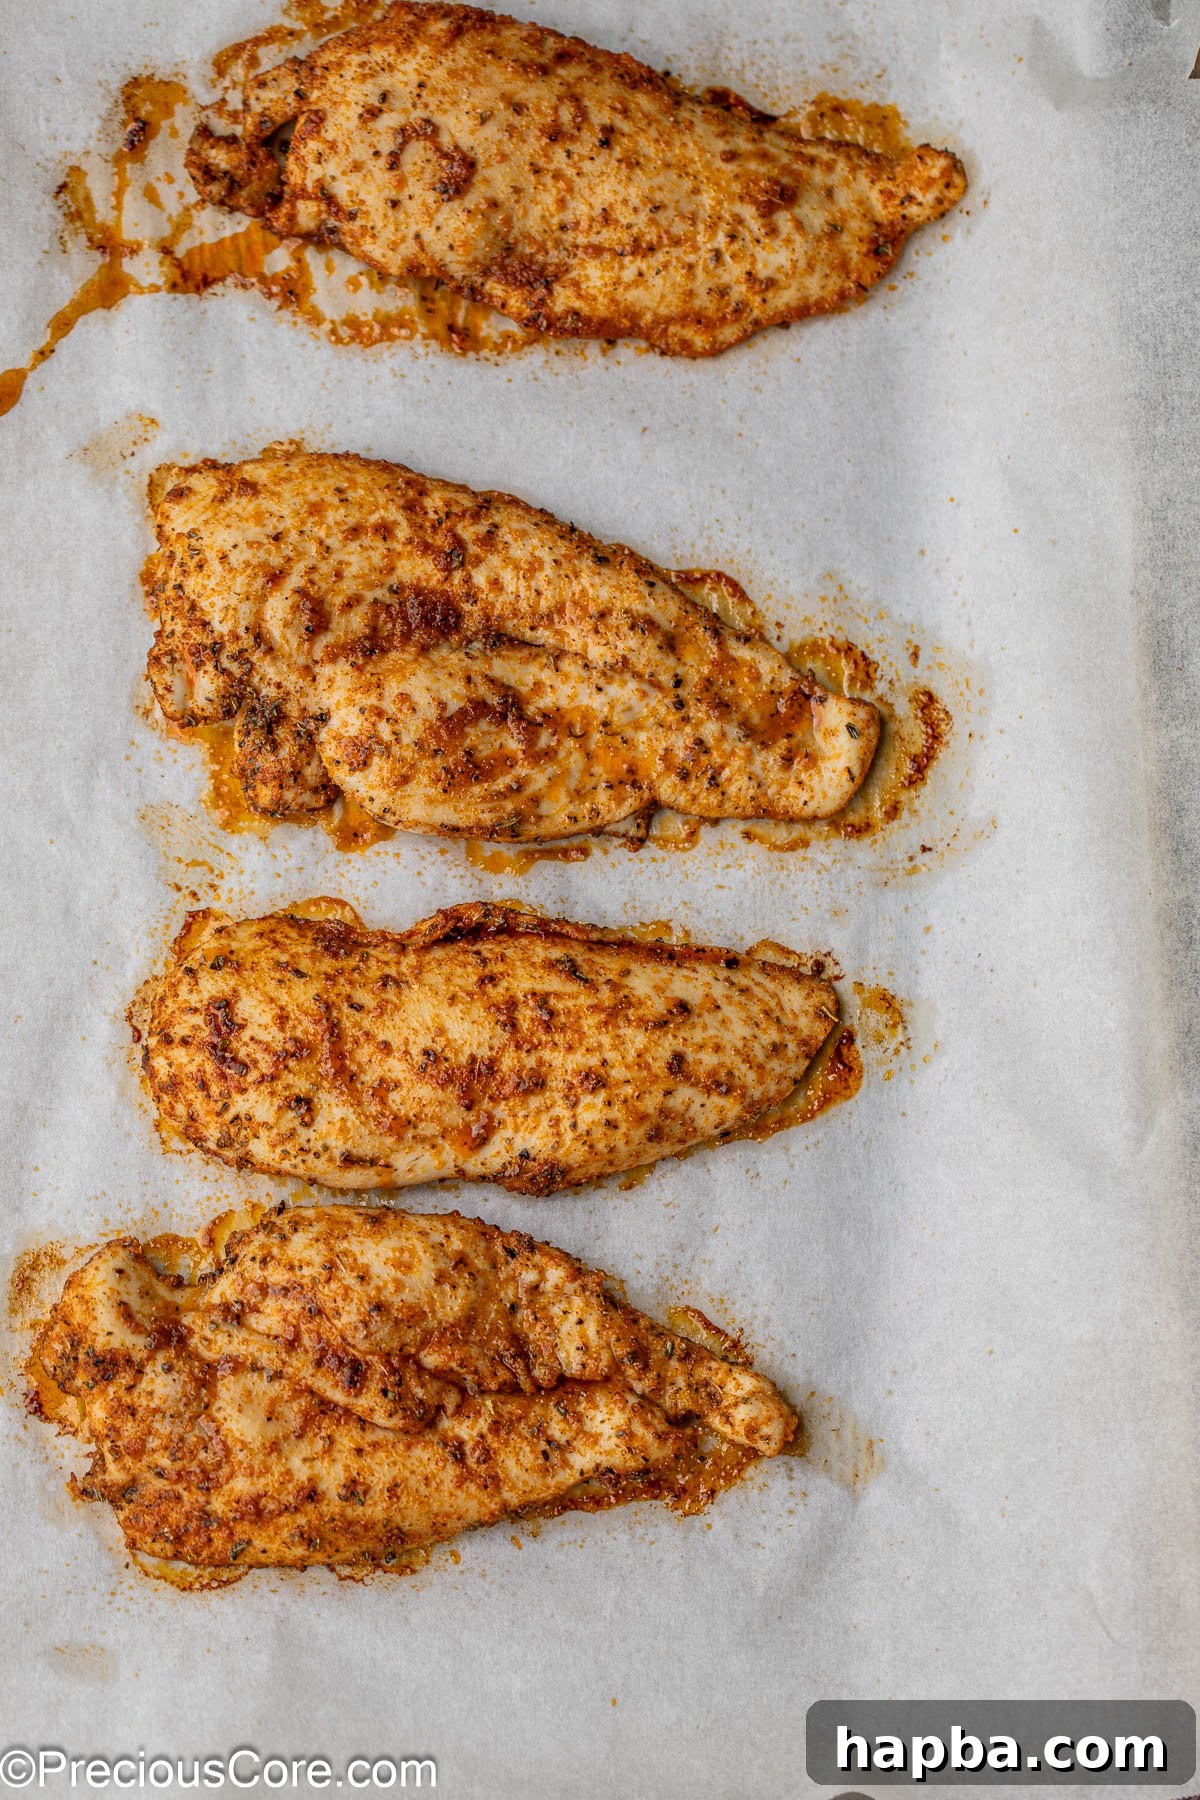
To ensure your chicken is fully cooked and safe to eat, it is absolutely essential to insert a meat thermometer into the thickest part of a chicken breast. It should register a consistent internal temperature of 165°F (74°C) to be considered perfectly done. This is the most reliable way to prevent both undercooking and, equally important, overcooking, which is the primary cause of dry chicken.
Air Fryer Alternative for Speed and Crispiness: For an even quicker preparation method that yields wonderfully crispy results, this recipe can easily be adapted for an air fryer! Simply follow the same seasoning steps, then place the seasoned chicken breasts in a single layer in your air fryer basket. Air fry at 375°F (190°C) for approximately 8-12 minutes, flipping the chicken halfway through, until the internal temperature reaches 165°F (74°C). Be vigilant and check frequently, as air fryers cook very efficiently and can dry out chicken quickly if left in too long.
Substitutions and Creative Flavor Variations for Your Chicken Breasts
One of the many charms of this baked thin chicken breast recipe is its incredible versatility, allowing you to easily adapt it to your preferences, dietary needs, or whatever ingredients you have on hand. Don’t hesitate to experiment and make this high-protein meal truly your own, creating new flavor experiences with minimal effort!
- Using Whole (Regular) Chicken Breasts: If pre-sliced thin chicken breasts aren’t available or if you prefer a heartier portion, you can certainly use regular, whole boneless, skinless chicken breasts. However, remember that they will require a significantly longer cooking time. Depending on their thickness, this could range from 20-30 minutes or even more. Always use an instant-read thermometer inserted into the thickest part of the breast to ensure it reaches 165°F (74°C) for food safety. Pounding them evenly to about 1 inch thickness can also help with more consistent and slightly faster cooking.
- Spice Rack Explorations for Endless Flavors: The world of spices offers endless possibilities to customize your chicken! Beyond our recommended blend, many other herbs and spices pair exceptionally well with chicken. Consider adding or swapping with dried rosemary for an earthy note, coriander for citrusy undertones, thyme for a savory depth, fennel for a touch of anise, sage for a robust aroma, tarragon for a subtle licorice flavor, cumin for warmth, or ground mustard for a tangy bite. You can also opt for convenient pre-made seasoning blends like Italian seasoning for a classic Mediterranean touch, herbes de Provence for a fragrant French flair, or a vibrant Cajun seasoning for a distinct, spicy kick. Feel free to mix and match to discover your favorite combinations!
- Crispy Breadcrumb Coating for Added Texture: For an irresistible added layer of texture and crunch, try mixing your chosen seasonings with crispy breadcrumbs, such as fine panko breadcrumbs. After drizzling the chicken with olive oil as directed, generously dredge each breast in the seasoned breadcrumb mixture, pressing lightly to ensure the crumbs adhere well. This will create a delightful golden, crunchy crust when baked, reminiscent of chicken schnitzel or cutlets. For a gluten-free option, use gluten-free breadcrumbs.
- Marinade Magic for Deeper Flavor: For even deeper flavor and an extra tender result, consider marinating your thin chicken breasts for at least 30 minutes, or up to 4 hours, before baking. Simple marinades using acidic ingredients like lemon juice or buttermilk, or savory bases like soy sauce or Worcestershire, combined with herbs and spices, can infuse incredible moisture and taste into the meat.
- Cheesy Indulgence: For a delicious variation, in the last 2-3 minutes of baking, sprinkle a little shredded cheese (like mozzarella, cheddar, or freshly grated Parmesan) over the chicken breasts. Allow it to melt and turn golden and bubbly for a delicious, gooey finish that pairs wonderfully with the seasoned chicken.
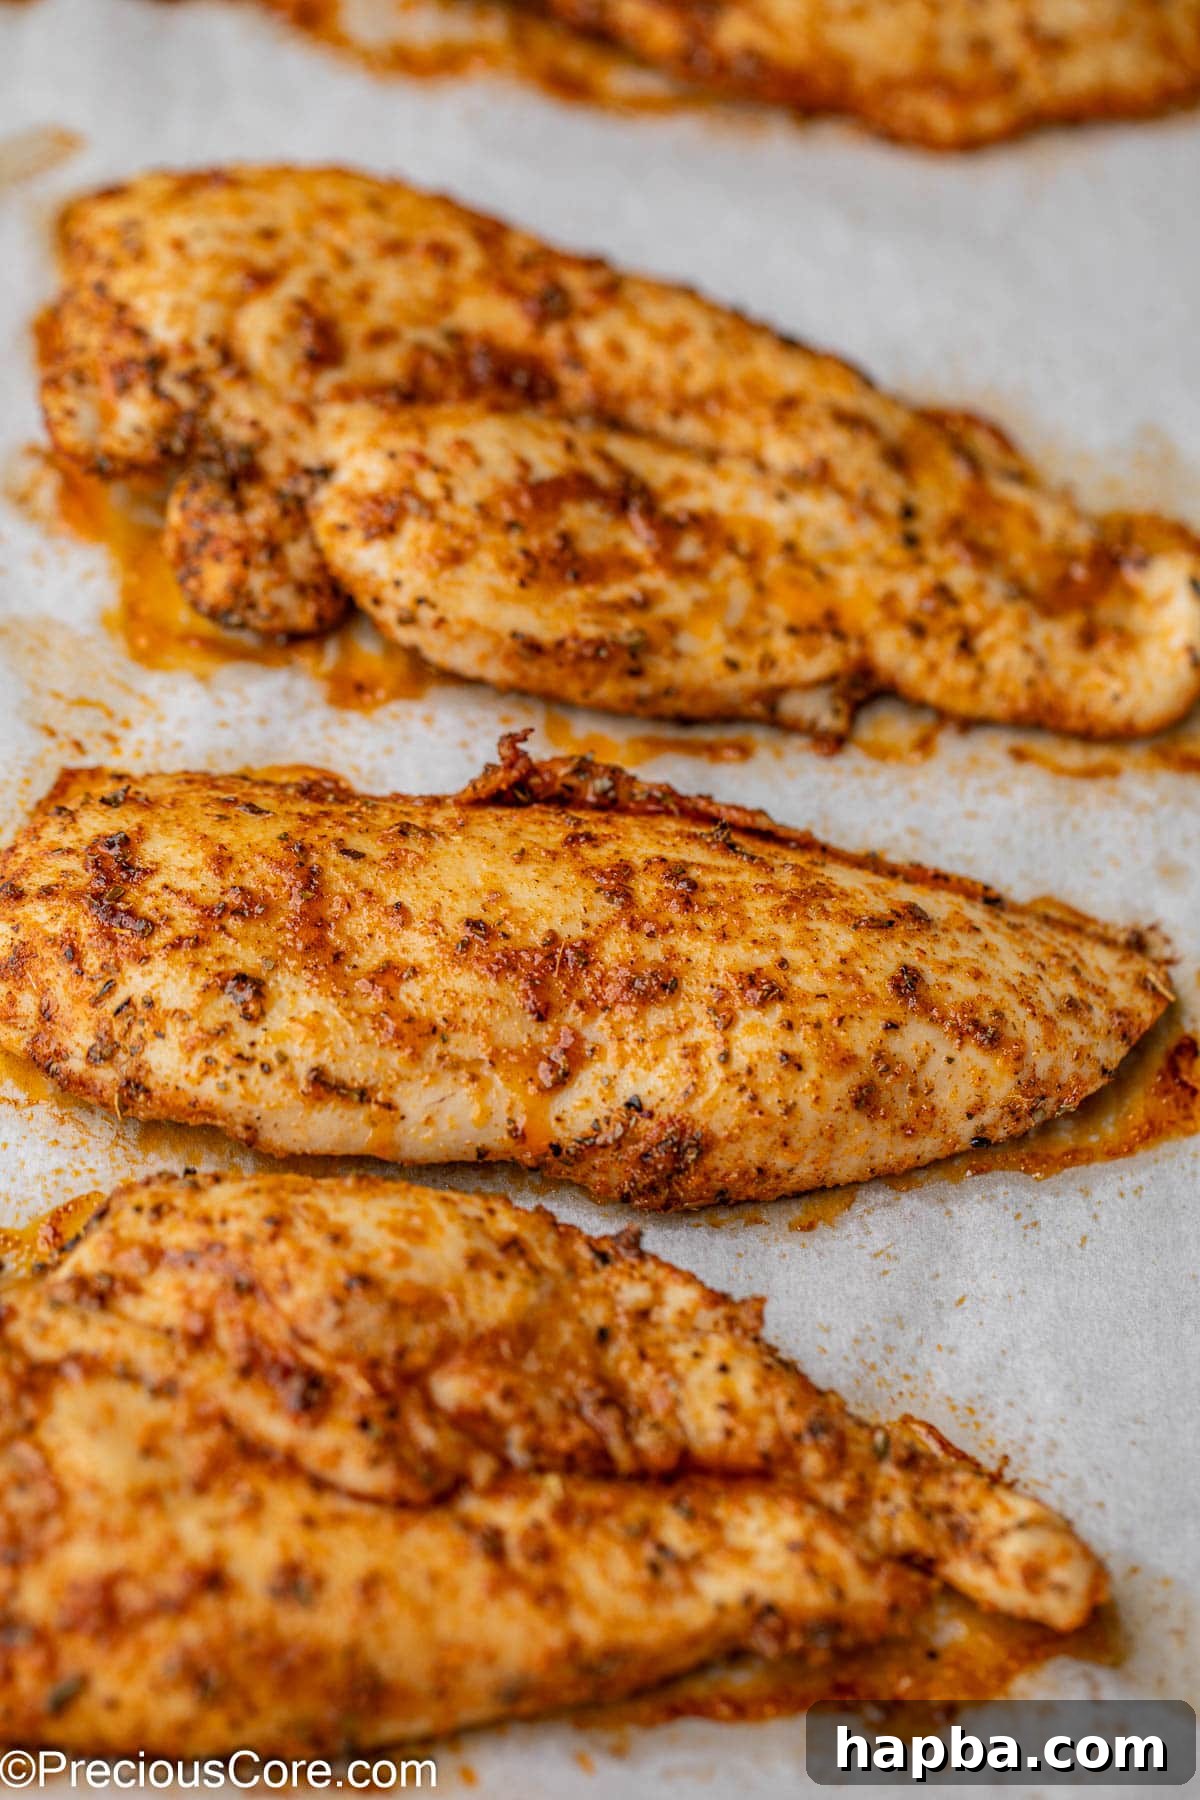
Pro Tips for Perfectly Baked Thin Chicken Breasts Every Time
Even though this recipe is incredibly straightforward, a few expert tips can truly elevate your baked chicken from good to absolutely phenomenal. Paying attention to these small but significant details will ensure you achieve consistently juicy, tender, and flavorful results, making you a master of baked chicken breasts:
- Bring Chicken to Room Temperature Before Cooking: Before you even think about putting your chicken in the oven, remove your chicken breasts from the refrigerator about 10-20 minutes in advance. Cooking chicken that is at a more even, slightly warmer temperature helps it cook more uniformly throughout. When cold chicken hits a hot oven, the outside cooks much faster than the inside, increasing the risk of the exterior drying out before the center is fully cooked. A quick temper will prevent this uneven cooking.
- Mastering Your Oven Use is Key:
- Preheat Fully and Accurately: Always ensure your oven is entirely preheated to the specified temperature (400°F or 200°C) before placing the chicken inside. An oven that hasn’t reached its target temperature can lead to uneven cooking, a lack of desired browning, and can significantly extend the cooking time, potentially drying out your chicken. Consider investing in an oven thermometer to verify your oven’s accuracy.
- Resist the Urge to Peek: Every single time you open the oven door, a significant amount of heat escapes, causing the internal temperature to drop rapidly. This prolongs cooking time and interrupts the consistent heat required for even baking. Try to resist checking on the chicken until just before the suggested minimum cooking time is up. Trust your oven and your timer!
- The Critical Resting Period After Baking: This is arguably one of the most important, yet often overlooked, steps for achieving truly juicy chicken! After removing the baked chicken from the oven, allow it to rest undisturbed on the baking sheet or a clean cutting board for at least 5-10 minutes before slicing or serving. This resting period allows the muscle fibers, which have contracted during cooking, to relax and reabsorb the juices that have migrated to the center. Cutting into it prematurely will cause all those precious, flavorful juices to run out onto your board, leaving you with disappointingly dry meat. Patience here is absolutely key for succulence!
- Avoid Overcrowding the Pan: For best results and to ensure that beautiful golden-brown crust, arrange the chicken breasts in a single layer on the baking sheet with a little space (about an inch) between each piece. Overcrowding the pan can lower the surface temperature, causing the chicken to steam rather than bake or sear, which hinders the development of a crisp exterior and can lead to uneven cooking. If necessary, use two baking sheets to give your chicken ample room.
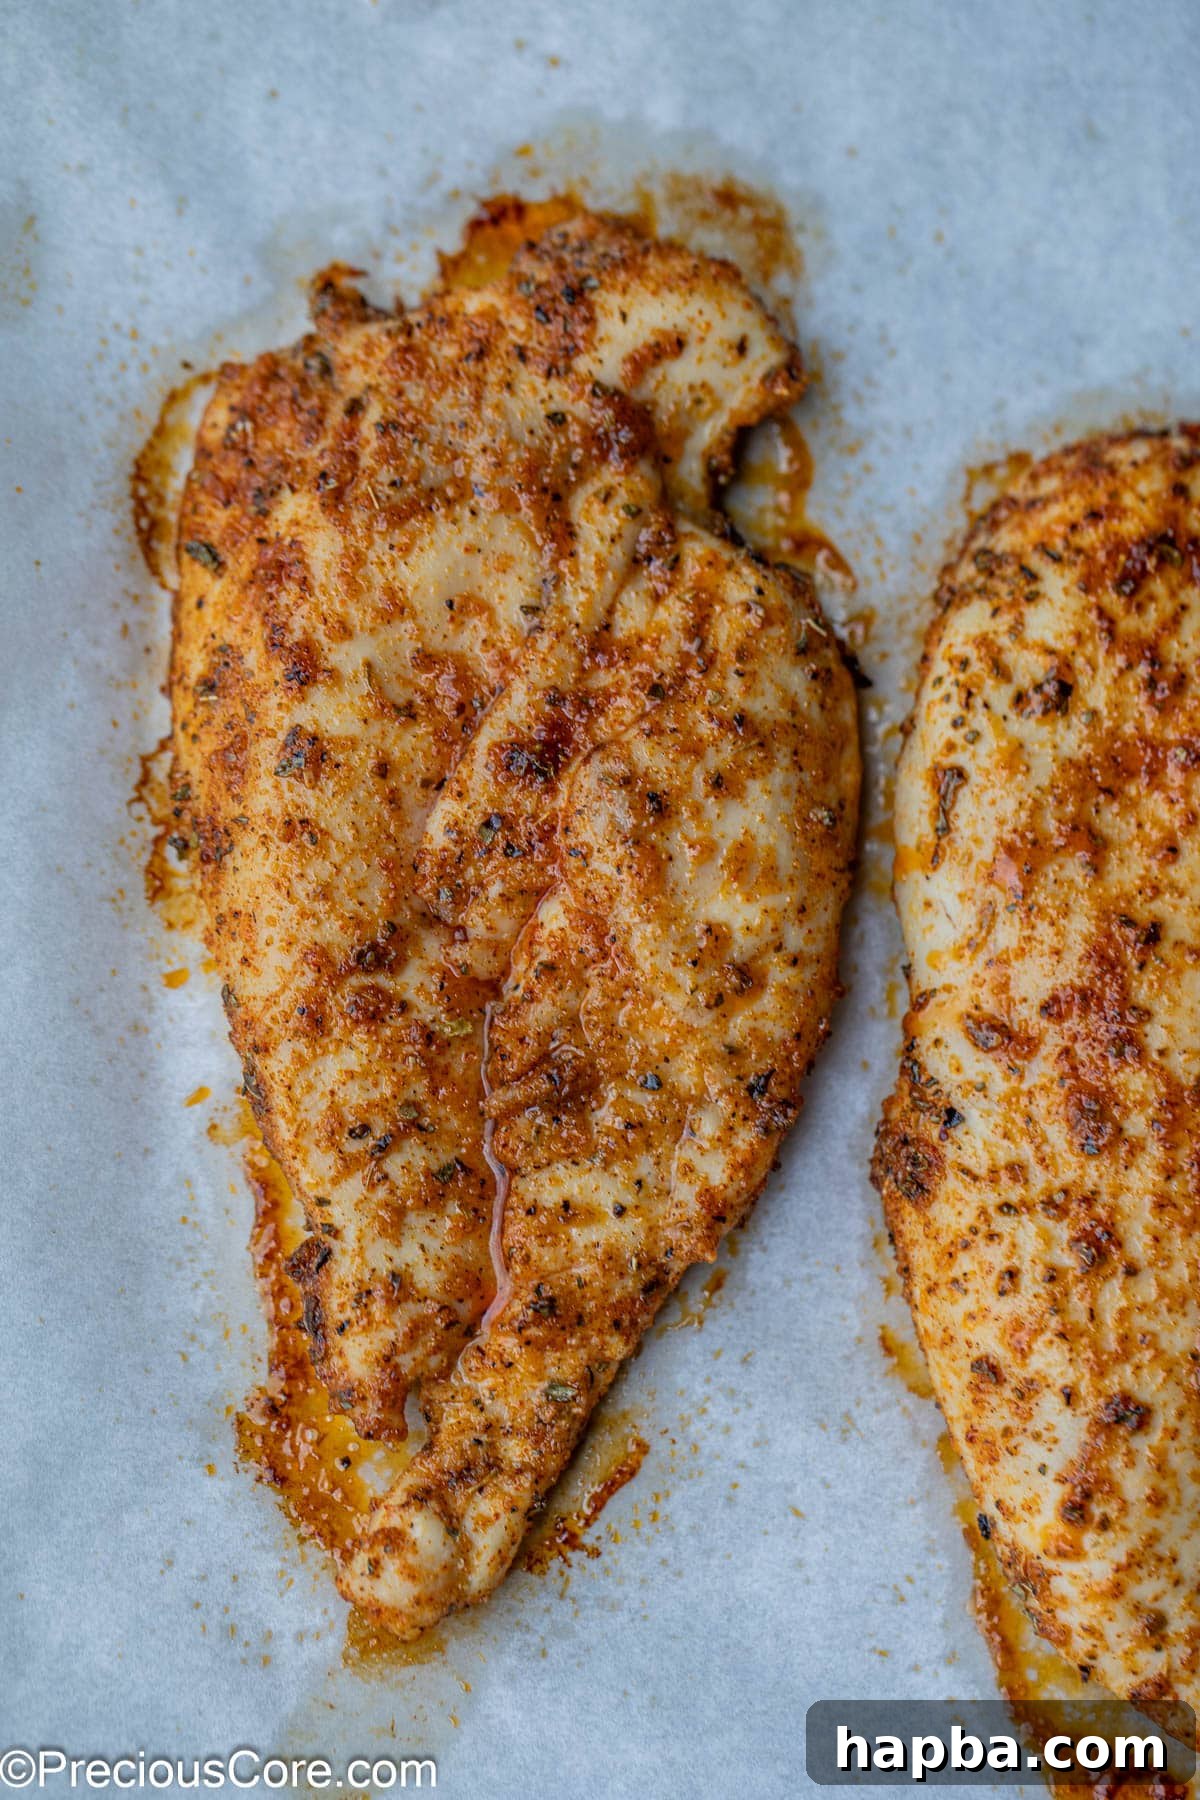
Ensuring Your Chicken is Perfectly Cooked and Safe to Eat
The most accurate and reliable way to determine if your baked thin chicken breasts are fully cooked and safe for consumption is by using a cooking thermometer. This tool is truly indispensable in any kitchen for peace of mind and perfectly cooked results every time.
How to Use a Meat Thermometer: To check for doneness, insert the probe of your instant-read thermometer into the thickest part of the chicken breast. Since thin chicken breasts typically have a more uniform thickness than traditional, whole breasts, you can generally insert the thermometer into the very center of the cutlet. The critical internal temperature you’re looking for is 165°F (74°C). Once your thermometer consistently registers this temperature, your chicken is safely cooked and ready to be removed from the oven.
It’s crucial to resist the common habit of cutting into the chicken to check its internal color. As mentioned in our expert tips, slicing the meat prematurely allows all the flavorful juices to escape, leading to dry and less enjoyable chicken. This still applies if you cut it to check doneness and then return it to the oven for further cooking, as more juices will be lost. A reliable meat thermometer is truly your best friend in the kitchen for perfectly cooked poultry that is both safe and deliciously juicy!
Frequently Asked Questions About Baking Thin Chicken Breasts
For baked thin chicken breasts, 400°F (200°C) is generally superior. Baking at a higher temperature allows the chicken to cook much quicker, which is key to retaining more of its natural moisture and preventing it from drying out. A higher temperature also promotes a beautiful, golden-brown crust on the exterior, adding to the chicken’s appeal and flavor. At 350°F (175°C), the chicken cooks slower, significantly increasing the risk of drying out before it develops a desirable texture and color.
Keeping thin chicken breasts moist involves a strategic combination of key steps detailed in this recipe: First, ensure they are well-coated with olive oil, which adds moisture and facilitates even browning. Second, cook them at a high temperature (like 400°F) for a shorter duration to sear the exterior and lock in juices. Third, and most importantly, avoid overcooking by precisely monitoring the internal temperature with a meat thermometer, ensuring it reaches exactly 165°F (74°C) and no more. Finally, always let the chicken rest for 5-10 minutes after baking before slicing or serving, allowing the juices to redistribute throughout the meat. By adhering to these precautions, you are setting yourself up for success.
While some cooks might suggest covering chicken with foil to keep it moist during baking, this technique often traps steam, which can prevent the chicken from developing a crisp, golden-brown crust. For thin chicken breasts, the high temperature and careful timing outlined in this recipe are usually sufficient for optimal moisture retention without needing to cover.
Preventing overcooking is paramount for achieving tender, juicy thin chicken breasts. The most effective and foolproof method is to use an instant-read meat thermometer and remove the chicken from the oven immediately once it reaches the safe internal temperature of 165°F (74°C). Set a timer for the suggested cooking duration (10-13 minutes) and begin checking doneness a minute or two before the timer is scheduled to expire. Once chicken is overcooked, there isn’t a way to reverse the mistake, and it will often result in an unsatisfying dry, rubbery, or tough texture and appearance. Precision and quick action are key!
For best results, bake thin chicken breasts at 400°F (200°C) for approximately 10-13 minutes. The definitive indicator of doneness, regardless of time, is when the chicken reaches an internal temperature of 165°F (74°C) as measured with an instant-read meat thermometer.
Delightful Serving Suggestions for Your Baked Chicken
Baked Thin Chicken Breasts are incredibly versatile and serve as a fantastic protein base that pairs beautifully with a wide array of side dishes. Whether you’re aiming for a light meal or a hearty dinner, here are some fantastic ideas to complete your meal:
Sautéed Vegetables
Fried Carrots
Buttermilk Mashed Potatoes
Avocado Salad
Brown Sugar Honey Glazed Carrots
Rosemary Garlic Mashed Potatoes
Discover More Delectable Chicken Recipes
If you’ve enjoyed mastering this easy baked thin chicken breast recipe and are looking for more ways to prepare this incredibly versatile protein, you’re in luck! Don’t miss our comprehensive guide to Thin Sliced Chicken Breasts for even more tips and techniques. And be sure to check out these other fantastic chicken recipes that are sure to become family favorites:
Crispy Baked Chicken Drumsticks
Garlic Butter Chicken Pasta
Pan Seared Chicken Tenders
Loved this recipe? Please consider leaving a star rating below! Your feedback is incredibly valuable, helping other cooks discover delicious meals and bringing joy to my kitchen. Thank you for your support!
Baked Thin Chicken Breasts Recipe
5 mins
10 mins
15 mins
4 servings
Pin Recipe
Print Recipe
Ingredients
- 1 pound thin sliced chicken breasts (about 2 medium breasts)
- 2 Tablespoons olive oil
- ½ teaspoon salt
- ¼ teaspoon ground black pepper
- 1 teaspoon garlic powder
- 1 teaspoon onion powder
- 1 teaspoon dried basil
- 1 teaspoon paprika
Instructions
-
Preheat the oven to 400°F (200°C). Line a baking sheet with parchment paper or spray with cooking spray.
-
Drizzle the olive oil on both sides of the chicken breasts. In a small bowl, mix together the salt, black pepper, garlic powder, onion powder, dried basil, and paprika. Sprinkle this seasoning blend evenly on both sides of the chicken, gently rubbing it in to ensure full coverage.
-
Place the seasoned chicken breasts in a single layer on the prepared baking sheet.
-
Bake for 10-13 minutes, or until the chicken reaches an internal temperature of 165°F (74°C) when measured with a meat thermometer. Allow chicken to rest for 5 minutes before serving.
Notes
- For optimal, even cooking, take your chicken out of the refrigerator 10-20 minutes before baking to allow it to come closer to room temperature.
- Ensure your oven is fully preheated to 400°F before inserting the chicken. Avoid opening the oven door frequently, as this causes heat loss and can extend cooking time, potentially drying out the chicken.
- Always let your baked chicken rest for 5-10 minutes after it comes out of the oven. This crucial step allows the juices to redistribute throughout the meat, guaranteeing a more tender and juicy result.
- Do not overcrowd the baking sheet; arrange chicken in a single layer with space between each piece to ensure proper browning and even cooking.
Nutrition
Calories: 198kcal
|
Carbohydrates: 1g
|
Protein: 24g
|
Fat: 10g
|
Saturated Fat: 2g
|
Polyunsaturated Fat: 1g
|
Monounsaturated Fat: 6g
|
Trans Fat: 0.01g
|
Cholesterol: 73mg
|
Sodium: 424mg
|
Potassium: 453mg
|
Fiber: 0.4g
|
Sugar: 0.1g
|
Vitamin A: 283IU
|
Vitamin C: 1mg
|
Calcium: 16mg
|
Iron: 1mg
Additional Information
Tried this recipe?
Mention @preciouscore or tag #PreciousCore!